Archery Blog
How to Tie a D-Loop on a Compound Bow (2026 Guide)
Jun
A spool of D-loop material costs about three dollars and outlasts a dozen bowstrings. Skip it, and you hook your release straight onto the serving — which wears a groove, throws your nocking point off, and eventually frays the string that cost you $80 to replace. The D-loop is the cheapest insurance in archery, and tying one is a skill every compound shooter should own rather than pay a pro shop $10 to do. This guide walks through the material, the knots, placement, and the mistakes that ruin a loop before the first shot.
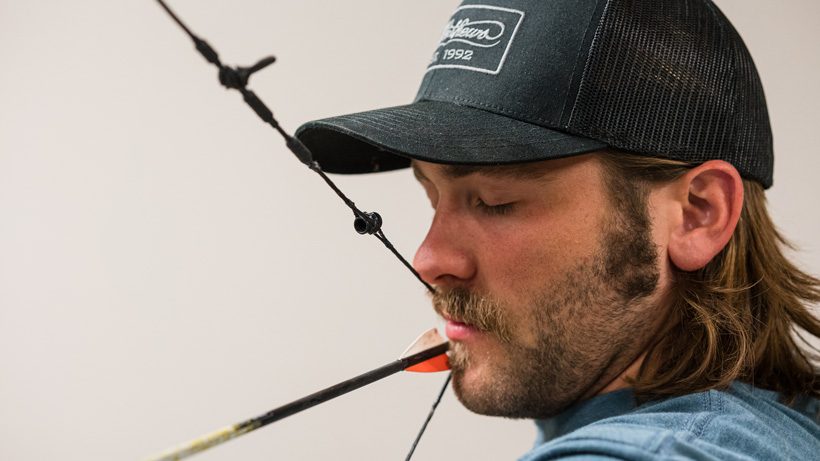
A finished D-loop sits behind the arrow nock and gives your release a clean place to grab.
What Is a D-Loop on a Compound Bow?
A D-loop is a short piece of cord cinched to the bowstring above and below the arrow nock, forming a “D” shape that your mechanical release clips into. It does two jobs at once: it gives the release a dedicated attachment point so the hook never touches your string, and it acts as the nocking point that holds the arrow in the same spot every shot. On a modern compound, the D-loop is the single connection between your release hand and the bow — everything about your shot runs through it.
Before D-loops became standard, shooters clipped calipers directly onto the string around the arrow nock. That worked, but it chewed up the serving and squeezed the nock, and it made consistent placement a guessing game. The loop solved both problems. Today you will not find a tournament compound or a serious hunting rig without one.
Why Every Compound Shooter Needs a D-Loop
The honest truth is that shooting a compound off the bare string is a mistake nobody should make twice. A release jaw pinching the serving wears it flat in a season, and a worn serving means a shifting nocking point — which means arrows that hit high one day and low the next for no reason you can see. A D-loop takes that wear instead of your $80 string.
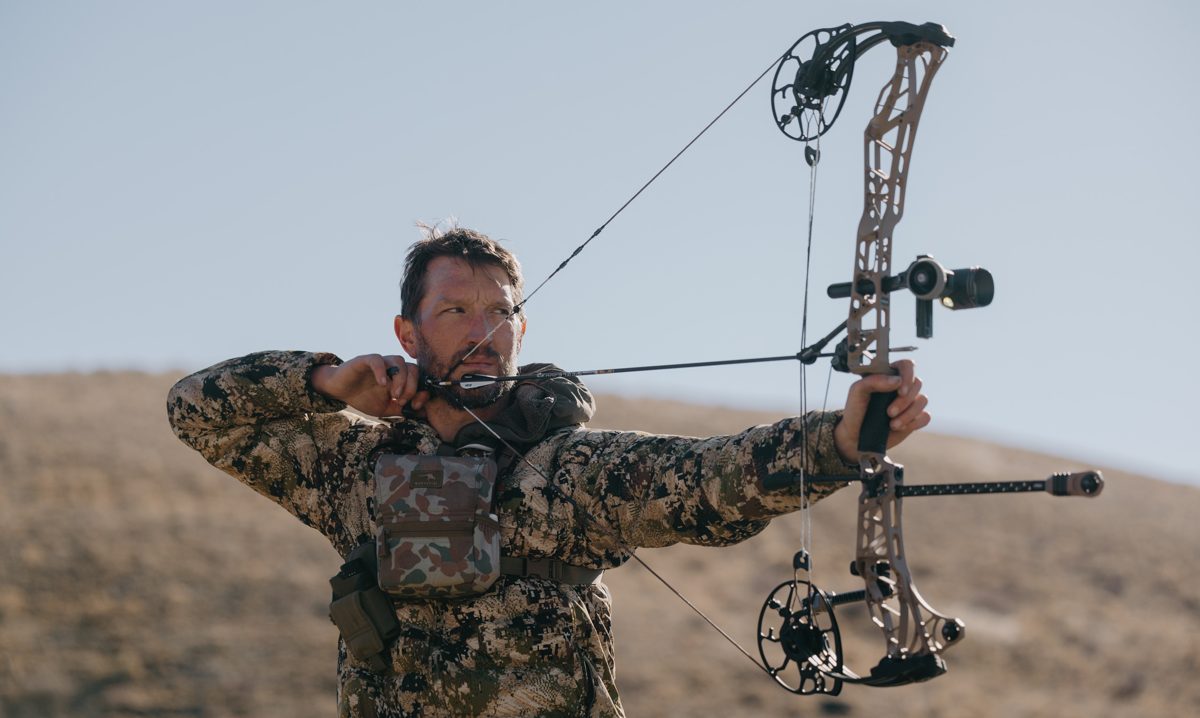
It also fixes your anchor. Because the loop puts the release a consistent distance behind the nock, your hand lands in the same place at full draw every time. Pair that with a solid anchor point and your groups tighten on their own. For bowhunters drawing in the cold with gloves on, the loop is also far easier to grab than a bare string.
The D-loop sets a repeatable distance between your nock and your release hand at full draw.
Tools and D-Loop Material You’ll Need
This is a short list, and you probably already own most of it. The one part you cannot substitute is the cord itself — use actual D-loop rope, never paracord or random string. Real D-loop material is built to melt into a ball without losing its grip, and it holds the full force of your draw weight without slipping.
- D-loop material — roughly 4¼ inches per loop. BCY and similar braided cord is the standard.
- A lighter — for melting and flaring the ends into stopper balls.
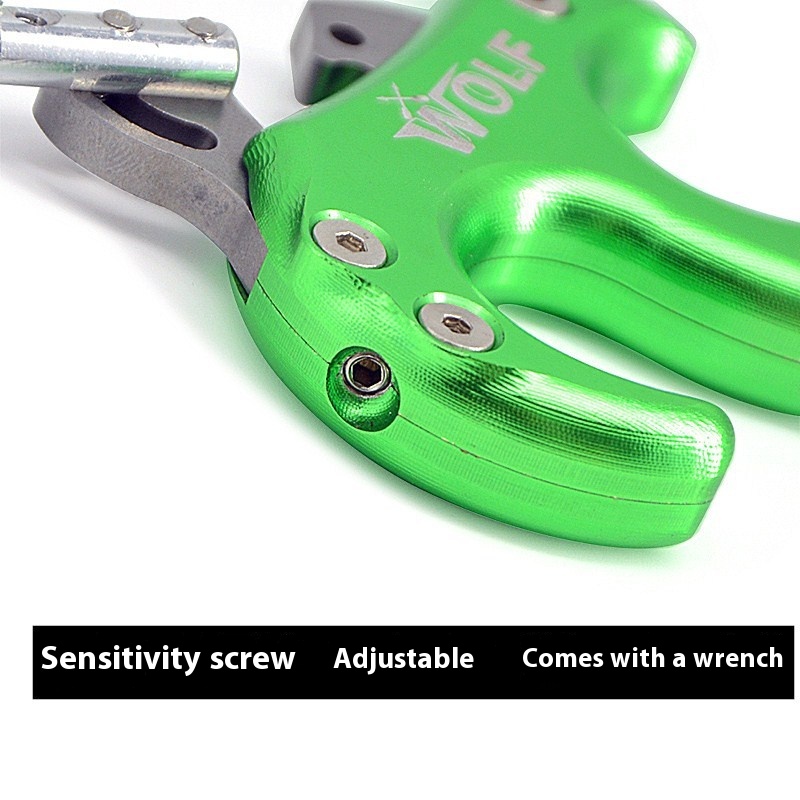
- D-loop pliers or sturdy needle-nose pliers — to cinch the knots tight enough to hold.
- A bow square (optional) — to set nocking-point height precisely.
If you are also resetting your nocking point while you work, a simple brass nock locator gives you a fixed reference to build the loop around. Many shooters run the D-loop alone, but a metal locator can speed up getting the height right.
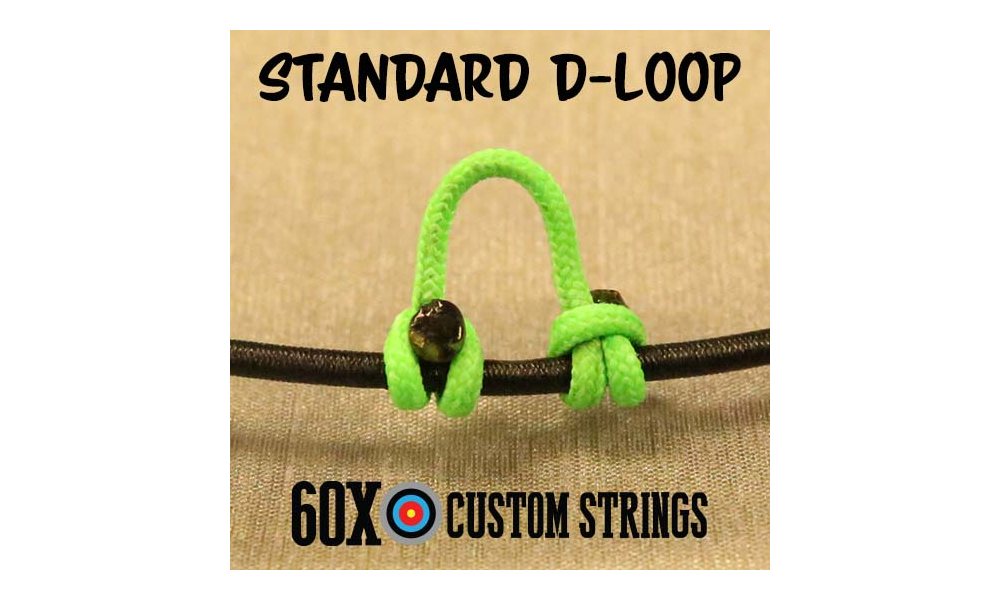
A clean standard D-loop: two melted ends, two cinch knots, square to the string.
How to Tie a D-Loop: Step-by-Step
Here is the part everyone wants. Take it slow the first time — once you have tied three or four, it becomes a two-minute job you can do at the truck. Work on a bow that is let down, not at draw.
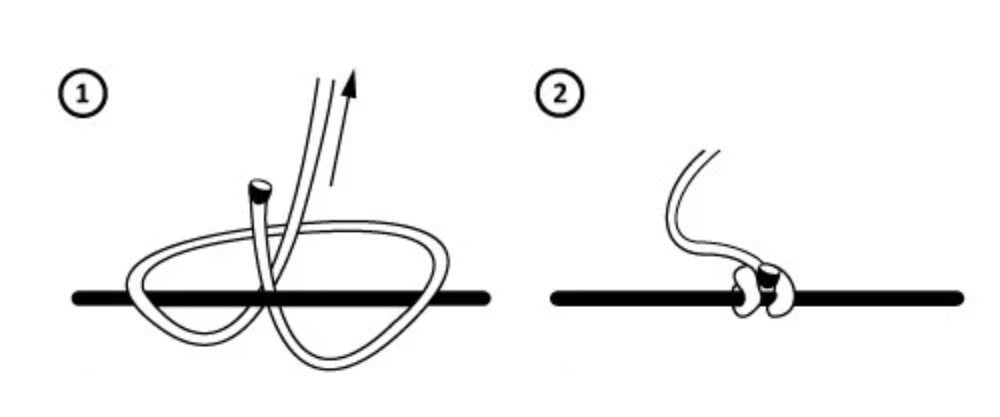
Step 1 — Cut and melt the ends. Cut about 4¼ inches of material. Press one end until it frays, hold a flame to it for a second until it catches, then blow it out and press the molten tip flat so it forms a small ball. Do the same to the other end. Those flared balls are the stoppers that keep the knots from pulling through.

Steps 1–2: lay the cord across the string and start the first cinch knot.
Step 2 — Tie the top cinch knot. Lay the cord across the front of the string above where your arrow will nock. Wrap the end around the string and back through the loop you have formed — a simple cinch. Snug it down so the melted ball sits on the back of the string.

Steps 3–4: form the second loop and pass the end through to start the bottom knot.
Step 3 — Tie the bottom cinch knot. Bring the other end of the cord down below the nock point and tie an identical cinch knot, mirroring the top. Both melted balls should now face the back of the string, and the cord should bow out into the “D” you are after. Leave the arrow’s nocking gap — the space between the two knots — just slightly larger than your nock so the arrow seats without pinching.
Steps 5–6: tighten both knots with pliers until they bite, then check the gap.
Step 4 — Tighten and check. Use your pliers to cinch both knots hard until they bite into the serving and stop rotating. Rotate the whole loop so it faces straight back at you. Nock an arrow and confirm it clicks in with a hair of free play — not crushed, not loose. Give the loop a firm tug. If a knot creeps, re-seat it before you ever draw the bow.
Where Should You Position the D-Loop?
Placement decides whether your arrow flies level. The arrow nock should sit either centered in the loop or a touch high — most compound setups run the nock 1/8 to 1/4 inch above dead level (90 degrees) to the rest, then fine-tune from there. The cleanest way to dial it in is paper tuning or bare-shaft tuning after the loop is on; if your arrow kicks tail-high, your nocking point is too low, and vice versa.
Get the rough height with a bow square, tie the loop, then shoot and adjust. Because the knots can be nudged up or down before you cinch them fully, a D-loop actually makes nock-height tweaks easier than a fixed metal set. When the loop faces straight back and the arrow leaves clean, you are done.
How Long Should a D-Loop Be?
Start with about 4¼ inches of material and you will finish with a loop roughly 3/4 inch tall once both knots are tied. That is the sweet spot for most shooters: long enough to clear your release jaw and let the arrow sit free, short enough that it does not steal draw length or sap performance. A loop that is too long pushes your anchor back and softens your feel for the shot; one too short pinches the nock and crowds the release.
If you shoot a handheld thumb or hinge release, you may want the loop a hair longer than an index-release shooter would, since those releases sit differently in the hand. Tie one, shoot it, and adjust the length on the next one — cord is cheap.
Common D-Loop Mistakes to Avoid
Most D-loop failures trace back to three errors. First, using the wrong cord: paracord and craft string will not melt into reliable stoppers and can let go under load — a genuine safety risk at 70 pounds of draw. Second, knots that were never tightened with pliers; finger-tight knots rotate and creep, and a creeping knot quietly moves your nocking point shot to shot. Third, a nocking gap that crushes the nock — if your arrow does not seat with a tiny bit of play, your loop is too tight and your tune will suffer.
One more: inspect the loop. D-loop cord is wear-and-tear, not forever. Check it for fraying every few hundred shots and retie at the first sign of damage. Re-serving or replacing a worn string is a bigger job than spending five minutes on a fresh loop.
The D-Loop and Your Release Aid
The loop and the release are a matched pair — one is useless without the other. Your release clips into the loop, you draw, you anchor, you fire. Whether you shoot an index-finger wrist release, a thumb button, or a back-tension hinge, every one of them hooks the same D-loop. If you are still choosing a release, our guide to archery release aids breaks down which style fits which shooter.
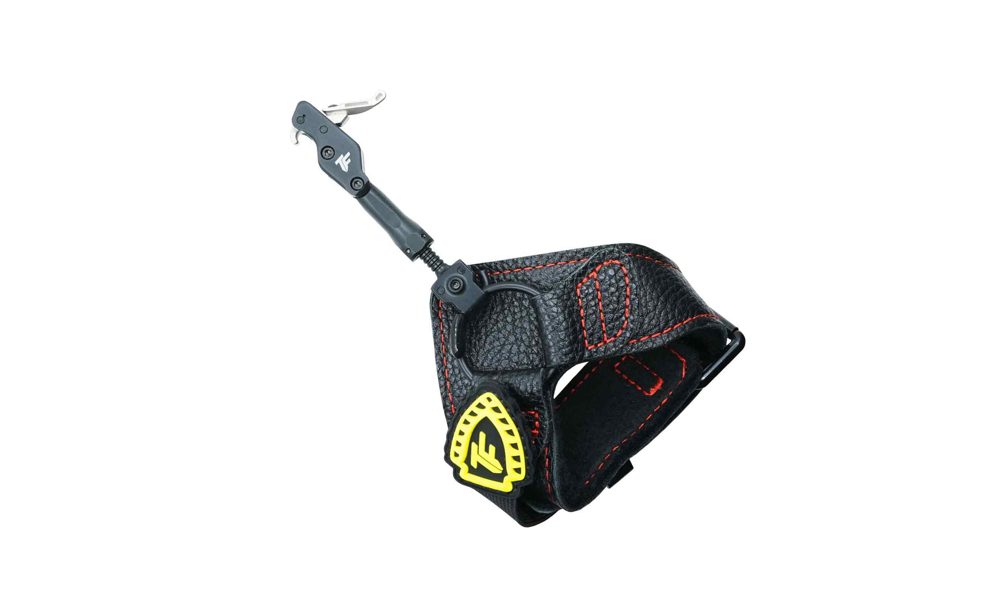
Index, thumb, and hinge releases all clip to the same D-loop — the loop is what makes a release possible.
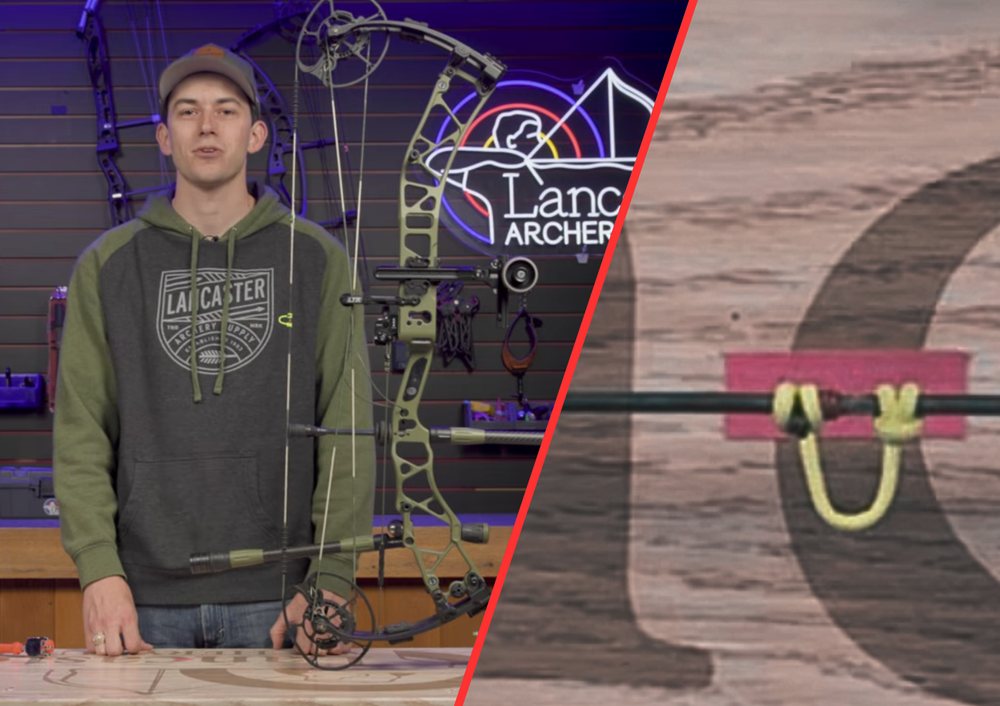
Want to see the knots tied in real time? This walkthrough from Lancaster Archery shows the full process on a compound string:
Tie your first D-loop tonight, shoot it tomorrow, and tune the nocking height over your next few sessions. Once you can do it from memory, you will never be stranded by a frayed loop at a shoot or in the field again — you will just cut a new piece of cord and fix it on the spot. Grab a properly fitted compound, a release, and a spool of loop material, and you have everything you need to shoot consistently.
Sources
- Lancaster Archery Supply — How to Tie a D-loop — step diagrams and tool list.
- World Archery — Archery 101: How to tie a D-loop — governing-body setup guidance.
- Bowhunting.com — How To Tie A D-Loop on Your Bow — material length and finishing.
- 60X Custom Strings — Styles of D-loops for Compound Bows — loop styles and placement.