Archery Blog
Archery Anchor Point: 7 Rules for Repeatable Accuracy
Jun
Three out of every four wild misses inside thirty yards trace back to one fault: a sloppy archery anchor point. Coaches at Nock On call it the single most decisive piece of form in either style. If your release hand lands in a slightly different spot on every shot, your arrows will too — no sight tape, broadhead tune, or fancy stabilizer will dig you out.
This guide breaks down what an anchor point actually is, the differences between compound and recurve setups, seven hard rules used by ranked shooters, and the drills that lock the position into muscle memory in two weeks.
Recurve and compound archers anchor in completely different places — and both can be right.
What Is an Archery Anchor Point?
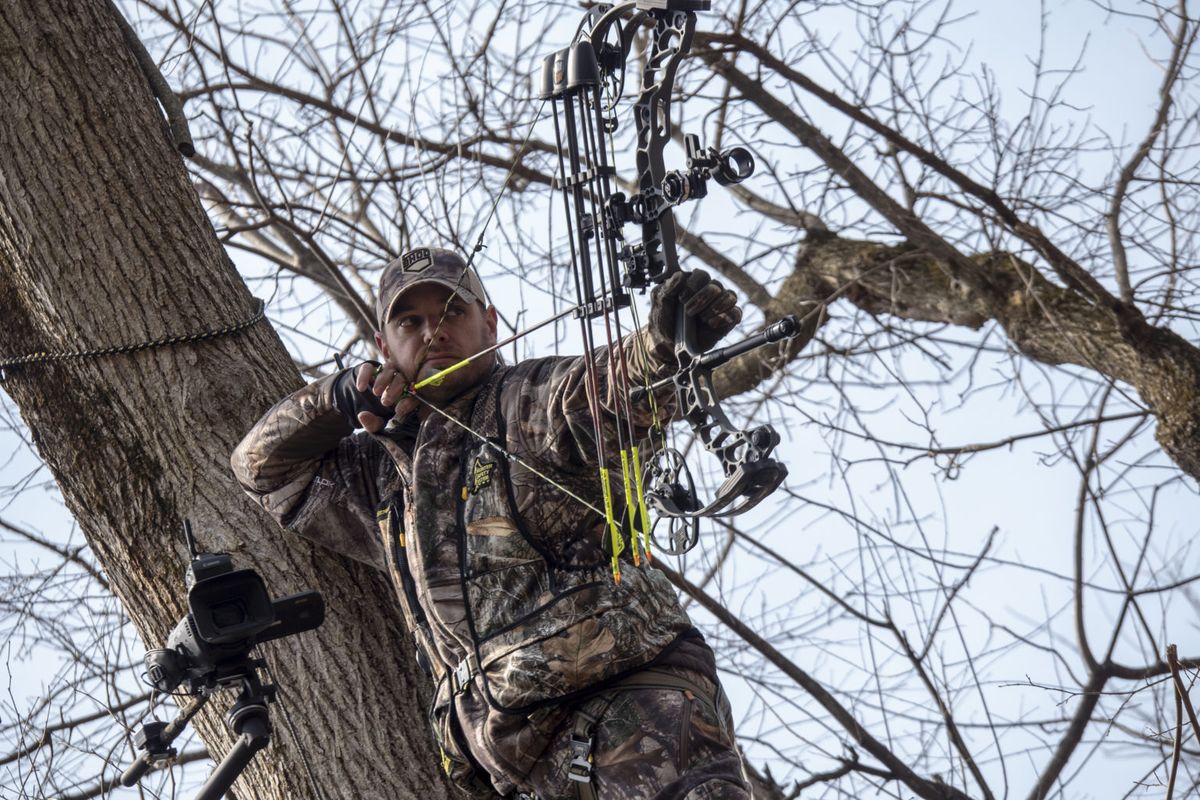
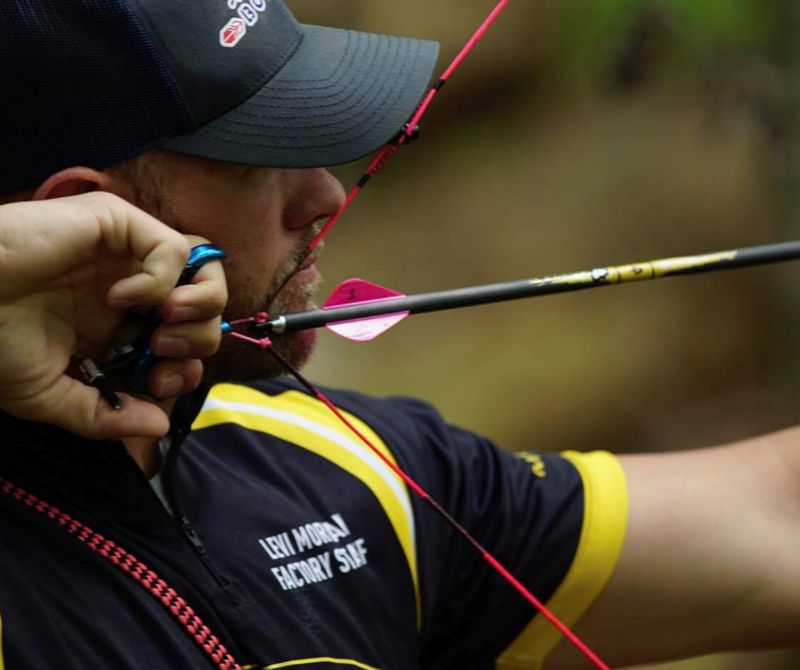
An archery anchor point is the consistent place where your draw hand, the string, and your face meet at full draw. It is the rear sight of your bow. Compound shooters with a release aid usually anchor with the knuckle of the index finger tucked under the earlobe, the nose pressed lightly against the string, and a kisser button at the corner of the mouth. Recurve shooters anchor with the index finger drawn under the jawbone, the string running across the chin, and resting on the tip of the nose.
The position is not about comfort or copying what looks cool on Instagram. It is about repeatability. Move your anchor a quarter inch and a sixty-yard arrow misses by roughly four inches — geometry, not opinion.
Why Your Anchor Point Decides Every Shot
Shoot a bow without a real anchor and you have effectively turned a precision instrument into a slingshot. Every other variable — bow tune, arrow spine, sight setup, even draw length — gets calibrated against where the string sits on your face at the moment of release. Change that reference and every other adjustment is suddenly wrong.
Take a 40-yard shot with a compound. A 1/8-inch shift in anchor height moves the point of impact almost three inches at the target. A canted head at anchor adds left-right error on top of that. Bowhunting magazines have reported for years that high misses from treestands almost always trace back to an inconsistent anchor pulled forward by adrenaline.[1]
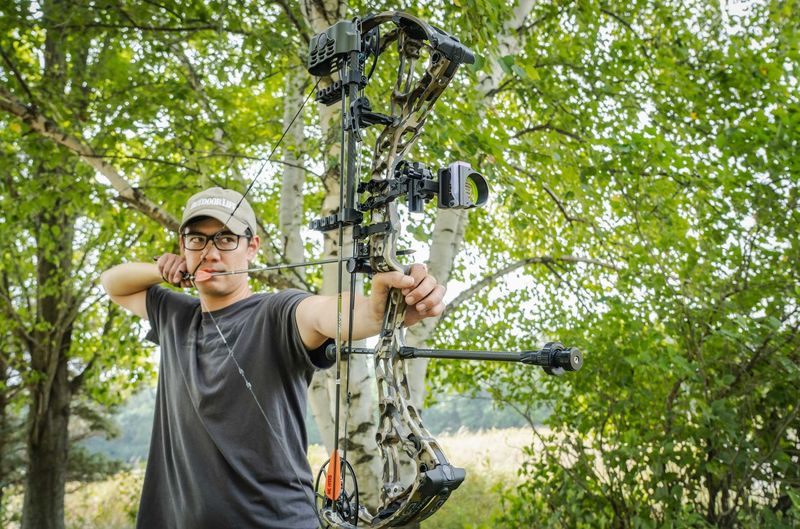
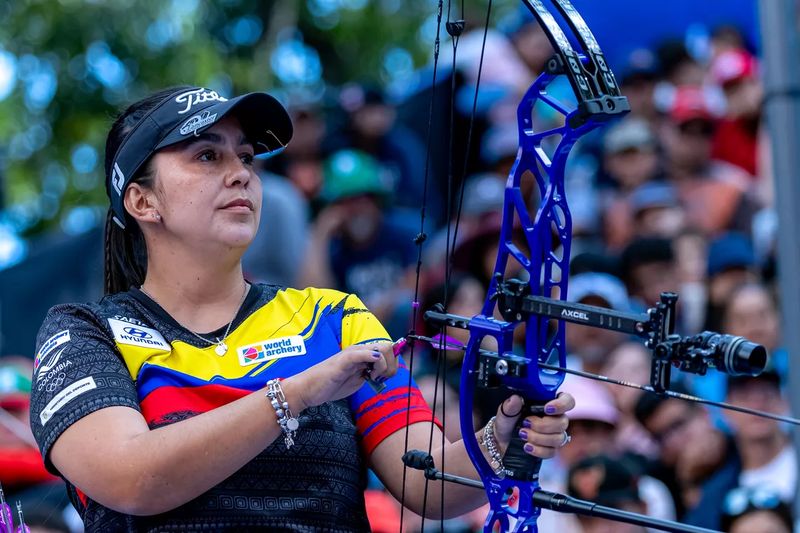
Compound Bow Anchor Point: The Three-Point Lockdown
The compound bow anchor point works as a three-contact system, not one single touch. Each point reduces a different type of error, and stacking all three is what gives compound shooters their reputation for surgical groups.
- Release-to-jaw contact. With a wrist-strap release, the big knuckle of the index finger nestles into the soft divot just below the earlobe. With a hand-held release, the back of the hand cups the jawbone.
- String-to-nose contact. The string passes through the dip on the side of the nose. Light pressure only — you should be able to feel it, never push into it.
- Kisser or mouth contact. A kisser button at the corner of the mouth confirms head position before every shot. Some shooters drop the kisser when they use a peep sight as the visual reference instead.
John Dudley calls this the “rear sight” of the compound bow, and his free school-of-nock video is one of the clearest demonstrations on YouTube. Watch it before your next range session.
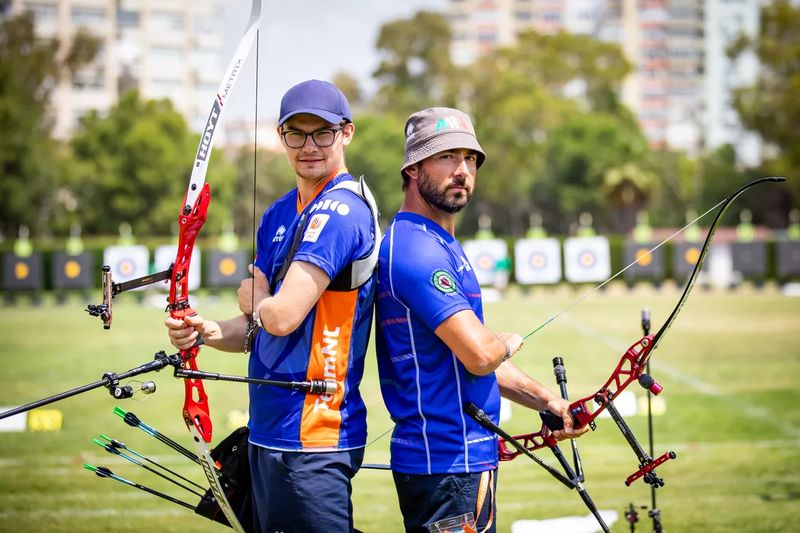
Recurve Anchor Point: Under the Jaw, on the Mouth
The recurve anchor point is built around the under-chin position used by every Olympic archer for the last forty years. The middle finger of the drawing hand sits directly under the jawbone, the string runs across the center of the chin and lips, and the tip of the nose rests gently against the string. The bow arm shoulder stays down and the elbow rotates so the inside of the forearm faces the sky.
Korean coaches drill it ruthlessly because it gives three independent reference points instead of one. Ki Bo-bae, two-time Olympic gold medalist, has stated in interviews that her under-jaw anchor is the form element she rebuilt first after every break in training.[2] Barebow and traditional shooters sometimes use a side-of-face or three-under “split finger” anchor instead — both are valid, both demand the same level of repeatability.
The 7 Rules for a Repeatable Archery Anchor Point
These rules are not opinion. They are what consistently separates 290+ indoor scores from 260s on the same equipment.
1. Pick One Anchor and Stay With It for 90 Days
Switching anchors mid-season is the fastest way to develop target panic. Pick the style that fits your bow type, then commit. Re-evaluation belongs in the off-season.
2. Use Three Reference Points, Not One
One contact is a guess. Three contacts is a measurement. Whether you shoot compound, Olympic recurve, or traditional, find three independent body-to-string-to-equipment touches and verify all three on every shot.
3. Anchor Before You Aim
Beginners aim first and then look for the anchor. That sequence breeds creep, head dip, and a moving rear sight. The order has to be: draw, settle into anchor, verify contacts, then bring the pin to the spot.
4. Touch the String — Do Not Push Into It
Pressing your nose hard against the string moves the string off its natural path. The contact has to be light enough that you could blink without disturbing it but firm enough that you would feel its absence instantly.
5. Match Anchor to Draw Length, Not the Other Way Around
If you have to crane your neck forward to reach the string with your nose, your draw length is too long. If the string slaps your chin, it is too short. Adjust draw length until anchor falls naturally — never adjust anchor to mask a bad draw length.
6. Lock the Head Position First
Your head moves to the string, not the other way around. Plant the bow shoulder, lift the chin parallel to the ground, then draw to a head that is already where it needs to be. The string finds you.
7. End-of-Shot Anchor Should Match Start-of-Shot Anchor
Take a phone video from behind your draw shoulder. If your anchor moves during the aiming process, your back tension is loading wrong. Honest shooters check this monthly.

Drills to Cement Your Anchor This Week
Three drills, fifteen minutes a day, two weeks. That is the minimum dose to rewire an anchor point.
Blind-bale drill. Stand three feet from a target with your eyes closed. Draw, settle into anchor, verify all three contacts mentally, then release. Twenty arrows. No aiming. This is the single best drill for separating anchor work from target focus.
Mirror anchor check. Set a smartphone on a tripod beside you and record ten draws in slow motion. Watch the playback frame by frame. The anchor should arrive at exactly the same spot on every rep. If it does not, that is your homework for tomorrow.
Hold-at-anchor isometric. Draw to full anchor, hold for ten seconds, let down. Repeat five times. Builds the back-tension endurance that keeps anchor stable during the long aim under hunting pressure.
Anchor Point Mistakes That Quietly Kill Accuracy
Most archers never identify their anchor problem because the symptom looks like something else.
Punching the release while creeping forward. The arrow group walks high left because the head drifts toward the target during the aim. Fix: blind-bale drill, then a hinge release if the trigger habit persists.
String to the side of the nose instead of the dip. Arrows scatter side to side because the string is launching off a slightly different angle. Fix: shave the moustache or tilt the head a hair so the string finds the natural channel.
Chin tucked instead of lifted. The under-jaw anchor collapses, draw length effectively shortens, and arrows fly low. Fix: chin parallel to the ground, then draw.
Anchor moves when nervous. Adrenaline shortens draw length, full stop. The cure is not “calm down” — it is enough blind-bale and isometric reps that the anchor becomes the most automatic position your body knows.[3]
Coming Back After a Layoff
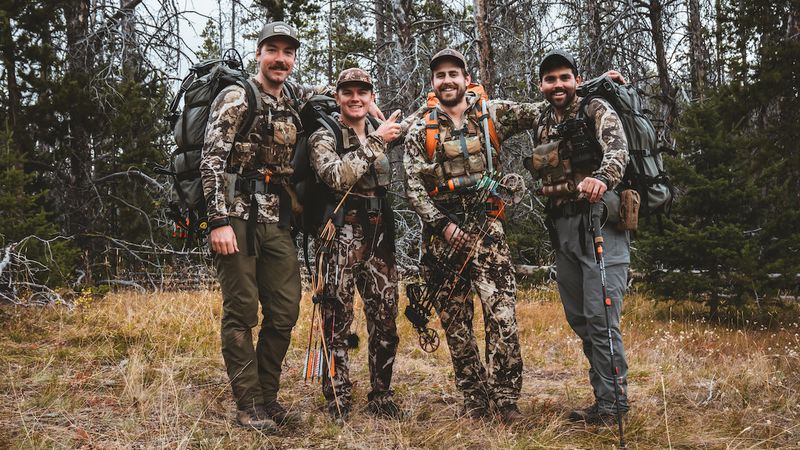
Anchor is the first thing to go after two weeks off the bow and the last thing to come back. Treat the first three range sessions after any break as anchor-only sessions. No score, no sight adjustments, no broadheads — just blind-bale, mirror checks, and isometrics until the position feels boring again.
Bowhunters who lay off in summer and pick up in late August consistently miss easy shots in early season because they skip this step. Three sessions of anchor work in the second week of August prevents the wounded-deer story in the second week of September.

Build the Rest of Your Form Around the Anchor
Anchor is the foundation of accuracy, but it does not work alone. Pair this work with a square, repeatable archery stance and a quiet release process. If you have been fighting target panic, fixing the anchor almost always reveals what is actually happening downstream at the release. And once your anchor is locked, your sight tape will finally tell the truth — sighting in a compound bow is a 30-minute job instead of a season-long argument.
The shooters who quietly climb the leaderboard at every local 3D shoot are not the ones with the most expensive rigs. They are the ones who can describe their anchor point in three sentences and feel the same three contacts on arrow one and arrow sixty.
Sources
- Finding Your Anchor Point — Bowhunting.com — instructional breakdown of release-to-face, hand-to-face, and string-to-face contacts.
- Which Recurve Anchor Is Best for Me? — Archery 360 — coach-led comparison of under-chin vs. side-of-face recurve anchors.
- Your Anchor Point Is Everything — Nock On Archery — John Dudley’s full breakdown of the three-point compound anchor.
Browse archery bows, arrows, and accessories at the Archery Supplier shop →
Shop on Amazon
Archery Equipment on Amazon →
As an Amazon Associate we earn from qualifying purchases.
Shop on eBay
Archery Equipment on eBay →
We may earn a commission when you shop through our eBay links.