
Archery Blog
Beginner Archery Mistakes: 9 Costly Errors to Avoid
Jul
Ask any coach what wrecks a new archer’s first month and you’ll hear the same answer: they bought a 45-lb bow when they can barely hold 25 at full draw. Draw weight is the single most expensive mistake in the sport, and it cascades into every other error on this list. The good news is that beginner archery mistakes are predictable, and predictable problems have fixes you can apply on your very next end.
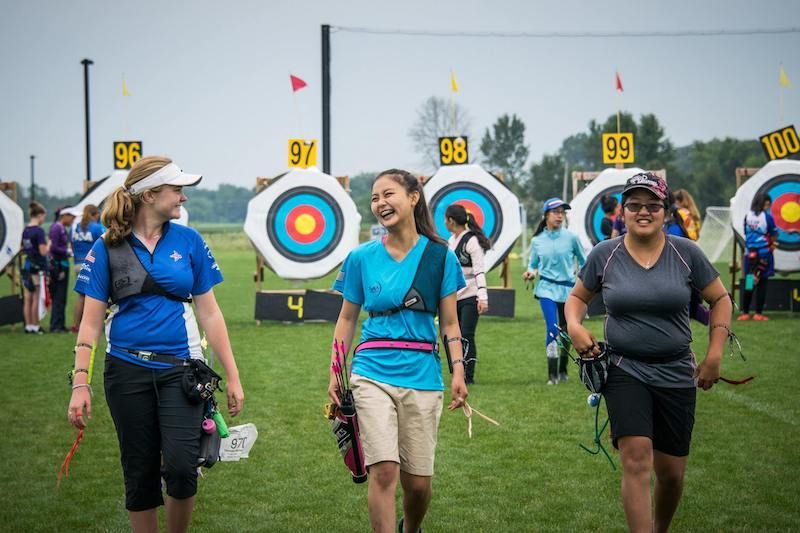
A quiet outdoor range is where good habits are built — or bad ones cemented.
Why Beginner Archery Mistakes Are So Costly
Archery is a sport of repetition. Every arrow you shoot trains your nervous system to repeat whatever your body just did — good form or bad. A beginner who fires 200 arrows with a punchy release isn’t practicing; they’re rehearsing a flinch that a coach may spend months undoing. That’s why the errors here matter more than they look. A tennis player can shake off a bad afternoon. An archer builds muscle memory that follows them for years.
USA Archery instructors put it bluntly: it is far easier to learn correctly than to unlearn and relearn. So treat your first few hundred arrows as the most important ones you’ll ever shoot. Slow down, and get the fundamentals right before you worry about scores.
Mistake 1: Choosing Too Much Draw Weight
New archers almost always overestimate what they can pull. A bow that feels manageable for one or two draws in the shop becomes a shaking, form-destroying anchor after twenty arrows. When the weight is too high, everything collapses: your shoulder creeps up, your anchor drifts, and you start “punching” the string just to get the shot off before your arm gives out.
Start light. For most adult men, 25–30 lbs on the fingers is plenty to begin; adult women often start around 18–24 lbs. You can always buy heavier limbs later — that’s the beauty of a takedown recurve. If you can’t draw the bow, hold for five seconds, and let down smoothly three times in a row, the weight is too high. Full stop.
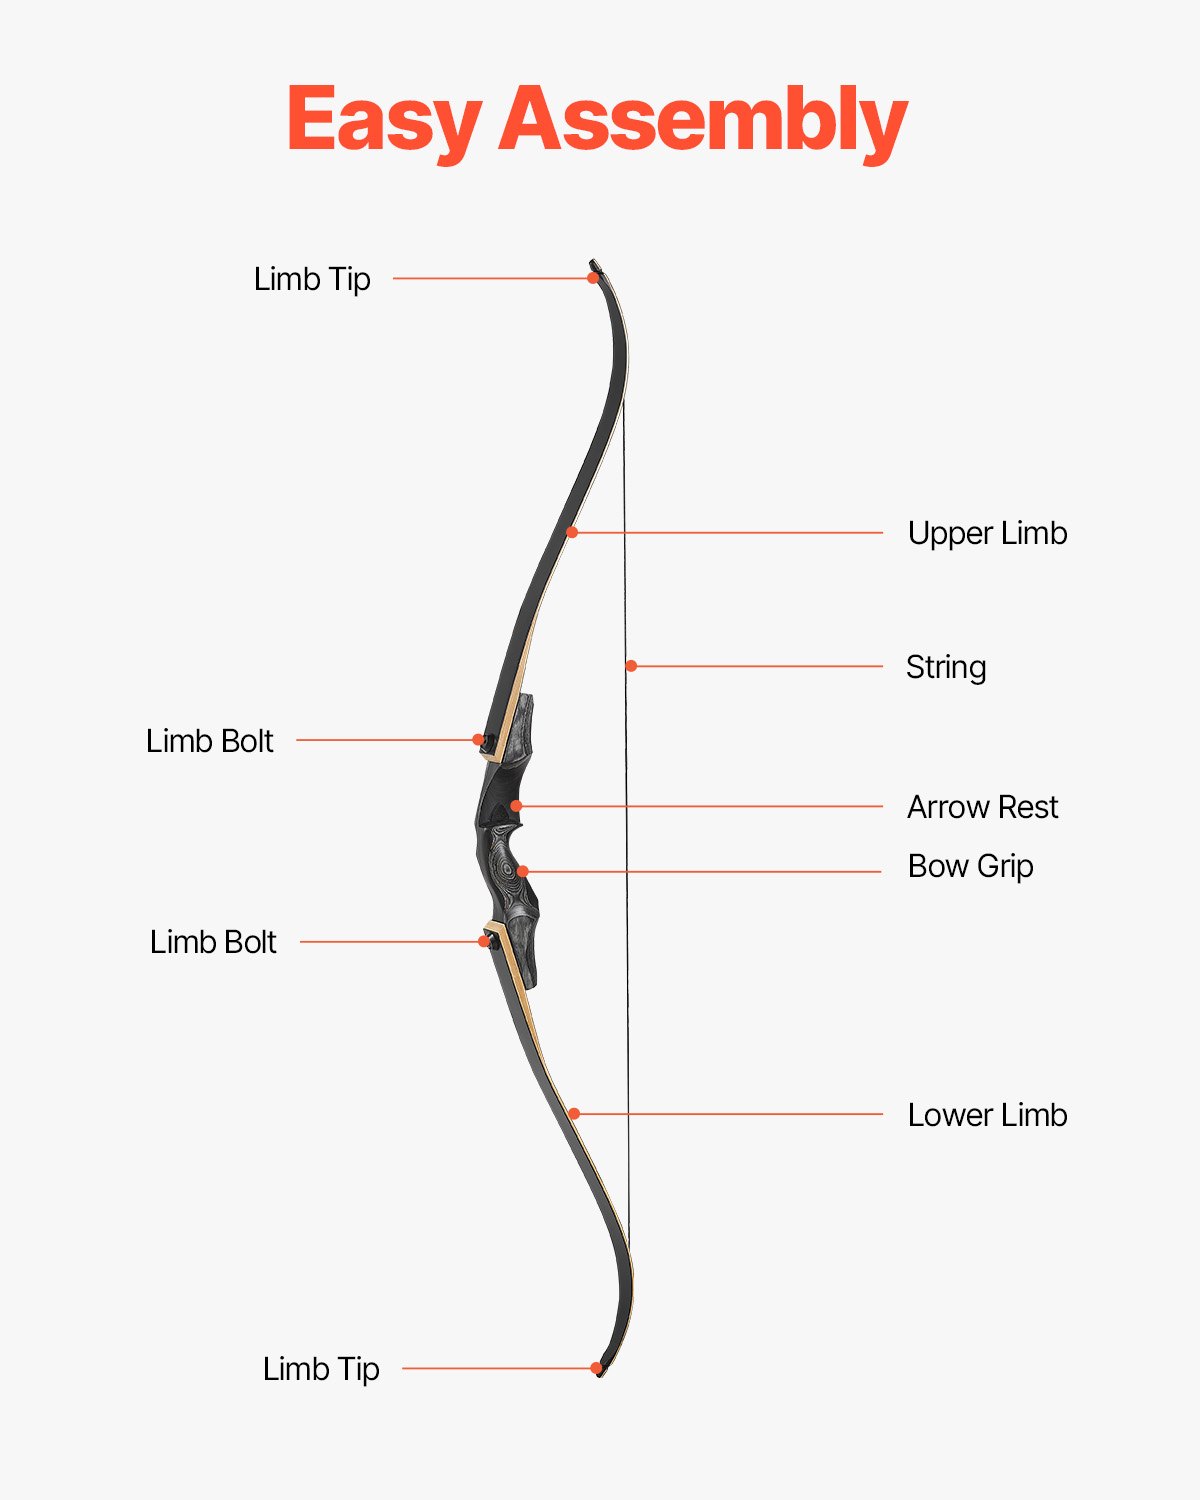
A takedown design also solves the draw-weight trap directly. Buy the riser once, then swap limbs as you get stronger. It’s cheaper over two years than buying a whole new bow when you outgrow your starter weight. For a full walkthrough of matching weight to your body and goals, see our draw weight selection guide.
Mistake 2: Gripping the Bow Too Tightly
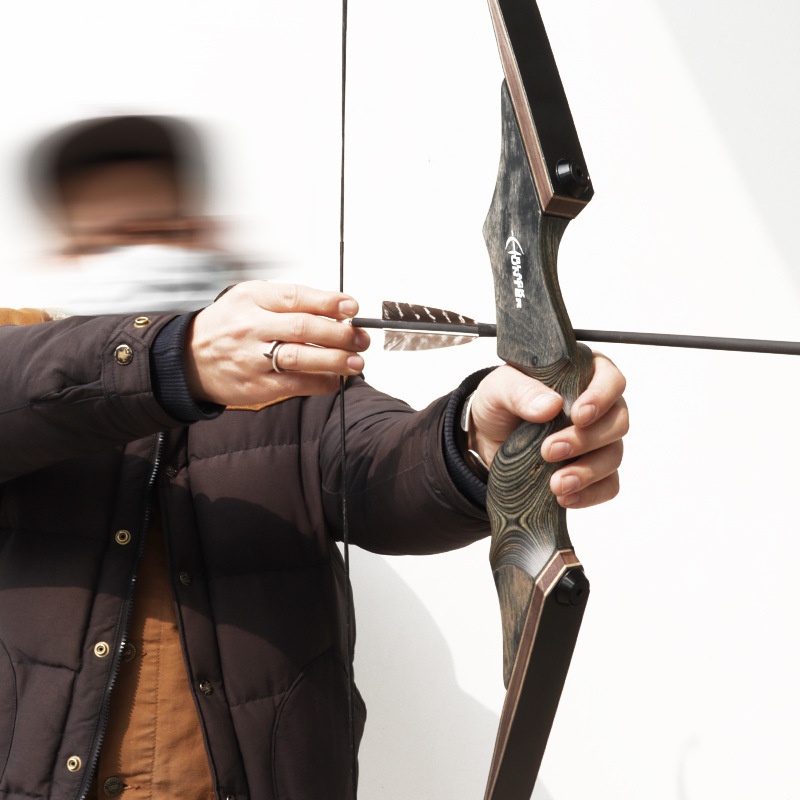
Watch a nervous beginner and you’ll see white knuckles wrapped around the riser. It feels natural — you’re holding a weapon, so you squeeze. But a tight grip is one of the fastest ways to send arrows flying left or right, because every bit of tension in your hand torques the bow the instant you release.
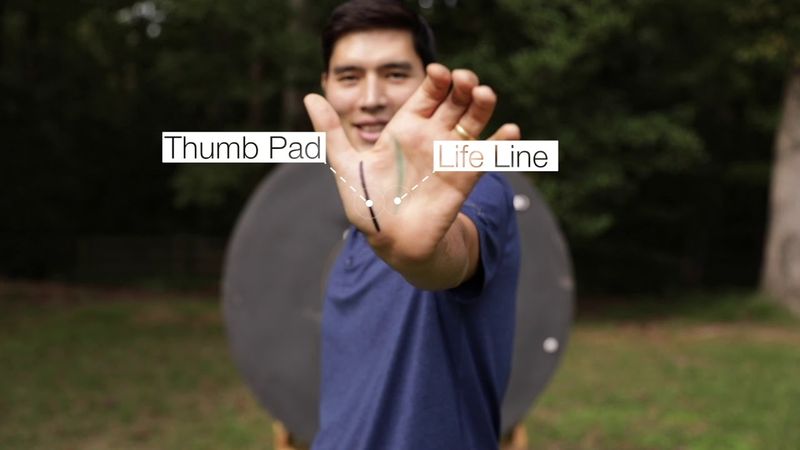
The bow should rest in the web of a relaxed hand, not be strangled by it.
The fix feels wrong at first: relax your hand completely. The bow should sit in the “lifeline” web between your thumb and index finger, pressure pushing straight back into the meat of your palm. Your fingers stay loose — some archers keep them almost fully open, held off the riser by a sling. If you’re afraid of dropping the bow, add a finger sling or bow sling. That single cheap accessory lets you shoot with an open hand and no fear, and it’s the reason nearly every competitive archer uses one.
Mistake 3: An Inconsistent Anchor Point
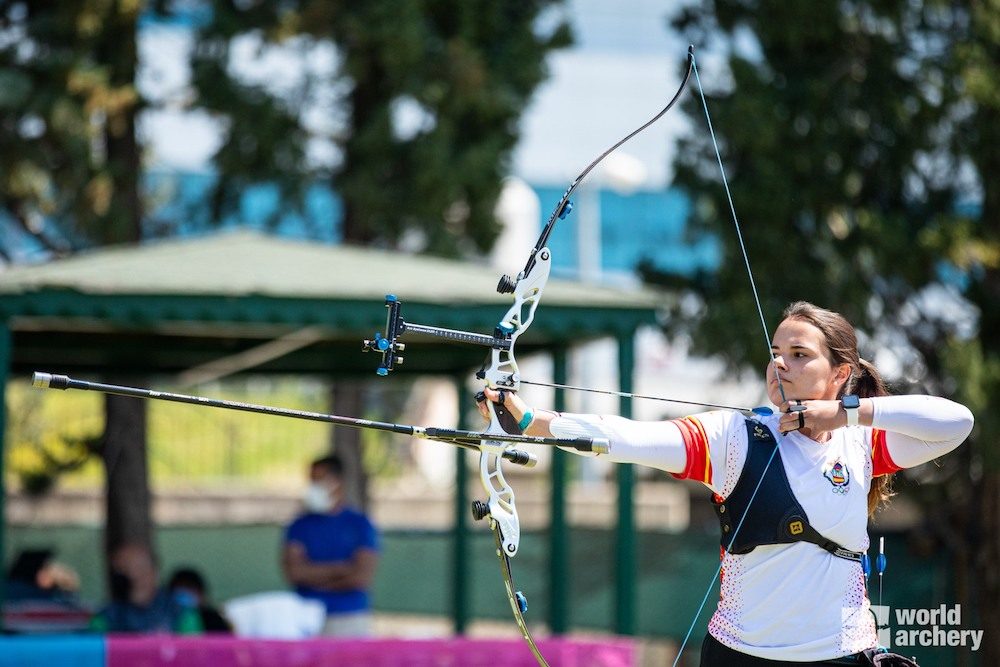
Your anchor point is where your drawing hand comes to rest against your face at full draw — the corner of your mouth, under your chin, the side of your jaw. It’s your rear sight. If it moves even a quarter inch between shots, your arrows scatter vertically no matter how good the rest of your form is.
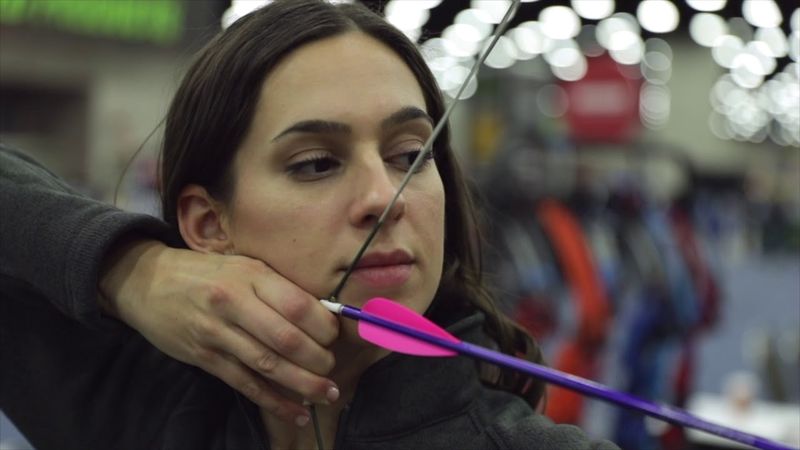
A consistent anchor point turns your drawing hand into a repeatable rear sight.
Pick one anchor and reference it against a hard landmark — index finger tucked into the corner of your mouth, or the string touching the tip of your nose. Feel for the same contact every single shot. Anchor point mistakes are subtle because the error hides in plain sight; the shot feels fine, but the arrow lands high or low for no obvious reason. Build the habit early and it becomes automatic. Our recurve bow tips for beginners break down how anchor, alignment, and release work together.
Mistake 4: Collapsing and Short-Drawing
Two related problems: collapsing (letting your draw arm creep forward just before release) and short-drawing (never pulling to your full, consistent draw length). Both rob the shot of power and consistency. A collapse bleeds energy right when the arrow needs it most, and short-drawing changes your effective draw weight and arrow speed shot to shot.
The cure is back tension — the feeling of pulling your shoulder blades together and continuing to expand through the shot rather than freezing at anchor. A clicker (a small metal or plastic draw-length indicator) is the classic training aid here; it clicks when you reach your true draw length, giving you a clean audible trigger. Consistent draw length also depends on knowing your measurement in the first place, which is worth checking before you buy arrows.
Mistake 5: Skipping the Arm Guard and Finger Protection
Every archer gets slapped by the string eventually. The first time an unprotected forearm takes a full-draw string slap, it raises a welt that stings for days — and once it happens, the flinch it creates ruins your form for weeks. Sore fingers do the same thing from the other end.
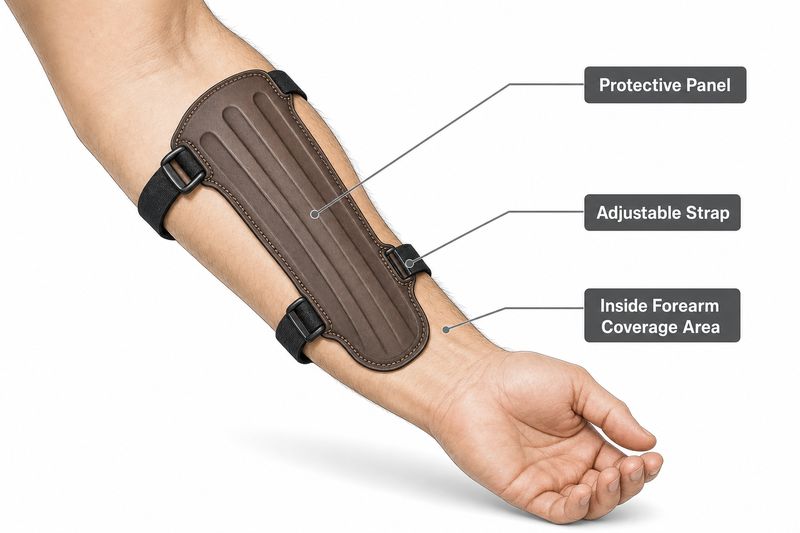
An arm guard prevents the string slap that teaches beginners to flinch.
Wear an arm guard and a finger tab (or shooting glove) from day one. They’re the two cheapest pieces of gear in archery and they prevent the two injuries most likely to sabotage a new archer’s form. A string slap isn’t a rite of passage — it’s a sign your bow arm is rotating inward, and the guard buys you time to fix that without pain-driven flinching.
Mistake 6: Poor Stance and Body Alignment
Beginners tend to face the target square-on, feet together, leaning back away from the bow. It feels stable. It isn’t. That posture puts your bow arm across your body and invites string slap, wandering aim, and a sore lower back.
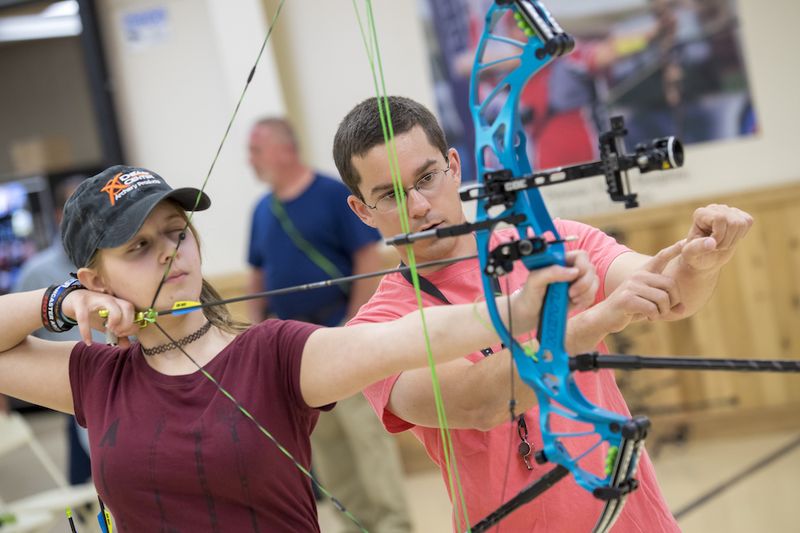
A stable, slightly open stance is the foundation every other element of form sits on.
Stand perpendicular to the target with your feet shoulder-width apart, weight balanced evenly on the balls of your feet. A straddle stance (feet on a line to the target) is the simplest starting point; an open stance rotates the front foot out slightly for better clearance. Keep your body upright and your head level — don’t tilt it down to the string, bring the string up to your face. Solid stance is the foundation everything else balances on, and it costs nothing to get right.
Mistake 7: Punching or Plucking the Release
A clean release is passive: the string simply slips off relaxed fingers as your back keeps pulling. Beginners instead “pluck” the string away from their face or “punch” it open in a panic, and the arrow sails wide left (for a right-handed archer). It’s the hardest habit to break because it feels like you’re actively firing the bow.
Think about relaxing your drawing-hand fingers rather than opening them. The release should almost surprise you. Blank-bale practice — shooting into a close target with your eyes closed, ignoring where the arrow lands and focusing only on the feel of a clean release — is the single best drill for this, and it costs nothing but a few dozen arrows.
Mistake 8: Ignoring Arrow Spine and Length
Arrows aren’t one-size-fits-all. Spine (an arrow’s stiffness) has to match your draw weight and length, or the arrow won’t fly straight no matter how perfect your form is. Too weak a spine and the arrow fishtails; too stiff and it plows off to the side. Many beginners blame themselves for flyers that are actually an equipment mismatch.
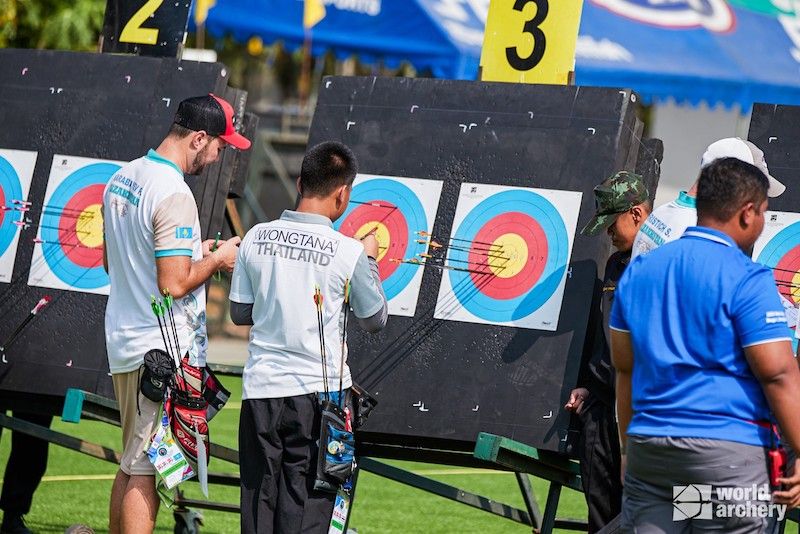
Correctly spined arrows group tightly; mismatched ones scatter no matter your form.
Before buying arrows, know your draw length and draw weight, then check a spine chart or ask the shop to match them. Arrow length matters too — cut too short is dangerous, too long is slow and inconsistent. Our guide on choosing arrows for your recurve bow walks through spine, length, and point weight in plain language.
Mistake 9: Chasing Gear Instead of Form
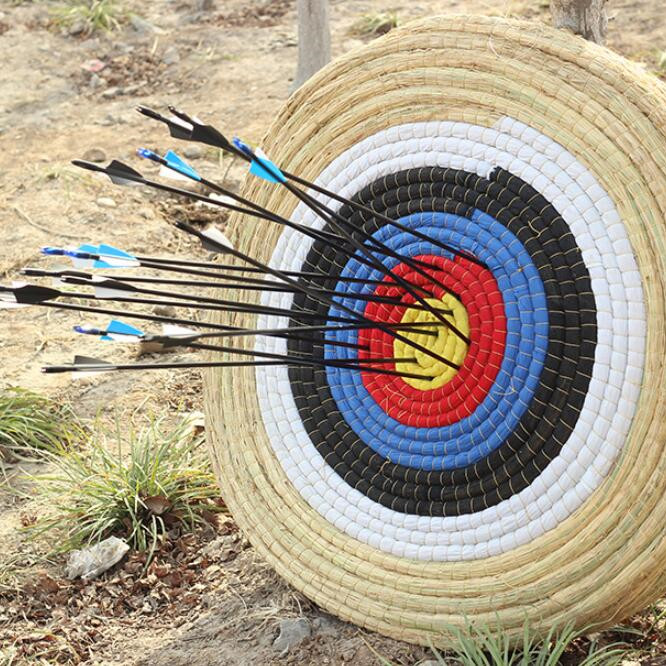
It’s tempting to believe the next stabilizer, sight, or premium string will fix your groups. It won’t. At the beginner stage, 95% of your accuracy comes from form, and almost none from gear upgrades. The archers who improve fastest are the ones shooting a modest bow with obsessive attention to their anchor, release, and follow-through.
A simple, well-set-up recurve is all you need to build the fundamentals.
Buy a decent starter bow, an arm guard, a tab, well-matched arrows, and a target. Then spend your money on lessons or range time, not accessories. The gear that actually helps a beginner — a sling, a tab, matched arrows — is cheap. The expensive stuff earns its keep only once your form is repeatable.
How to Build Good Habits From Your First Arrow
Here’s the shortcut nobody tells you: film yourself. A ten-second phone video from the side reveals grip tension, a creeping shoulder, or a tilted head instantly — things you can’t feel in the moment. Compare it to a coaching video and you’ll spot your own mistakes faster than any checklist can.
Better still, take a beginner course. Two hours with a certified instructor will save you months of grooving in errors, and most archery clubs run cheap intro sessions. Correct fundamentals from day one is the fastest path to hitting the gold — and the whole point of avoiding these beginner archery mistakes is that you never have to unlearn them later.
Sources
- World Archery — Getting Started — governing body guidance on beginner equipment and form fundamentals.
- Archery 360 (USA Archery) — beginner tutorials on stance, anchor, and draw weight selection.
- USA Archery — national coaching resources and certified instructor programs.
