
Archery Blog
How to Shoot a Compound Bow: 9 Steps to Perfect Form
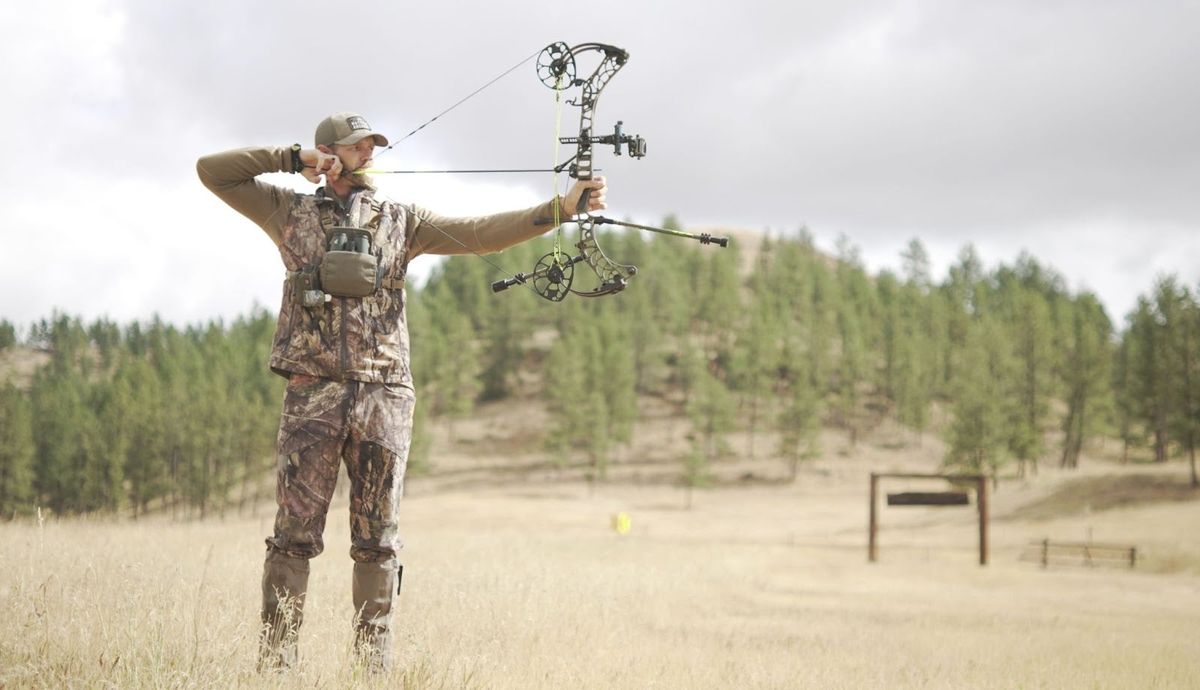
Jul
The first arrow most beginners send from a compound bow sails high and left. It is almost never the bow’s fault. A modern compound is a precision machine that will put arrow after arrow in the same hole once the shooter behind it does nine simple things the same way every time. The gap between a wild first session and tight groups is not talent or expensive gear — it is a repeatable shot sequence. This guide walks through that sequence step by step, plus the three mistakes that wreck more beginners than anything else.
How to Shoot a Compound Bow in 9 Steps
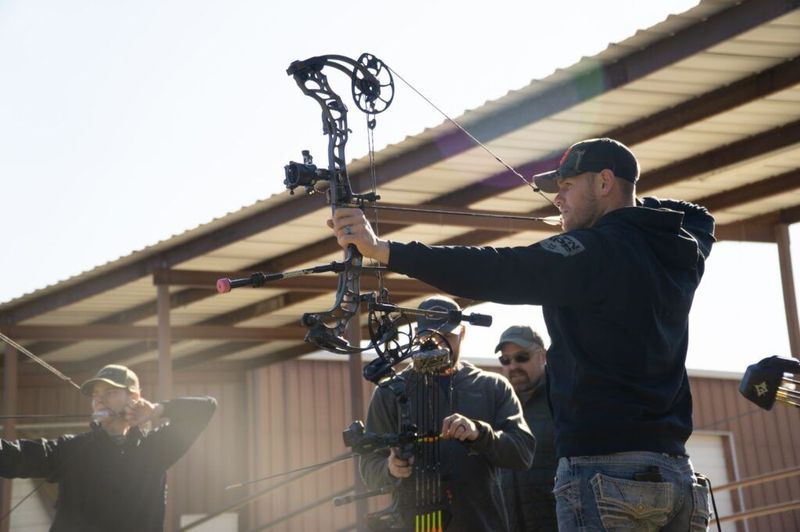
Shooting a compound bow well comes down to building one identical motion and repeating it. Unlike a recurve, a compound holds most of the draw weight for you at full draw — that is the let-off that lets you sit at anchor and aim without your arm shaking. Your job is to remove every variable you can control: same stance, same grip pressure, same anchor, same release. The nine steps below are the shot cycle competitive archers drill thousands of times, stripped down to what a beginner actually needs. Work through them slowly at close range before you worry about distance.
Step 1: Nock the Arrow and Clip Your Release
Snap the arrow onto the string below the nocking point until you hear a click, with the odd-colored vane (the index vane) pointing away from the riser so it clears the rest. Then clip your release aid onto the D-loop — the small loop of cord tied above and below the nock. Never dry-fire a compound, meaning never draw and let go without an arrow. The energy that would go into the arrow slams back into the limbs and cams instead, and it can crack a bow in one shot. If you are still learning the anatomy, our guide to the parts of a compound bow maps every component you will touch here.
Step 2: Set Your Stance
Stand perpendicular to the target so a line drawn across your toes points at the bullseye. Feet go shoulder-width apart, weight balanced evenly or slightly on the balls of your feet. A square, stable base is what everything else stacks on top of — if your feet drift a few inches every shot, your groups will drift with them. Pick a stance and mark it mentally so shot number fifty looks exactly like shot number one. Keep your posture tall and your shoulders down, not hunched toward your ears.
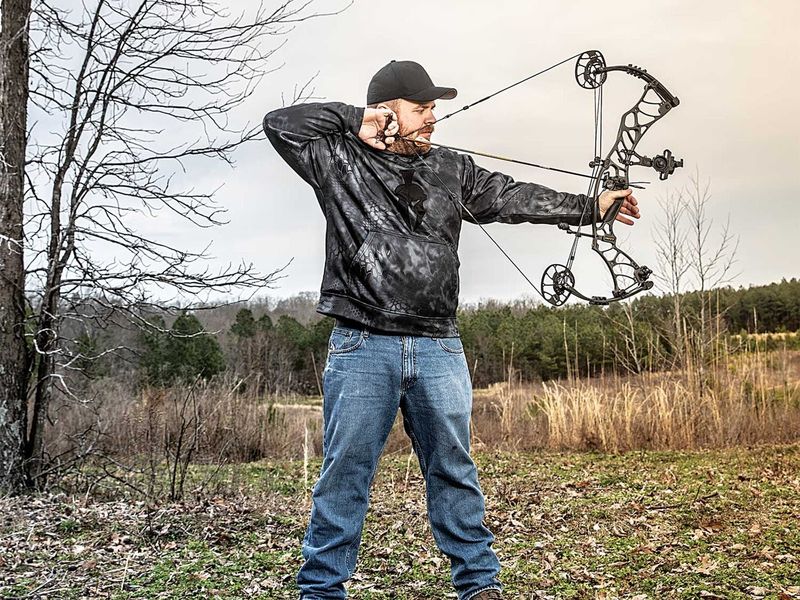
Step 3: Grip the Bow and Hook the Release
Here is where most accuracy is won or lost. Your bow hand should stay relaxed — the grip sits in the meaty pad at the base of your thumb, and your fingers stay loose or lightly curled, never white-knuckled. Squeezing the grip torques the bow left or right at the shot. Think of the bow as resting against your hand rather than being held by it. On the release side, seat the trigger against the first knuckle of your index finger (for a wrist-strap release) so you can squeeze it with back tension rather than a finger jab.
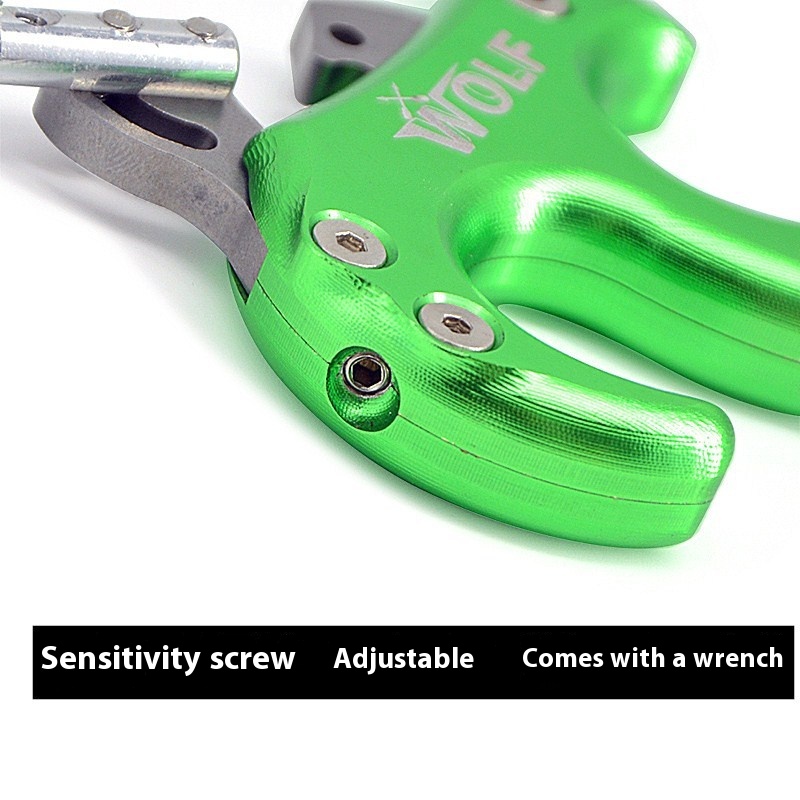
Step 4: Draw to Full Draw
Raise the bow toward the target with your bow arm and, in one smooth motion, pull the string straight back using the muscles of your back, not just your arm. Keep the bow arm slightly bent at the elbow — locking it out invites a stinging string slap on your forearm. As you reach the back of the draw cycle you will feel the draw weight drop off sharply; that is the cams rolling over into let-off. On most modern bows that let-off is 75 to 90 percent, so a 60-pound bow feels like holding 6 to 15 pounds at full draw. Never try to draw a bow set too heavy for you; if the string won’t come back with the bow pointed at the target, the draw weight is wrong.
Step 5: Find Your Anchor Point
The anchor point is a fixed spot your release hand touches at full draw, and it is the single most important consistency check in archery. Common anchors put the knuckle of your index finger behind your jawbone, or the tip of your nose lightly touching the string. Whatever you choose, it must be identical every shot — your anchor is the rear “sight” of the bow. A quarter-inch difference in where your hand lands moves your arrow inches at the target. Draw, touch the same spot, and only then move on.
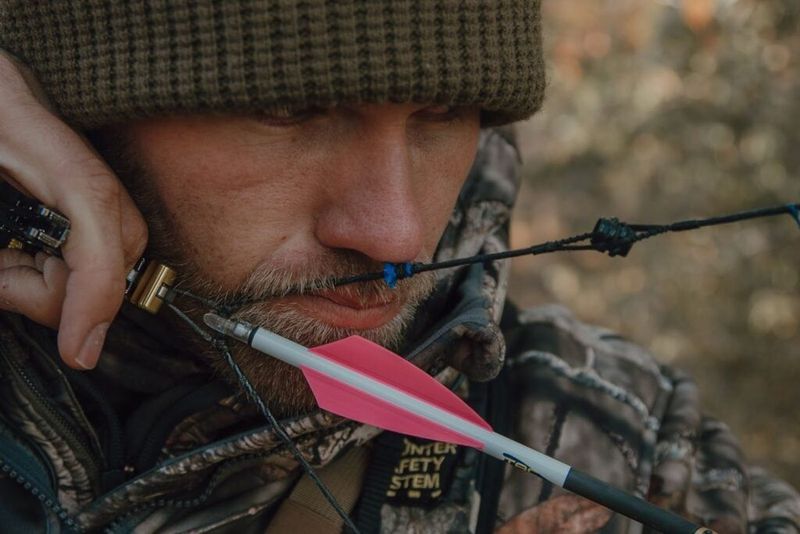
Step 6: Align the Peep and the Bow Sight
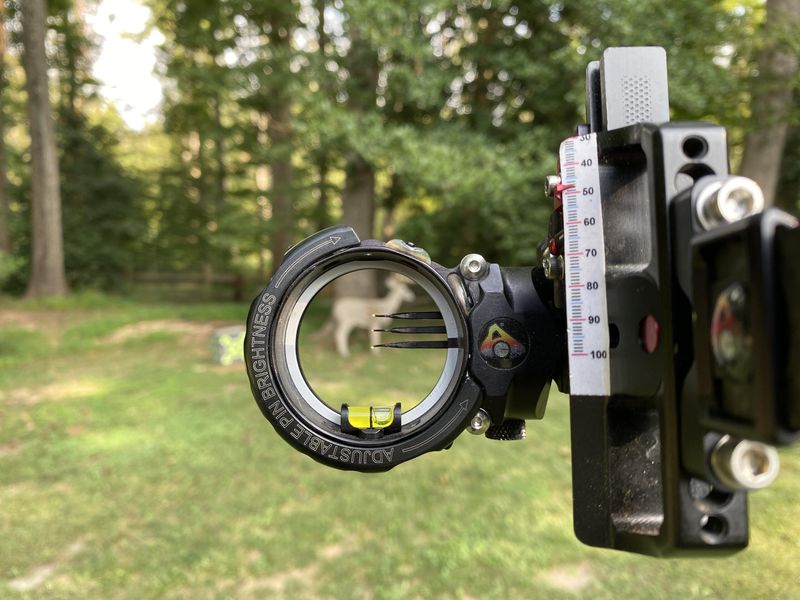
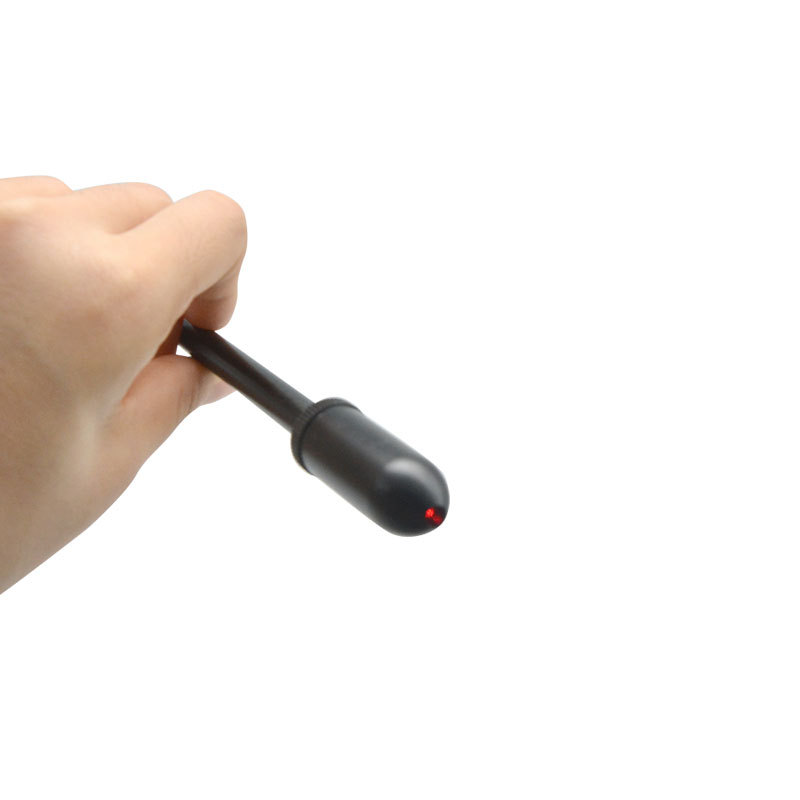
Once anchored, look through the peep sight — the small ring set into your bowstring at eye level — and center your bow sight’s housing inside that ring like a doughnut around a doughnut hole. This two-point alignment is what makes a compound so repeatable: the peep forces your head into the same position every shot. If the peep does not line up naturally when you hit anchor, your peep height or anchor needs adjusting, not your neck. Then place the correct sight pin on the spot you want to hit. A quality multi-pin sight gives you a pin for each distance.
Step 7: Aim and Let the Pin Float
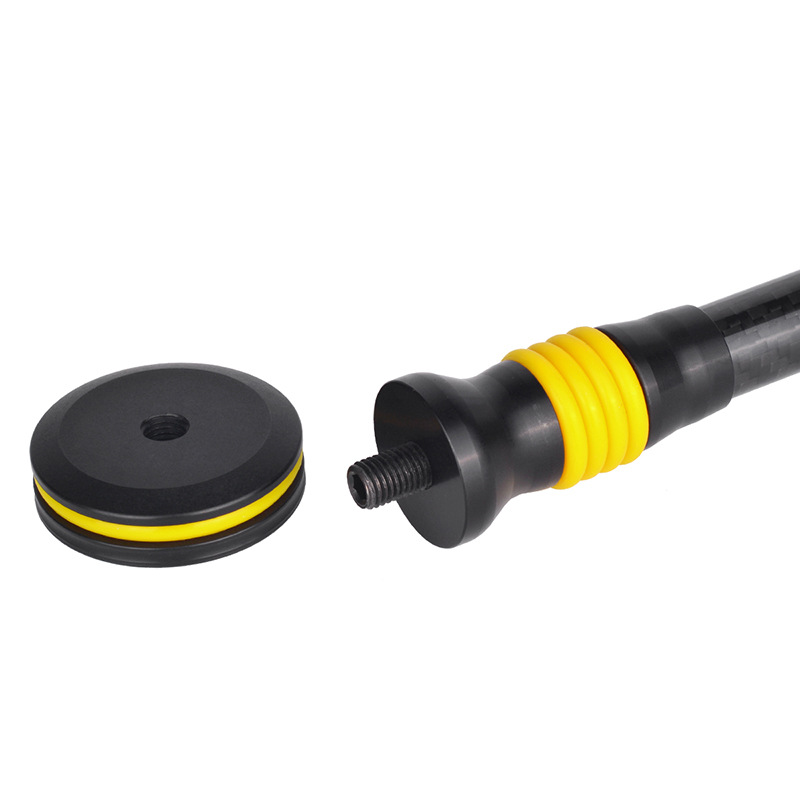
Nobody holds a sight pin perfectly still, and trying to is a fast track to target panic. The pin will wobble in a small circle over the bullseye — that is normal, and it is called float. Accept the float, keep the pin drifting around the center, and trust that a good release during that float will land in the middle. A stabilizer helps here by adding forward weight that steadies the wobble and slows the float down. Fighting the float, snapping the shot the instant the pin crosses center, is what causes flyers.
Step 8: Execute a Surprise Release
The best shot is one you do not consciously trigger. Instead of punching the release the moment the pin looks right, keep pulling gently through the trigger using back tension — squeezing your shoulder blades together — until the release fires on its own. It should feel like a small surprise. That surprise is what prevents flinching, because your body cannot anticipate and react to a shot it did not command. Learning the surprise release is the difference between a shooter stuck at page-two accuracy and one who prints tight groups.
Step 9: Follow Through
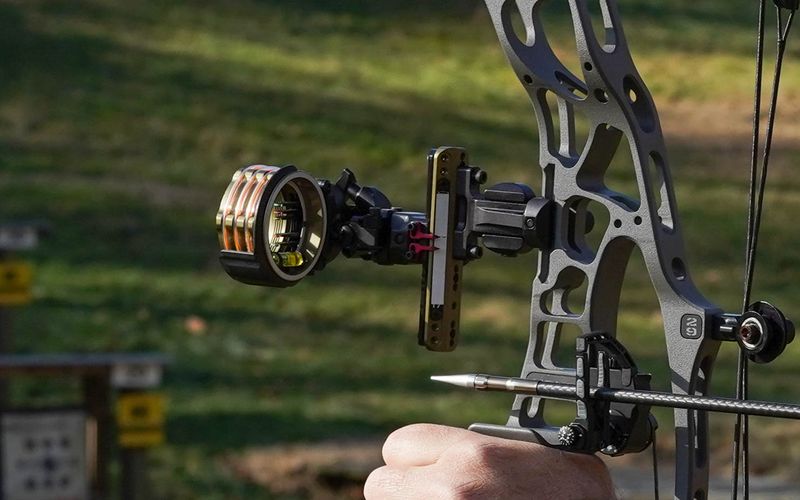
The shot is not over when the arrow leaves. Keep your bow arm pointed at the target and your release hand moving back past your ear for a full second after the string goes. Dropping the bow to “watch” the arrow — a habit called peeking — actually pulls the bow off line before the arrow has fully cleared. Hold your form, let the arrow fly to the target, and only relax once it hits. A clean follow-through is the cheapest accuracy upgrade there is, and it costs nothing but discipline.
3 Mistakes That Wreck Beginner Accuracy
Almost every new archer loses arrows to the same three habits. Punching the trigger is number one — jabbing the release the instant the pin crosses center instead of squeezing through it. Number two is gripping the bow too hard, which torques the riser and throws shots sideways; keep that bow hand relaxed. Number three is an inconsistent anchor, drawing to a slightly different spot each time so the rear sight moves shot to shot. Fix these three and your groups will shrink faster than any gear upgrade could manage.
How Long Until You Shoot Well?
Most beginners are keeping arrows on a target-sized group at 20 yards within a handful of focused sessions, provided the bow is fitted to their draw length and draw weight. The honest bottleneck is not time — it is reps done correctly. Ten thoughtful arrows a day beats a hundred rushed ones. Start at 10 yards, get boring and repeatable, then step back five yards at a time. If you are still shopping for a rig, our roundup of the best compound bows for beginners covers what to look for so the bow is not fighting you while you learn.
Frequently Asked Questions
Do I need a release aid to shoot a compound bow?
For target and hunting compounds, yes — a release aid is the standard and safest way to shoot one. The short, steep string angle of a compound is hard on bare fingers and hurts consistency. A wrist-strap (index) release is the easiest starting point for beginners.
What draw weight should a beginner start with?
Start lighter than you think. Many new adult archers do best at 40 to 50 pounds, which is plenty for target work and light enough to draw with clean form when your muscles are fresh. You can turn the limb bolts up as you build strength.
Why do my arrows hit left or right consistently?
A consistent left or right miss is usually grip torque or a sight that needs moving, not your aim. Relax the bow hand first. If a tight group still lands off-center, move the sight in the direction of the miss (“chase the arrow”) until it centers.
Put the Sequence to Work
A compound bow rewards sameness more than strength. The archer who nocks, sets the same stance, draws to the same anchor, aligns the same peep, and lets the same surprise release go every single time will out-shoot a stronger, more athletic shooter who improvises. Pick a close target this week, run these nine steps in order, and do not add distance until the sequence feels automatic. The tight groups come as a byproduct of the process — not the other way around.
Sources
- World Archery — International governing body; shot-cycle and compound technique reference.
- USA Archery — National governing body; beginner instruction and safety standards.
- Archery 360 — Beginner archery education from the Archery Trade Association.
