Archery Blog
How to Aim a Recurve Bow: 4 Proven Methods
Jun
A target arrow leaves a recurve bow at roughly 180 feet per second and drops about 9 inches over 30 yards. That drop is the entire problem of aiming — your arrow does not fly where you look, it flies on an arc, and every aiming method ever invented is just a different way to predict where that arc lands. Learning how to aim a recurve bow is less about your eyes and more about doing the same five things in the same order until the arrow’s flight becomes boring and predictable.
There is no single correct way. An Olympic archer at 70 meters and a traditional hunter at 15 yards aim completely differently, and both are right. What follows are the four methods that actually work, when each one wins, and the one fundamental — your anchor — that decides whether any of them will.
How to Aim a Recurve Bow: Build the Shot Before the Aim
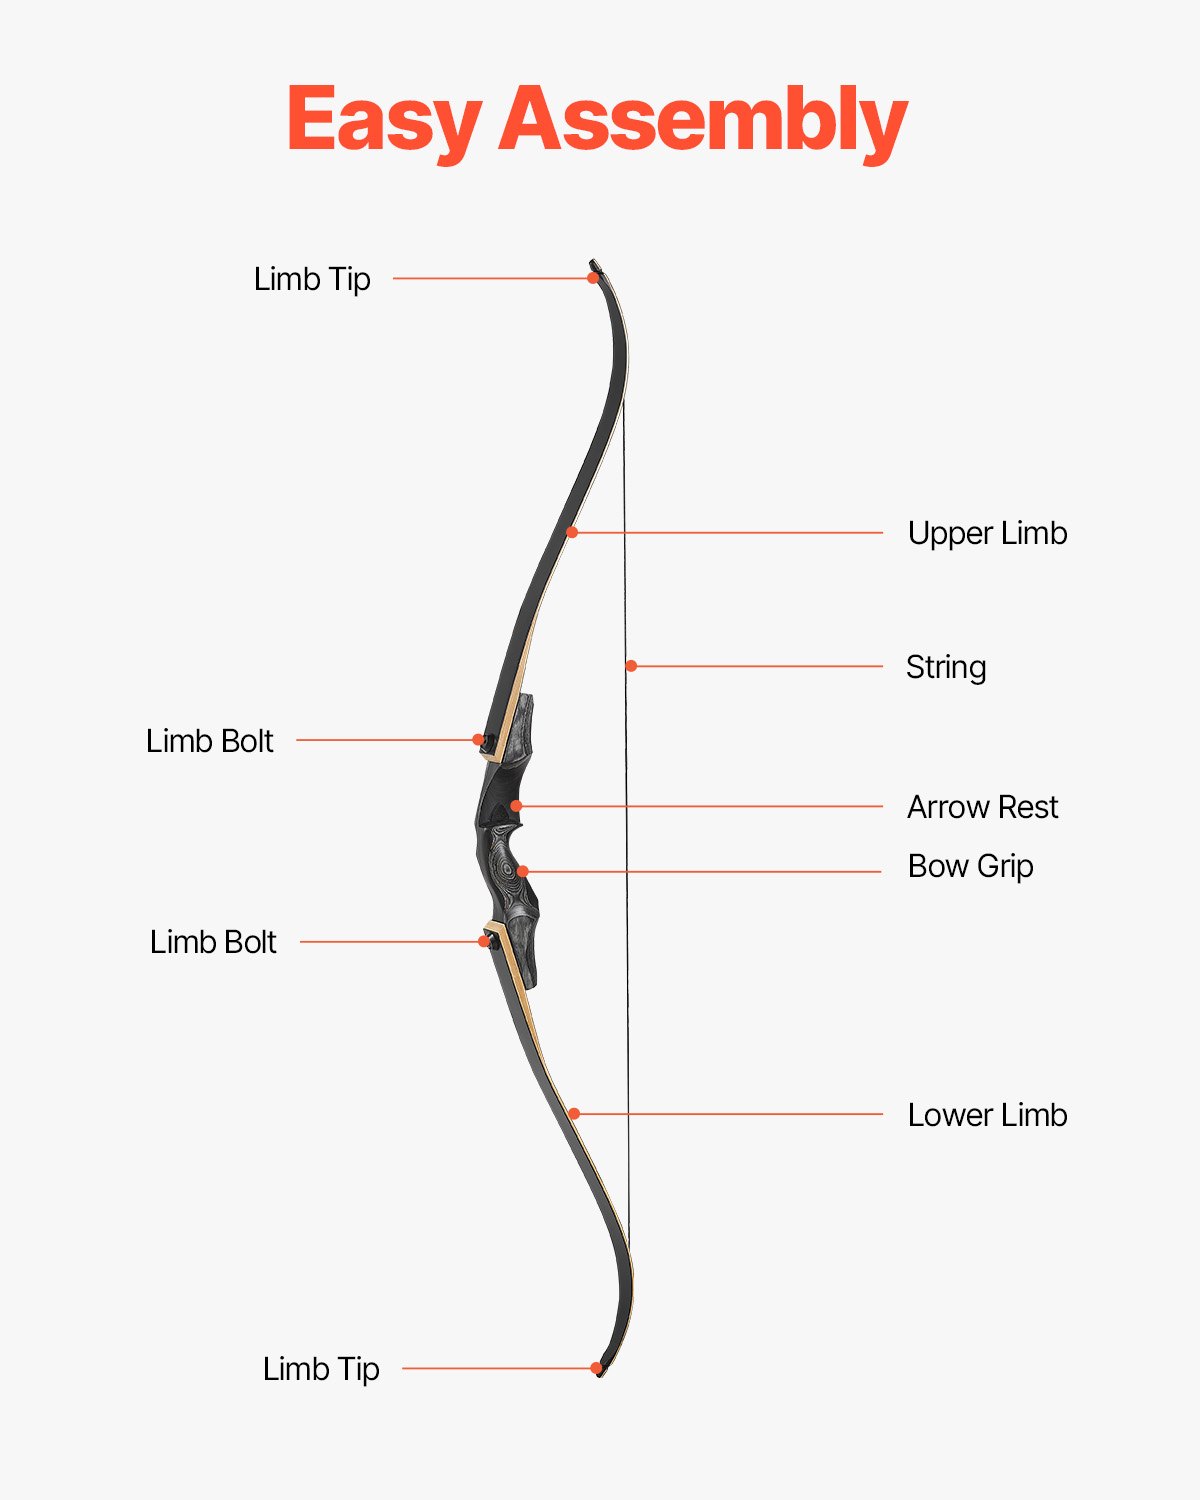
Aiming is the last thing that happens in a good shot, not the first. If your stance, grip, and draw change from arrow to arrow, no aiming method on earth will save your groups. Stand perpendicular to the target with your feet about shoulder-width apart, weight even. Let the bow sit in the web of your relaxed hand — a tight grip torques the riser and throws arrows left or right before you have even released.
Draw straight back to a consistent anchor point on your face, settle your sight or arrow tip on the target, and let the shot break without grabbing at it. Get your foundation locked in first with our guide to proper archery stance and foot position — it fixes more aiming problems than any sight adjustment will. New to the bow entirely? Start with the basics in our recurve bow for beginners walkthrough.
Aiming With a Sight: The Olympic Recurve Method
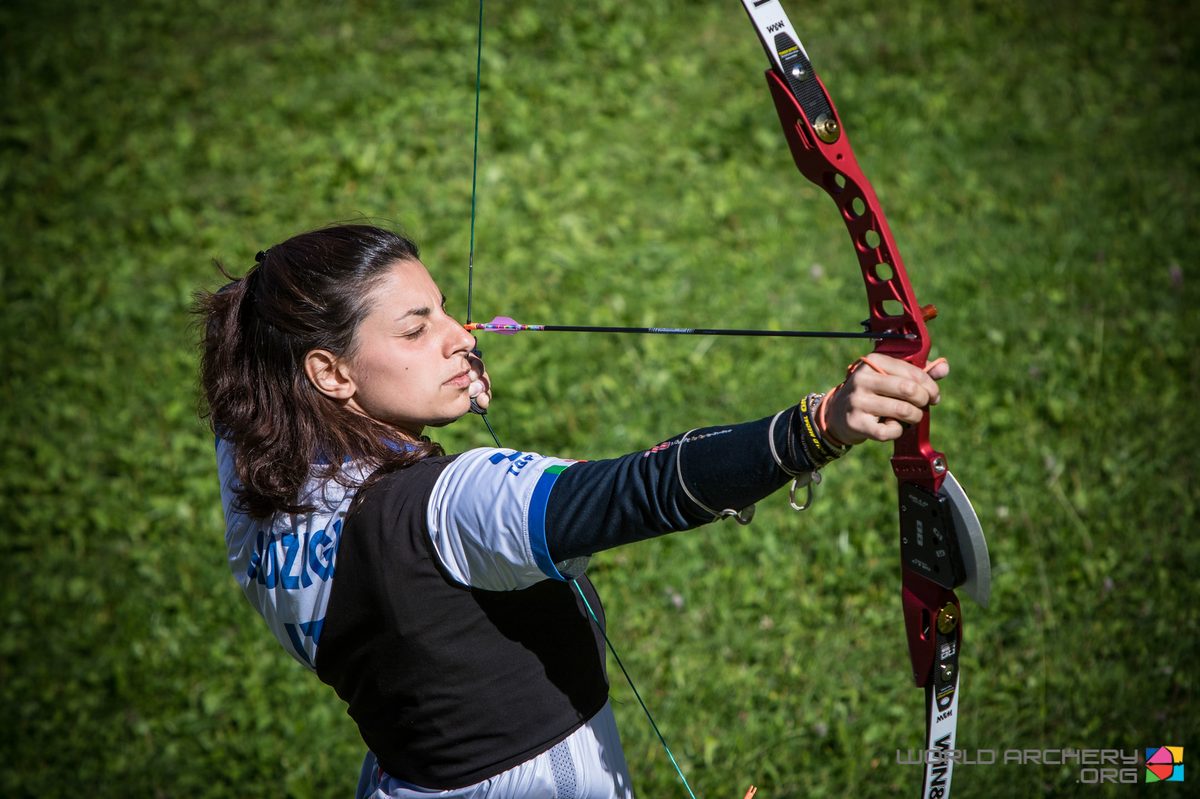
If you want the tightest groups with the least guesswork, put a sight on the bow. This is how every Olympic recurve archer aims, and it removes most of the variables. You look through the string at full draw, float the sight pin on the center of the target, and release while the pin is settled — not frozen, settled.
Keep both eyes open. The pin will look slightly blurry while the target stays sharp, and that is correct: your eye should focus on the target, not the pin. The pin will never sit perfectly still, and chasing a dead-still pin is the fastest road to target panic. Let it float in a small circle over the gold and trust the release. To dial the sight in, shoot a group, then move the sight in the direction of the error — chase the arrows, not your point of aim.
Instinctive Aiming: Trusting Your Eye
Instinctive archery has no sight, no math, and no arrow tip in your conscious vision. You stare a hole through the exact spot you want to hit, draw to anchor, and release — your brain handles the trajectory the same way it handles throwing a baseball. You do not calculate the arc; you feel it after thousands of repetitions.
This is the dominant method for traditional longbow and recurve hunters, and it shines at close, fast, unknown distances — a deer at 14 yards gives you no time to range and calculate. The trade-off is brutal practice volume. Instinctive shooters who are good have usually fired tens of thousands of arrows to wire that subconscious arc into place. If you shoot a few times a month, instinctive will frustrate you. If you shoot daily and hunt close, nothing is faster.
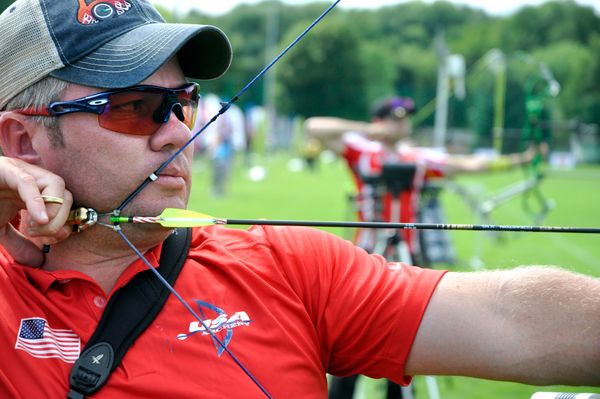
Gap Shooting: Using the Arrow Tip as a Sight
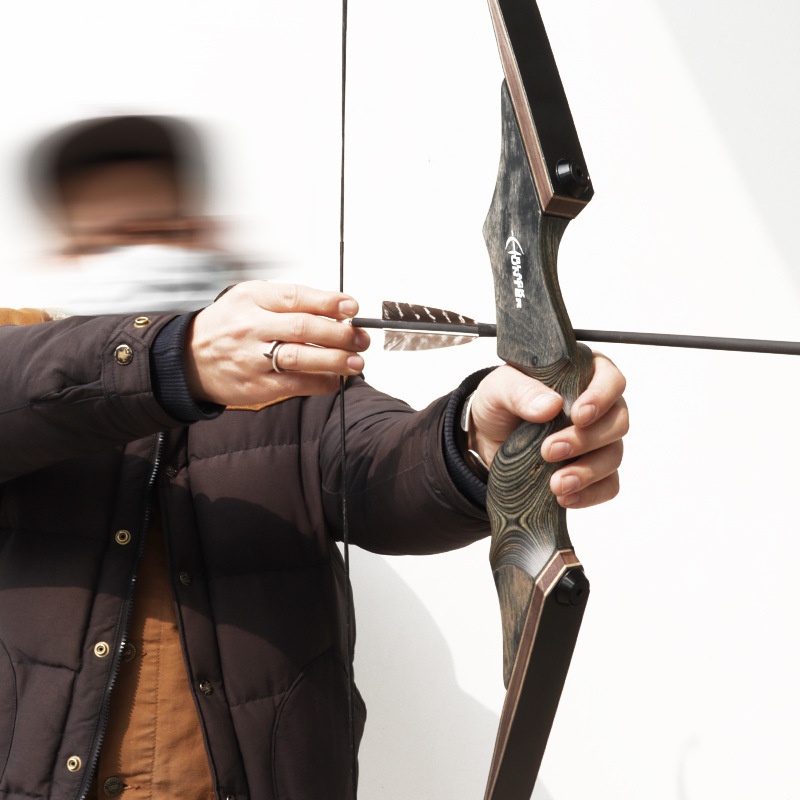
Gap shooting is the bridge between instinctive feel and a precise sight. You consciously use the tip of your arrow as an aiming reference, holding it on, above, or below the target depending on distance. Because the arrow flies on an arc, there is a “point-on” distance where the tip sits exactly on the bullseye — for many recurve setups that is somewhere around 40 to 60 yards.
Closer than point-on, the arrow tip covers the bullseye while the arrow lands high, so you hold the tip below the spot. Farther out, you hold above. The “gap” is the distance between your arrow tip and where you want to hit, and experienced gap shooters memorize their gaps at 10, 20, and 30 yards cold. It is far more learnable in a season than instinctive, and far more forgiving outdoors than a barebow archer feeling for the spot.
String Walking and Barebow Aiming
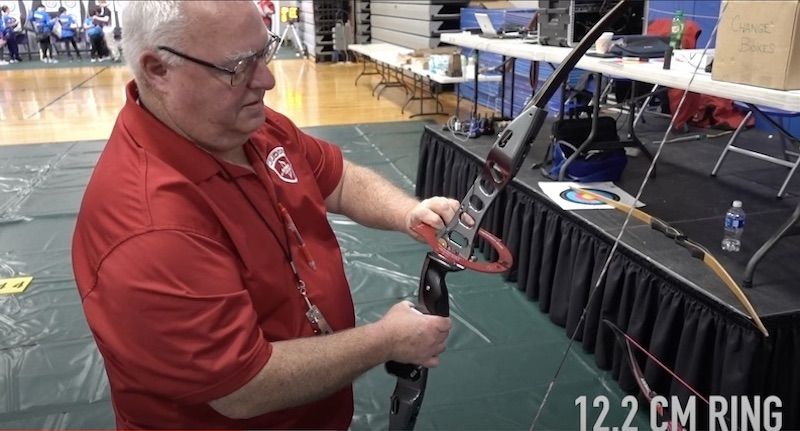
Competitive barebow archers run a method called string walking. Instead of moving the arrow tip, they keep the tip on the bullseye and change where the drawing fingers grip the string — lower on the string for short distances, higher (closer to the nock) for longer ones. Moving the grip down tilts the arrow’s launch angle and lets the archer aim with the point at every distance.
This demands a finger tab with a string-walking scale and meticulous record-keeping: barebow shooters count strands and crimp positions so they can return to an exact “crawl” for each distance. World Archery rules force barebow setups to pass through a 12.2-centimeter ring, which keeps the discipline honest and the gear simple.
String walking gives barebow archers genuine precision at known distances on a field or target course. It is overkill for hunting and irrelevant for casual backyard shooting, but if you want to compete in barebow, it is the standard. Protect your bow arm while you grind out the reps with a proper guard.
Why Your Anchor Point Decides Everything
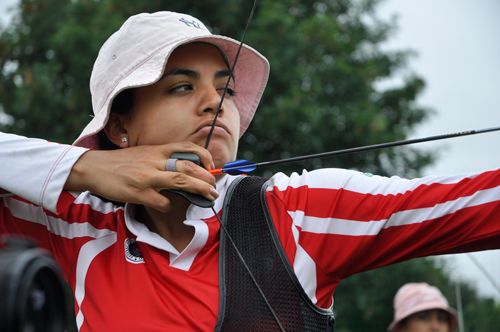
Here is the truth most beginners learn too late: the aiming method barely matters if your anchor wanders. Your anchor point is the rear sight of the whole system. Move it a quarter inch and your arrow can miss by a foot at 20 yards. Every elite archer anchors the same way every single shot, even though no two of them anchor in the same place.
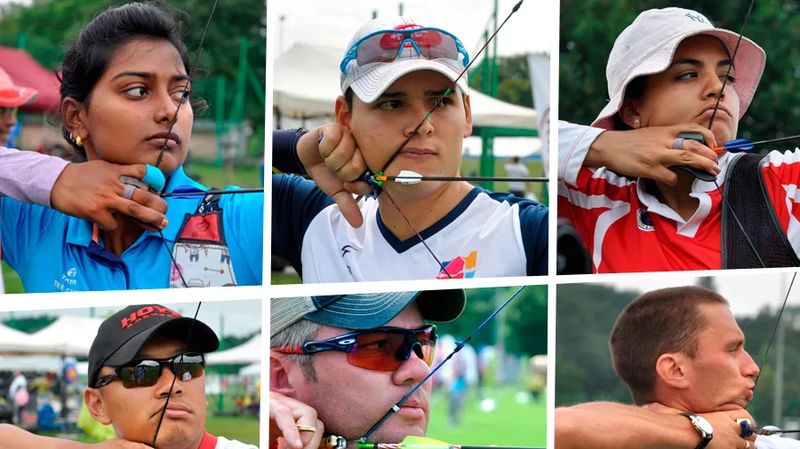
Some archers bring the string to the tip of the nose and the corner of the mouth. Others anchor the hand hard under the jaw. The specific reference is personal; the consistency is non-negotiable. Find two or three contact points — string on nose, hand under jaw, string at corner of mouth — and hit all of them on every shot.
If your arrows scatter vertically, suspect your anchor or your release before you touch the sight. A clean, tuned bow helps too — walk through our recurve bow tuning guide if your arrows fly erratically even with a locked anchor.
Which Aiming Method Should You Choose?
The right method depends on what you shoot, how often you practice, and whether distances are known. Here is the honest breakdown:
| Method | Best For | Learning Curve |
|---|---|---|
| Sight (Olympic) | Target precision, known distances | Fast results, slow mastery |
| Gap shooting | Field, 3D, all-around traditional | Moderate, learnable in a season |
| String walking | Barebow competition | Moderate, needs record-keeping |
| Instinctive | Close-range hunting, fast shots | Slow, thousands of arrows |
My take: most newer archers should start with gap shooting if they shoot barebow, or a sight if they own one. Both give honest feedback fast, which keeps you motivated. Save instinctive for when you are shooting enough volume to earn it — it is the most satisfying method and the least forgiving of laziness.
Common Aiming Mistakes That Wreck Groups
The most common error is not an aiming error at all — it is snatching the release the instant the pin or tip touches the spot. Aiming and releasing are separate jobs. Let the aim float, keep pulling through the shot, and let the release surprise you a little.
Second is closing one eye unnecessarily. Most archers aim better with both eyes open because it preserves depth perception; only switch to one eye if you are strongly cross-dominant. Third is changing draw length shot to shot — a short draw drops arrows low and a long draw sends them high, and it masquerades as an aiming problem. Lock the anchor, and most “aiming” misses disappear.
Frequently Asked Questions
Do you aim with both eyes open on a recurve bow? Most archers should, yes. Both eyes open preserves depth perception and reduces strain. Close one eye only if you are cross-dominant and the off-eye pulls your aim.
Where do you look when aiming a recurve bow? Focus your eyes on the exact spot you want to hit, not on the sight pin or arrow tip. The aiming reference stays slightly blurry in your peripheral vision while the target stays sharp.
How long should you hold at full draw before releasing? Aim to release within about three to six seconds of settling. Hold longer and your muscles fatigue, your pin wanders, and accuracy falls off a cliff.
Sources
- World Archery — Full draw faces: how six international archers anchor — comparison of elite anchor points
- World Archery — Barebow equipment and string walking — official rules and string-walking explanation
- Archery 360 — How to Get Started in Barebow Archery — USA Archery guidance on barebow aiming
- Bow International — String walking for beginners — technical breakdown of the crawl method
Browse archery bows, arrows, and accessories at the Archery Supplier shop →