
Archery Blog
Drop-Away Arrow Rest Setup: 6-Step Install & Tune Guide
Aug
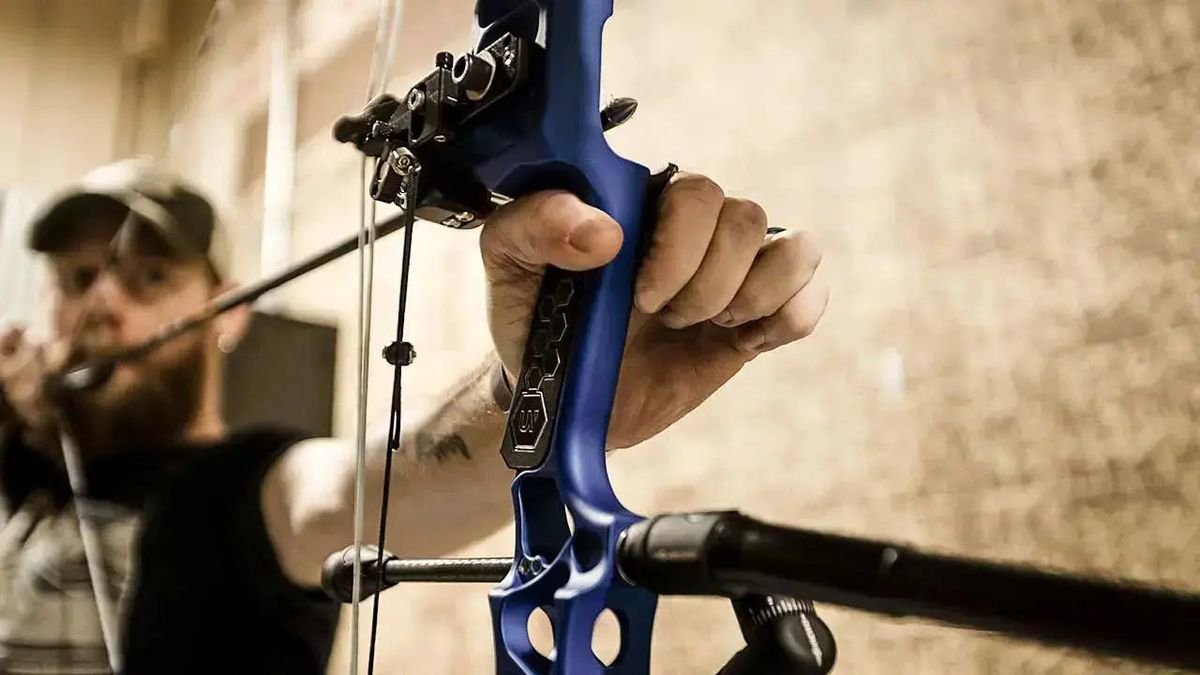
A drop-away arrow rest is the single biggest accuracy upgrade most compound archers overlook. Unlike a fixed rest that holds your arrow right up to the shot, a fall-away design retracts the moment you release — giving fletching total clearance and eliminating the deflection that costs you groups. The setup process looks intimidating the first time, but it follows a logical sequence and most archers get it dialed in their first session at the range.
This guide covers every step from unboxing to shooting confirmed bullet holes through paper: mounting, cable attachment, height and center shot, timing, and paper tuning. Whether you’re installing your first drop-away rest or switching rest types mid-season, the process is the same.
What Actually Makes a Drop-Away Rest Work
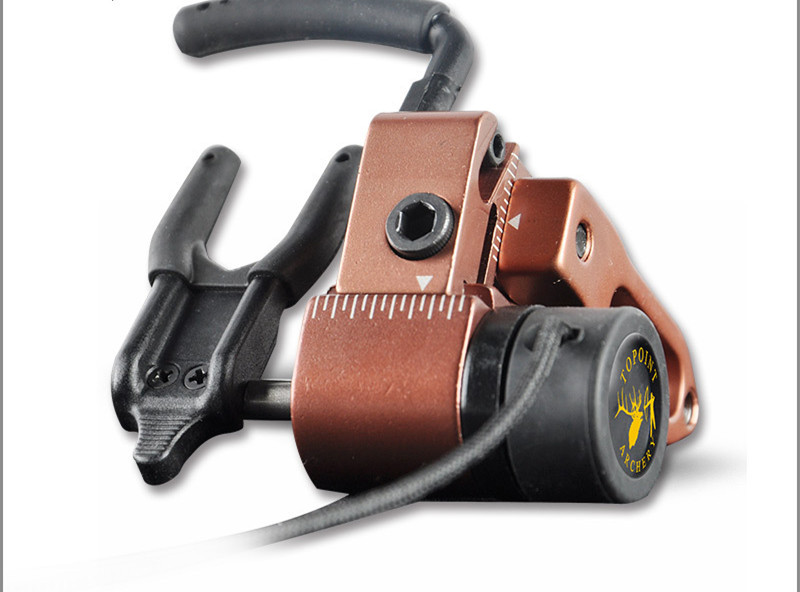
The mechanics are simpler than they look. A drop-away rest attaches to your compound bow’s cable system via a small cord or flex arm. When you draw the bow, that cord tension pulls the rest head upward — holding your arrow in place throughout the draw cycle. At the shot, the cables reverse direction as the bow fires, the cord releases tension, and the rest drops away before your fletching reaches that point.
There are two activation styles. A cord-up rest (like the QAD HDX or Ultra-Rest Hunter) attaches to the down cable and rises during the draw. A cord-down rest attaches to the up cable and drops into position as you draw. Both achieve the same result; the difference is which cable you’re working with. Most rest manufacturers specify which style their product uses in the manual — check before you start routing.

The cord-and-cable system also means drop-away rests are bow-specific in their timing. You can’t simply transfer one from bow to bow and expect identical performance without re-tuning the cord length. Budget 30 minutes the first time, 10 minutes on subsequent installs once you know the feel.
Tools You’ll Need Before Starting
Gather these before you touch the bow. Having everything on hand saves the frustration of getting mid-install and realizing you’re missing something.
- Hex key (Allen wrench) set — most rests use 3/16″ or 5/32″ for the mounting bolts
- Bow square or T-square for nocking point reference
- Paper frame or stretched paper for paper tuning
- Serving thread or the activation cord that came with the rest
- Scissors and a lighter (to burn-seal serving ends)
- A 1/16″ spacer or business card (helps with initial height setting)
- An arrow with your standard fletching installed
A bow press is handy but not required for most drop-away installations. The cord attaches to the cable slide or the cable itself, and you can usually access that area without pressing the bow. If your rest design calls for looping around the cable directly rather than the cable slide, a press makes it safer and gives you more working room.
Step 1: Mount the Rest to the Riser
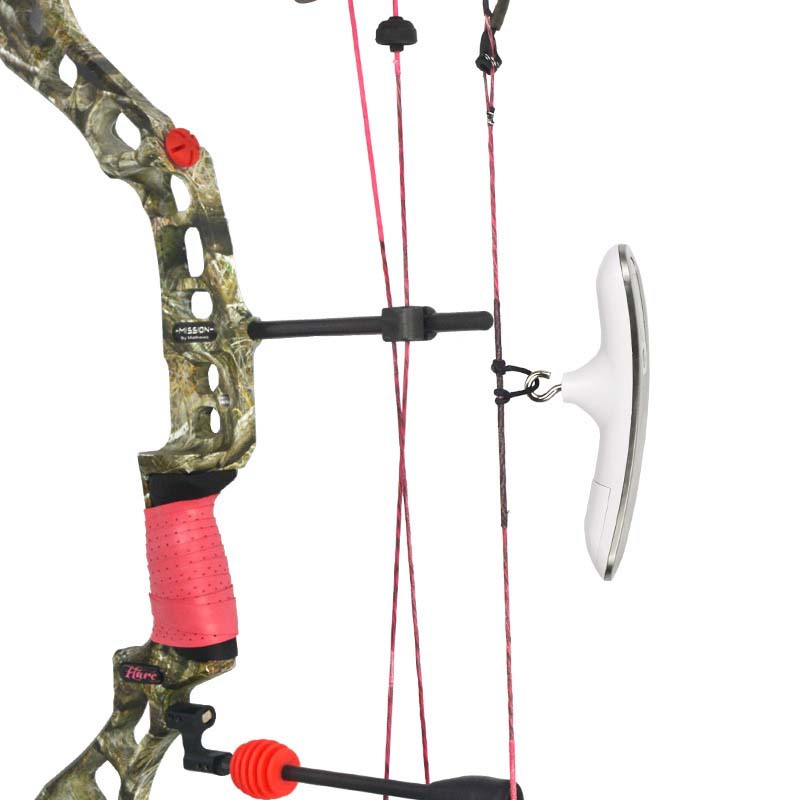
Most compound bows have a 5/16″-24 tapped hole on the riser shelf called a Berger hole — that’s your primary mounting point. Drop-away rests ship with a mounting screw that threads directly into this hole. Snug it finger-tight first, then hold the rest in position (the rest head should sit roughly over the center of the shelf) before tightening fully with your hex key.
Some rests use a plate mount instead of direct Berger attachment. If your bow has a sight window cutout rather than a tapped hole, the plate goes between the riser and the rest. Plate mounts give more lateral adjustment range, which helps on bows with unusual geometry.
Don’t crank the mounting bolt down yet. You’ll need to slide the rest laterally during center shot adjustment in Step 3 — leave just enough friction to hold position but allow movement. Tighten to final spec only after center shot is confirmed.
Step 2: Attach the Activation Cord
This is the step that confuses people the most, and it’s worth slowing down here. The cord is what makes the rest time correctly with your draw cycle — get it wrong and nothing else matters.
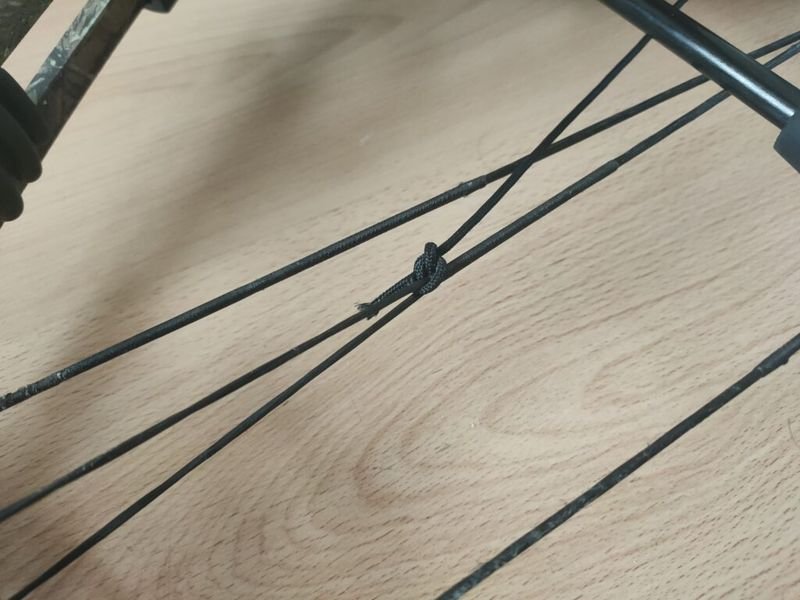
For a cord-up rest: locate the down cable (the cable that goes from the lower cam toward the upper limb). The cord from your rest needs to loop around this cable or tie to the cable slide bushing — whichever your rest’s instructions specify. If your rest uses a cable slide attachment, loop the cord once around the bushing and tie it with a lark’s head knot. Leave 2–3 inches of adjustment length at this stage.
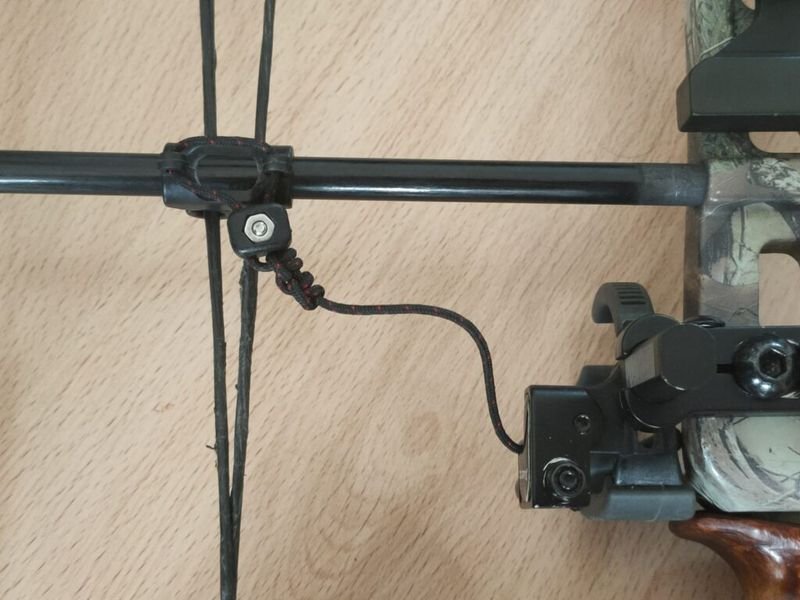
For a cord-down rest: the cord attaches to the up cable, typically above the cable slide. Same process, different cable.
Cord length is critical. Too short and the rest is still rising when you reach full draw, creating shot-to-shot inconsistency. Too long and the rest rises late in the draw cycle and might not be fully up when the arrow is knocked. The rough starting point is having the rest head at about 60–70% of its full range of motion when the cable slide is at rest. You’ll dial this in precisely during the timing step.
Step 3: Set Arrow Rest Height and Center Shot
Two adjustments define where your arrow sits: height (vertical) and center shot (horizontal). Both matter for arrow flight, and both are set with the arrow nocked and the bow at rest — not at full draw.
Height: Nock an arrow and rest it on the rest head. The arrow should be level or pointing very slightly downward when the bow is vertical. More precisely, your nocking point should be slightly above the arrow’s nock — about 1/16″ of elevation is a common starting point. A bow square makes measuring this straightforward. Adjust the rest head up or down via its vertical adjustment screw until you hit that position.
Center shot: Looking down the arrow from behind the bow, the arrow should appear to run through the center of the string. The conventional starting point for most compound bows is 13/16″ from the riser face, but cam timing, limb geometry, and arrow spine all affect where your true center shot lands. Set 13/16″ as a baseline and adjust from paper tuning results later.
Slide the rest left or right on its mounting until the arrow visually aligns. Tighten the mounting bolt to about 50% — still adjustable but holding steady.
Step 4: Time the Rest
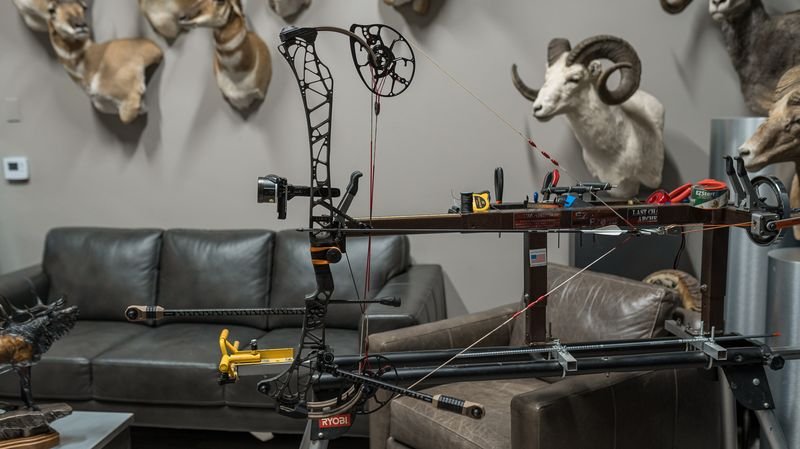
Rest timing separates a properly installed drop-away from one that will produce inconsistent results. Draw the bow slowly with an arrow nocked, pointed safely downrange, and watch the rest head.
What you want to see: the rest should be fully elevated — arrow held firmly — by the time you hit about 3/4 of your draw length. It should hold there through the shot and drop rapidly after release. If the rest is still rising at full draw, shorten the cord by retying the lark’s head higher. If the rest rises before 3/4 draw (early), let out a bit of cord length.
After the shot, the rest should drop at least 1.5 inches below the arrow shelf before the fletching reaches that point. If you’re running 4-inch vanes and the rest isn’t clear in time, you’ll hear a plastic clicking sound on release and see erratic groups. This is the most common first-time timing mistake — and the easiest to miss without slow-motion footage.
Take at least 10 slow draw-and-letdown cycles to verify timing visually before shooting arrows through paper. A digital bow scale also lets you verify your draw weight hasn’t shifted with the rest installed.
Step 5: Paper Tune Your Arrow Rest
Paper tuning is the fastest way to confirm that your drop-away rest setup is producing clean arrow flight. Set up a sheet of paper in a frame at about 6 to 8 feet from your shooting position. Stand back another 6 feet. Shoot a field-tipped arrow through the paper at the center, then analyze the tear.
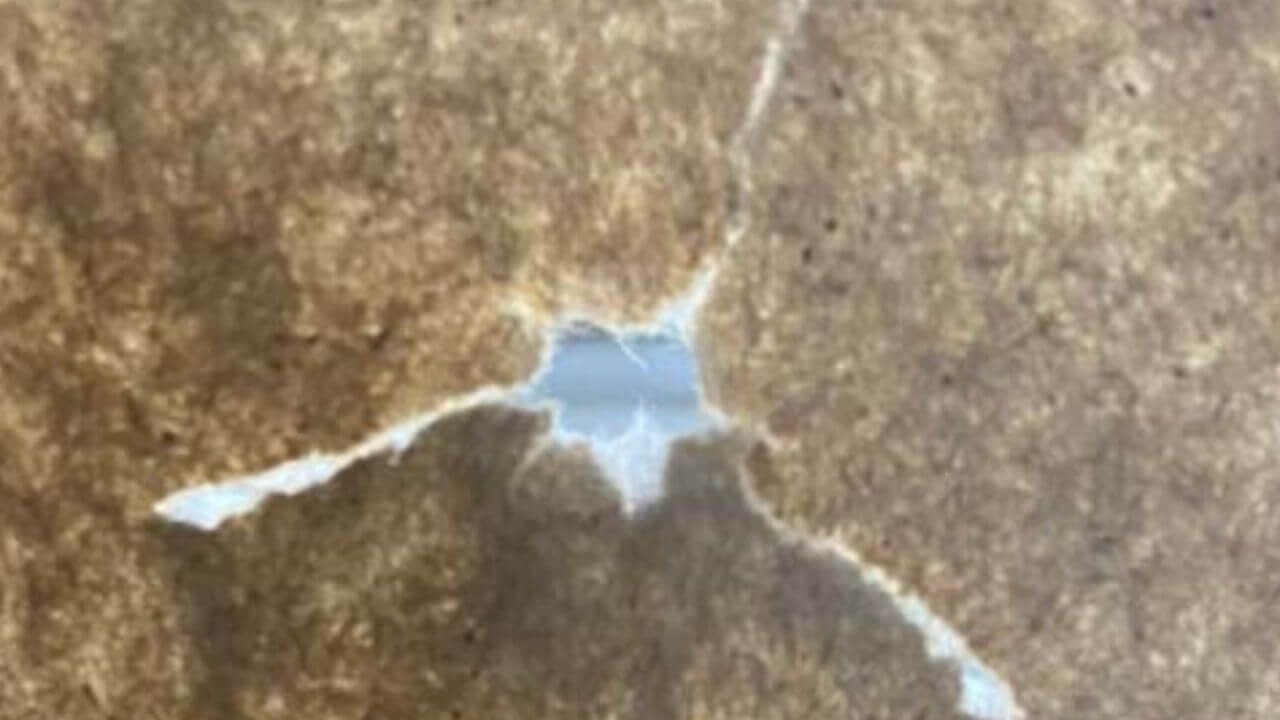
A bullet hole — a near-perfect circle — means the arrow is flying nose-forward with no nock-high, nock-low, or sideways orientation. That’s the target. The rest timing, height, and center shot are all close to correct. Tighten the mounting bolt to final torque (typically 30–40 in-lbs for most aluminum-riser bows, but check your bow’s manual) and move on to shooting groups.
If the tear shows a vertical rip with the nock hole above the tip hole (high tear), your nocking point is too low or your rest is too high — lower the rest or raise the nocking point slightly. A horizontal tear means center shot needs moving: nock hole to the right of the tip means move the rest right for a right-handed archer.
Adjust in small increments — a full 1/16″ move often swings a tear from one side to the other. Make one change at a time, shoot a fresh sheet, and evaluate before making the next adjustment. Two variables moving simultaneously makes it impossible to know what fixed what.
Lancaster Archery’s tuning guide recommends shooting at least three arrows through paper at each distance and averaging the tear pattern before drawing conclusions. One outlier doesn’t tell you much; a consistent pattern does.
Step 6: Confirm Groups at Distance
Paper tuning confirms the arrow is leaving the bow cleanly. Shooting groups at 20, 30, and 40 yards confirms everything is holding under real shooting conditions.

If your paper tune is clean but groups are opening up at distance, the issue is usually arrow spine — too weak or too stiff for your draw weight — rather than rest setup. Shoot 3-arrow groups at each distance before making any further adjustments. A single flyer doesn’t indicate a rest problem; consistently tight groups with one arrow always landing in the same wrong place is a clearer signal. The Archery Trade Association’s education resources cover spine selection charts that help diagnose whether your arrow is the variable.
Once groups are consistent at 40 yards, you’re done. Tighten all set screws, confirm the activation cord is secure (a drop of archer’s glue or nail polish on the knot keeps it from creeping), and go shoot. Inspect the knot position every 300–400 arrows — the lark’s head is reliable but not immune to movement under repeated draw cycles.
Recurve and Traditional Setups: The Adhesive Rest Alternative
Drop-away rests are designed for compound bows — they need a cam-and-cable system to activate. If you’re shooting a recurve or traditional bow, a simple adhesive arrow rest is the right choice. It attaches directly to the riser shelf or side plate and holds the arrow in position without any mechanical components.
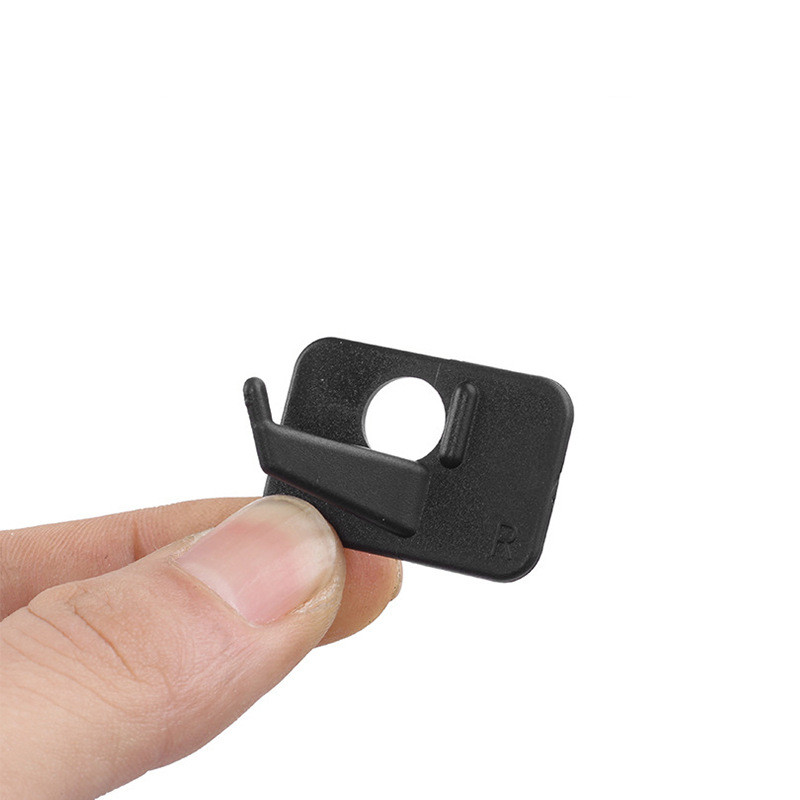
Position it so the blade sits just above the shelf and the arrow rests lightly — not pressed down under its own weight. For a right-handed archer, the rest goes on the left side of the riser (the sight window side). For a left-handed archer, it goes on the right. If you’re comparing rest types for a compound bow build, the drop-away vs. containment rest guide breaks down when each type makes the most sense.
Common Problems and What Actually Causes Them
Three issues account for nearly every drop-away rest complaint after installation:
Arrow falling off the rest at the start of the draw: The cord is too long, so the rest never fully rises, or rises too late. Shorten the cord by one knot increment and test again. This is the most common beginner mistake and the easiest to fix.
Audible contact or inconsistent groups despite a clean paper tune: The rest is not fully dropping before your fletching clears it. This usually means the rest head pivot is dragging slightly — debris and dried lubricant both cause this. A couple drops of light oil on the pivot point often fixes it immediately. If the problem persists, re-check cord timing with a slow draw cycle.
Groups changing after a hunt or several sessions: The activation cord has crept on the cable slide bushing. The lark’s head knot is reliable but not immune to movement under hundreds of draw cycles. Some archers wrap a single layer of serving thread over the tied cord for extra security. Inspect the knot position at every 300–400 arrows.
The compound bow peep sight guide covers alignment issues that can compound rest problems — if your sight picture changes after tuning the rest, check peep rotation before assuming the rest needs re-adjustment. Understanding how your arrow vanes affect fletching clearance also matters here: switching from 2-inch to 4-inch vanes increases the window where the rest must be fully clear, so re-check rest timing any time you change fletching style.
Sources
- Lancaster Archery Supply — How to Paper Tune Your Bow — detailed walkthrough of tear pattern interpretation and correction steps for compound bows
- Archery Trade Association — Education Resources — industry-standard guidance on bow setup, arrow selection, and equipment specifications
- World Archery — Equipment Rules and Standards — official specifications for arrow rest positioning and competition equipment guidelines
