Archery Blog
Bareshaft Tuning: 7 Steps to Tighter Arrow Groups
Jun
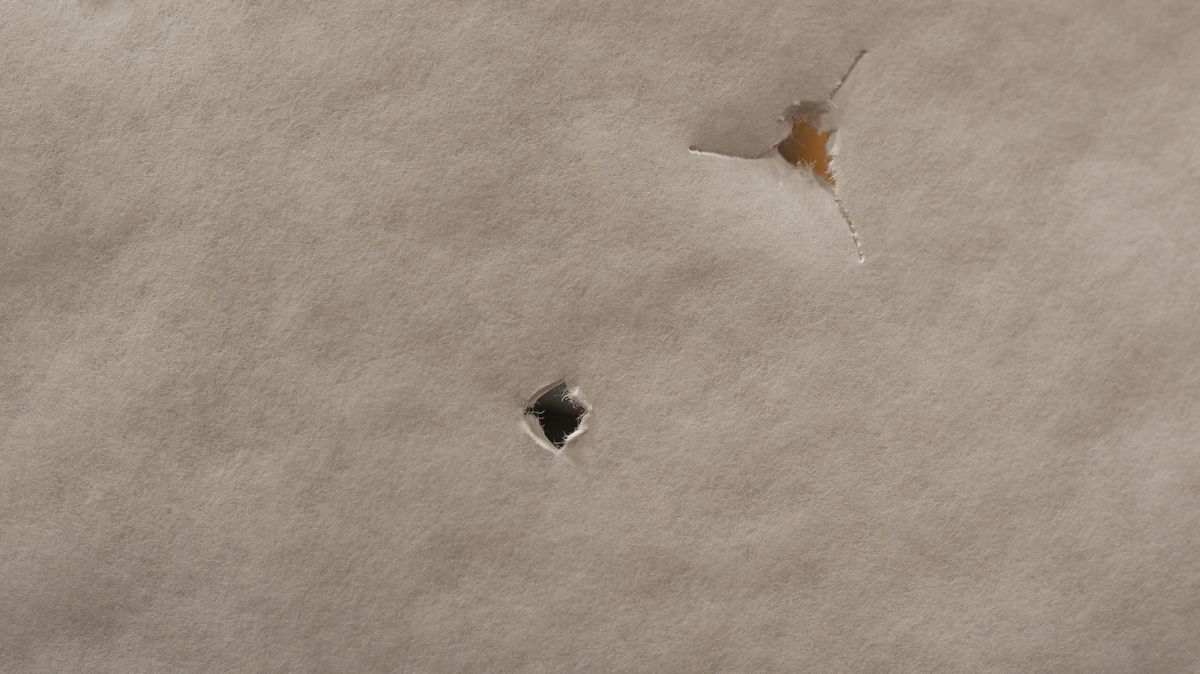
Bareshaft tuning is the fastest honest read you can get on a compound bow. Strip the fletching off two identical arrows, shoot them next to a fletched group at 10 yards, and the unfletched shaft tells you exactly which way the bow is fighting your form. Paper tuning catches gross errors. Bareshaft tuning catches the quiet ones that bleed accuracy at 40 and 60 yards — and it predicts how your broadheads will fly before you ever screw one on.
What Bareshaft Tuning Actually Tells You
A fletched arrow lies to you. Vanes steer a bad shot into a clean impact, and that masks rest position, nock height, cam timing, and spine mismatch. A bare shaft has nothing to hide behind. If the rest is half a hair right of center shot, the bareshaft prints left of your fletched group every time. If your nock is two thousandths low, the bareshaft hits high.
The truth is, every measurable accuracy gain past 40 yards comes from removing those silent errors. A 0.5-inch separation between bareshaft and fletched at 10 yards turns into a 4-inch flier at 60 — and broadheads make it worse because they amplify any guidance the vanes were doing.
Bareshaft Tuning vs Paper Tuning
Both diagnose flight, but they’re not interchangeable. Paper tuning reads the arrow as it leaves the bow. Bareshaft tuning reads where it lands. A bow can punch a clean bullet hole through paper at six feet and still print bareshafts two inches off the fletched group at 20 yards, because paper only sees the first few feet of flight before the vanes take over.
Paper tune first to get in the ballpark — see our paper tuning a bow guide for that workflow — then move to bareshaft tuning for the fine work. Skipping the paper step doubles your work; skipping the bareshaft step means broadhead day will be ugly.
Gear You Need Before You Start
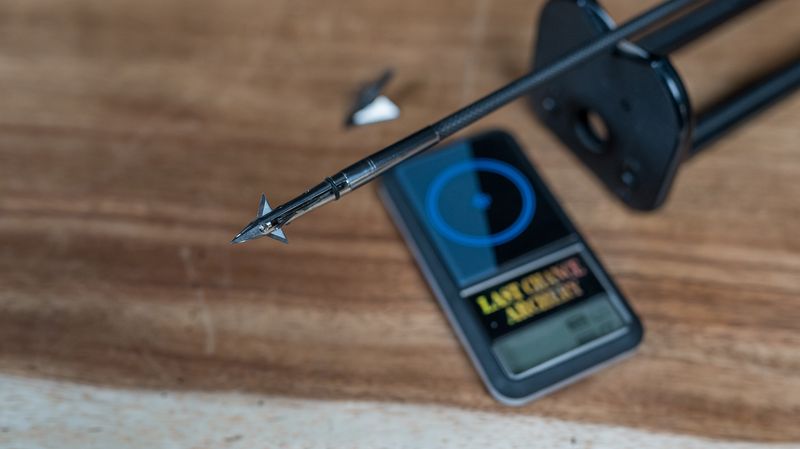
Two to three identical arrows with the fletching cleaned off cleanly — no glue residue, no gouged shafts. Same length, same point weight, same nock, same insert. If you can’t measure to a tenth of a grain, weigh them on a scale (the Arrow Grain Weight Scale below is purpose-built for this). Mismatched arrows ruin the test before you nock one.
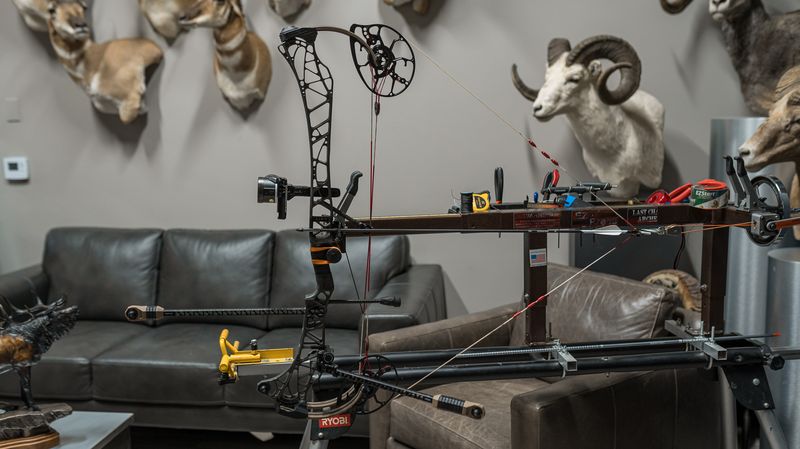
Beyond arrows, you need a target that stops shafts cleanly without bouncing them, a level shooting platform, and your normal shot routine — release aid, peep, sight. Cams should be timed and the bow already paper tuned. If anything in that prerequisite list is off, fix it first or you’ll chase your tail.
Step 1 — Start at 10 Yards
Set up at 10 yards. Shoot three fletched arrows into a tight group, then shoot one bareshaft at the same point of aim. Repeat with a second bareshaft to confirm the pattern. One shot proves nothing — two shots that land in the same offset direction prove a tuning issue.
If you flinch or punch one of the bareshafts, throw it out. Bare arrows are unforgiving of release errors, and a bad shot will mimic a tuning problem. Only adjust the bow when two clean shots agree.
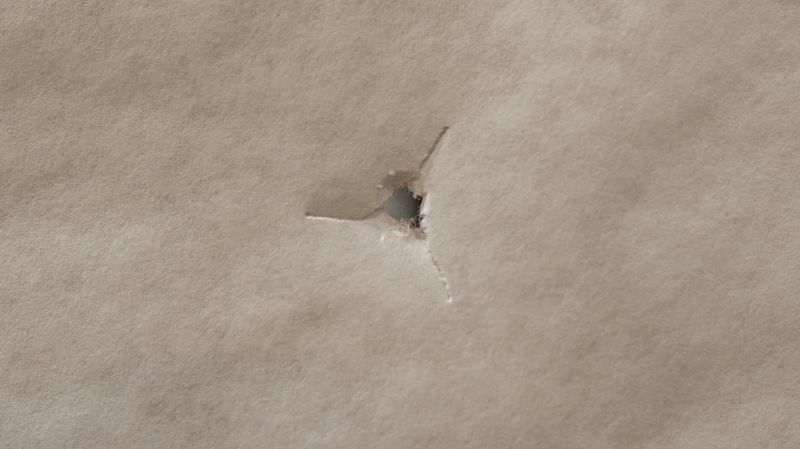
Step 2 — Read the Impact Direction
Stand the bareshaft impact in your head as a clock. Left of the fletched group is a stiff-spine signal or a rest that’s too far right. Right of the fletched group is the opposite. High is nock point too low or nock pinch on the loop; low is nock point too high or a too-weak grip pressure dropping the bow.
Right-handed shooters: a bareshaft printing 2 inches left at 10 yards is the most common pattern on the planet. That’s overspined arrow plus a rest that’s hot to the right of center shot. Diagnose the direction before you touch a screw.
Step 3 — Adjust the Rest (Horizontal)
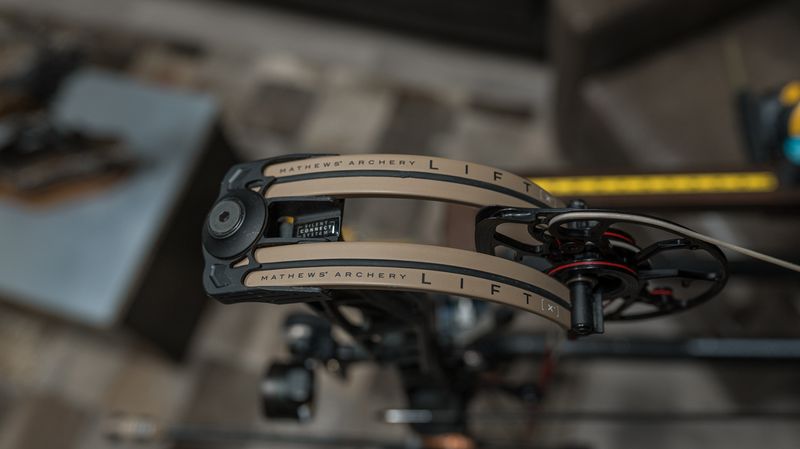
Move the rest a hair toward the bareshaft impact. If the bareshaft hits left of fletched, move the rest left. The rule is “chase the bareshaft” — opposite of paper tuning, which moves the rest opposite the tear. Use the smallest adjustment your rest allows; on most micro-adjust rests that’s a quarter turn at a time, roughly 1/64 of an inch.
![]()
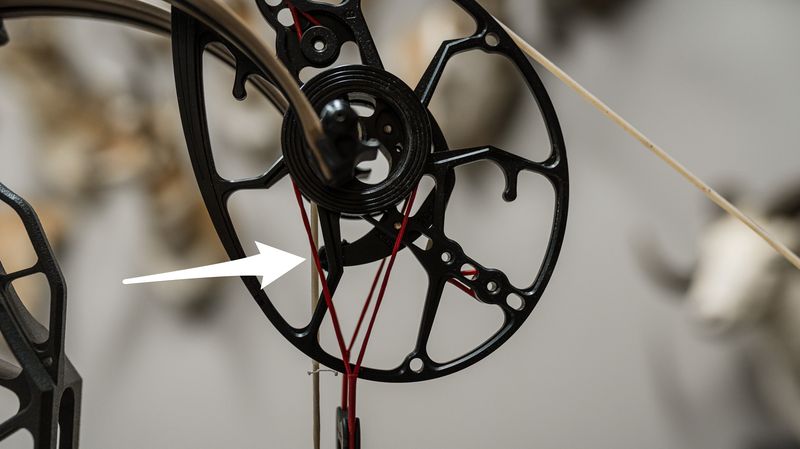
If your rest is already maxed in one direction and the bareshaft still won’t move into the group, that’s a hard spine problem — see Step 6. A drop-away rest with good repeatability makes this process honest; cheaper rests drift between shots.

For a deeper read on why drop-aways win the bareshaft test, check our arrow rest types breakdown.
Step 4 — Adjust Nock Height (Vertical)
Once horizontal is dialed, tackle vertical. Bareshaft hitting high means the nock point is too low — move it up a 32nd at a time. Bareshaft hitting low means the nock point is too high — move it down. A good nock locator or a fresh D-loop tied tight to the right serving makes these adjustments repeatable.
Vertical drift is sneakier than horizontal because shooter error mimics it. A heeled grip drops the bow at the shot and prints arrows low. Before you keep chasing nock height, dry-fire your form against a mirror to make sure your grip isn’t the variable.
Step 5 — Move Back to 20, Then 30 Yards
Tuning at 10 yards is the appetizer. The real meal is at distance. Step back to 20 yards, repeat the test, and you’ll usually see the bareshaft drift a little further off the fletched group than it did at 10. That’s normal — small misalignments compound with distance.
Make smaller adjustments at each new distance — half the size you made at 10. If bareshafts and fletched are within 2 inches at 20 yards and 4 inches at 30, you’re hunt-ready. Tournament shooters chase smaller margins, but a 2-inch envelope at 20 yards beats 95% of bowhunters in the woods.
Step 6 — Check Spine If You Can’t Group
If the bareshaft refuses to chase the fletched group no matter how much you move the rest, the arrow spine is wrong for your draw weight, draw length, and point weight. Easton’s arrow tuning guide publishes a spine selection chart that pulls this out of guesswork.
Two field shortcuts: shorten the arrow an inch to stiffen the spine, or drop point weight by 25 grains to do the same. Conversely, lengthen or add point weight to weaken a stiff arrow. Most bowhunters running a 70-pound bow with a 28-inch draw and 100-grain heads need a 340-spine arrow — overspined shooters are the most common mismatch in the shop.
Step 7 — Confirm With Walk-Back Tuning
Bareshaft tuning fixes the diagnosis. Walk-back tuning confirms the fix is real across distance. Aim at a single dot at 20 yards using your 20-yard pin, then walk back to 30, 40, 50, and 60 yards, aiming at the same dot with the same pin each time. The arrows should land in a straight vertical line under the dot.
If the impacts drift left or right as you walk back, your rest is still a touch off — micro-adjust toward the drift direction and repeat. A perfectly tuned bow walks back clean. This step takes maybe 20 minutes and it’s the difference between a bow that’s “tuned” and a bow that holds tune for the season.
How Bareshaft Tuning Improves Broadhead Flight
The whole point of this work, for bowhunters, is making broadheads fly with field points. A well-bareshaft-tuned bow is already 90% of the way there because the arrow is leaving the bow without any sideways rotation for vanes to correct. Slap a broadhead on, shoot it at 30 yards next to a field point, and the impact will be within a couple inches without any further work.
If your broadhead misses field point by more than 4 inches at 30 yards after a proper bareshaft tune, you have a broadhead alignment problem, not a tuning problem. Spin-test the broadhead on the shaft — wobble at the tip means the insert is glued crooked. Re-square the insert or replace the arrow. Then run the broadhead-specific tuning routine to close the last gap.
Common Mistakes That Wreck the Test
Bare arrows punish bad form. The most frequent error: shooters who punch the trigger on bareshafts the same way they do on fletched. Vanes hide a punched release; bare arrows print the punch as a vertical or diagonal flier. Slow down. Bareshaft tuning is also a shot-execution diagnostic, not just a bow diagnostic.
Other reliable wreckers: mismatched arrows in the test set, a target so soft the arrow tilts on impact and lies about its true flight path, and trying to tune a bow that isn’t paper-tune ready. Get those three right first, then trust what the bareshaft tells you.
When to Re-Tune
Bareshaft tuning isn’t a one-time event. Re-test any time you change arrow components — new shafts, different point weight, new nocks, or a fresh string. Re-test after replacing the rest, peep, or D-loop. And re-test once a season even if nothing changed, because strings creep, cams shift, and serving wears.
A 30-minute bareshaft check before opening day catches drift that would cost you a kill at 40 yards. Pros do it the week before every tournament. Bowhunters who shoot consistent groups do it the week before every season.
The Honest Take
The shooters who skip bareshaft tuning are the same ones who blame their broadheads, their arrows, or their sight when their groups open up at 50 yards. The bow has been telling them the answer all along — they just refused to remove the vanes and listen. Forty minutes of bareshaft work this week will change how your bow shoots for the next twelve months.
Sources
- Easton Archery — Arrow Tuning and Maintenance Guide — Manufacturer spine selection charts and tuning protocols
- Bowhunting.com — Bare Shaft Tuning Your Bow — Step-by-step bareshaft method for hunters
- GOHUNT — How to Tune a Compound Bow — Cam timing, paper tuning, and bareshaft sequence
- Argali Outdoors — Broadhead Tuning 101 — Bareshaft to broadhead transition workflow
Browse archery bows, arrows, and accessories at the Archery Supplier shop →