
Archery Blog
How to Practice Archery at Home: 7 Drills That Actually Work
Jul
USA Archery recommends a minimum of 36 arrows per practice session for recreational archers — but the number matters far less than what you’re thinking about on each shot. The biggest mistake home archers make is treating practice like a counting exercise: shoot arrow, retrieve arrow, repeat. That builds muscle endurance. It does almost nothing for accuracy.
The drills below are built around deliberate repetition with immediate feedback. None of them require a full 20-yard lane, a professional coach, or expensive training aids. What they require is intention — something most archers bring to the range but leave in the car during backyard sessions. If you want to set up your outdoor space first, reviewing your fundamental shooting mechanics before diving into drills is always a smart first move.
Before Your First Arrow: Safety and Setup
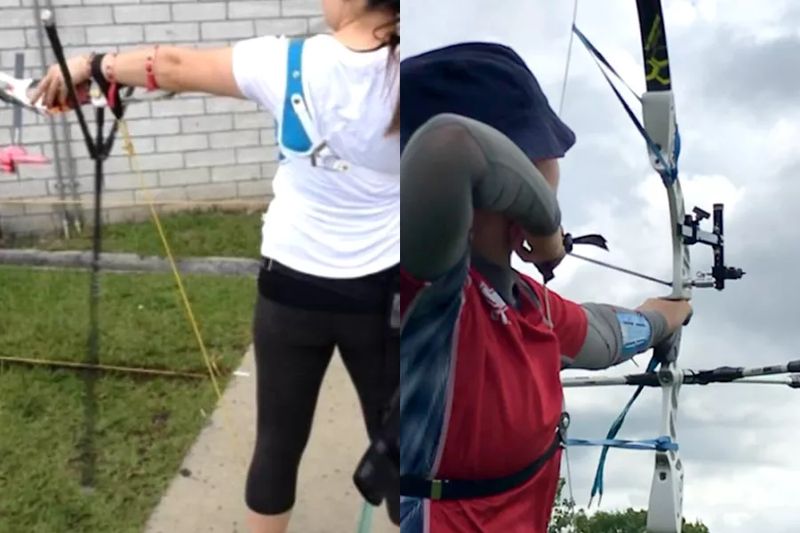
Fifteen yards is enough space for every drill in this list. Ten yards is sufficient for blank bale work and form checks. What is not negotiable is a reliable backstop — a safety net or foam block rated for your draw weight. Standard foam targets handle 30–50 lb draw weights without issue. If you’re shooting 60 lb or more, check the product specs before you trust it with your walls, garage door, or fence.
The space behind your target matters as much as the target itself. Keep at least 10 feet of clear backstop area for arrows that clip the edge. Indoors, stick to foam block targets rather than 3D targets — 3D targets are built for field use and won’t absorb repeated close-range blank bale shots cleanly. For outdoor home ranges, a heavy-duty safety net does double duty as both a backstop and a way to contain stray arrows.
Drill 1: Blank Bale Shooting
This is the single most effective drill in archery and it’s used at every level — junior clubs, national training centers, and Olympic preparation programs. The setup is deliberately simple: place your backstop 5–10 yards away, remove or cover any target face, and shoot. No aiming. No score. No spot to hit.
The absence of a target forces a mental shift. When there’s nothing to aim at, your brain stops managing the result and starts noticing the process. Archers who try this for the first time often discover things mid-shot they’d been glossing over for months: a grip that tightens just before release, a draw elbow that floats instead of tracking back, an anchor point that shifts 3mm to the left on shots that feel identical. Blank bale practice surfaces these faults in real time without the noise of “where did that arrow land?”
Shoot 10–15 arrows per blank bale set. Take 30 full seconds between arrows. This pace is slower than it feels necessary — that’s the point. The recovery time between shots is where the cognitive work happens. This drill is the foundation of back-tension shooting, and if you’re not comfortable with that concept yet, it’s worth reading up on before your first session.
Drill 2: The Footprint Tape Stance Check
Before you nock a single arrow, lay two strips of athletic tape on the floor to mark exactly where your feet land for your best shot. Then shoot your entire session from those marks without moving them. That’s the whole drill.
What makes it work is that most archers don’t realize how much their stance drifts between shots. A 3-inch foot shift changes your lateral alignment to the target — which shows up as unexplained horizontal spread in your groups. Coaches who track this during sessions often find foot drift accounts for 40% of horizontal variance in intermediate archers. The tape marks make that drift impossible to ignore.
After a few sessions, you’ll notice yourself hitting the marks automatically without checking. That’s when the drill has done its job. A well-developed stance habit is worth more than any sight adjustment — and it transfers directly to competition, where you don’t get to re-chalk your feet on the line. You can also pair this with your form work from stance to follow-through for a more complete session structure.
Drill 3: Paper Plate Progression
Cut four circles from paper plates or cardstock: one grapefruit-sized, one baseball-sized, one golf ball-sized, and one quarter-sized. Pin the largest to your target and shoot until you can consistently land five arrows in a tight cluster inside the circle. Then switch to the next size down.
The logic is pressure calibration, not skill testing. Every time you reduce the target diameter, your brain registers higher consequences for a miss. This is the closest thing home practice has to simulating match pressure or a bowhunting shot where the window is small and the moment counts. The quarter-sized circle at 15 yards is genuinely difficult, and that difficulty is the point.
Don’t rush the progression. If you can’t group five arrows inside the baseball circle at 15 yards, stay on it. Archers who skip ahead to smaller targets before they’re ready train themselves to accept mediocre shots as normal — which is the opposite of what structured practice is supposed to do.
Drill 4: Close-Range Form Repetitions
Seven yards is plenty for this one. Shoot one end of three arrows and walk back. The key is to focus on a single form element per session — not your form as a whole, just one specific position or movement. This week: bow hand grip. Next week: draw elbow height. The week after: the position of your draw shoulder at full draw.
Trying to fix multiple things simultaneously is one of the most common practice mistakes at every level. Coaching research on motor learning is consistent on this: isolating a single physical adjustment produces faster, more durable improvements than multi-focus sessions. Scatter your attention across five form elements in 30 minutes and you’ll improve none of them. Focus one element per session and you’ll own it in two weeks.
Drill 5: Single-Arrow Focus
Shoot one arrow. Walk to the target, pull it, and study where it landed and what it tells you about your execution. Walk back. Reset completely. Shoot again. This drill feels agonizingly slow the first time you run it — it’s meant to.
When you shoot six-arrow ends in quick succession, your memory averages the group. The good shots and bad shots blur together into a general impression of “decent” or “off today.” When you shoot one arrow every three minutes and analyze each one individually, each shot becomes its own data point. You stop accepting a bad shot because the next five were fine. You start asking why.
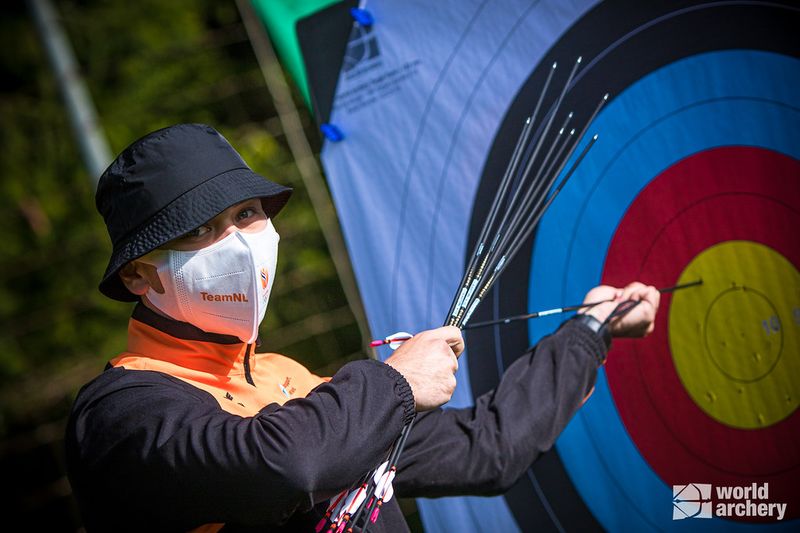
US compound archer and Olympian Jake Kaminski covers the mindset behind this kind of deliberate home practice in the video below, which also walks through the training tools he uses in limited-space sessions:
Drill 6: Mirror Draw and Anchor Check
No arrows, no target — just your bow and a full-length mirror. Draw to full draw (or use a resistance band if you prefer not to dry-fire), bring your draw hand to your anchor point, and check three things in the mirror:
- Draw elbow: Is it tracking in line with the arrow, or flaring outward?
- Bow shoulder: Is it sitting low and stable, or creeping up toward your ear?
- Head position: Are you reaching your face toward the string, or waiting for the string to come to you?
Most form faults that show up as inconsistent shots downrange originate in one of these three positions. Catching them in the mirror — while you’re standing still, in your own space, without target pressure — is far easier than diagnosing them from a shot group 20 yards away. Do 15–20 mirror draws per session. Hold for a full five seconds at anchor each time. The discomfort of holding a position you can see is one of the fastest feedback loops in archery.
Drill 7: Resistance Band Warm-Up and Cool-Down
This drill doesn’t require your bow. The muscles that stabilize your shot — the rhomboids, middle trapezius, and external rotators of the draw-side shoulder — fatigue faster than archers expect. A focused pre-session warm-up extends the quality of your practice before fatigue-related form breakdown kicks in around arrow 30–40.
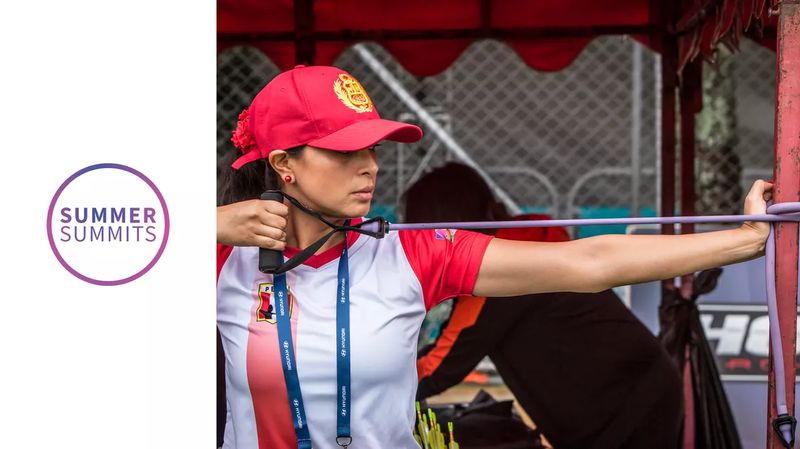
Three movements are worth building into every session. First, banded rows: anchor the band at waist height, pull to your draw-side anchor position, hold 3 seconds. Three sets of 10. Second, external rotation: keep your draw elbow at 90 degrees and rotate your forearm outward against resistance. This directly mirrors the draw-shoulder position at full draw. Three sets of 12. Third, face pulls: anchor the band at face height, pull to your nose with both hands, hold briefly. This strengthens the muscles that hold your bow shoulder down during the shot. Three sets of 12.
The whole sequence takes under 10 minutes and makes a measurable difference in how your form holds up through the back half of a practice session. World Archery’s coaching team recommends variations of this warm-up in their elite training materials. Wearing an arm guard during your actual shooting sessions is also worth making a habit — it protects against string slap during the form repetition work and removes a variable that can affect your bow arm position.
How to Structure Your Home Practice Week
Three sessions per week is the right baseline for most archers — enough volume to build habits, enough recovery to avoid fatigue-related slop. A workable structure looks like this: Session 1 focuses on blank bale and mirror draw (form-only). Session 2 focuses on paper plate progression and single-arrow focus (precision under pressure). Session 3 is free choice — work on whatever felt weakest during the week.
Keep sessions to 20–30 minutes maximum during your first month. Longer isn’t better when you’re building new motor patterns. Fatigue makes your brain stop caring about form, which means you’re drilling in bad habits for the last 15 minutes of a 45-minute session. Shorter, sharper sessions compound faster than long, tired ones.
Track your progress simply: after each session, write one sentence about what changed. Not a score. Not a word count of arrows shot. One observation about what you noticed in your shots. Patterns in those notes will tell you more about your actual weak points than any target face.
Sources
- World Archery — 10 Training Exercises That Will Make Your Archery Practice More Efficient — Official coaching guidance from the international governing body, covering resistance band work, timing drills, and mental training approaches.
- Lancaster Archery Supply — Arrow Selection and Setup — Arrow preparation and weight considerations before home practice sessions.
- Easton Archery — FAQ on Arrow Balance and Setup — Technical guidance on arrow configuration relevant to home practice quality.
