Archery Blog
Thumb Release Archery: 7 Steps to Beat Index Trigger Punch
Jun
A thumb release archery setup is the single biggest accuracy upgrade for compound shooters who got stuck punching the index trigger. The thumb release moves trigger duty from your sensitive index finger to a slower, less reactive thumb pad — and that one swap kills most cases of trigger anxiety inside a month of honest practice. Below are the seven steps that take you from index wrist strap to clean handheld thumb shooting without losing your hunting window.
Why Compound Shooters Switch to a Thumb Release
Index-finger wrist releases dominate bowhunting for one reason: they stay attached. You draw, the strap holds the weight, you pull the trigger. The problem is that the index finger is one of the most reactive digits on the hand, and the brain knows it. Once an archer flinches at the shot a few times, the index finger starts firing before the pin floats on the target — that’s trigger punching, and it’s the root cause of most low-and-left misses on the compound side of the range.
The thumb release archery solution is mechanical. By moving trigger pressure to the meatier thumb pad, by hooking the release into your draw hand with three or four fingers, and by tying the release to back-tension cues instead of finger snap, you make a clean surprise shot the default outcome. our own release aid buying guide walks through why target archers almost universally choose handheld releases — and why bowhunters are catching up.
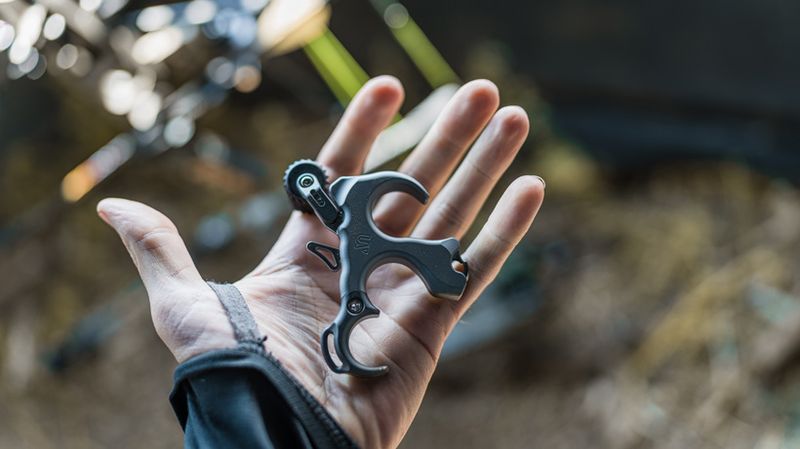
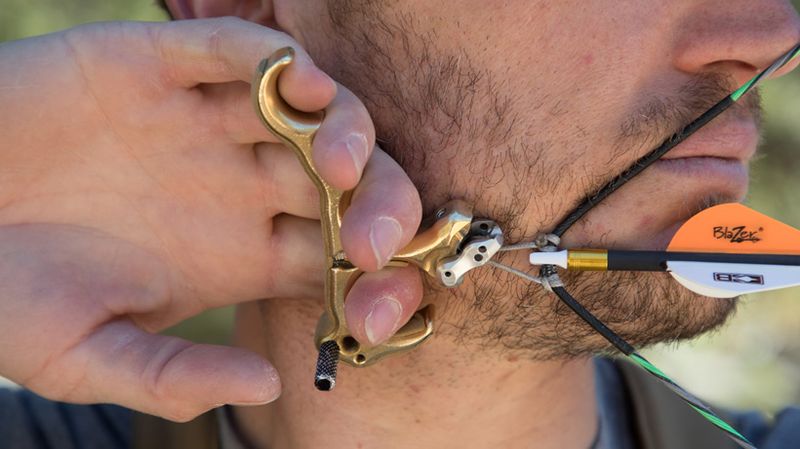
Thumb Release Anatomy in 60 Seconds
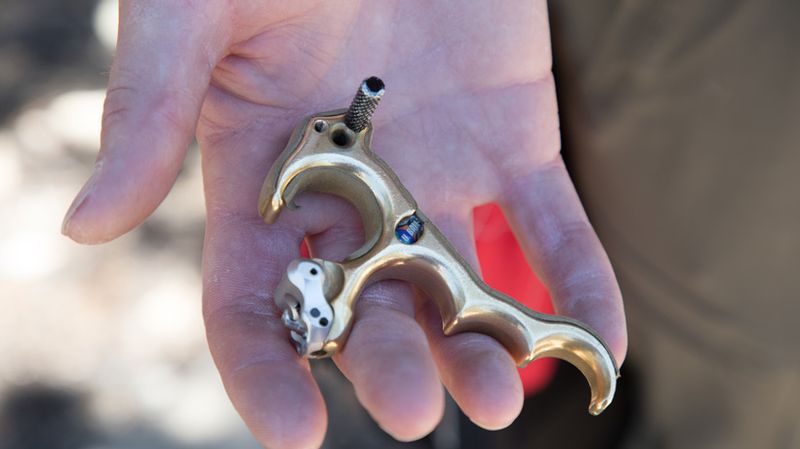
Before you pick one off the wall, you need to know what you’re looking at. Every thumb release breaks down into four parts: the jaw or hook that grabs the D-loop, the body that fills your palm, the thumb post or barrel that triggers the shot, and the trigger travel adjustment screw that sets how far the post moves before the jaw opens.
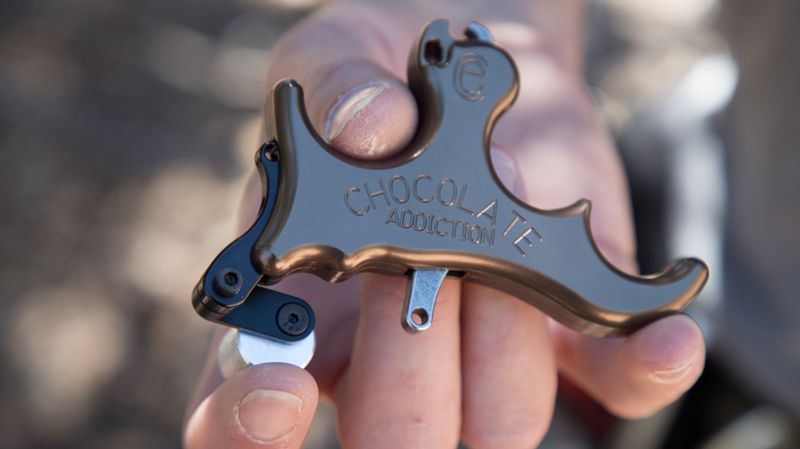
Three-finger releases are the standard. Four-finger versions exist and they suit shooters with bigger hands or longer draw lengths. The jaw can be a single hook (open-jaw) or a closed loop — open hooks are easier to load in cold weather with gloves, closed loops are slightly more secure. Thumb post position matters: most modern releases let you swap the post height and angle so the contact point falls naturally where your thumb wants to live at anchor.
Step 1: Get Fitted Before You Buy
The biggest mistake new thumb release shooters make is buying online and discovering the head is half an inch too small for their hand. Measure from the second knuckle of your middle finger to the base of your palm. Under 3.5 inches and you’re a small head; 3.5 to 4.0 inches lands you in the medium pile; over 4.0 inches and you need a large. Lancaster Archery’s release page lists head sizes for every major brand — use it before you commit.
If you can drive to a pro shop, do it. Hold three or four releases at full mock-draw and see which one fills your hand without crowding the thumb post. Comfort at anchor matters more than the model name on the side.
Step 2: Set Up the D-Loop and Peep Together
A thumb release archery setup needs a slightly shorter D-loop than your old wrist release used. Index-finger wrist setups hang the release off the strap, adding length to the draw. Handheld thumb releases sit right against the loop and can pull your anchor forward by up to an inch if you don’t compensate.
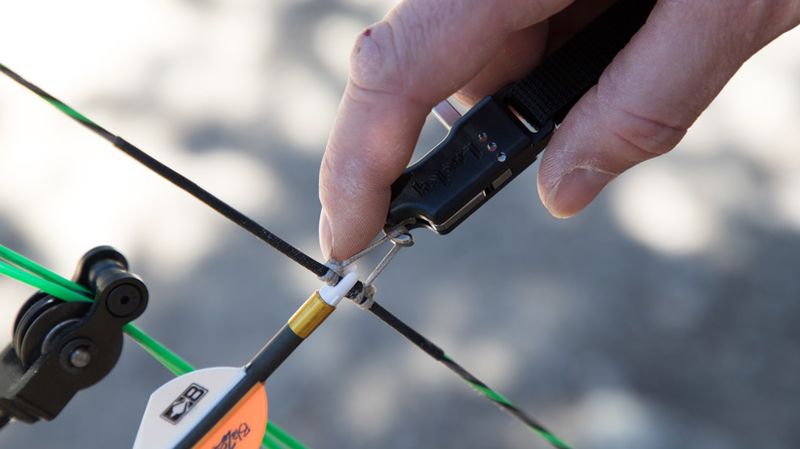
Tie a fresh D-loop, set it 3 to 5 mm shorter than your old one, then shoot a few arrows and verify your peep still aligns at anchor. If the peep rotates, that’s a string-twist fix at the pro shop, not a release problem. See our D-loop and nocking point setup guide for the exact tying sequence.
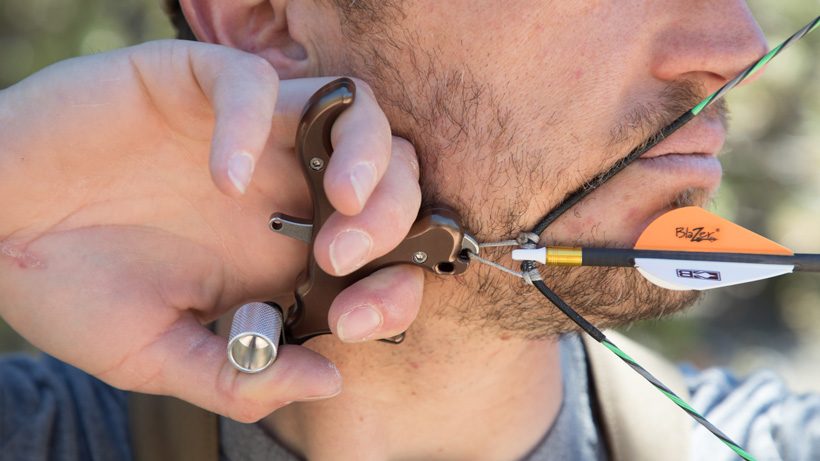
Step 3: Find Your Anchor Point With the New Geometry
This is where most archers panic. Your old anchor lived where the index finger sat against your jaw. A handheld release sits between your fingers, which moves the hand back roughly half an inch and changes the kisser-button reference. Expect two or three practice sessions of bottom-pin floats before your eye lines up consistently.
The fix is to lock in three contact points: knuckle of the index finger against the back of the jaw bone, thumb of the draw hand brushing the corner of the mouth, and string touching the tip of the nose. Hit all three on every shot and the rest sorts itself out. Reread our anchor point fundamentals piece while you’re learning the new feel — the principles port directly.
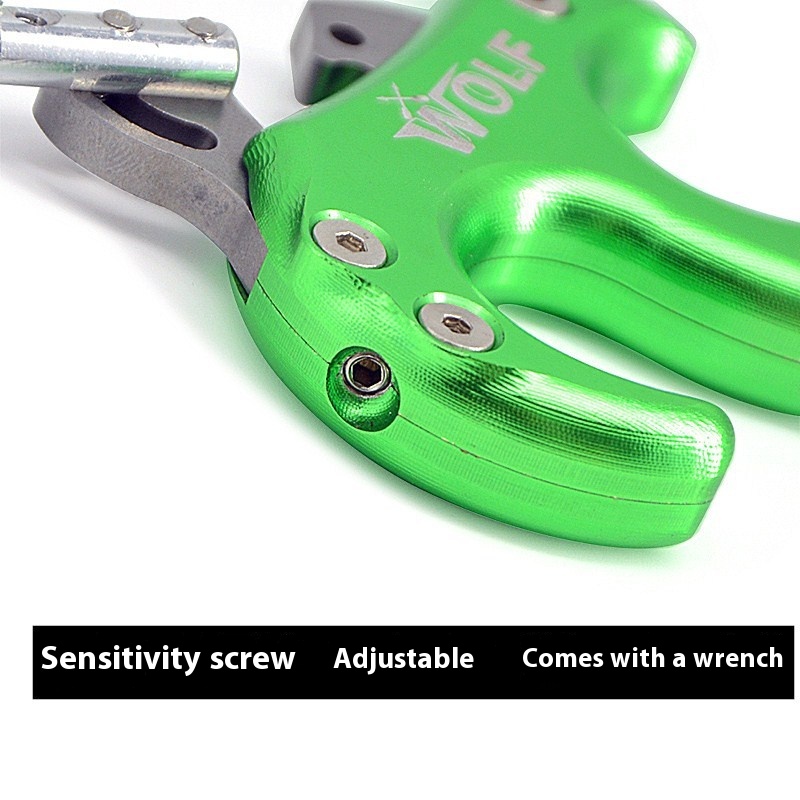
Step 4: Practice the Surprise Shot With Trigger Travel
Surprise shot doesn’t mean random shot. It means the trigger breaks at a moment your conscious brain didn’t predict — even though your back muscles caused it. The trick is trigger travel. Adjust the screw on the side of the release so the post has roughly 2 to 3 mm of pre-travel before it fires. That tiny gap means your thumb has to consciously load against the post and let back tension finish the job, instead of slapping it.
Start with the safety on, dry-fire mode if your release has one. Get to anchor, settle the pin, load the thumb against the post with steady back-arm pressure, and let the wall break the shot. Most archers need 200 to 400 reps before this stops feeling weird.
Step 5: Run the Blind Bale Drill
Stand 3 feet from a target butt with eyes closed. Draw, anchor, settle, and execute. No pin, no aiming — just feel. The blind bale drill is the cure for trigger punching that every coach worth their salt recommends, and it transfers cleanly to a thumb release setup. Run 30 to 50 shots per practice session for two weeks and the mechanic burns in.
If you’re switching because target panic is already in your head, pair this with our target panic drill protocol. The release change alone does not cure target panic — drills do. The new release just gives you a clean platform to build on.
Step 6: Take It to 20, Then 30, Then 50 Yards
Don’t take a thumb release archery setup to the woods until you can group six arrows inside an apple at 30 yards on demand. That’s the bowhunting confidence test. Start at 20 yards with the blind bale technique still fresh, group up, then walk back in 5-yard steps. If groups open up suddenly at a given distance, that’s not the release — that’s bow tune or arrow spine. Verify your tune with a paper test before you blame the new gear.
Outdoor Life’s review team makes the same point in their 2026 best release aids roundup: groups widen because of bow tune long before they widen because of shooter form.
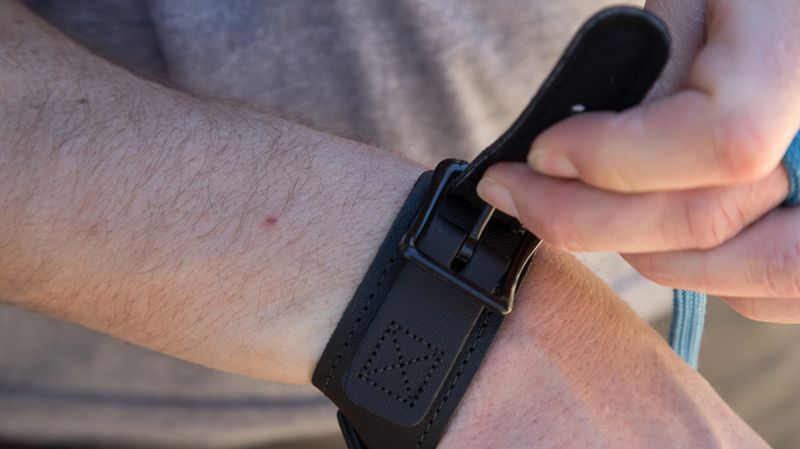
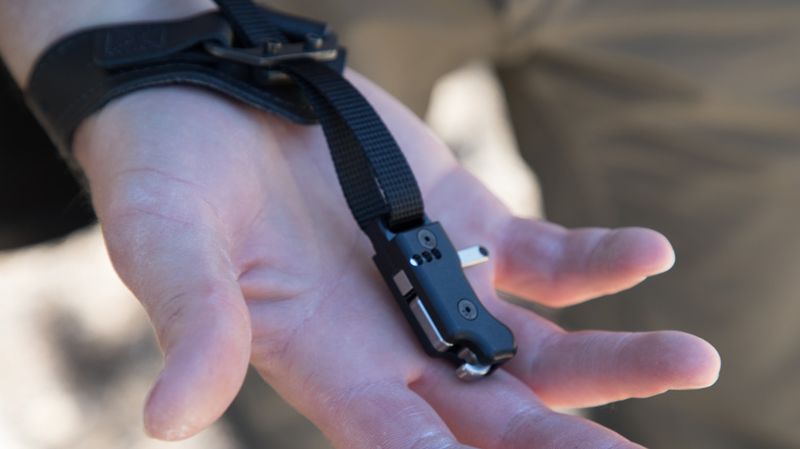
Step 7: Carry It Right in the Field
The one real downside of a handheld release shows up the moment you climb a treestand. A wrist release stays on your arm. A thumb release lives in a pocket, on a clip, or — most commonly — on a small lanyard tied to your bow. Use a coil retractor or a tether to your pack strap. Dropping a $180 release from 20 feet up in the dark is a hunt-ending mistake.
Handheld release shooters who hunt out of saddles or tight ground blinds often keep both releases on the bow — a thumb for the shot, an index wrist as backup. It’s the safest insurance policy for less than $80.

Thumb Release vs Hinge Release for Bowhunting
Once you’ve shot a thumb release for a season, the hinge release starts looking tempting. A hinge fires when you rotate the head with continuous back tension — there is no trigger to push at all. It’s the gold standard for target archery, and a small but growing pack of bowhunters now run hinges in the woods.
For most hunters, the answer is: stay with thumb. A hinge requires a clean, predictable execution every time. Cold fingers, adrenaline, and bad shot angles all conspire to either fire the bow before you’re aimed or freeze you at full draw. A thumb release with the safety on lets you back off, settle, and re-aim — a hinge does not. The honest tradeoff is this: hinges win at the range, thumbs win in the field.
If you want a deeper comparison of how the trigger mechanism changes the underlying technique, read our finger vs mechanical release breakdown — the same logic that separates string releases from mechanical ones explains why thumb and hinge demand different shot sequences.
Common Thumb Release Mistakes and How to Fix Them
Three errors show up over and over in the first month. First, gripping the body too tight — most archers death-grip the release because the wrist strap is gone. Hold it like you’d hold a coffee cup, not a hammer. Second, putting the thumb pad full-flat on the post — only the side of the thumb should touch, never the tip. Third, peeking at the trigger instead of the pin. Eyes stay on the target dot, full stop.
If you punch a thumb release the same way you punched the index, the gear hasn’t fixed anything. Go back to step 5 and run blind bales. The mechanic, not the brand, is what shoots groups.
How to Watch a Pro Shoot a Thumb Release
Lancaster Archery’s Bowhunting How-to channel runs the cleanest tutorial on thumb-trigger activation we’ve found. Watch this once before your next range session and again after — you’ll catch details on the second pass that didn’t register the first time.
When NOT to Switch From Index to Thumb
The switch is not free. There’s a three- to six-week accuracy dip while your nervous system rewires. If your archery season opens in 14 days, do not switch right now. Finish the season on your wrist strap, then make the change in the off-month so your first hunt with the new release isn’t also your first clean group with it.
Skip the switch entirely if you only shoot a few dozen arrows a year. Index wrist releases are forgiving and consistent enough at hunting ranges; the thumb release pays off when you put 1,000+ arrows through it per year. Honest practice volume is the deciding factor.

Build the Rest of the Shot Around the Release
A thumb release archery setup is the platform, not the whole house. Pair it with a solid stabilizer, a tuned arrow rest, a fresh D-loop, and a clean peep, and the release becomes the trigger of a system that hits where you look. Skip any of those, and the best thumb release on the market still throws arrows. The next move after wiring in the new release is a full bow tune — paper-test, walk-back, broadhead alignment, the whole sequence. That’s the work that turns a switch into a season.
Sources
- GOHUNT — A breakdown of different archery release aids for bowhunting — Field-test breakdown of index, thumb, hinge and tension-activated releases by working bowhunters.
- Outdoor Life — The Best Release Aids of 2026: Thumb, Index, Resistance, and Hinge Releases for Bowhunters — Independent review of current-year release aids across all four categories.
- Lancaster Archery Supply — Handheld Trigger Releases Collection — Reference catalog showing head sizes and fitment specs for every major thumb release brand.
- Archery 360 — A Beginner’s Guide to Thumb Releases — Easton Archery Foundation primer on thumb release fundamentals.
Browse archery bows, arrows, and accessories at the Archery Supplier shop →