Archery Blog
Archery Nocking Point Guide: 5 Setup Steps That Matter
Apr
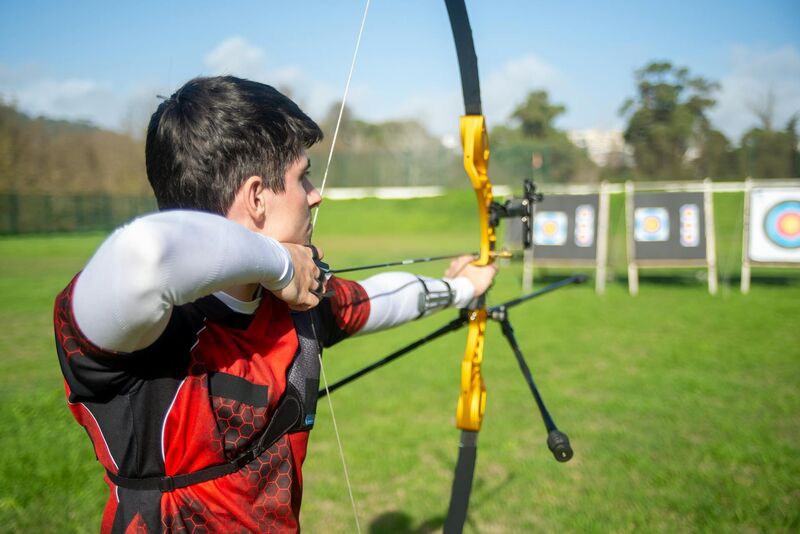
An archery nocking point looks small, but it has a huge job. It tells your arrow exactly where to sit on the string, which affects arrow flight, clearance, and consistency on every shot. If your nocking point is too high, too low, or poorly secured, even a well-tuned bow can start throwing weak groups and odd paper tears.
This guide explains how to set an archery nocking point correctly, what height to start with, how recurve and compound setups differ, and how to know when your current nocking point needs adjustment. If you are still building the rest of your setup, it also helps to understand how to set up a compound bow and how to lock in a repeatable anchor point, because all three pieces work together.
Archery Nocking Point Basics: What It Does
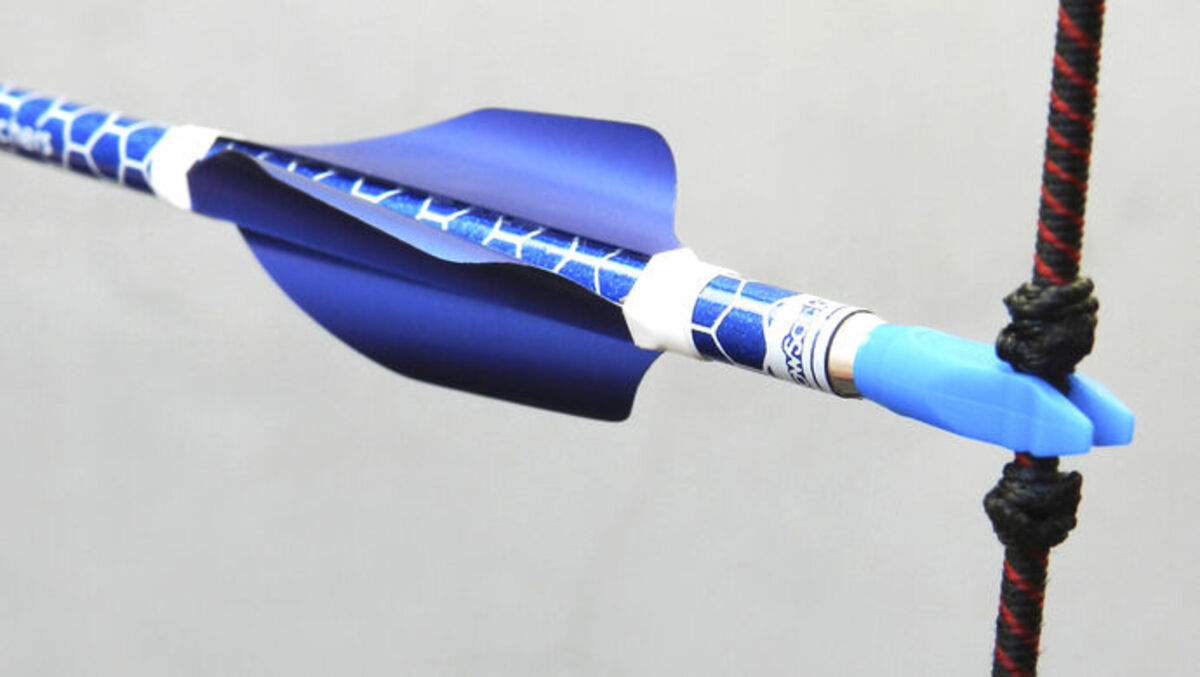
An archery nocking point is the reference spot on the bowstring where the arrow clips in. On recurve and traditional bows, archers often use one or two tied serving knots or a brass nock set. On compound bows, the arrow usually sits between tied nocking points and inside a D-loop that connects to the release aid. World Archery’s equipment guides describe arrows clipping onto the string between nocking points on recurves and against a nocking point, usually inside a D-loop, on compounds.
If that reference point is wrong, the rear of the arrow starts from the wrong angle. That can create tail-high or tail-low flight, noisy release, contact with the rest, and broadhead or field-point inconsistency. A correct nocking point does not fix every tuning problem, but it removes one of the most common setup errors early.
Why Nocking Point Height Matters So Much
Nocking point height matters because it controls the arrow’s launch angle relative to the rest. In simple terms, it decides whether the arrow leaves the bow level, nose-up, or nose-down. Most archers begin slightly above square rather than perfectly level because the arrow flexes during the shot and needs a little clearance room.
That small change, often only around 1/8 inch to 3/16 inch above square for many setups, can affect paper tuning, bare shaft impact, and forgiveness. A starting position is only the start. Final placement still depends on your bow, arrow spine, rest position, face pressure, release quality, and whether you are shooting recurve, longbow, or compound. That is why nocking point adjustment should be paired with a broader tuning process like the one covered in this recurve bow tuning guide.
Where Should an Archery Nocking Point Start?
A good starting point for an archery nocking point is slightly high, not dead level. For many recurves and longbows, coaches and manufacturers often begin around 1/8 inch to 3/16 inch above square. Some Olympic recurve setups may land closer to 4 to 6 mm above square once tuned. Compound bows using a D-loop are often set so the arrow runs level or very slightly nock-high through the berger hole and rest.
The key point is that there is no magical universal number. What matters is starting in a proven range, testing the bow, then adjusting in tiny increments. A single serving wrap or a millimeter change can show up clearly in arrow flight. If you are unsure, start conservative and tune rather than guessing big.
Tools You Need to Set a Nocking Point
You do not need a full pro shop bench to set an archery nocking point, but you do need a few basic tools:
- A bow square or T-square
- Serving material or brass nock sets
- Nocking pliers if you use brass nock sets
- Scissors or a serving cutter
- A lighter, if your serving material requires finishing
- Your normal arrows, ideally the same arrows you actually shoot
If you shoot compound, a D-loop cord and D-loop pliers may also be part of the job. If you want a simple dedicated tool, Archery Supplier already carries an ![]() that makes repeatable measurements easier when you are building or rebuilding strings.
that makes repeatable measurements easier when you are building or rebuilding strings.
How to Set an Archery Nocking Point on a Recurve Bow
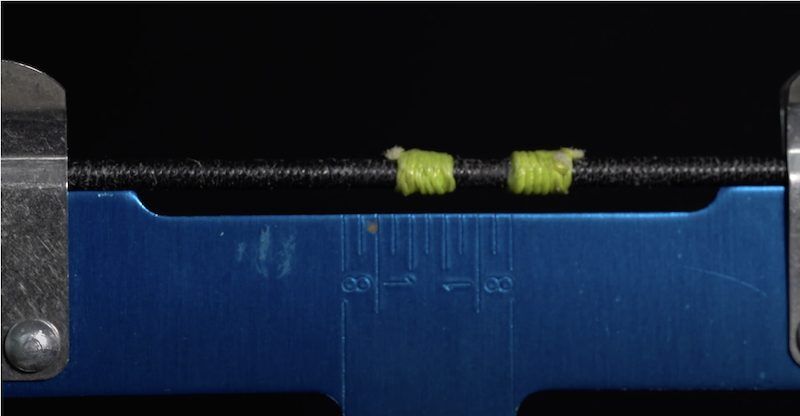
To set an archery nocking point on a recurve bow, begin with a bow square clipped to the string and resting on the arrow rest. Mark a starting point slightly above square, then tie or crimp the locator in place. After that, shoot and tune the bow until bare shafts and fletched shafts group together cleanly.
Step 1: Brace the bow and install the bow square
String the bow normally and confirm brace height is already in the right range. Clip the bow square onto the string so the horizontal arm touches the rest. This gives you your zero reference.
Step 2: Mark a starting nocking point height
For many recurve setups, start around 1/8 inch high. If you are shooting off the shelf or a traditional setup, your ideal final number might end up different, but this gets you in the workable zone.
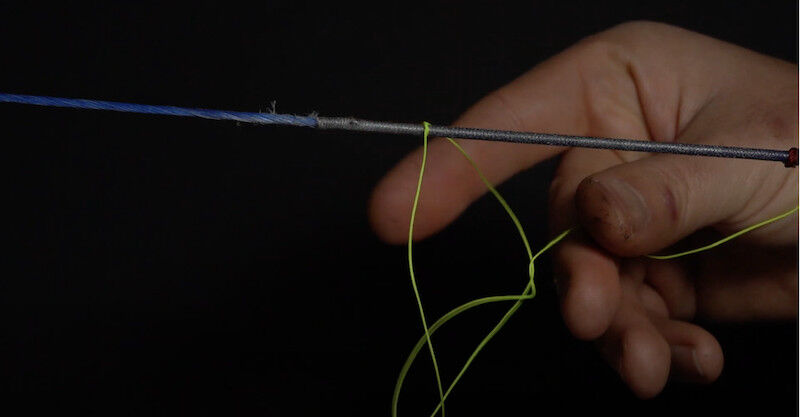
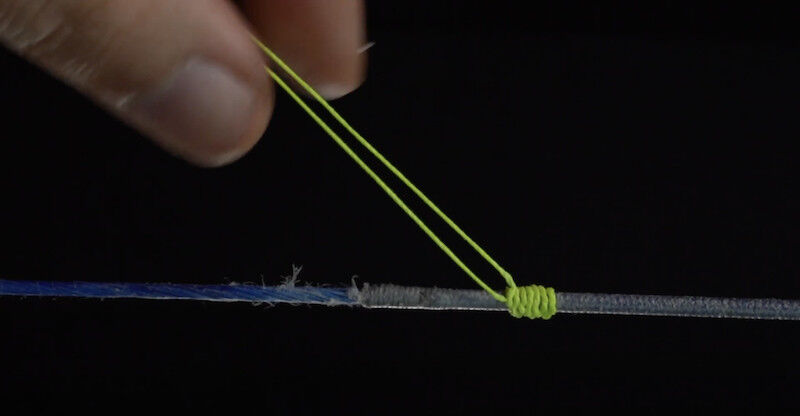
Step 3: Tie the top locator
Use serving thread to tie a secure knot above the nock. Some archers use only one top locator, while others tie one above and one below the arrow nock to keep the fit more consistent. Tied locators are usually lighter and kinder to finger shooters than brass.
Step 4: Nock an arrow and check fit
The arrow should clip on securely but still separate cleanly from the string. If the nock fit itself is too tight or too loose, solve that too. A perfect nocking point cannot overcome the wrong nock throat size.
Step 5: Shoot bare shafts and make micro-adjustments
At close range, compare bare shafts with fletched shafts. If the bare shaft impacts low relative to the fletched group, the nocking point may be too high. If it impacts high, the nocking point may be too low. Make tiny changes and retest. This tuning step matters far more than trying to force one fixed number to work.
How to Set an Archery Nocking Point on a Compound Bow
Setting an archery nocking point on a compound bow is similar in principle, but the hardware changes. Most compounds use a tied nocking point or knots above and below the arrow, plus a D-loop for the release aid. The goal is to keep the arrow running level through the rest while giving the release a clean, centered connection.
Step 1: Level the arrow through the berger hole
Start with the arrow visually level or very slightly nock-high relative to the rest. Many compound setups use the berger hole as a practical visual reference when aligning the rest and loop.
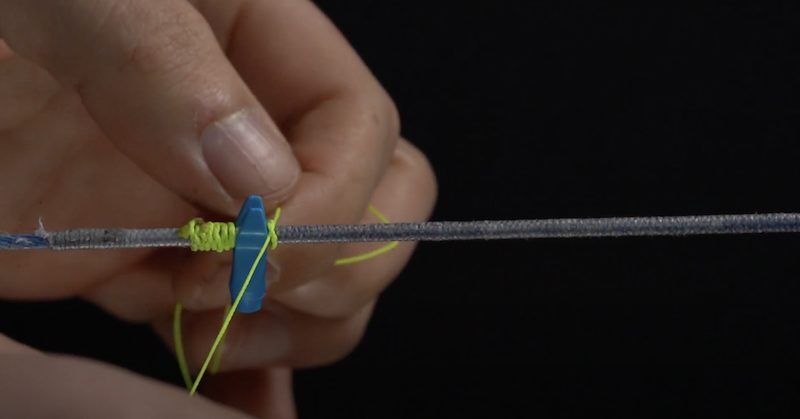
Step 2: Tie locating knots above and below the arrow nock
These knots keep the nock position from drifting and prevent the D-loop from pinching the arrow too hard. If the lower knot or loop squeezes the nock, you can get poor flight and inconsistent release.
Step 3: Install the D-loop
Install the D-loop so your release pulls from the centerline of the string. If you are still deciding between release styles, this archery release aid guide will help. A wrist-strap release can be a simple option for newer compound shooters, and the site also carries a 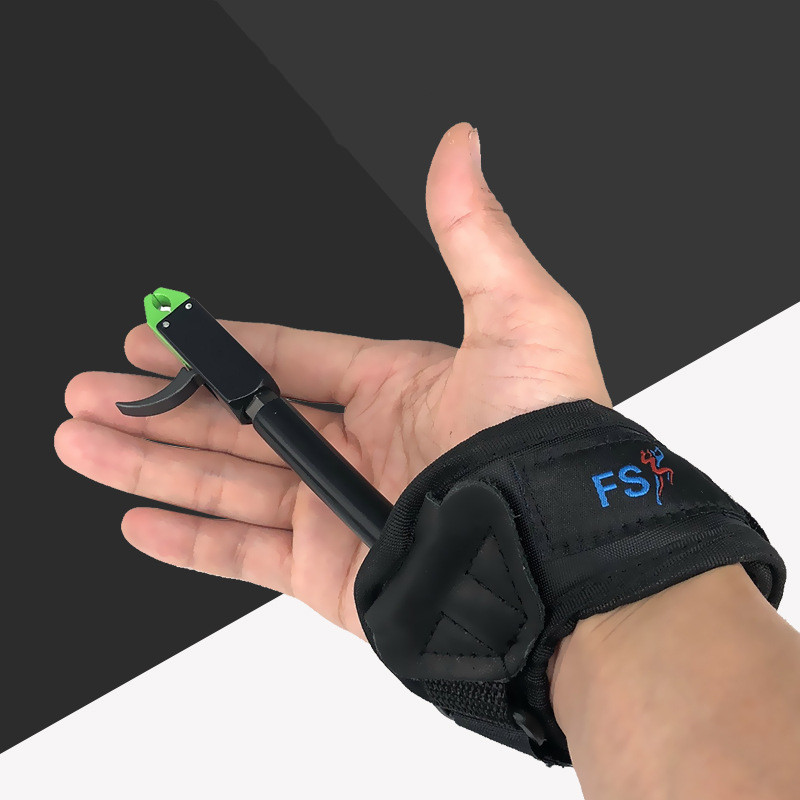 that fits this kind of setup well.
Step 4: Paper tune and confirm broadhead flight
On a compound bow, nocking point height often shows up fast during paper tuning. A clean bullet hole is a good sign, but broadhead confirmation matters too if the bow is for hunting. If you see a persistent vertical tear, check nocking point position alongside cam timing, rest height, arrow spine, and grip pressure.
Tied Nocking Point vs Brass Nock Set
A tied archery nocking point is usually lighter, quieter, and more customizable. A brass nock set is faster to install and easy for beginners to move, but it adds weight to the string and can feel harsher on finger release setups. That is why many recurve shooters prefer tied serving locators, while some beginner traditional archers start with brass just to find a baseline.
On compound bows, tied knots are usually the better long-term option, especially when used with a D-loop. They stay neat, reduce wear, and help avoid the bulky feel of metal on the center serving.
Common Signs Your Nocking Point Is Wrong
If your archery nocking point is wrong, the bow usually tells you. The signs are often subtle at first and obvious later:
- Repeated tail-high or tail-low paper tears
- Bare shafts landing much higher or lower than fletched shafts
- Arrow contact marks on the rest or shelf
- Porpoising arrow flight
- Noisy launch even after other setup changes
- Groups that seem to open vertically for no clear reason
These signs do not always mean the nocking point is the only problem. Arrow spine, rest alignment, string wear, and inconsistent form can produce similar symptoms. Still, nocking point height is one of the fastest things to verify, so it belongs near the top of any tuning checklist.
How to Tune an Archery Nocking Point After the Initial Setup
Once your initial archery nocking point is tied in, tuning begins. For recurves and traditional bows, bare shaft tuning is the cleanest next step. Shoot one or two bare shafts with your normal fletched arrows at a sensible distance. Look for vertical separation first. Move the nocking point in very small increments and repeat until the groups come together naturally.
For compound bows, paper tuning is often the first filter, followed by walk-back tuning or broadhead confirmation. If you are still dialing in sight marks later, check your process against this bow sight adjustment guide. The key is to change one variable at a time. If you move your rest, twist your yokes, and change your nocking point together, you will not know what actually fixed the problem.
Should Beginners Set Their Own Nocking Point?
Yes, beginners can absolutely set their own archery nocking point, as long as they work slowly and use real measurements. This is one of the better setup skills to learn early because it helps you understand how your bow actually works. It also makes routine maintenance much less intimidating later.
That said, if your bow already shows multiple tuning issues or you suspect arrow spine problems, a good pro shop can save time. A beginner should feel confident setting a baseline nocking point, but there is no shame in getting help with final tuning on a stubborn setup.
Small Accessories That Help the Job
Along with a bow square, a few small accessories make nocking point setup easier and more repeatable. A decent arm guard keeps your string path honest while testing form, especially if you are still cleaning up elbow rotation and posture. Archery Supplier carries a simple 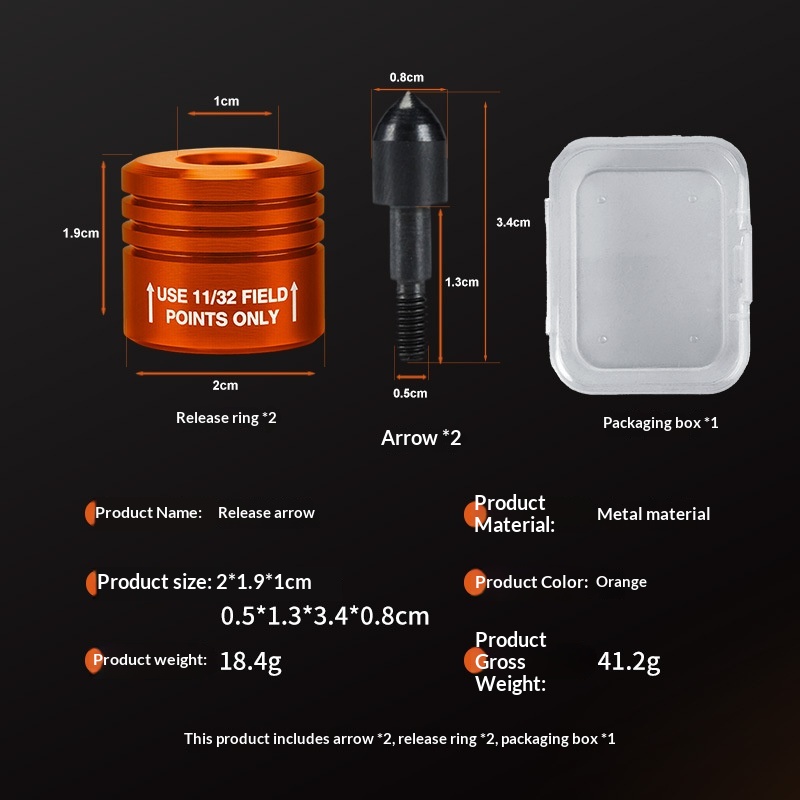 that works well for practice sessions.
If you shoot recurve, keeping a spare string and checking serving wear regularly also matters. A shifting center serving can change nock fit and make you think your nocking point moved when the real issue is string wear.
Final Thoughts on Setting an Archery Nocking Point
An archery nocking point is one of the smallest parts of your setup, but it influences almost everything that happens after the string leaves your fingers or release. Start slightly above square, measure carefully, tune with purpose, and make only tiny changes at a time. When the nocking point is right, the bow feels calmer, arrows leave cleaner, and the rest of your tuning process gets much easier.
If you are rebuilding your setup from scratch, pair this job with a clean string inspection, a rest check, and a review of your anchor and sight settings. Done properly, a correct nocking point gives every shot a better launch and gives you a much more trustworthy bow.
Sources
- World Archery, Archery 101: How to tie a nocking point — official step-by-step overview of tied nocking points.
- World Archery, Recurve equipment guide — confirms arrows clip between nocking points on recurve bows.
- World Archery, Compound equipment guide — explains compound arrows clip against a nocking point and usually inside a D-loop.
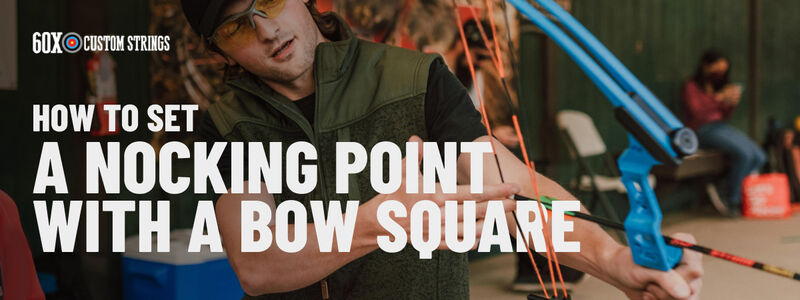
- 60X Custom Strings, How To Set a Nocking Point With a Bow Square — practical starting-height guidance and bow square method.
- Archery 360, How to Tie Nocking Points for Recurves and Longbows — modern tied-nocking-point walkthrough and tuning notes.
Browse archery bows, arrows, and accessories at the Archery Supplier shop →
Shop on Amazon
Archery Equipment on Amazon →
As an Amazon Associate we earn from qualifying purchases.