
Archery Blog
How to Fletch Arrows: A 7-Step DIY Guide for Perfect Flight
Jul
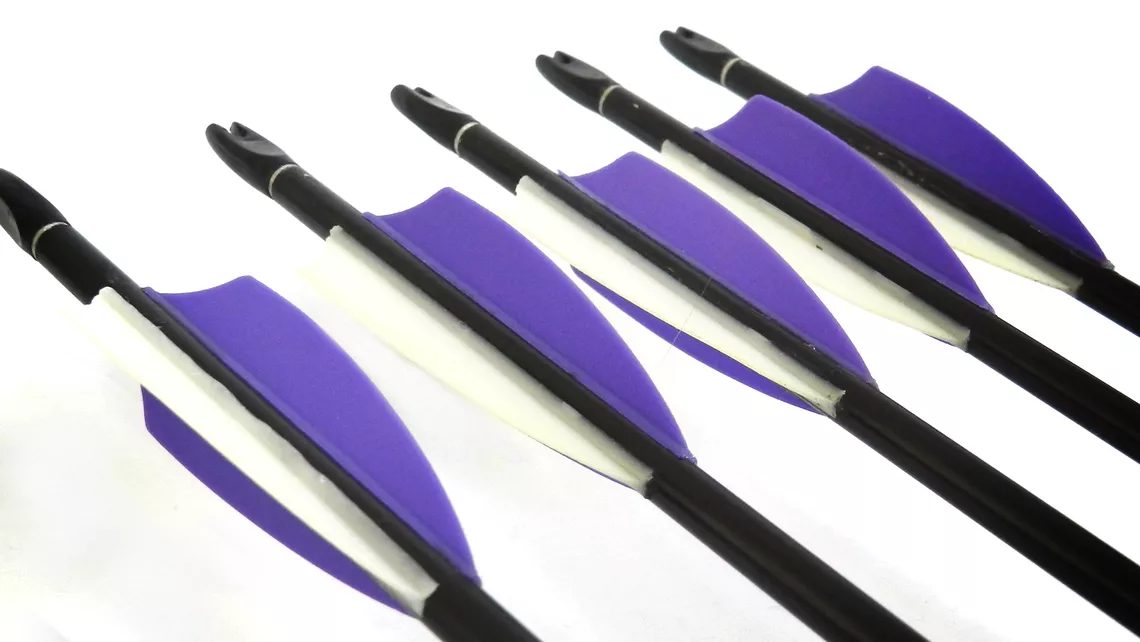
A single replacement vane costs about 30 cents. A pack of factory-fletched arrows can run you $15 apiece. Once you learn how to fletch arrows yourself, a torn vane stops being a reason to retire a $12 shaft — it becomes a five-minute fix at the kitchen table. Fletching your own also lets you tune orientation and color to your exact rest, broadhead, and eyesight, which no factory arrow off the rack will do for you.
This guide walks through the whole process with a standard three-vane jig: prepping the shaft, gluing the vanes, choosing between helical and offset, and fixing the mistakes that cause vanes to peel off after a dozen shots.
What You Need to Fletch Arrows
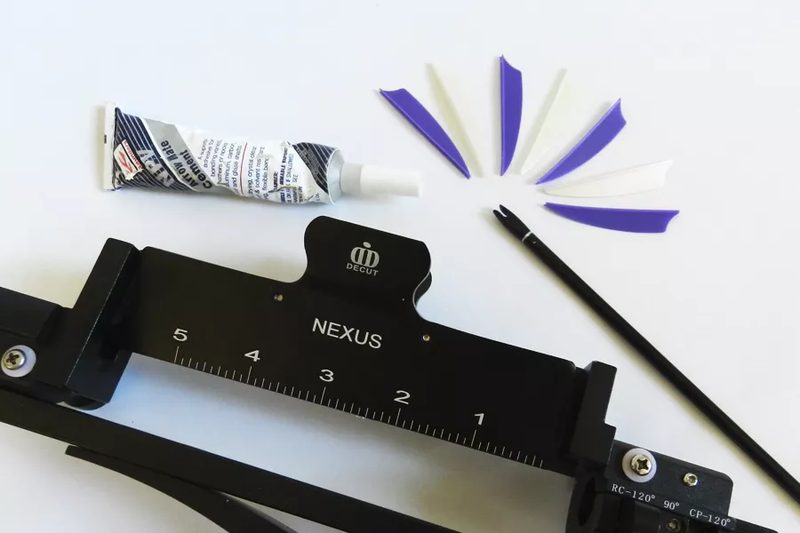
The barrier to entry here is low. You need a fletching jig, a clamp (usually included with the jig), vanes or feathers, and a glue rated for fletching — most people use a fast-curing cyanoacrylate or a flexible fletching cement. Isopropyl alcohol and a lint-free cloth round out the kit. That’s it. A jig runs $30 to $120 depending on whether it offsets or applies true helical, and it pays for itself the first time you re-fletch a dozen arrows instead of buying new ones.
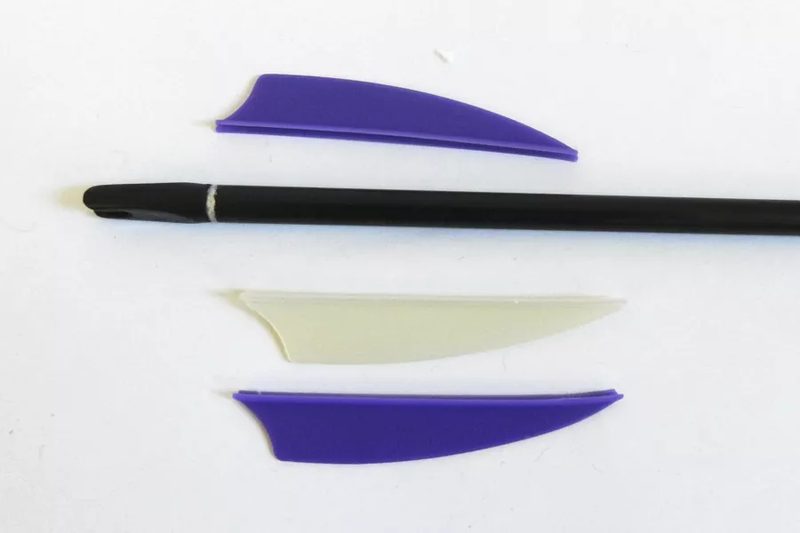
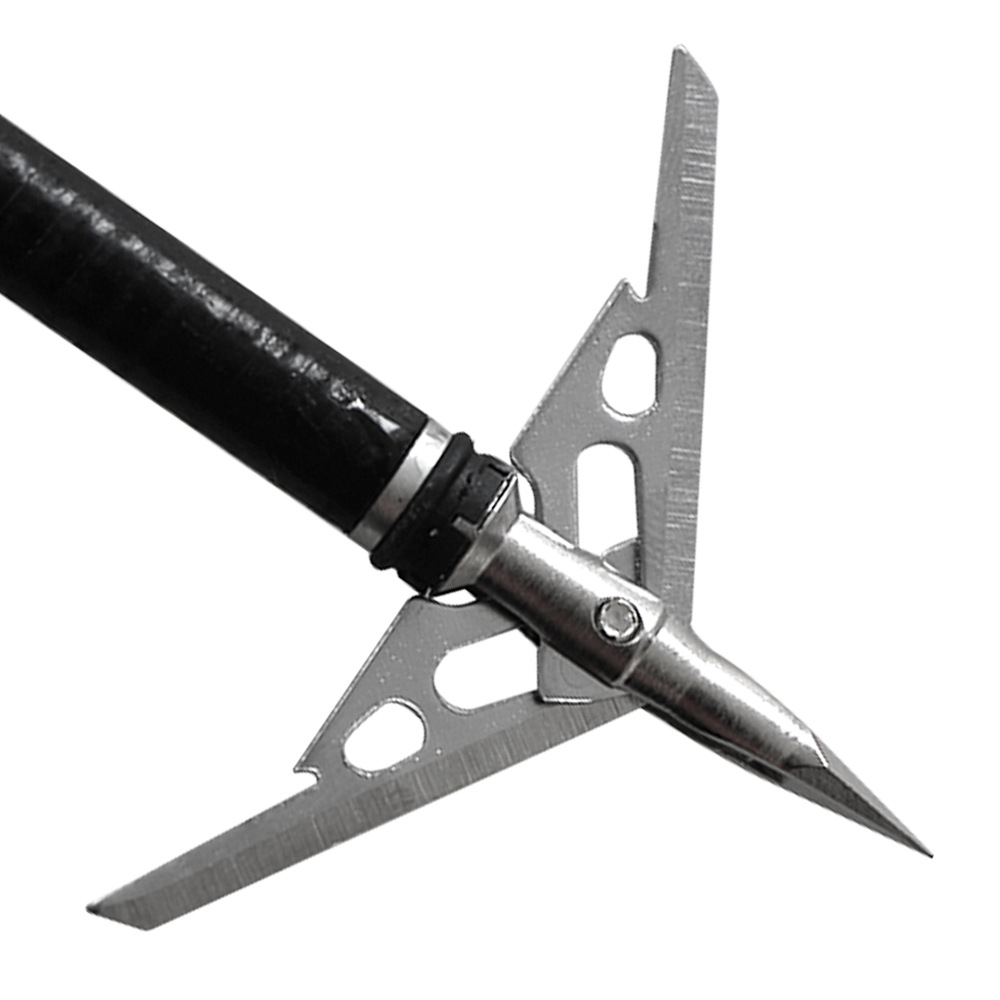
One decision to make before you start: vane length. Shorter vanes (1.5 to 2.5 inches) are lighter and faster, good for field points and long-range target work. Taller, stiffer vanes (4 to 5 inches, or feathers) grab more air and steer fixed-blade broadheads better. If you haven’t already sorted this out, our guide to arrow fletching types and sizes breaks down which profile suits your shooting.
How to Fletch Arrows in 7 Steps
Learning how to fletch arrows comes down to a repeatable rhythm: prep, glue, clamp, rotate, repeat. Once you’ve done three or four shafts, you’ll settle into a pace of about two minutes per arrow, most of which is waiting for glue to grab.
1. Clean the shaft and the vanes
Wipe the back six inches of the shaft with isopropyl alcohol to strip factory wax, hand oils, and dust. Do the same to the base of each vane. This is the step people skip, and it’s the single biggest reason vanes peel. Glue bonds to clean carbon or aluminum, not to the residue left over from manufacturing.
2. Set your position in the jig
Drop the shaft into the jig and decide how far from the nock the vanes will sit. About 1 inch (2.5 cm) of clearance behind the vanes is standard — it keeps the fletching off your fingers and clear of the rest. Most jigs have a measurement scale printed right on the body so you can repeat the exact spot on every arrow.
3. Load a vane in the clamp and apply glue
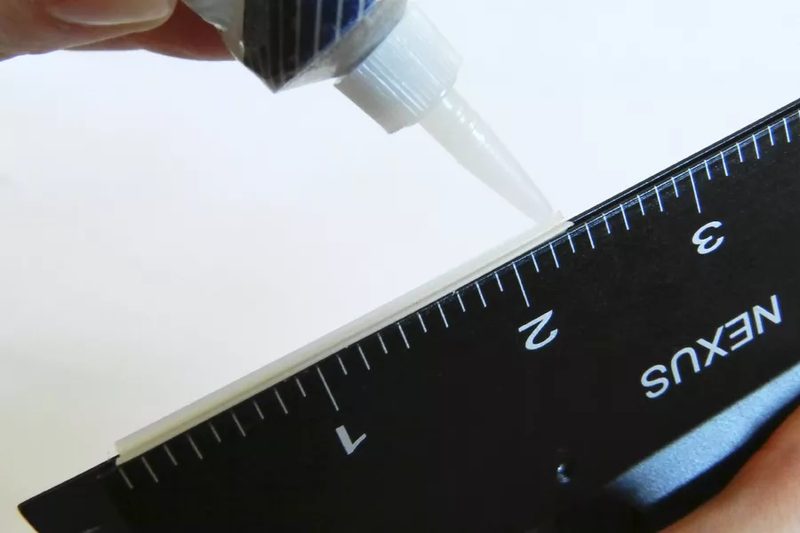
Seat a vane in the clamp so its base sits flush. Run a thin, continuous bead of glue down the groove of the vane — thin is the operative word. A fat bead squeezes out the sides, looks messy, and actually bonds worse because it takes longer to cure. You want a line you can barely see.
4. Clamp the vane to the shaft
Press the clamp onto the shaft and hold it firmly for 10 to 20 seconds, depending on your glue’s cure time. Keep the pressure even along the whole vane so the tail end doesn’t lift. Fast cyanoacrylate grabs almost instantly; flexible cements need a longer hold.
5. Rotate 120 degrees and repeat
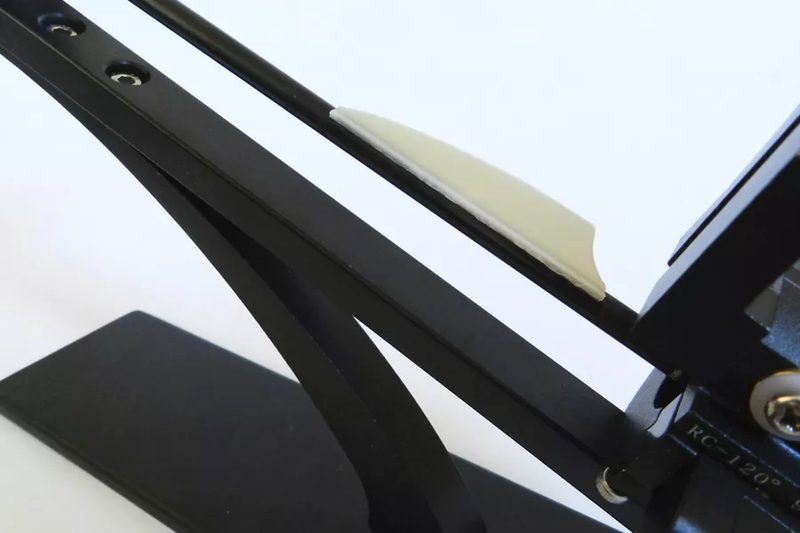
Release the clamp, rotate the shaft to the next indexed position — a three-fletch jig gives you three clicks at 120-degree spacing — and glue on vane number two. Then the third. Consistency here is everything: the whole point of a jig is that every arrow in the batch comes out identical.
6. Check the cock vane alignment
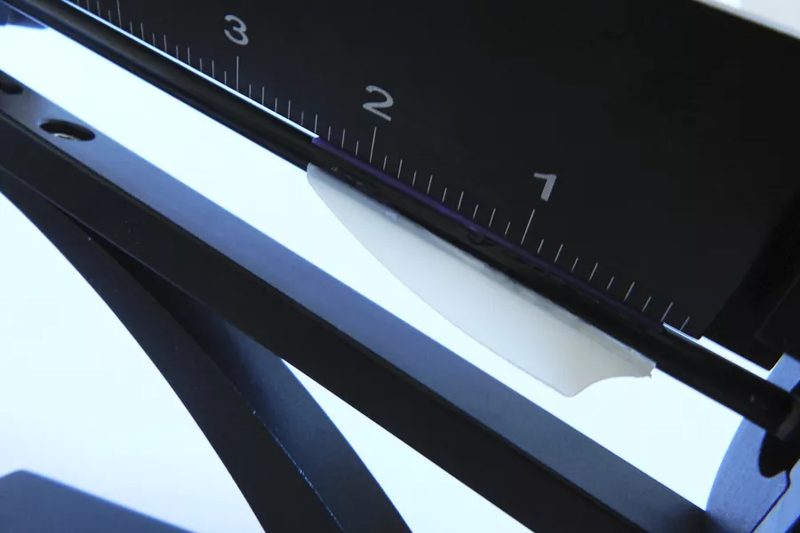
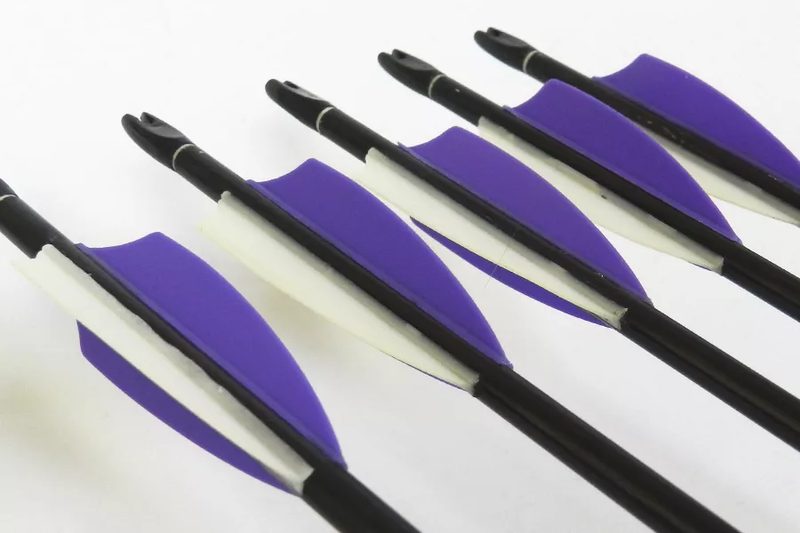
The odd-colored “cock” or “index” vane should line up with the nock throat so it clears your rest correctly. On most nocks, one of the two arms carries a small bump — align the cock vane to that arm, not to the string groove. Get this wrong and the vane can slap the rest on release.
7. Cap the ends and let it cure
Once all three vanes are on, put a tiny dot of glue on the leading and trailing edge of each one. Those two dots roughly double how long a fletch survives — the front dot stops air from peeling the leading edge, and the back dot locks the tail. Then walk away. Give the arrow a couple of hours before you shoot it, even with fast glue. Rushing the cure is how you end up re-fletching the same arrow twice.
Building a full set from scratch? You’ll want to cut your arrows to length and check the arrow spine before you fletch, since both affect how the finished arrow flies.
Helical vs. Offset vs. Straight: Which Orientation?
This is where fletching stops being assembly and starts being tuning. The angle you set the vanes at controls how fast the arrow spins, and spin is what stabilizes it in flight.
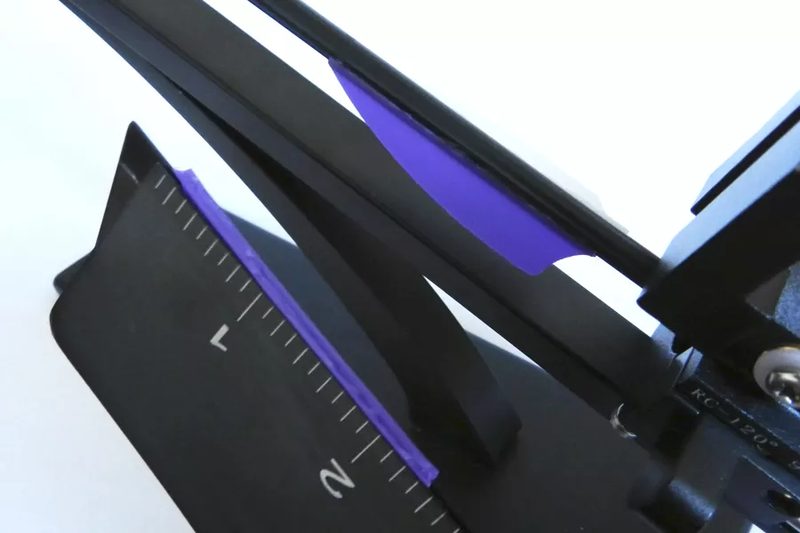
Straight vanes run parallel to the shaft. They create the least drag and the highest arrow speed, but they don’t spin the arrow, so they’re really only for indoor target shooting with field points where you don’t need much correction. Offset vanes are the same flat vane rotated 1 to 3 degrees around the shaft — you get gradual spin without much speed loss, which is why offset is the sweet spot for most compound shooters running field points or mechanical broadheads. Helical vanes are physically curved across their length, generating maximum spin right out of the bow.
My take: if you shoot fixed-blade broadheads, run helical and don’t overthink the 3 to 5 fps you give up. Outdoor Life’s broadhead-accuracy testing found helical fletching consistently killed the planing that makes fixed blades drift, and at hunting ranges that speed difference is noise. The only catch is clearance — a strong helical needs a rest with enough room, so test-shoot a few before you fletch a whole dozen.
Three Vanes or Four?
Three is the default, and for good reason: three vanes are lighter, faster, and easier to index off a standard jig. Four-fletch setups spread the same steering force across more, smaller vanes, which can lower the profile and tighten groups for some target shooters — but four vanes mean one is always sitting closer to the rest, so clearance gets fussier. Start with three. Move to four only if you have a specific reason and a rest that cooperates.
Feathers or Plastic Vanes?
Feathers are lighter, forgiving of contact because they fold down and pop back up, and they grip air aggressively for fast stabilization — traditional and barebow recurve shooters lean on them heavily. The downsides are real: they’re louder, they soak up rain and go limp, and they wear out faster. Plastic vanes are waterproof, quiet, durable, and cheap, which is why nearly every compound shooter runs them. Unless you’re shooting off the shelf on a traditional bow, plastic vanes are the practical choice.
How to Re-Fletch an Old Arrow
Re-fletching is the same process with one extra step at the front: stripping the old vanes. Pinch and peel each vane off by hand, then scrape the leftover glue ridge with the back edge of a knife or a dedicated fletching stripper. Don’t gouge a carbon shaft with a blade — scrape at a shallow angle. Finish with an alcohol wipe and you’re back at step one. A shaft that’s still straight and undamaged can be re-fletched several times over its life, which is the whole economic argument for owning a jig.
Common Fletching Mistakes
Almost every fletching failure traces back to one of four things. Skipping the alcohol wipe is number one — dirty shafts don’t hold glue, full stop. Too much glue is number two; a thick bead cures slowly and bonds poorly. Not holding the clamp long enough lets the tail lift before the glue sets. And shooting too soon stresses a half-cured bond the first time the arrow rips off the rest. Fix those four and your vanes will outlast the shaft.
Watch: Fletching Arrows Step by Step
For a look at the full rhythm in real time, this walkthrough from John Dudley covers jig setup and gluing technique in detail:
Fletch one arrow tonight and you’ll wonder why you ever paid shop prices for it. Start with a cheap jig and a dozen practice shafts, dial in an offset you can shoot consistently, and keep a bag of spare vanes in your kit — because the archer who can re-fletch in the field never loses a day of shooting to a torn vane. When you’re ready to fine-tune, revisit orientation and vane size against your specific rest and points.
Sources
- World Archery — Archery 101: How to fletch an arrow (with plastic vanes) — step-by-step jig and gluing process
- Outdoor Life — Helical Fletching Is Most Accurate — broadhead accuracy and spin testing
- Field & Stream — Choosing the Right Fletching for Perfect Arrow Flight — vane profiles and orientation trade-offs
