
Archery Blog
Recurve Archery for Beginners: Equipment, Form, and Your First 90 Days
May
Pulling back a recurve bow for the first time is a different feeling than any other shooting sport. There are no cams to spin the string, no let-off to hold the weight for you, no peep to look through. It is just you, a curved piece of wood and fiberglass, and a target downrange. That stripped-down simplicity is what draws people in — and it is also what makes recurve archery surprisingly demanding. Every shot exposes form errors that a compound bow would quietly mask. The good news: the learning curve is steep but short. Pick the right equipment, drill the fundamentals for ninety days, and you will be grouping arrows on a 60 cm face at 18 meters. This guide covers everything a brand-new archer needs to start.
Why Recurve Before Compound?
Compound bows are easier to shoot well in the first month. The let-off holds 80% of the draw weight for you, the peep sight enforces head position, and the release aid removes finger contact with the string entirely. So why bother with a recurve at all? Three reasons.
First, recurve is the only bow type used at the Olympic Games — if you intend to chase any international target archery outside of compound-specific events, a recurve is mandatory. Second, the simpler mechanics teach you what your body is actually doing. A bad anchor point on a compound might cost you a centimeter at 20 yards; on a recurve it costs you six. The bow is a brutally honest coach. Third, recurves are cheaper to enter, easier to travel with, and need almost no maintenance — no press, no cam timing, no module swaps, no peep alignment.
Recurve Bow Anatomy
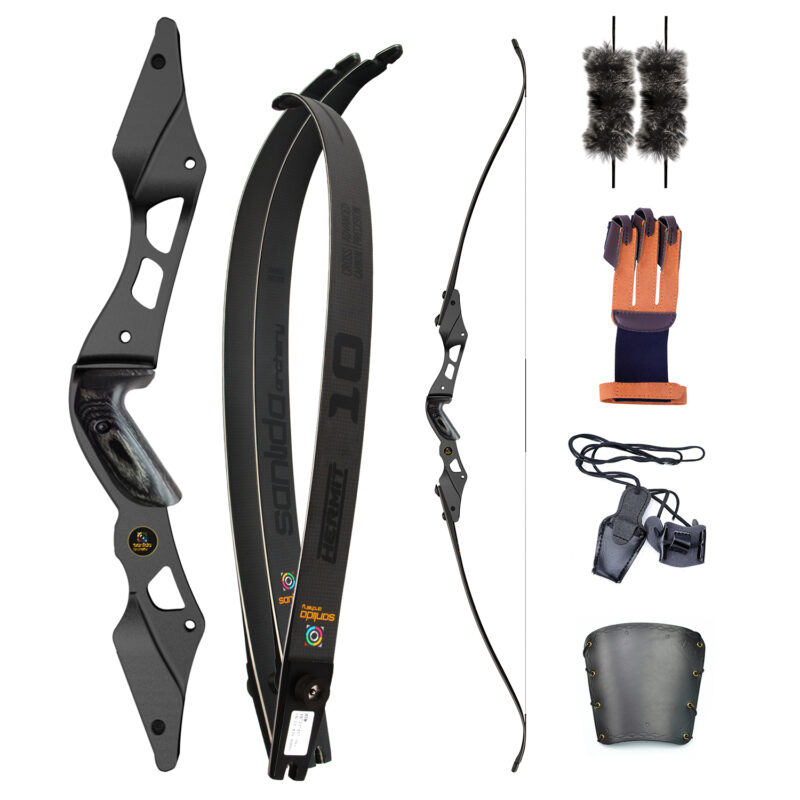
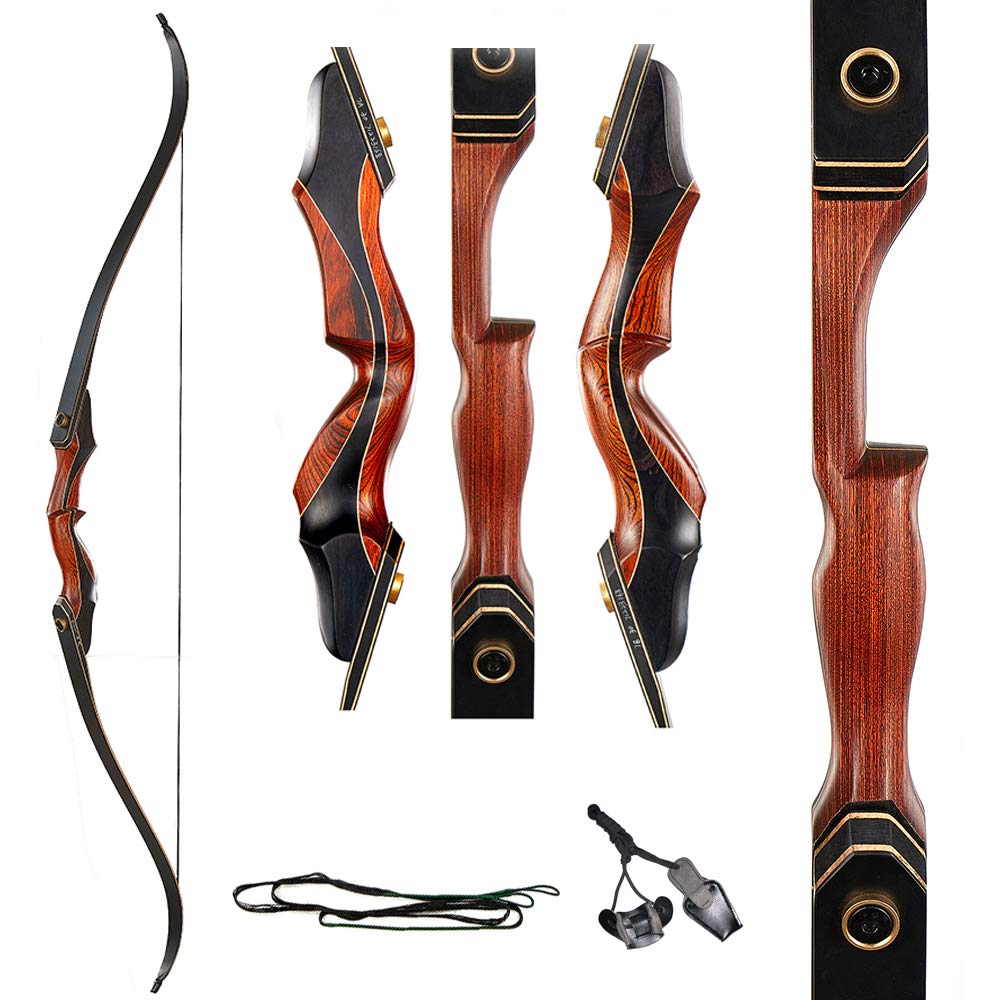
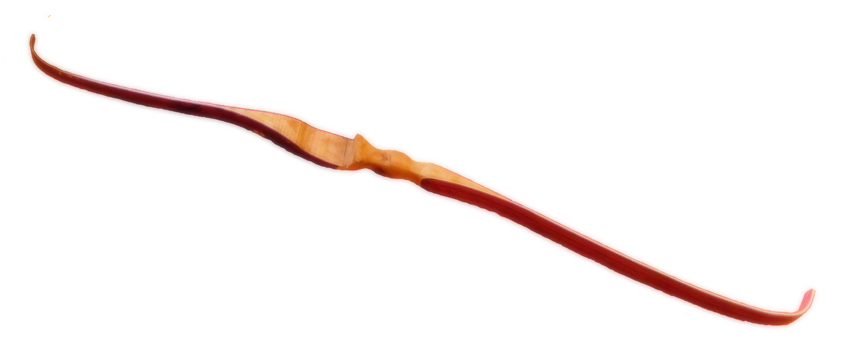
The modern recurve breaks down into three core components: a riser (the central handle section), two limbs (the curved arms that store the energy), and a string. On entry-level bows these can all be fused into a one-piece design, but anyone serious about progression should buy a takedown recurve from day one. Takedowns let you upgrade limbs as your strength increases without buying a whole new bow.
The Riser
Risers on beginner bows are usually cast aluminum (around $80–$150); intermediate risers move to machined alloy ($200–$400). The riser holds the grip section, the arrow shelf, and bushings for accessories like a sight, plunger button, clicker, and stabilizer rods.
The Limbs
Limbs come in two mounting systems: ILF (International Limb Fitting) or Formula. ILF is the de-facto standard for adult target archery and accepts limbs from dozens of manufacturers — that interchangeability is exactly what makes a takedown valuable. Beginner limbs are wood-core with fiberglass laminates; intermediate limbs add carbon for faster arrow speeds and less hand shock.
The String
Modern recurve strings are built from Dacron (forgiving, slow), 8125, or BCY-X (faster, harsher on the bow). Stick with Dacron for the first year — it is gentler on inexpensive limbs and absorbs bad releases instead of transferring shock straight into the riser.
Choosing Your First Recurve
The single biggest beginner mistake is buying too much draw weight. A pulled rotator cuff in week three will end your archery career faster than any equipment defect ever could.
Draw Weight Guidelines
Target these holding weights at full draw (not the peak weight printed on the limbs — that’s measured at 28 inches and will not match your real draw length):
- Women, untrained: 16–20 lbs
- Women, athletic: 20–24 lbs
- Men, untrained: 22–26 lbs
- Men, athletic: 26–30 lbs
You will outgrow these in six to twelve months. That is the point. Buying 35 lbs because you “want to grow into it” leaves you unable to expand into the back muscles, and every single shot becomes a struggle for survival rather than a chance to refine form.
Bow Length
Match the bow’s total length to your draw length:
- Draw under 28″: use a 66″ bow
- Draw 28″–30″: use a 68″ bow
- Draw over 30″: use a 70″ bow
The best way to know your real draw length is to be measured at a pro shop with a draw-check arrow. Estimating from wingspan (wingspan ÷ 2.5) gets you within an inch.

Shop Beginner Takedown Recurve Bows on Amazon →
Beginner Gear Beyond the Bow
Six accessories you actually need on day one:
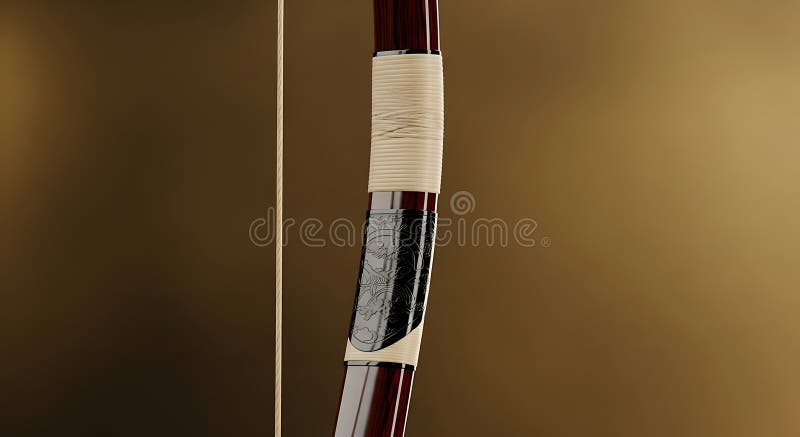
- Arm guard — A bowstring slap on bare skin draws blood and bruises through the forearm for a week. Don’t argue with the physics; wear the guard.
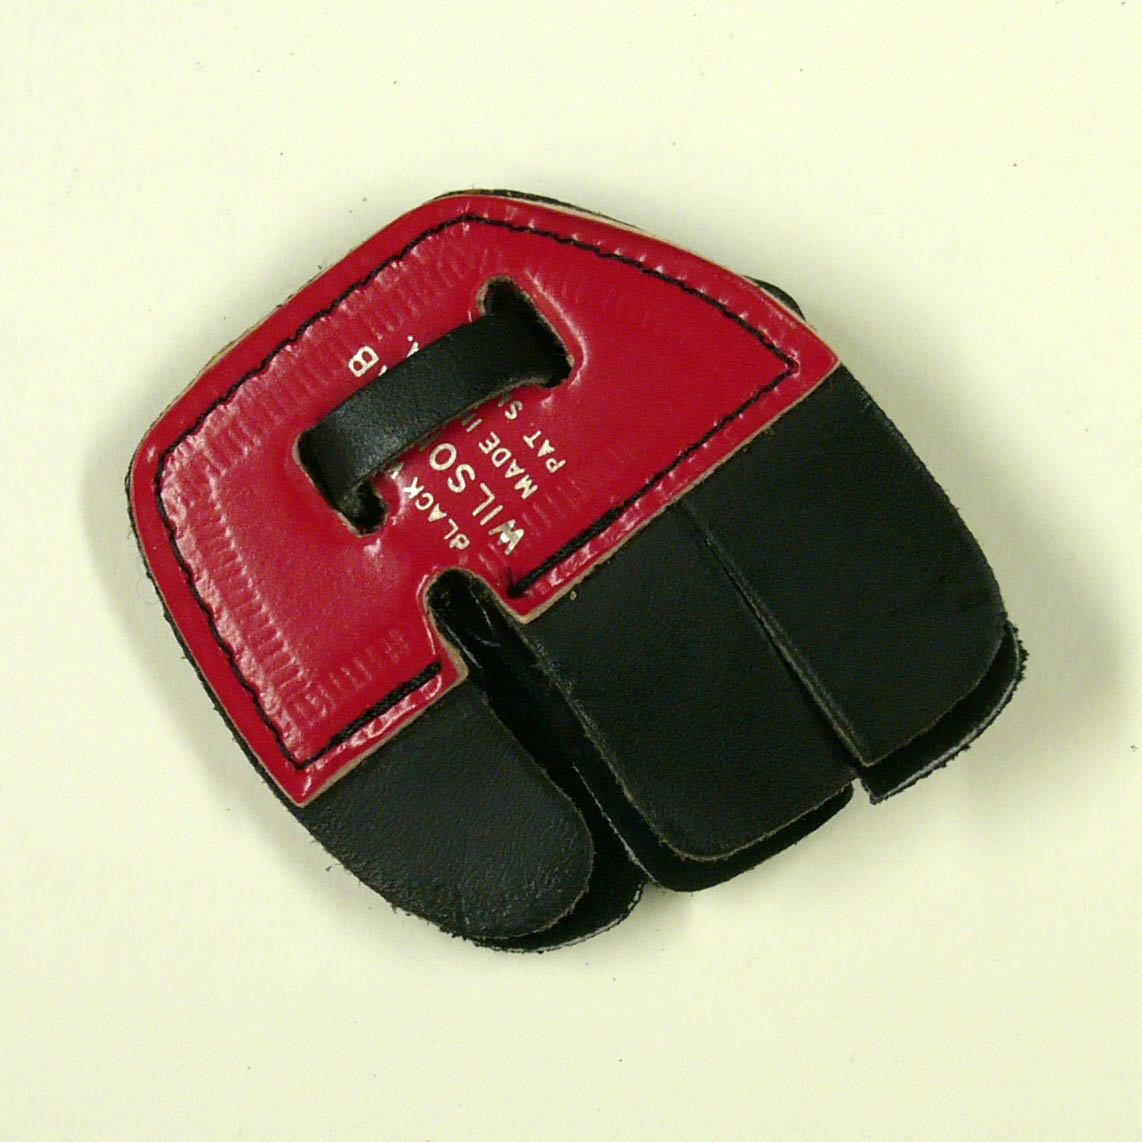
- Finger tab — A leather or Cordovan tab protects the three fingers gripping the string and gives the release a consistent slide surface. Skip the shooting glove unless you are shooting traditional.
- Quiver — A hip quiver keeps arrows accessible and off the ground. A workable one costs $20.
- Bow stringer — Stringing a recurve by hand twists the limbs and voids almost every warranty. The stringer is $15 and mandatory.
- Arrows — Twelve aluminum or aluminum/carbon arrows spined for your draw weight. Easton XX75 Platinum Plus is the standard beginner shaft.
- Target — A bag target rated for under 40 lbs lasts thousands of shots. Avoid stiff foam blocks until your form is consistent enough to not bury arrows sideways.
Shop Archery Finger Tabs on Amazon →
The 10-Step Shot Cycle
Every recurve shot follows the same sequence. Drilling this in slow motion teaches your nervous system more than ten thousand fast shots ever will.
- Stance — Feet shoulder-width, body perpendicular to the target, weight 60/40 on the front foot.
- Nock — Index fletching pointed away from the bow, arrow snapped onto the string under the nock locator.
- Set hand on grip — The lifeline of the palm runs along the pivot point. Hand stays relaxed throughout the shot.
- Hook the string — Three fingers, deep into the first knuckle joint, one above and two below the nock.
- Pre-draw — Raise the bow arm to shoulder height, slightly rotate the elbow out, draw the string back a few inches with the bow at eye level.
- Draw — Pull the string fully back using the back muscles, not the bicep. Imagine pinching your shoulder blades together.
- Anchor — String touches the corner of the mouth, index finger under the jaw. Same exact place on every single shot.
- Aim — Settle the sight pin (or arrow tip if shooting barebow) on the target while continuing to expand into your back.
- Release — Relax the string fingers; the hand drifts back along the jaw line.
- Follow-through — Bow arm holds position for a full second after the arrow lands. The bow hand stays open — the bow jumps forward into the finger sling, not into a grab.
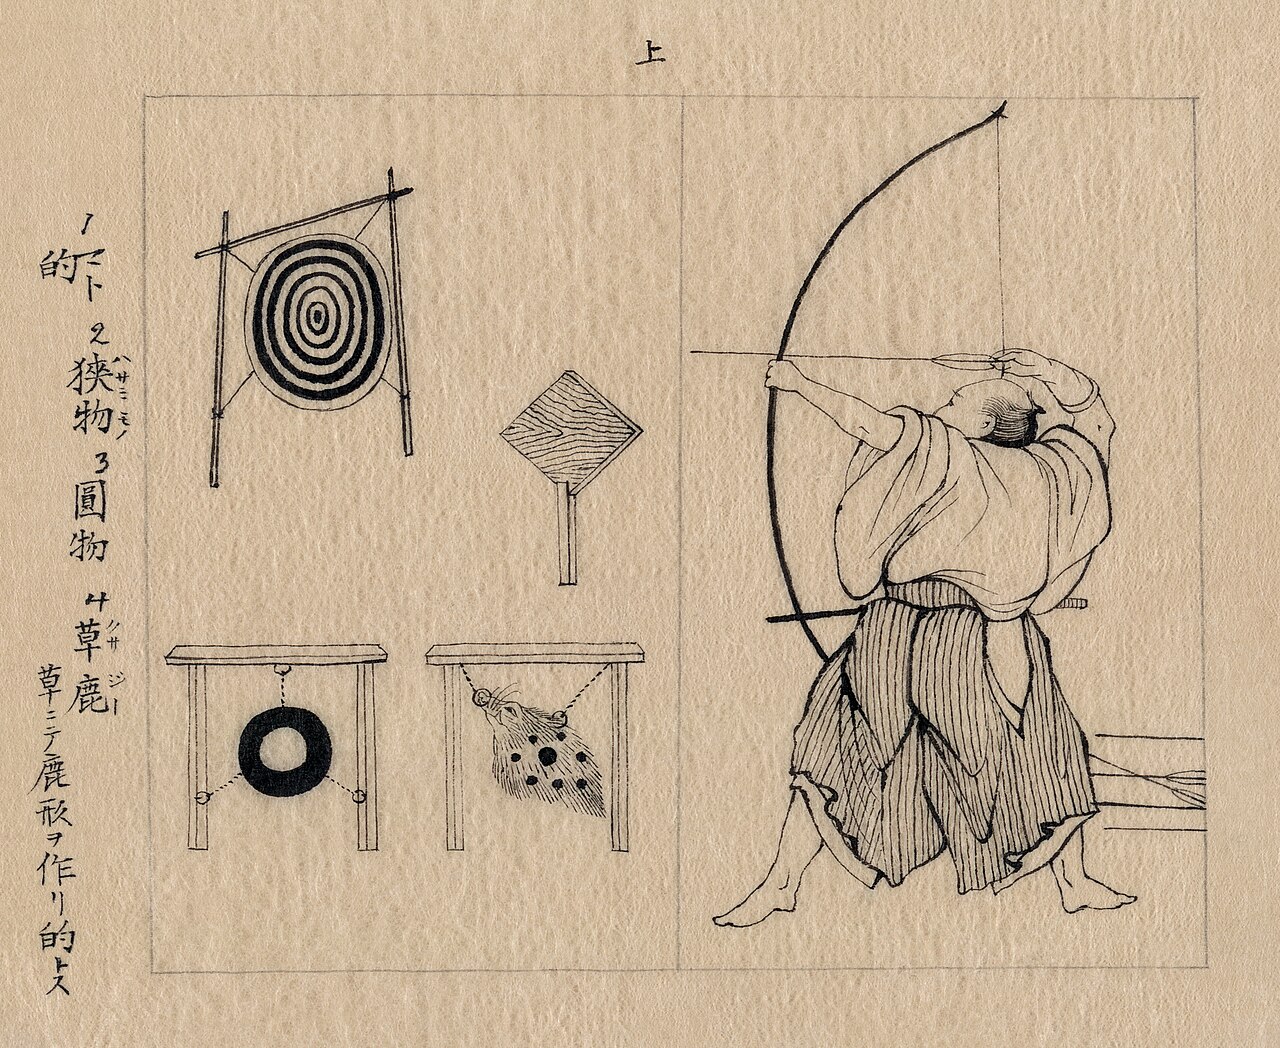
A core drill: do steps 1–10 with no arrow at point-blank range, eyes closed, for fifty repetitions. This is called blank bale shooting and it is how Olympic archers warm up every session.
Common Beginner Mistakes
Death-gripping the bow. A clenched grip torques the bow on release. Open hand, finger sling under the wrist, let the bow jump forward into the sling on its own.
Peeking at arrow flight. Moving your head before the arrow hits drags the bow shoulder down with it. Hold position until you hear the impact.
Snap shooting. Releasing the instant you anchor robs you of the aiming phase. Count “one Mississippi” between anchor and release for the first thousand shots.
Bicep pulling. If your draw arm aches before your back does, you are pulling with the wrong muscle. Re-engage the rhomboids by initiating the draw from your shoulder blade, not your hand.
Plucking the release. Pulling string fingers sideways away from the face throws arrows left for a right-handed archer. The release should be the absence of tension, not an action.
Bow shake at anchor. Either the draw weight is too high or you are trying to aim too long. Both fixes are obvious: drop the weight, or release within five seconds of anchoring.
Your First 90 Days: A Training Plan
Weeks 1–2: Blank Bale
Shoot at 3 meters into a blank target face. No sight, no aiming, eyes closed for half the shots. Goal: lock in the shot cycle. 50 arrows per session, three sessions per week.
Weeks 3–4: 9-Meter Target
Move to 9 meters with a 40 cm three-spot target. Now add the sight and start aiming. Goal: groups under 20 cm. Three sessions per week, 60 arrows each.
Weeks 5–8: 18-Meter Indoor
Standard indoor competition distance. Use a 40 cm three-spot face. Goal: a 25-arrow score above 200 out of 250. Four sessions per week, 90 arrows.
Weeks 9–12: Outdoor 30 Meters
Move outside. Wind, lighting, and longer pin float test everything you built indoors. Use an 80 cm five-color face. Goal: all arrows on the target face by week twelve.
Shop Archery Arm Guards on Amazon →
By day 90 you will know whether recurve archery is a lifelong sport for you or a passing curiosity. Most people who survive the first three months stay for years.
When to Upgrade
You do not need a $1,200 riser to break 280 on an indoor round. Hold off on upgrades until at least three of these are true:
- You have shot at least 5,000 arrows
- Your group at 18 m is consistently under 8 cm
- You can pull your current bow weight with relaxed shoulders for 30 arrows in a row
- You have re-measured your draw length on a precision arrow (it usually grows 0.5–1.0″ in the first six months as your form settles)
- You have shot at least one indoor tournament
When several of those are true, upgrade limbs first (better material means faster arrows and less hand shock), then the riser, then sights and stabilizers. Strings, arrows, and tabs are consumables — replace those continually.
Sources
- World Archery — international governing body, rules and equipment standards.
- USA Archery — national governing body, beginner coaching resources and tournament information.
- Wikipedia — Recurve bow — historical background, mechanics, and design overview.
Browse archery bows, arrows, and accessories at the Archery Supplier shop →
