
Archery Blog
Archery Wrist Strain: Why Your Grip Is the Problem (and How to Fix It)
Jul
The Death Grip and the Wrist It Destroys
If you are experiencing wrist pain after archery sessions, the most likely culprit is not your wrist at all — it is your grip. Specifically, the white-knuckle grip that many beginners (and plenty of experienced archers) apply to the bow handle, squeezing it as if it might escape. This “death grip” is the single most common cause of archery wrist strain, and it is also a primary source of inconsistency, torque, and missed shots.
The bow handle is not designed to be gripped. This surprises many new archers, whose instinct is to hold a tool tightly for control. In archery, the opposite is true: a tight grip transmits torque through the bow hand, twists the riser at the moment of release, and drives that rotational force directly into the wrist joint. Repeated tens or hundreds of times per session, this torque is more than enough to produce the ligament strain, tendon irritation, and joint inflammation that collectively describe wrist strain.
Proper Bow Hand Placement: The Thenar Pad Principle
Correct bow hand position places the pressure point on the thenar eminence — the fleshy pad at the base of the thumb, on the thumb side of the palm. This is the load-bearing contact between hand and bow, and it is positioned on a line from the wrist joint through the lifeline of the palm. When the bow is held correctly in this zone, the force of the draw runs straight up the arm rather than twisting the wrist.
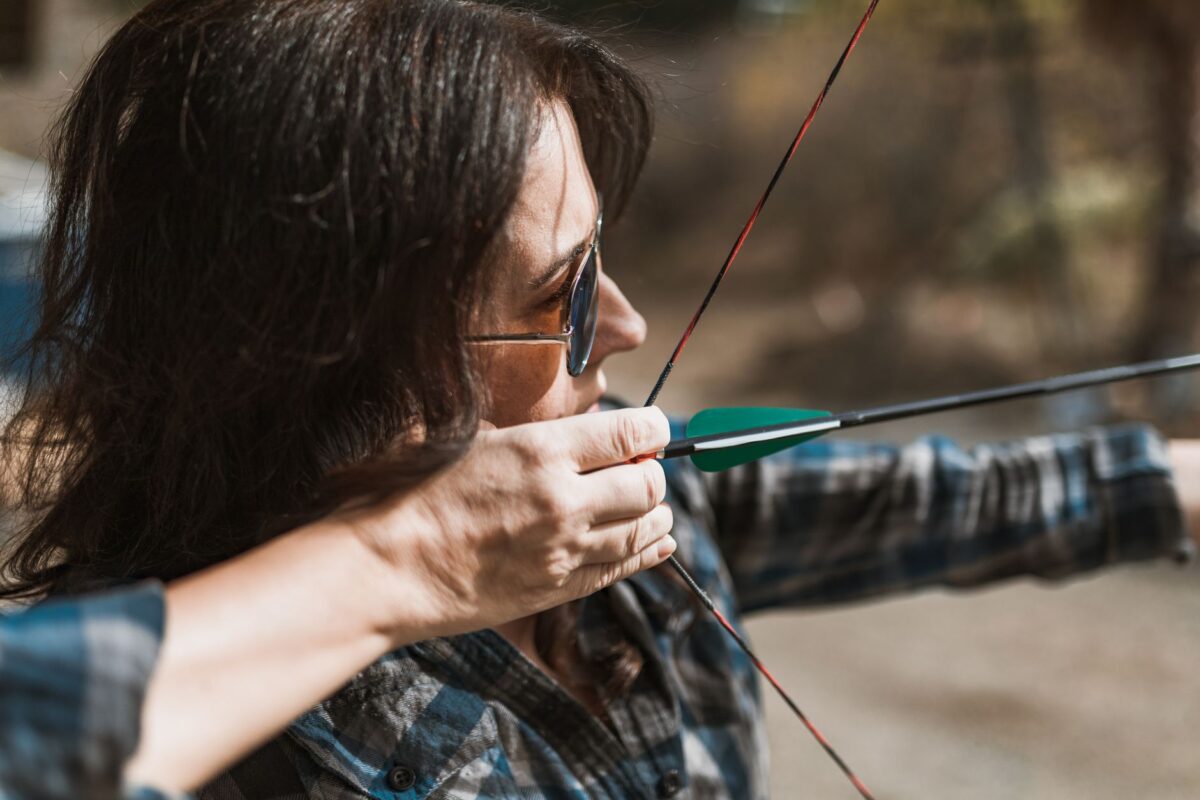
The fingers of the bow hand should be relaxed and slightly open, not curled around the grip. Many experienced archers shoot with all four fingers extended outward, deliberately preventing themselves from gripping. The thumb points toward the target, not upward. The wrist is neutral — neither bent up nor bent down, but in a straight line with the forearm. This position keeps all the force going where it belongs: into the shoulder and back muscles, not the wrist.
Check your alignment by looking at where the bow contacts your hand after a session. A correct grip leaves a slight pressure mark on the thenar pad. A death grip leaves marks across the entire palm and potentially calluses on the finger pads — the bow was being held, not simply rested against.
How Grip Torque Reaches the Wrist
The biomechanics of grip-induced wrist strain follow a predictable chain. When you squeeze the bow handle, the forearm pronator muscles activate — the same muscles that twist the palm downward. This pronation pulls the bow riser medially (toward the body) at the moment of release, when the bow is also trying to travel forward and rotate. The combined forces create a rotational stress at the wrist that the joint is not designed to absorb thousands of times a week.
The extensor carpi radialis and flexor carpi radialis tendons, which run along the thumb side of the wrist, absorb the most stress from this torque. Chronic irritation of these tendons produces the aching pain along the wrist’s radial border that many archers describe — worse with wrist extension against resistance, tender to palpation, and aggravated by heavy shooting days.
The fix is not a brace, a wrap, or a different bow. The fix is grip mechanics. Braces can protect the wrist during the rehabilitation phase, but they do not address what is creating the torque in the first place. Our articles on grouping arrows tighter and archery follow-through both touch on how grip mechanics affect shot consistency — the same mechanical principle that improves accuracy also protects the wrist.
Wrist Strain vs. Fracture: Knowing the Difference
Most archery-related wrist pain is soft-tissue injury — tendon or ligament strain — rather than bone injury. However, a few presentations should prompt medical evaluation rather than self-management.
Scaphoid fractures deserve particular mention. The scaphoid is a small carpal bone at the base of the thumb, and it is fractured more commonly than most people realize — often from a single impact event (falling on an outstretched hand) but occasionally from repetitive stress. A scaphoid fracture presents as pain in the anatomical snuffbox (the small depression on the back of the wrist, at the base of the thumb, between the thumb tendons). If pressing into this area reproduces your pain — particularly if there was an impact event involved — see a doctor immediately. Scaphoid fractures have a notoriously poor blood supply and can develop avascular necrosis if left untreated.
Other red flags: pain and swelling across the whole wrist rather than a localized tendon line; pain that does not improve with a week of rest; any wrist deformity after impact; or significant loss of wrist range of motion. These warrant X-ray evaluation.
The Bow Sling: A Useful Training Aid
One reason archers death-grip their bows is that they are afraid the bow will fly forward after release. This fear is entirely reasonable — an unslung bow will indeed fall if you do not catch it. The bow sling solves this problem without requiring a tight grip. A wrist sling or finger sling attaches to the bow and your hand, allowing the bow to kick forward naturally at release (which is correct form) while catching itself before it falls to the ground.
Shooting with a bow sling forces you to develop a true open-hand grip, because the sling removes the consequence you were compensating for. Many archers report that switching to a sling produced immediate improvements in arrow groups, string slap frequency, and bow arm shake — all downstream effects of reduced grip tension. And, of course, it removes the grip torque that was stressing the wrist.
Browse our archery accessories section for bow slings and wrist support options. Used correctly, a sling is not a crutch — it is a technique training tool that accelerates the development of proper grip mechanics.
Wrist Strengthening Exercises for Archery Stability
Once the grip mechanics are corrected, targeted strengthening of the wrist stabilizers can reduce injury risk during heavy training loads. The key muscles to address are the wrist extensors and flexors, the pronators and supinators, and the muscles controlling radial and ulnar deviation.
Wrist curls and reverse wrist curls. Seated with forearm on thigh, perform slow, full-range wrist curls (palm up, curl weight upward) and reverse wrist curls (palm down, extend wrist upward). Start with very light weight — 0.5 to 1 kg — and focus on controlled eccentric lowering. Three sets of 15 repetitions in each direction, three times per week.
Radial and ulnar deviation. Hold a light dumbbell or hammer vertically and tilt the wrist toward the thumb side (radial deviation) and then toward the little finger side (ulnar deviation) through a controlled range. This strengthens the muscles that resist the rotational forces archery generates at the wrist.
Pronation and supination with a weighted bar. Hold a short weighted bar horizontally and rotate the forearm from palm-up to palm-down under control. This directly addresses the pronator muscles involved in grip-induced wrist torque.
Consistent grip mechanics correction, combined with progressive wrist strengthening and the use of a bow sling during technique development, resolves most archery wrist strain without medical intervention. Explore our full range of archery accessories and bow slings designed to support proper form and reduce the load on joints that were never meant to absorb what a death grip sends their way.
