Archery Blog
How to String a Recurve Bow: 7 Safe Steps
Jun
A recurve limb tip carries somewhere between 35 and 50 pounds of stored force the instant the string is seated. Get that energy under control with a $12 bow stringer and the job takes ninety seconds. Try to muscle it with the old step-through trick and you risk a twisted limb, a snapped nock, or a string that rockets back into your face. This guide walks through stringing a recurve the way every bow manufacturer actually recommends — safely, with the right tool, in seven steps.
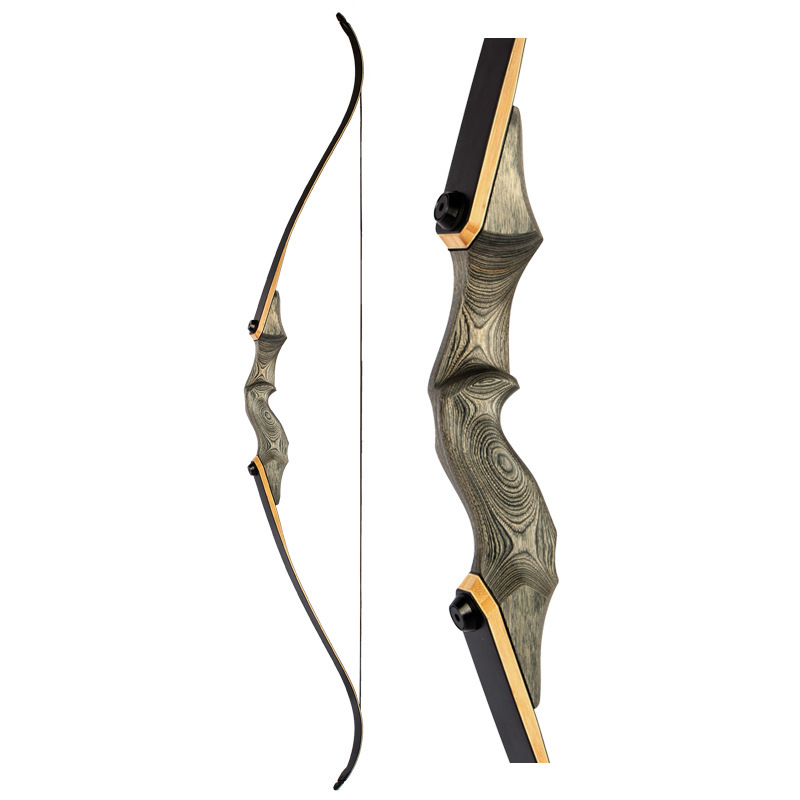
A properly strung recurve sits at the right brace height and shoots clean — it starts with how you put the string on.
Why You Need a Bow Stringer to String a Recurve Bow
A bow stringer is the only method bow makers endorse, and the reason is simple physics. The tool bends the limbs the same way they bend during a shot — evenly, in a straight plane — while you keep both hands free to guide the loop home. No sideways pressure, no twist.
The step-through method, where you hook one limb behind your leg and lever the bow against your thigh, is faster but it puts a twisting load on the limbs that they were never designed to take. It’s almost impossible not to torque the limb sideways, and that’s exactly how tips crack and laminations separate. Bear Archery and Hoyt both warn against it in their own manuals. The truth is, a bow stringer is the cheapest insurance you’ll ever buy for a bow that costs ten to a hundred times more.
What You Need Before You Start
Stringing a recurve is a short job, but doing it on the kitchen floor in socks is asking for trouble. Set yourself up first.
- A bow stringer sized for your bow. The loop-and-saddle type (a pocket on one end, a wide rubber saddle on the other) is the safer choice — the saddle spreads pressure across more limb than a bare pocket does.
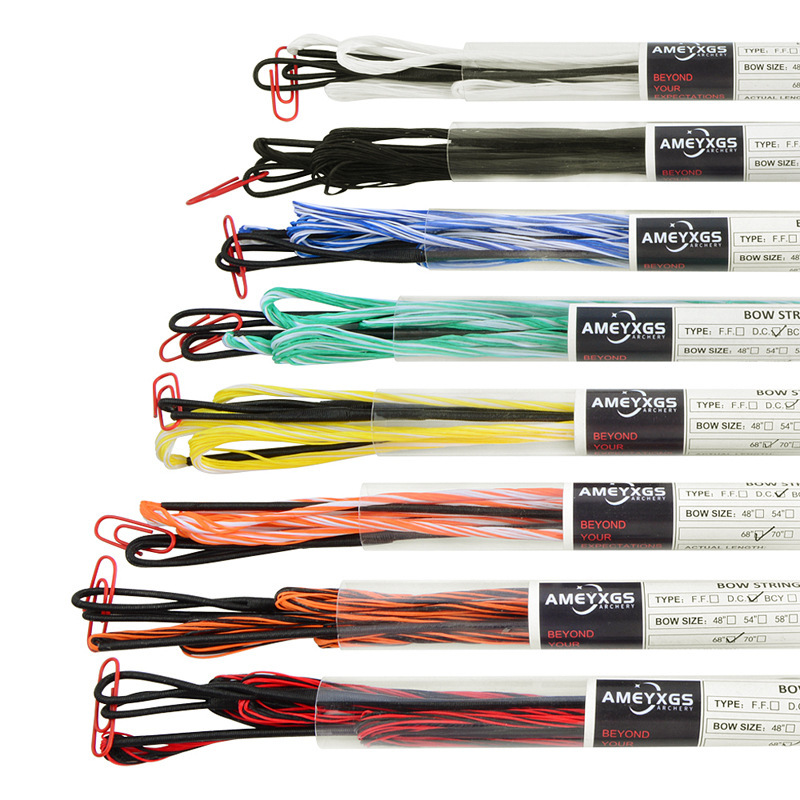
- Your bowstring, with the larger loop identified. On most recurve strings the top loop is noticeably bigger than the bottom one.
- Flat, non-slip footing. Bare feet or flat shoes on grass, carpet, or rubber matting. Smooth tile in slick shoes is how the stringer slides out from under you.
- A few feet of clear space overhead and to the sides, in case the string does slip.
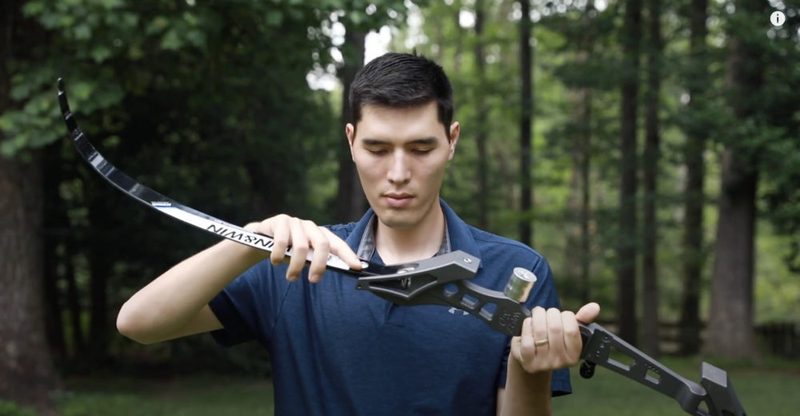
The loop-and-saddle bow stringer: pouch for the bottom limb tip, wide rubber saddle for the top limb.
If you’re running a takedown recurve, bolt the limbs to the riser first and check that the limb pins or bolts are fully seated. A loose limb under load is its own kind of bad day.
How to String a Recurve Bow in 7 Steps
Here’s the full sequence with a bow stringer. Read it once before you start so your hands aren’t fumbling while the limbs are loaded.
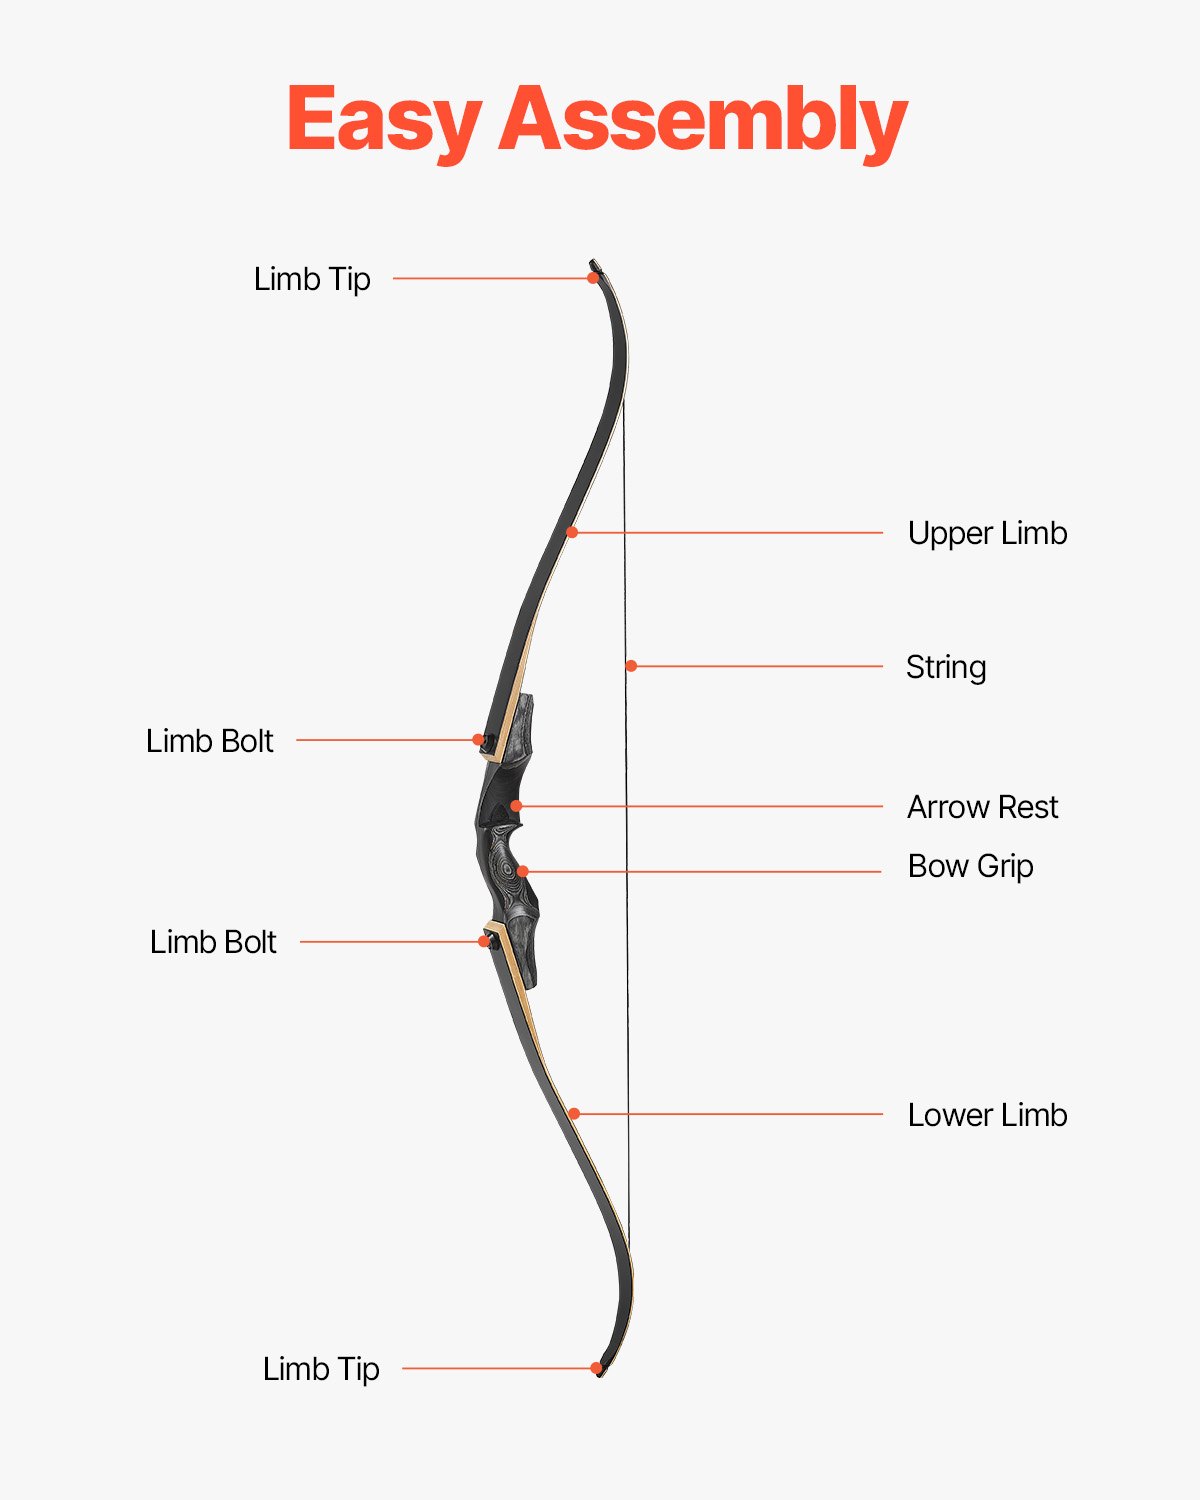
Step 1 — Seat the bottom loop
Slide the smaller bottom string loop into the string grooves at the tip of the lower limb. Push it down a couple of inches so it sits securely — it should not be able to fall off while you work on the other end.
Step 2 — Slide the top loop down the upper limb
Drop the larger top loop over the upper limb tip and let it slide a few inches down the limb, below the grooves. You’ll pull it up into the grooves at the very end. Leaving it loose now gives you the slack you need.
Step 3 — Attach the stringer saddle to the top limb
Place the wide rubber saddle of the bow stringer over the upper limb, just behind the string loop. The saddle wraps the belly of the limb and braces the energy you’re about to create.
Step 4 — Cap the bottom limb with the pouch
Slip the enclosed pouch end of the stringer fully over the bottom limb tip. It needs to cover the tip completely so it can’t pop off mid-pull. Double-check both ends are square before you load anything.
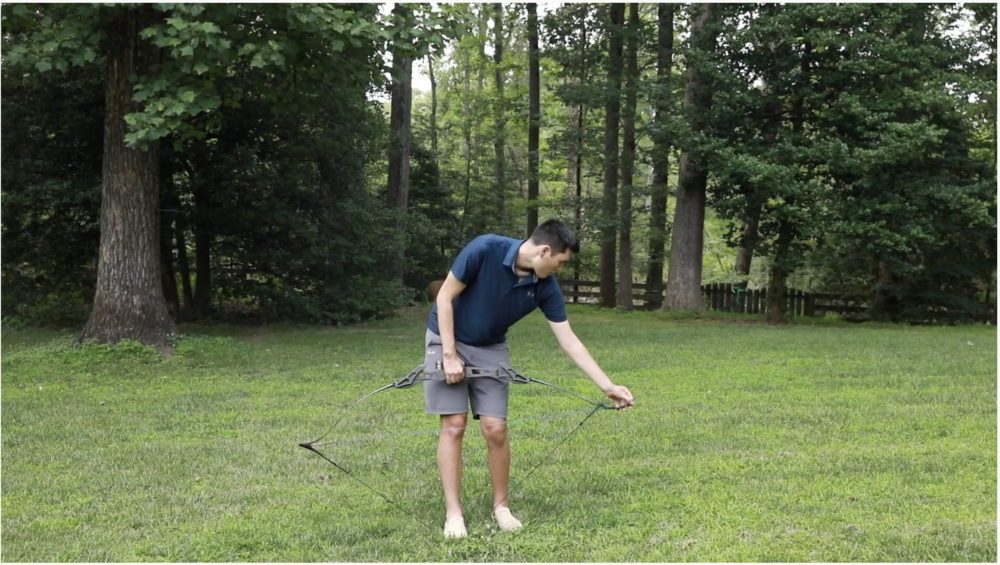
Step 5 — Stand on the stringer and pull up
Lay the stringer cord across the ground and step onto it with both feet, roughly shoulder-width apart. Grip the bow by the riser and pull straight up. The stringer takes the draw weight as the limbs flex — you should feel the bow bend smoothly, not jerk to one side.
Both feet on the cord, pull straight up by the riser. The stringer holds the load while your free hand seats the loop.
Step 6 — Slide the top loop into the grooves
With the limbs flexed and the load on the stringer, use your free hand to walk the top loop up the limb and seat it firmly in both string grooves. This is the only moment your fingers are near a loaded tip, so move deliberately.
Step 7 — Ease off and inspect
Lower the bow slowly to let the limbs take the string tension, then remove the bow stringer. Now check: is the top loop fully seated in both grooves? Is the string centered down the riser with no twist? If anything looks off, unstring and start over — never shoot a bow with a half-seated loop.
That’s the whole job. The first time it might take a few minutes of fiddling; after a week of practice you’ll have it down to under a minute. If you want the shooting fundamentals that follow, our guide on how to aim a recurve bow picks up where this leaves off.
How to Set Brace Height After Stringing
Stringing the bow and tuning it are two different jobs, and a fresh string almost always needs a brace-height check. Brace height is the distance from the deepest part of the grip to the string, and it controls noise, vibration, and how forgiving the bow feels.
Measure it with a bow square clipped to the string. As a rough guide, a 62–64″ bow wants 7½–8½″, a 66–68″ bow wants 8–9″, and a 70–72″ bow wants 8¾–9½″. Your bow’s manufacturer will list the exact window.
To adjust, unstring the bow and add or remove twists in the string. Twisting it shorter raises brace height; untwisting lowers it. One twist moves the measurement roughly 1/8″ on a Dacron string. Run the brace height too low and you get a noisy, inefficient bow — and at the extreme, you can stack the limbs and damage them. For the full tuning sequence, see our walkthrough on recurve bow tuning: brace height, tiller, and bare shaft.
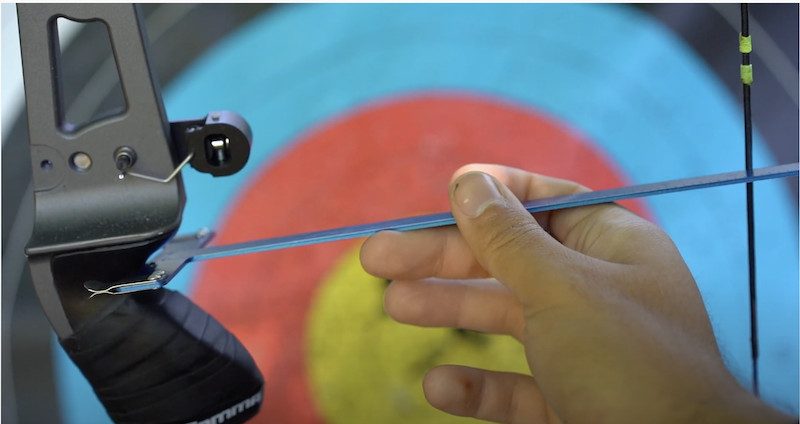
A bow square reads brace height off the string — adjust it with string twists, not by yanking the bow.
How to Unstring a Recurve Bow Safely
Unstringing runs the same process in reverse, and it matters just as much. Slip the bow stringer back on — saddle on top, pouch on the bottom tip — step on the cord, pull up to flex the limbs, then slide the top loop out of its grooves and down the limb. Ease the bow down and remove the stringer.
Should you unstring a recurve between sessions? For modern fiberglass-laminated and takedown recurves, leaving the bow strung for days at a time is fine. Traditional all-wood and older bows are better stored unstrung so the limbs don’t take a set. When in doubt, unstring it — it costs you sixty seconds and protects the limbs.
How Often Should You Replace the String?
A Dacron recurve string lasts about 1–2 years, or roughly 2,000–3,000 shots, with regular waxing. Past that, the strands fatigue whether or not you can see it, and a string that lets go under load is no joke.
Replace it sooner if you spot any of these: frayed or fuzzy strands that wax won’t smooth down, broken strands anywhere along the string, a flattened or worn serving around the nock point, or loops that look stretched. A single broken strand is a stop-shooting condition — swap the string before the next arrow. Keeping it waxed every couple of weeks roughly doubles its life; our bowstring wax and maintenance guide covers the routine.
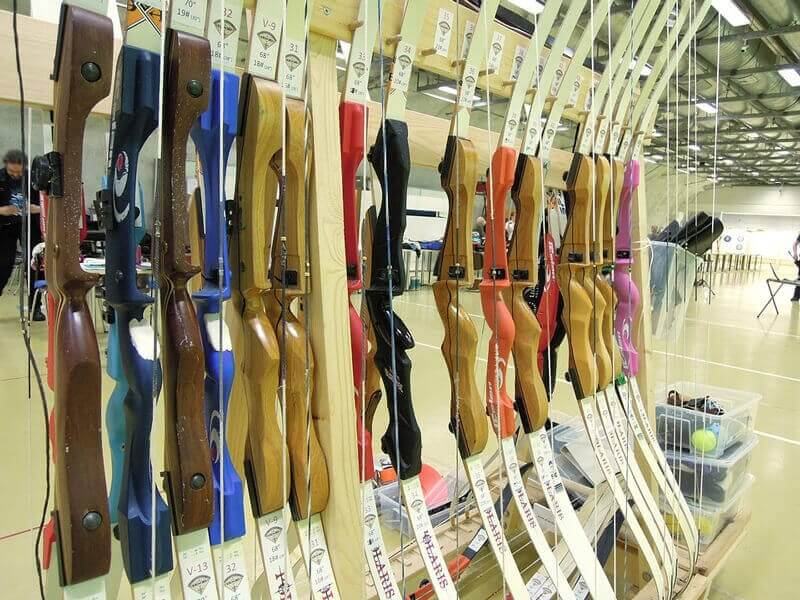
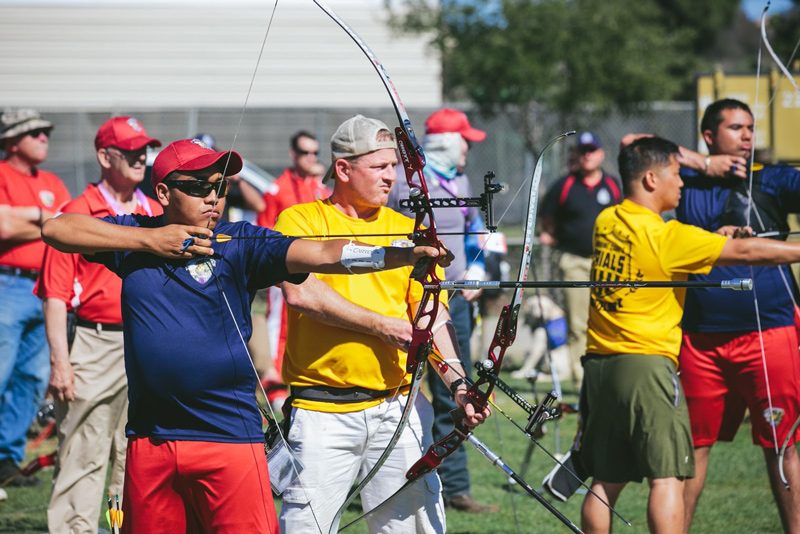
Keep a spare string in your kit. A rack of competition recurves — every one of these archers carries a backup.
Common Stringing Mistakes That Damage Your Bow
Most stringing damage traces back to a handful of avoidable errors. Watch for these.
- Skipping the stringer. The step-through and push-pull methods twist limbs. This is the number-one cause of cracked tips on otherwise healthy bows.
- Loops not fully seated. A top loop sitting on the edge of the groove instead of in it can jump out on the first draw — a dry-fire that can wreck the bow.
- String on backward. The bigger loop goes on top. Reversed, it won’t seat correctly and the brace height will be off.
- Pulling at an angle. Pull the bow straight up, in line with the limbs. Levering it sideways defeats the whole point of the stringer.
- Wrong stringer size. A stringer too short for a long bow won’t flex the limbs enough; too long and you can’t get the loop seated.
Frequently Asked Questions
Can you string a recurve bow without a stringer? You physically can, using the step-through method, but you shouldn’t. It twists the limbs and is the most common way archers crack a tip or injure themselves. A stringer costs about the price of a few arrows.
Which string loop goes on top? The larger loop goes on the upper limb. The smaller loop seats in the lower limb grooves first.
Why does my string keep coming off the limb tip? The loop isn’t fully seated in both grooves, or your brace height is so low the string has too little tension. Re-seat the loop and check the brace height with a bow square.
How long does stringing take? Under a minute once you’ve practiced. The first few attempts take longer while you get the feel for flexing the bow and seating the loop.
String the bow with the right tool, set the brace height, and keep the string waxed — do those three things and your recurve will shoot the same on day 300 as it did on day one. Grab a backup string before your next range trip so a frayed strand never ends a session early, and walk through our recurve aiming guide to turn a strung bow into a tight group.
Sources
- Archery 360 (Archery Trade Association) — How to String a Bow — manufacturer-recommended stringing steps.
- Bear Archery — How to Tune a Traditional Bow — brace height and tuning guidance.
- Archery 360 — How to Adjust Brace Height — brace height ranges by bow length and string-twist adjustment.
- Hunter-Ed — Stringing a Bow — bow stringer safety and method.