Archery Blog
Hinge Release Archery: 7 Steps to Master Back Tension
Jun
A hinge release is the most accurate handheld release in archery — and the most maddening one to learn. It fires by rotation instead of by trigger, which forces you to shoot with the muscles between your shoulder blades rather than the tip of your finger. World-class compound archers from John Dudley to Mike Schloesser shoot a hinge because it produces a true surprise break, the same surprise break a rifle marksman gets from a precision trigger pull. If your groups have stalled, your pin is wandering, or your shot feels like a guess, switching to a hinge release is the single biggest accuracy upgrade left on the table.
What Is a Hinge Release in Archery?
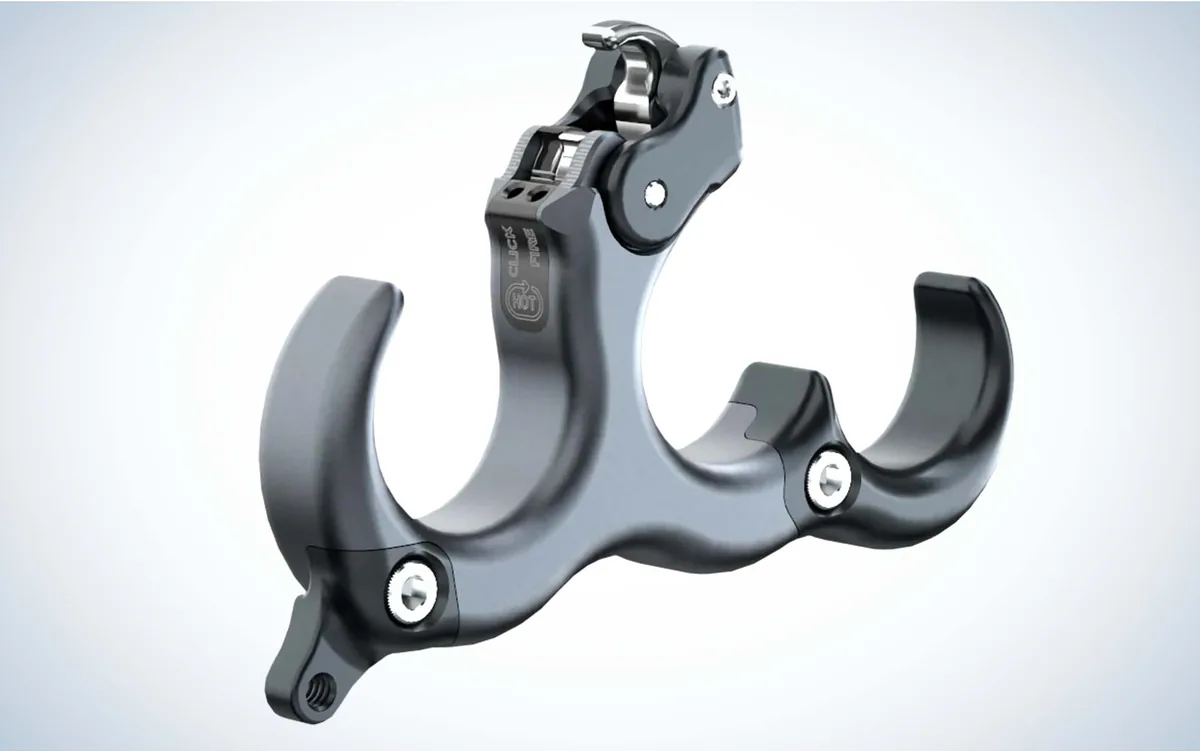
A hinge release is a handheld, mechanical release aid that fires by rotation rather than by pressing a trigger. The hook (or sear) is held closed by an internal pin, and as the archer rotates the head — usually by transferring tension from the index finger to the middle and ring fingers — the sear pivots past the pin and the bowstring is released. Because there is no button, no thumb post, and no index-finger trigger to “punch,” the only way to fire the bow is to keep pulling through the shot with your back muscles. That’s the entire design intent.
Bow International’s technical breakdown describes the mechanism as a half-moon shape pivoting around a pin, with the moment of rotation set by the relative pressure of three fingers wrapped around the head. The result feels unpredictable until you understand it — and surgical once you do.
7 Steps to Shoot a Hinge Release Correctly
If you have only ever shot an index-finger or thumb release, your first dozen hinge shots will feel chaotic. The shot is no longer triggered by a decision. It is created by sustained pull. Here is the seven-step sequence that nearly every top compound coach teaches, distilled to what actually matters.
Step 1 — Set the rotation before you draw
Rest the release hook on the D-loop with your fingers loaded onto the head. Most hinges have a “click” or pre-cocked position one notch back from the firing edge. Set that click before you raise the bow. If you skip this step, the release can rotate during the draw and fire before you reach anchor — the single most common dangerous mistake new hinge shooters make.
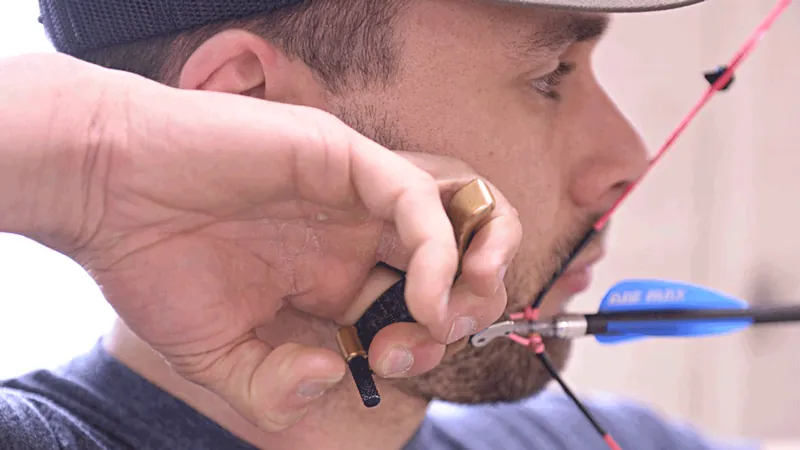
Step 2 — Draw with the thumb and index finger
Pull the bow to anchor using mainly your thumb on the safety post (if equipped) and your index finger curled into the head. Your middle and ring fingers are passengers at this stage, lightly contacting the head but doing none of the pulling. The goal is to keep the release rotated away from the firing position while you set your anchor.
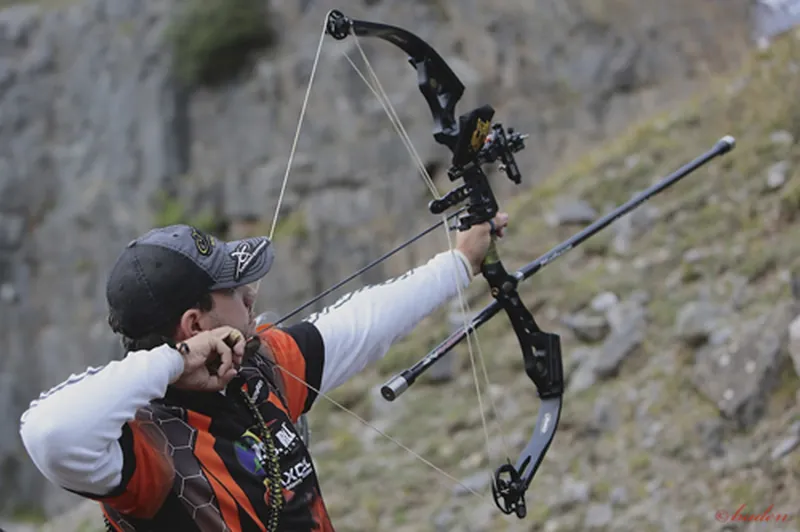
Step 3 — Anchor and transfer to your back

Settle into your normal compound anchor — knuckle behind the jaw, string contacting the corner of your mouth, peep aligned. Now the work begins. Release the pressure on your thumb (or index finger) and start to pull through the shot with the rhomboid and trapezius muscles between your shoulder blades. The archer’s shoulder blade should physically move toward the spine. This is the moment most beginners freeze instead of breathe — keep pulling.
Step 4 — Settle the pin and aim soft
Let your sight pin float. It will float. Acceptance of pin float is the mental hurdle that separates intermediate compound shooters from elite ones. Trying to hold the pin perfectly still creates micro-tension in the bow arm that ruins the release. Aim at the spot, let the pin drift across it, and stay relaxed.
Step 5 — Rotate by pulling, not by twisting
Continue the back pull. As your shoulder blade moves, your release hand naturally rotates with it. You are not consciously twisting your wrist or curling a finger. The rotation comes from the bigger machinery upstream — your back. When the head reaches the firing edge of the sear, the bow goes off.
Step 6 — Let the shot surprise you
The surprise break is the entire point of the hinge. You should not know the exact instant the string releases. If you can predict it, you are anticipating, and anticipation creates target panic. Trust the process: keep pulling, keep aiming, and the bow will fire itself somewhere between the third and fifth second of hold.
Step 7 — Hold the follow-through
Stay in the shot for a full second after the release. The bow hand stays up, the release hand stays back near your ear, your eyes stay on the arrow. A clean follow-through cures more form problems than any single drill. It also tells you whether the shot was honest — if your release hand is somewhere in front of your face, you forced it.
Hinge Release vs Thumb Release: Which Is Better?
The thumb release is faster to learn and easier to time. The hinge release is more accurate when mastered. That is the trade-off in one sentence. If you only ever plan to bowhunt and your shots happen inside three seconds, a thumb is a reasonable answer. If you want to win tournaments, fix target panic for life, or simply shoot the tightest 20-yard groups your equipment is capable of, the hinge wins. Most serious archers eventually own both — a hinge for paper, a thumb release for the woods or for windy days where timing matters.
Outdoor Life’s 2026 release-aid test, which evaluated more than thirty models on a Hooter Shooter at twenty yards, found the average group size with hinge releases tightened by roughly 30 percent compared to wrist-strap index releases shot by the same archer. The hardware is not magic — the forced technique is.
Should You Hunt with a Hinge Release?
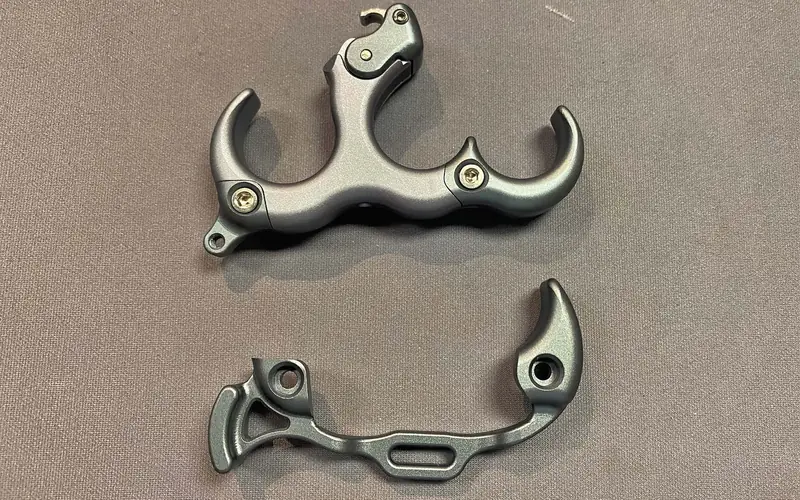
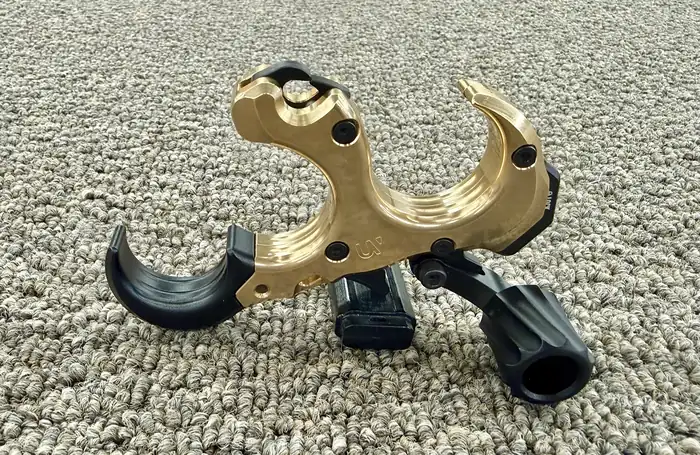
Yes, but only with the right hardware and a year of practice behind you. Modern hinges like the UltraView Hinge 2 ship with a hunting bracket that locks the release to your wrist so you cannot drop it from a treestand at the worst possible moment. Cold fingers, gloves, and adrenaline change how a hinge feels, so a thumb post or “click” model is wiser in the field than a true no-click hinge.
The honest answer is that most bowhunters who try a hinge in October and have not shot one all summer will miss the buck. The hinge demands a clean back pull that adrenaline destroys. If you want to hunt with one, shoot a hundred arrows a week from June through August before the first archery opener.
4 Common Hinge Release Mistakes That Wreck Your Groups
The four mistakes below appear in every coaching DVD and forum thread for one reason — every hinge shooter commits them at some point. Spot yours and the fix takes a week, not a year.
Punching the rotation. The first instinct of a former trigger shooter is to “make” the hinge fire by curling the middle finger at the moment the pin touches the spot. That is target panic in a new costume. The cure: shoot blank-bale at three yards with your eyes closed until the rotation feels like a slow, surprising squeeze rather than a decision.
Locking the bow arm. A locked elbow on the bow arm transmits every twitch of your release hand straight into the arrow. Keep a slight, soft bend. You should be able to feel your bow shoulder pack down and slightly forward at full draw.
Aiming too hard. Trying to hold the pin still creates a wrestling match between your bow arm and the bow. Soft aim — accept the float, keep pulling. The shot breaks while the pin is moving, not when it lands perfectly on the X.
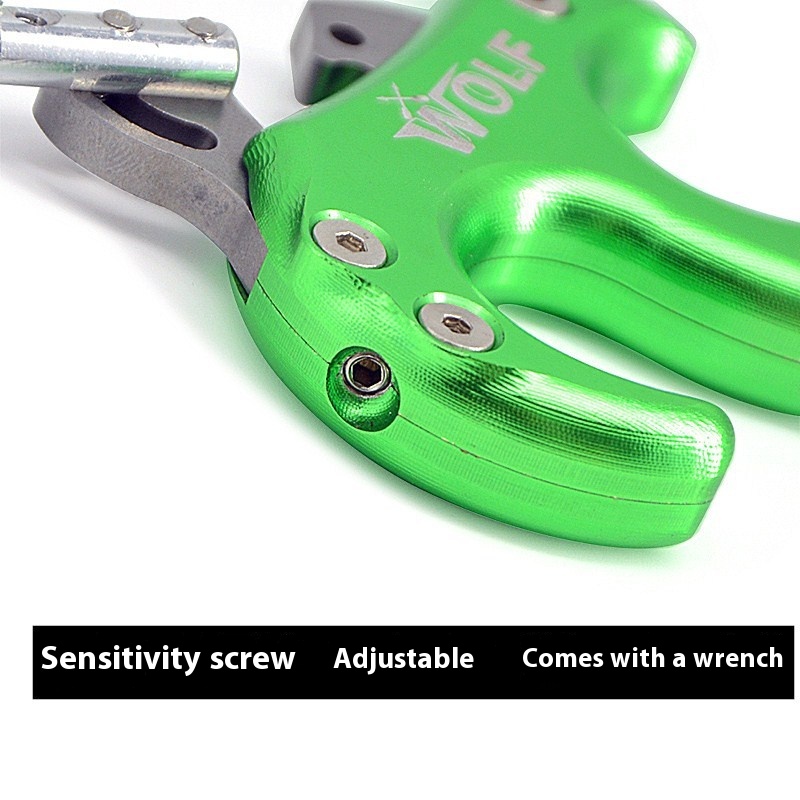
Wrong sensitivity setting. A hinge that is too hot fires before anchor. A hinge that is too cold will not rotate even with maximum pull. Most quality hinges have a single screw that adjusts the firing window. Start in the middle, then move one quarter-turn at a time over an entire range session.
Best Drills for Building Real Back Tension
Back tension is not something you read into your body. It is a movement pattern that becomes automatic only after thousands of repetitions. Three drills do most of the work.
The first is the shot trainer drill. Loop a four-foot length of cord between two fixed anchors, hook your hinge onto the loop, and “shoot” the cord at zero draw weight. No bow, no arrow, no target — just rotation against the cord. Twenty perfect rotations a day for two weeks installs the pattern.
The second is the blank-bale eyes-closed drill. Stand three feet from a foam target, draw, close your eyes, and execute the shot focusing only on the back pull. Removing the visual feedback strips away aiming anxiety and exposes whether you are actually rotating from the back or punching from the hand.
The third is the down-the-line drill. Set up at twenty yards on a single dot. Shoot one arrow, retrieve, reset. Slow tempo, perfect repetition. Speed is the enemy of back tension.
If you are battling the same flinch pattern across multiple release types, you may actually have target panic — the hinge is the most reliable cure, but it has to be paired with disciplined drill work.
How to Choose Your First Hinge Release
Three-finger or four-finger? Click or no-click? Brass head or aluminum? The market is full of premium options, and the wrong starter hinge can set you back six months.
For a first hinge, look for three traits: a clicker that warns you when the release is about to fire, an adjustable safety post for the thumb, and a four-finger handle for a stable, predictable hand position. The Scott Longhorn, Stan PerfeX, Carter Honey 2, TRU Ball Sweet Spot, and UltraView Hinge 2 all check those boxes. Skip the cheap no-click two-finger models until your back-tension pattern is rock solid — they reward only archers who have already done the work.
Adjustability matters more than brand. A release that lets you tune the click position, the firing edge, the handle rotation, and the finger spacing is one you can grow into for a decade. A locked, factory-only release becomes scrap the moment your form improves.

See It Done — Hinge Release Tutorial
Watching a coach run through the rotation in real time clears up more than a thousand words can. The video below covers five different ways to fire a hinge and shows the back-pull motion from the camera angles you cannot get from your own bow.
The Bigger Picture: Where the Hinge Fits
A hinge release is a tool that exposes the rest of your form. If your bow is out of tune, your hinge will tell you with vertical fliers. If your peep is rotating, your hinge will tell you with horizontal misses. If your draw length is half an inch long, you will never get to anchor under control. Before you blame the release, blame the bow. Walk through a compound bow tuning session and confirm the rig itself is honest.
Once the equipment is dialed and the drills are logged, the hinge release becomes the most predictable archery tool you own. Pull. Aim. Rotate. The bow goes off. That is the entire system, and once it clicks, you will not go back.
Ready to Make the Switch?
Buy one hinge, commit to it for ninety days, and shoot it every single day with a real drill plan. The first three weeks will be ugly. The fourth week will feel different. By week eight, your groups will tighten beyond anything an index-finger release ever produced. That is the trade — discomfort up front for accuracy that lasts your entire archery career.
Sources
- Bow International — Archery Tech Explained: How a Hinge Release Works — Detailed mechanical breakdown of the sear and pin geometry inside a hinge release.
- Outdoor Life — The Best Release Aids of 2026 — Independent test of more than thirty index, thumb, hinge, and resistance releases with group-size data.
- Bowhunting.com — Back Tension Releases by PJ Reilly — Veteran tournament archer’s breakdown of when and why to switch from a trigger release.
- Archery 360 — How to Use a Hinge Release — ATA-published step-by-step coaching article aimed at first-time hinge shooters.
- Nock On Archery — Learn to Shoot a Hinge with the 2 Smooth — John Dudley’s full-process tutorial on hinge mechanics and back tension.