Archery Blog
Recurve Bow Tuning: Brace Height, Tiller & Bare Shaft Setup
Jun
Recurve bow tuning is the difference between an archer who fights every shot and an archer whose arrows feel like they steer themselves into the target. A tuned recurve forgives small form errors, prints clean groups at distance, and rewards consistent release. An untuned one will throw fliers no matter how good your back tension is, then blame the shooter.
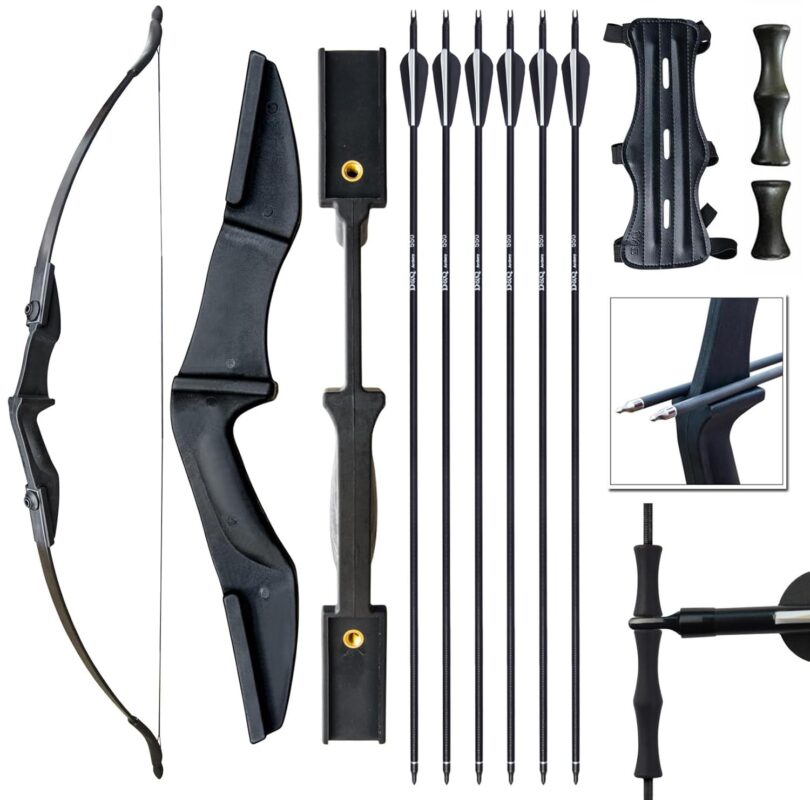
This guide walks you through the full tuning chain in the order that matters: brace height, tiller, nocking point, center shot, and finally the bare shaft test that confirms everything is talking to everything else. You do not need a pro shop, a $400 press, or a chronograph. You need a tape measure, a bow square, an Allen wrench set, a couple of bare shafts, and patience.
Why Recurve Tuning Is Different From Compound Tuning
Compound shooters get to chase cam timing, cam lean, and a fixed rest position. Recurve archers are tuning a much more elastic system. Your fingers torque the string, your limbs twist slightly on every shot, and the arrow flexes around the riser via archer’s paradox. Every variable interacts. Move brace height and the timing of the string slap changes. Move the nocking point and the bare shaft response changes. Tweak the plunger and your group shape changes.
That means you tune in a fixed sequence and you change one thing at a time. Jumping around will leave you with a bow that shoots okay on Tuesday and terrible on Thursday because you tweaked three settings between sessions.
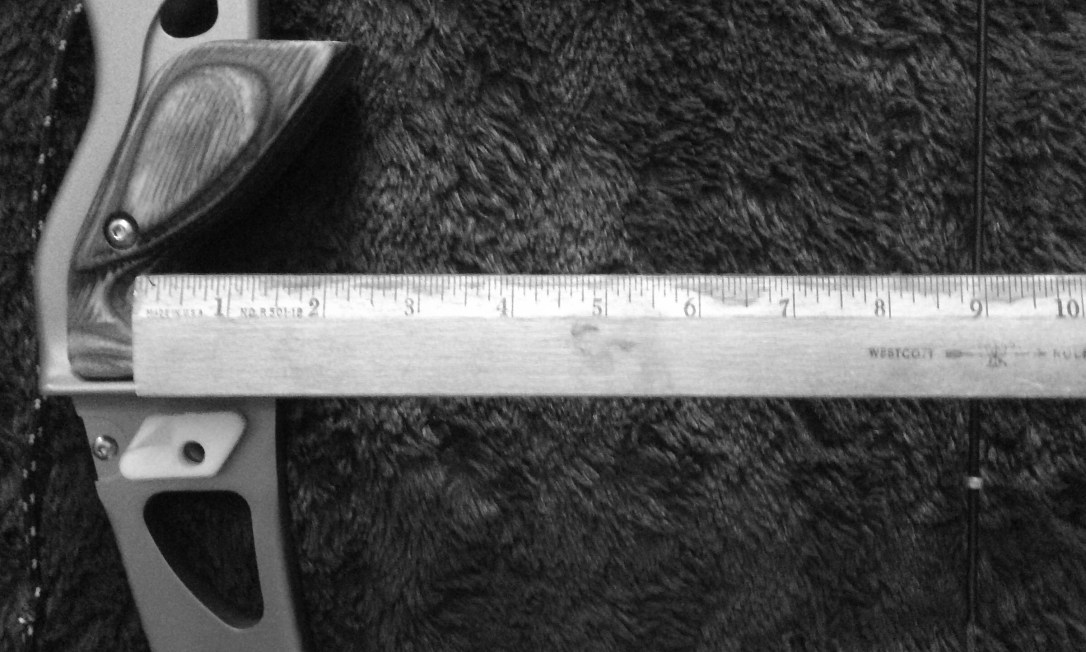
Step 1: Set Brace Height
Brace height is the distance from the deepest point of the grip (the pivot point) to the string at rest. It’s the single most powerful variable on a recurve. Too short and the string stays in contact with your fingers longer, amplifying release errors. Too tall and you lose stored energy and the bow feels dead in the hand.
Where to start
Every recurve manufacturer publishes a recommended brace height range for each riser and limb combination. Hoyt, Win&Win, MK, Samick, and Bear all print these specs on the limb or in the manual. Start dead center of that range.
- 23-inch riser + medium limbs (68″ bow): roughly 8.25″ to 9.25″
- 25-inch riser + medium limbs (70″ bow): roughly 8.75″ to 9.75″
- Always defer to your manufacturer’s printed spec
How to tune it
Twist or untwist the string to change brace height. Twisting in (more twists) raises brace, untwisting lowers it. One twist roughly equals 1/8″ of movement on a typical Dacron or BCY-X string. Use a bow square hooked on the string to measure, and shoot at least a dozen arrows at 18 meters between each change.
You’re listening for the quietest, deadest release. A recurve at the right brace height sounds like a soft thunk, not a sharp twang. Hand shock vanishes. When the bow goes quiet, lock that brace height down and record it in a notebook. Strings stretch, so you’ll re-check this monthly.
Shop Archery Bow Squares on Amazon →
Step 2: Check and Set Tiller
Tiller is the difference in distance from the string to the limb pocket at the top limb versus the bottom limb. On a three-finger Mediterranean grip recurve (one finger above the arrow, two below) the top limb takes more load than the bottom, so manufacturers spec a positive tiller — the top measurement is larger than the bottom by roughly 1/8″ to 1/4″.
How to measure tiller
Brace the bow. Measure from the string straight to where the limb meets the riser (the limb pocket), perpendicular to the string. Do the top limb. Do the bottom limb. Subtract the bottom from the top. If your bow is dialed correctly that difference will sit inside the manufacturer’s window — typically 3 to 6 millimeters positive for Olympic recurve.
How to adjust
Modern ILF (International Limb Fitting) risers have a tiller bolt at each limb pocket. Turning the bolt clockwise (in) decreases that limb’s tiller measurement and adds preload. Counterclockwise (out) does the opposite. Make changes in quarter-turn increments — never more — and always check that you’re staying within the manufacturer’s poundage range. Too far out and you can pop a limb loose under draw, which is dangerous.
Most archers leave tiller at the factory setting and only revisit it if they’re chasing a stubborn vertical group dispersion that brace height won’t fix.
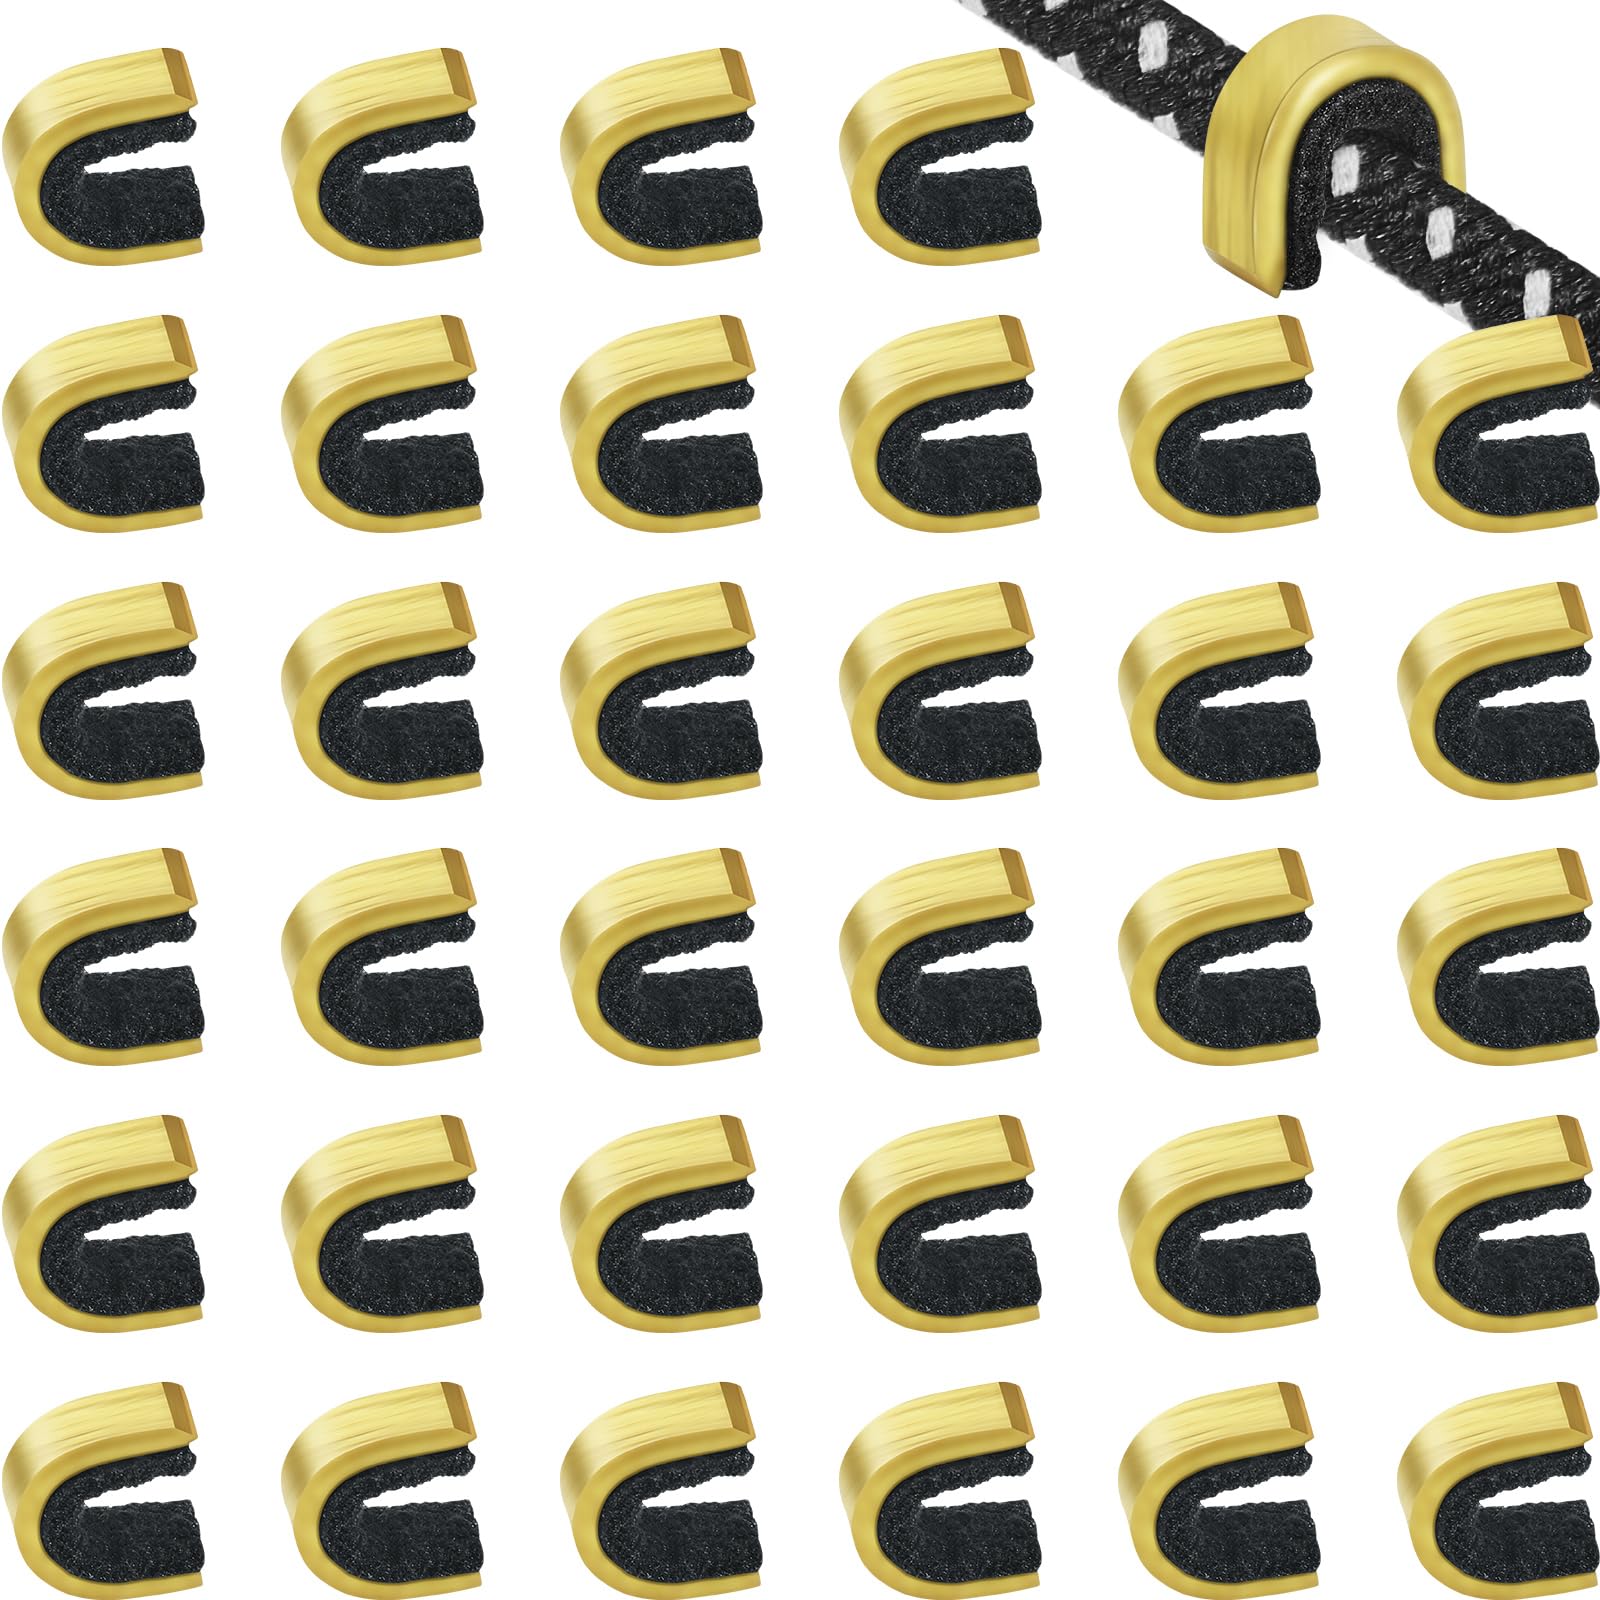
Step 3: Install and Position the Nocking Point
The nocking point is the small brass crimp or thread serving knot on the string that tells the arrow nock where to clip on. Get this wrong and the arrow will fishtail or porpoise no matter how perfect your release is.
Starting position
Use a bow square hooked on the string and resting on the arrow rest. Mark the string 1/4″ to 3/8″ above 90 degrees from the rest. That’s your starting nocking point height. For barebow and string-walking archers, expect to land higher — often 1/2″ above square — because the higher anchor changes the geometry.
Tying versus crimping
Olympic recurve archers tie their nocking points with serving thread because tied knots don’t damage the string and can be re-adjusted by a couple millimeters. Brass crimps from beginner kits work fine but crush the string fibers under repeated shots. If you’re past the first month of shooting, switch to tied knots.
You’ll fine-tune the exact height during the bare shaft test in step 5.
Step 4: Dial In Center Shot and the Plunger
Center shot is where your arrow points horizontally relative to the bowstring when looking down the limb. A target recurve uses a spring-loaded plunger button to control this, paired with a wire or magnetic rest.
Visual alignment
Nock an arrow. Hold the bow vertically at arm’s length and close one eye. Align the bowstring so it splits the riser down the center. The arrow tip should appear slightly left of the string for right-handed archers (slightly right for lefties) — roughly 1/16″ to 1/8″ off-center. This compensates for archer’s paradox, where the arrow flexes around the riser on release.
Plunger tension
Plunger tension controls how much resistance the arrow feels as it flexes outward against the button. Start at medium tension — about half compressed when the arrow rests against it. Too stiff and the arrow kicks left (for a RH shooter). Too soft and it wags right. You’ll confirm the final setting during the bare shaft test.
Shop Recurve Plunger Buttons on Amazon →
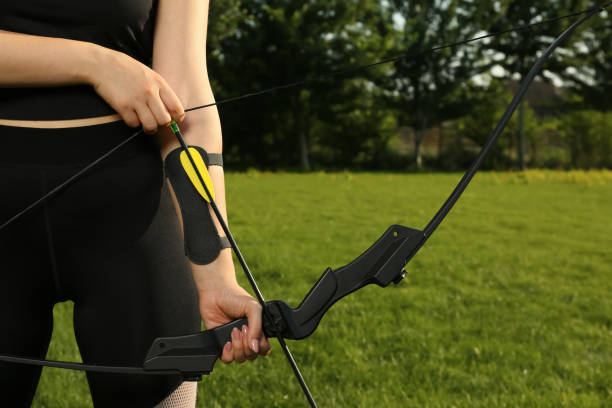
Step 5: The Bare Shaft Test
This is the master test that validates everything you just set. Bare shafts have no fletchings to mask tuning problems, so they show you exactly how the bow is launching the arrow.
Setup
Strip the fletchings off 2 or 3 arrows that match your fletched arrows exactly — same shaft, same point weight, same length. Stand at 15 to 18 meters from a soft target. Shoot a group of 3 fletched arrows. Then shoot 2 or 3 bare shafts at the same aim point without touching your sight.
How to read the result
- Bare shafts hit low compared to fletched: nocking point is too low. Raise it 1/16″.
- Bare shafts hit high: nocking point is too high. Lower it 1/16″.
- Bare shafts hit left (RH shooter): arrow is too stiff — increase plunger tension or use heavier point.
- Bare shafts hit right (RH shooter): arrow is too weak — decrease plunger tension or use lighter point.
- Bare shafts group with fletched: tuning is dialed. Lock everything down.
Mirror the left/right readings if you’re a left-handed shooter. Make one change at a time, shoot another group, re-read. This is patient work. Plan an afternoon, not 20 minutes.
Step 6: Walk-Back Tuning for Distance Accuracy
Once your bare shafts group with your fletched at 18 meters, confirm the tune at longer distances with a walk-back test. Set your sight for 30 meters and aim at a single dot. Shoot a group at 30, walk back to 40 without touching your sight, shoot at the same dot. Then 50, then 60.
Your groups should drop vertically in a straight line directly below the aim point. If they drift left or right as distance grows, your center shot or plunger tension still needs a micro-adjustment. Bigger drift means bigger correction.
Maintenance Tuning: When to Re-Check
A tuned recurve isn’t tuned forever. Strings stretch in the first 200 shots and again seasonally. Limb bolts back out under vibration. Plunger springs lose tension. Build a maintenance check into your routine:
- Every session: check brace height with a bow square. Twist the string if it’s drifted more than 1/8″.
- Every 1,000 shots or monthly: repeat the bare shaft test at 18 meters.
- After travel or rough handling: verify tiller and limb bolt torque.
- New string day: retune from step 1. A new string changes everything.
Common Tuning Mistakes That Wreck Groups
Changing two things between shots
If you twist the string and move the nocking point in the same session, you can’t tell which change fixed (or broke) your group. One variable at a time. Always.
Tuning to a bad form day
If you’re plucking the release or collapsing on the shot, every bare shaft will look mistuned. Only tune on days when your fletched arrows are grouping the way they normally do. If your form is off, fix form first, tune second.
Using the wrong spine arrow
No amount of plunger adjustment will save you if your arrow spine is dramatically wrong for your draw weight and arrow length. Check the manufacturer’s spine chart for your shafts (Easton, Carbon Express, Victory all publish detailed charts). If you’re more than one spine bracket off, buy correct arrows. Tuning past spine mismatch is a losing game.
Ignoring the rest
A wire rest that’s bent or a magnetic rest with sticky arm travel will sabotage every other adjustment. Inspect your rest under light. The arrow should slide cleanly off without catching or dragging the fletching against the riser.
Shop Recurve Arrow Rests on Amazon →
Putting It Together
A properly tuned recurve gives you something invaluable: feedback you can trust. When you shoot a flier, you know it was you, not the bow. That separation between equipment noise and shooter error is what lets archers actually improve, because every flaw in form becomes visible instead of hidden by random arrow flight.
Work the sequence in order — brace height, tiller, nocking point, center shot, bare shaft, walk-back. Change one thing at a time. Write your settings in a notebook so you can recover when something drifts. And re-tune on a known schedule rather than waiting for groups to fall apart at a tournament.
Tuning isn’t glamorous, but it’s the highest-leverage hour you’ll spend on your archery this month.
Sources
- World Archery — official governing body for Olympic recurve
- USA Archery — coaching and equipment standards
- Hoyt Archery — riser and limb specifications
- Easton Archery — arrow spine charts and tuning guides
- Wikipedia — Recurve bow background and history