Archery Blog
Trail Camera Placement: 7 Bowhunter Rules for Buck Photos
Jun
Trail camera placement decides whether you’re scouting a mature buck or filling an SD card with raccoon photos. A 2018 Mississippi State whitetail study tracked 37 collared bucks and found 71% of daylight movement during summer happened inside a 200-yard core area near bedding cover. If your camera isn’t on that travel corridor at the right height and angle, you’re scouting an empty woods.
Mid-June is the window. Velvet bucks are in late spring patterns, food sources are predictable, and you still have time to rotate cameras before pressure builds in October. This guide breaks down the placements that actually produce daylight buck photos — and the mistakes that quietly burn weeks of battery life on empty frames.
Why Trail Camera Placement Decides Your Season
The single best camera on the market — a Reconyx Hyperfire 2, a Tactacam Reveal X-Pro, doesn’t matter — produces nothing if it’s pointed at the wrong square foot of woods. The expensive lesson most bowhunters learn is that gear quality matters far less than location intelligence. Two cameras on a 40-acre parcel, placed wrong, will routinely miss the buck two cameras placed right will photograph 14 times a week.
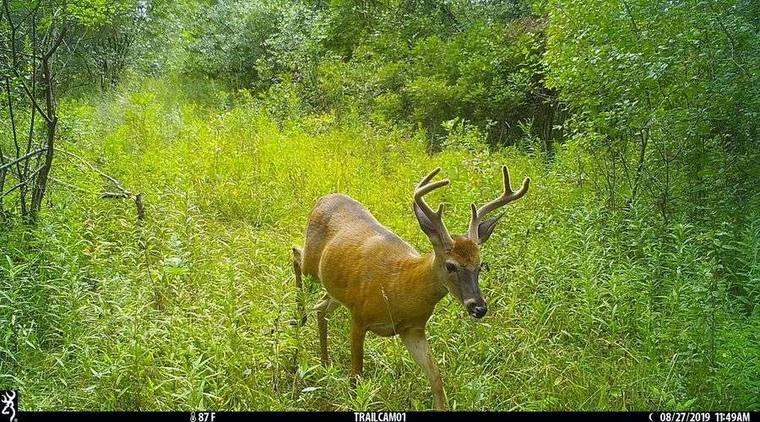
The goal of summer trail camera placement isn’t a buck inventory photo. It’s pattern data: what time he’s standing in that field edge, which side of the fence he’s using, whether he’s alone or running with a bachelor group. That intel is what you carry into your stand site selection in September.
The 45-Degree Rule That Triples Your Detection Rate
Aim your camera down the trail at roughly a 45-degree angle, not across it. A camera pointed straight across a trail has a detection window of maybe one second per deer — barely enough to trigger before the animal walks past. Angle the camera so its detection zone tracks parallel to the trail and you stretch that window to four or five seconds. You get more frames per deer, better side-profile shots that show antler points cleanly, and fewer half-deer photos.
The reason this works is simple PIR physics. Passive infrared sensors trigger on heat moving across detection zones, not toward or away. A deer walking directly at your lens is a heat source that barely moves laterally — slow trigger, missed shot. Angle the lens 45 degrees down the trail and the same deer is now sweeping across the entire detection field. onX’s hunt research team covers the geometry in their setup tactics breakdown.
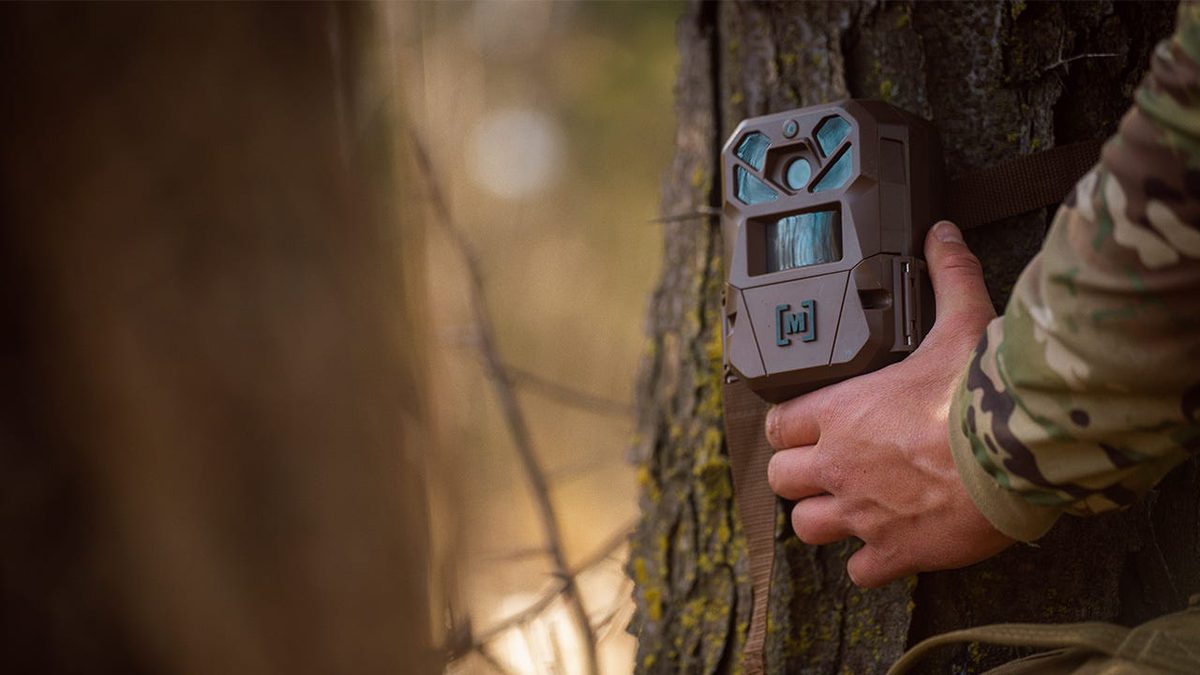
How High to Hang a Trail Camera
The default advice is three feet, and it’s wrong for most situations. Three feet is deer chest height, which is fine over a flat trail or a food-plot edge where the animal is standing broadside. But three feet on a sloping ridge will aim your lens at the dirt or into the canopy depending on grade. Adjust per location.
On flat ground over a trail, set the camera at 36 inches. On a rising terrain where deer are coming uphill toward the cam, set it at 46 to 48 inches. On a steep downhill where you’re catching them walking away, drop it back to 30 inches and tilt the head down slightly. Over a mock scrape or licking branch, go low — 18 to 24 inches — to put the buck’s full body and rack in frame as he works the overhead branch.
The other height variable nobody talks about: theft. On public land or near road access, hang the camera at 10 to 12 feet with an extension pole and angle it down. A camera at 11 feet, painted matte black, taped to remove brand glare, will sit through hunting season untouched while a chest-height camera 30 yards from a logging road will not.
Where to Put Trail Cameras for Deer in Summer
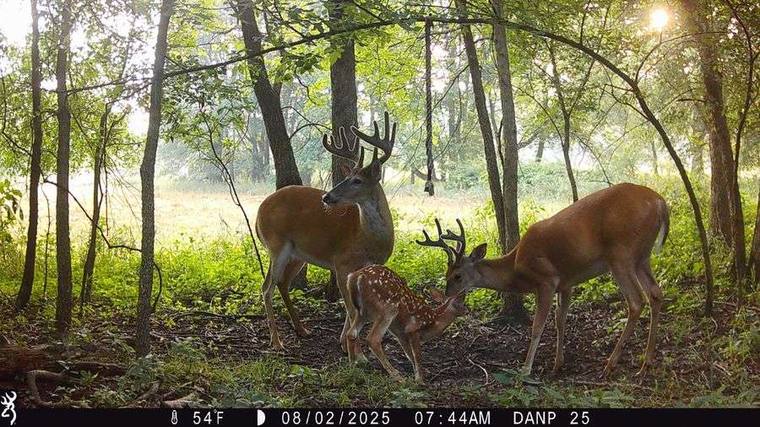
June and July patterns are food-driven and predictable, which is exactly why they’re worth scouting. Mature bucks are still tolerant of bachelor-group bedding edges, they hit the same field 25 nights in a row, and they show themselves in daylight more often than they will any other month of the year. Hit these five placements:
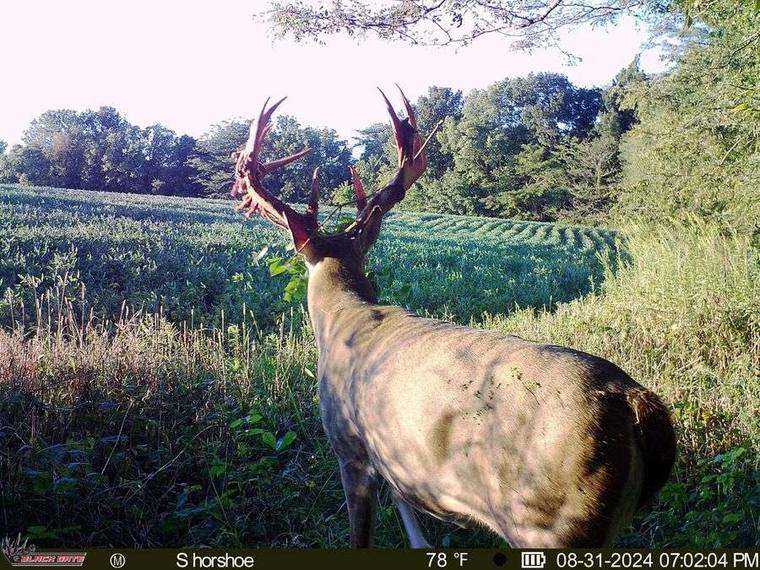
1. Field edge transitions. Set 20 to 30 yards back inside the timber from a soybean or alfalfa field, on the trail bucks use to stage before stepping out. The field itself is full of does and yearlings at sundown. The trail is where the mature buck holds until full dark fades.
2. Pinch points. A 30-yard gap between a creek bottom and a fence line, a saddle between two ridges, a corner where a row of mature timber meets a clear-cut. Deer funnel through these whether they want to or not. Field & Stream’s mounting guide calls these the “cheat code” of trail-cam scouting.
3. Water sources in drought years. If your area is dry in July, beaver ponds, isolated stock tanks, and creek crossings become magnets. One Tennessee study tracked summer water-source camera sets and showed buck visit frequency tripled in counties with abnormal dryness.
4. Mineral and mock-licking branches. Stay legal — mineral is banned in several states for hunting purposes — but where allowed, mineral sites pull cameras worth of data in July and August. Mock licking branches work all year and don’t run afoul of baiting rules in most jurisdictions.
5. Logging roads and two-tracks. Mature bucks cruise grass-edged two-tracks at last light because they’re easy on velvet antlers and they offer escape sightlines. A camera 50 yards off a corner gets a buck inventory most hunters miss.
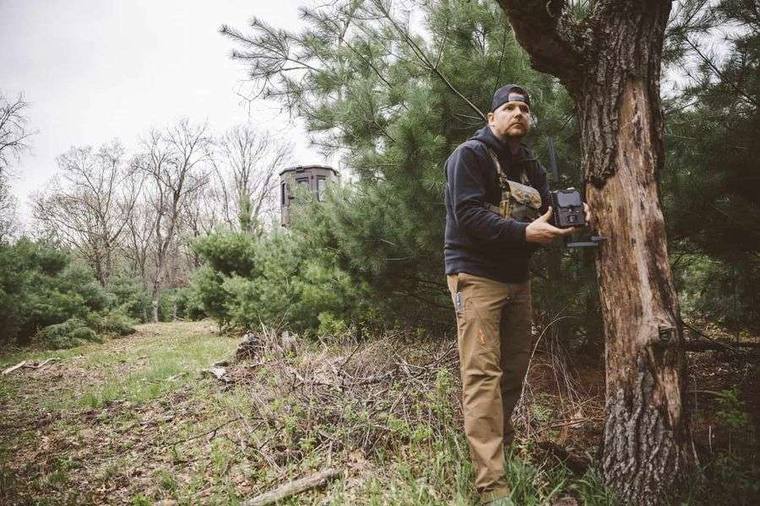
Cellular vs SD Card — Where to Put Each
The honest take is that cellular cameras are not better, they’re different. Cellular wins on properties you can’t visit weekly without bumping deer. SD-card wins on properties you walk anyway because the image quality per dollar is still significantly higher and battery life is roughly double.
Rule of thumb: any camera more than a 300-yard walk from your vehicle goes cellular. Any camera you can pull a card on during a normal property check goes SD. The intent here is scent management, not laziness. Every trip to pull a card deposits human scent on the trail you’re trying to scout. A cellular camera on a remote pinch point lets you scout that buck for 90 days without him ever knowing you’re watching.
Battery setup matters more than most bowhunters realize. Lithium AAs hold voltage in cold weather and outlast alkaline by roughly 4x in a cellular cam pinging data twice a day. Buy them in 24-packs and don’t run alkaline past September.
The Mistakes That Burn Your Scouting Window
Most blown camera sets aren’t a gear failure. They’re a discipline failure. The pattern repeats across every property I’ve helped friends scout:
Checking too often. A camera you visit weekly produces less mature buck data than one you visit monthly. Bucks pattern intrusion within three visits. If you must pull cards, do it midday with a south wind blowing your scent away from bedding cover, and stay under 10 minutes on site.
Wrong-wind approach. Walking in with the wind at your back puts your scent in the exact corridor you’re trying to photograph. Your access route to every camera should be planned with prevailing winds, the same way you’d plan a stand approach.
Lens facing east or west. Sun glare into the lens at dawn and dusk creates a white-out frame at exactly the times mature bucks move. Aim cameras north or south whenever the trail geometry allows. If you must point east or west, set a slight downward tilt to keep the horizon out of frame.
Vegetation in the detection zone. A single dangling branch swaying in the wind will burn through 4,000 false triggers in a week. Clear a 6-foot cone in front of the lens — clip it short, don’t break it loud — and recheck after any storm.
Not using a tree-mount. Strapping a camera directly to a curved trunk leaves you with a tilted detection zone that misses half the trail. A swivel mount or gimbal mount with an adjustable head lets you aim regardless of tree shape. Browning’s behind-the-lens guide documents the difference clearly.
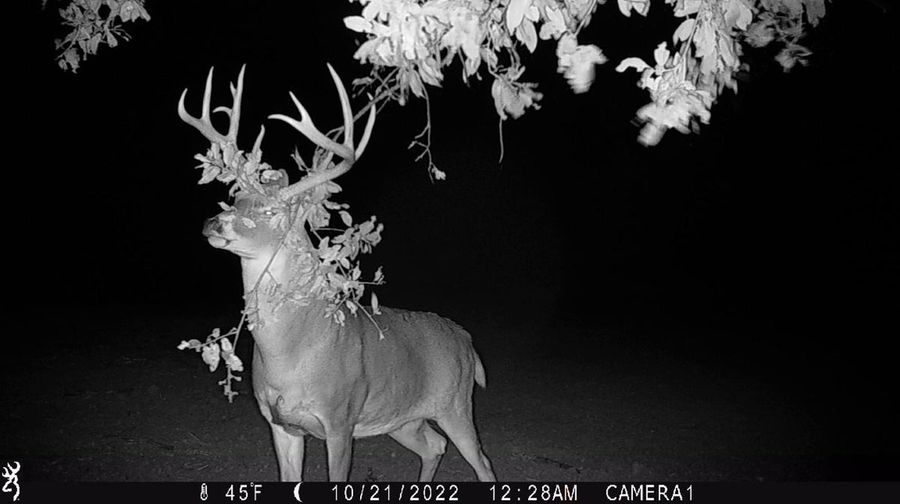
Mock Scrapes Run All Year — Set Them Now
The myth is that scrapes are a November tool. In reality, communal licking branches are active 12 months a year on properties with stable buck populations. Set a mock scrape in June and you’ll get cameras worth of buck data through late summer, then a surge as testosterone rises in October.
The build is simple. Find an overhead branch — a hardwood limb roughly 5 to 6 feet off the ground, ideally at a trail junction. Pull off the leaves on the underside of the branch to expose woody bark. Rough up the dirt below it with a stick. Don’t add scent in summer — bucks freshen their own communal scrapes once they find the branch. Hang your camera on a 45-degree angle, 18 to 24 inches off the ground, 8 to 10 feet back from the scrape itself.
If you’re new to setting up sites that bring bucks within bow range, our deer shot placement guide covers the angles that turn a trail-cam buck into a recovered animal.

Trail Camera Settings That Match Each Placement
Burst mode on a food-plot camera is wasted megabytes. Single-shot on a scrape is a missed buck working a branch. Match the trigger profile to the placement and your battery and storage stretch twice as far.
Food-plot edges: Single photo, 30-second delay. The same does and yearlings will hit a plot 40 times a night — you don’t need 1,200 photos to know that.
Trails and pinch points: Three-shot burst, 5-second delay. The burst catches multiple deer in a group; the delay keeps you from filling a card if a fawn bedded down nearby.
Mock scrapes and licking branches: Three-shot burst, zero delay. Bucks work scrapes for 30 to 90 seconds — every second of footage is data on which buck is using the site and how aggressively.
Water sources in drought: Two-shot burst, 60-second delay. You want to know who came, not how long he stayed.
Set timestamps and temperatures to ON across the board. They’re the data points that turn pretty pictures into pattern intelligence: which front pushed daylight movement, which hour the mature buck consistently shows.
Watch: Trail Camera Placement Tactics Breakdown
The Deer Society’s “Trail Cameras 101” video walks through the strategy stack — where, why, how, and when — and is one of the clearest placement breakdowns on YouTube.
Bowhunter’s Pre-Season Camera Rotation
Cameras shouldn’t sit in the same tree from June to November. Rotate them through three phases as patterns shift:
June to early August: Focus on food sources, water, and mineral if legal. Bucks are still tolerant and in bachelor groups. Goal: inventory the property.
Mid-August to early October: Velvet shed and early-season patterns. Move cameras from open-field edges to staging areas 30 to 80 yards back in cover. Mature bucks abandon daylight field movement first.
October through season: Pull off field edges entirely. Focus pinch points, scrape lines, and downwind sides of bedding cover. By November, your access trails matter more than your camera sites.
The bowhunters who consistently arrow mature deer aren’t running 40 cameras. They’re running 6 to 10 in the right spots, rotating them with the season, and treating placement as a discipline. The first bowhunting season checklist we publish lays out the same approach for first-year hunters.

Pre-Hang Checklist Before You Walk Out
Run this sequence on every camera, every hang. It’s a 90-second discipline that prevents 90% of bad data.
- Lithium AAs installed, fresh from a sealed pack
- SD card formatted on the camera itself, not your laptop
- Date and time set to current
- Trigger interval set per placement type (above)
- Mount strap tightened with a half-twist to allow tree growth
- Lens wiped with a microfiber cloth — fingerprints kill IR clarity at night
- Detection zone cleared of swaying brush
- Test walk in front of the lens, then check the card for trigger speed
- GPS pin dropped in onX or HuntStand with notes on access wind
- Estimated next check date, with wind direction required, written on the case
Skip any one of these and you’ll burn a month finding out. Get them all right and your camera works for you for 90 days unattended. The bowhunters who arrow target bucks on November 4 are the ones whose June scouting was already locked.
Camera placement isn’t gear strategy. It’s the field intelligence layer underneath the entire bowhunting season. Get the cameras right by July and the stand sites pick themselves by October. If you want to keep sharpening your in-season fundamentals, our scent control playbook covers the access-route discipline that protects every dollar you spend on cameras.
Sources
- onX Hunt — Top Tactics for Setting Up a Trail Camera — placement geometry and PIR sensor behavior
- Field & Stream — Where to Mount a Trail Camera for Big Bucks — pinch-point identification and mounting
- Browning Trail Cameras — Behind the Lens: Placement Tips — mount hardware and angle setup
- Realtree — Find a Big Buck in July with These Trail Cam Tips — summer pattern data
- Moultrie — Trail Camera Placement Tips for Every Season — seasonal rotation strategy
Browse archery bows, arrows, and accessories at the Archery Supplier shop →
Binoculars, scopes & trail cameras
Shop Binocular Base →
We may earn a commission when you shop through our Binocular Base link.