Archery Blog
D-Loop and Nocking Point Setup: A Compound Archer’s String Hardware Guide
May
Your arrow has to leave the same spot on the string every single shot — to within a couple of thousandths of an inch. That is the entire job of your nocking point, and on a compound bow, the D-loop that wraps around it. These two pieces of string hardware are the smallest and cheapest parts of your rig, yet a poorly tied D-loop or a nocking point set even 1/16 of an inch off vertical will scatter your groups worse than almost any other tuning issue you can dream up.

This guide covers what each piece does, why compound shooters tie a D-loop instead of pinching brass on the string, how to install both correctly, and the small mistakes that quietly destroy your accuracy. By the end, you will be able to set up your own string hardware in about thirty minutes with materials that cost less than a single arrow.
What a Nocking Point and D-Loop Actually Do
A nocking point is the reference mark on your bowstring that tells the arrow exactly where to sit. Without it, you are guessing — the arrow will land in a slightly different vertical position every time you nock it, which means the rear of the arrow leaves the string at a different angle every shot. That alone can open your groups by inches at twenty yards.
On traditional and recurve setups, the nocking point is usually a small brass clamp crimped onto the serving, or a tied knot of serving thread. The arrow nock snaps onto the string just below the nocking point, and your fingers draw directly on the string itself.
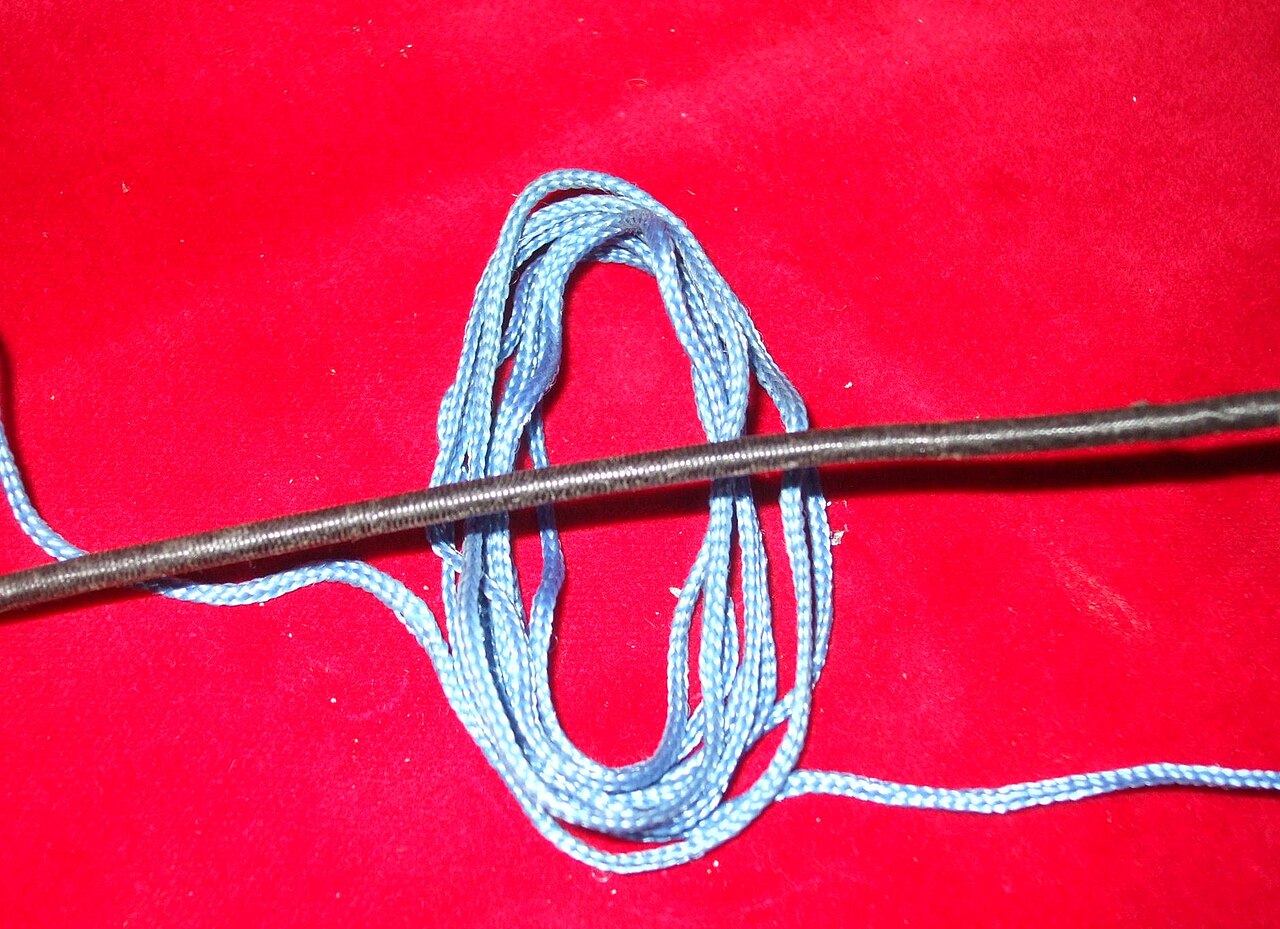
A D-loop is a small loop of braided cord tied onto the bowstring above and below the arrow. Instead of pulling the string with your fingers, you hook your release aid onto the D-loop and draw the loop. Because the cord wraps around the string above and below the arrow, the arrow itself sits sandwiched between two knots — and those two knots become your effective nocking point. The arrow cannot slide up or down because the cord blocks it on both sides.
That is the key insight: on a compound bow, the D-loop replaces the function of a separate nocking point. The two knots of the loop ARE the nocking point. You do not need brass on the string when you are shooting with a release aid.
Why Compound Shooters Use D-Loops Instead of Bare Strings
You could, in theory, hook a caliper release directly onto the bowstring. Compound archers used to do exactly that in the 1980s before D-loops became standard. Three things changed once D-loops took over.
First, hooking the release directly on the string compresses the string at the release point, which torques the nock left or right at full draw. The D-loop pulls the string straight back without that pinch, which dramatically improves nock travel and arrow flight downrange.
Second, a D-loop centers the release pull behind the arrow rather than below it. With the release hooked on the string, you are pulling slightly under the arrow, which creates vertical torque every shot. Pulling the loop centers force directly behind the arrow shaft.
Third, the loop saves wear on your string serving. Steel release jaws against bowstring serving will fray the serving in a few hundred shots. The D-loop cord absorbs that wear instead — and replacing a worn loop takes five minutes, while replacing string serving takes far longer and requires a serving jig.
How to Tie a D-Loop in 6 Steps
You will need three things: a length of D-loop cord (BCY #24 in 1.18mm or Pine Ridge Nitro Loop are the two standards), a pair of D-loop pliers, and a lighter to melt the cord ends. Total cost is under twenty dollars and you will have material for years.

- Cut a 4.5 inch length of D-loop cord. Burn each end with a lighter and quickly press the molten tip flat — you want a small mushroom head on each end that cannot pull through a knot.
- Mark your nocking point reference with a small piece of tape on the string at the spot where the bottom of your arrow nock will sit. This becomes your anchor point.
- Tie the bottom knot first, just below the tape, using a standard overhand knot wrapped around the string. Pull it snug but not tight yet.
- Nock an arrow onto the string above the bottom knot. Use the arrow nock as a spacer to set the gap between knots — typical compound spacing is 1/8 inch above and below the arrow.
- Tie the top knot the same way, just above the arrow nock. Snug it down but leave room to slide it.
- Use D-loop pliers to crank both knots tight. The pliers grip the loop and let you really seat the knots — finger tension alone will not get them tight enough, and a loose loop will slip during the shot cycle.

The finished loop should be about 3.5 to 4 inches around when fully tied — enough room to fit your release aid jaws or hook comfortably without forcing them in. Test the loop by hooking your release on, drawing back to anchor with the arrow loaded, and letting down slowly. Watch for any knot movement. If either knot slides, retighten with the pliers before live fire.
Setting Nocking Point Height (Why 1/8 Inch Nock-High Usually Wins)
Whether you are tying a D-loop or pinching brass, the height of the nocking point relative to the arrow rest determines how the arrow leaves the string. Set it perfectly square (the arrow shaft exactly perpendicular to the bowstring) and most compound bows will shoot a slight nock-low pattern. Set it 1/8 inch nock-high (the bottom of the arrow nock is 1/8 inch above the 90-degree mark) and you will usually find the sweet spot.
Use a bow square to measure. Clip the square onto the string with the long arm resting on the arrow rest. The vertical scale on the square reads the distance up the string. Mark where you want the bottom of the arrow nock to sit, then tie your D-loop knots so the arrow rests exactly there.
To verify the height is correct, paper tune. Shoot through a sheet of paper at six to eight feet. A clean bullet hole means your nocking point height is right. A tear that points up means nock-low (move the loop up slightly). A tear that points down means nock-high (move the loop down). Adjust in small increments — 1/16 inch at a time — until the tear is round.
Bare shaft testing is the second method. Shoot three fletched arrows and three bare arrows at the same target from twenty yards. If the bare shafts impact above the fletched group, your nocking point is too high. If they impact below, it is too low. Aligned impact means you are dialed in.

Common D-Loop and Nocking Point Mistakes
Most D-loop problems come from the same handful of mistakes. Watch for these:
- Loop too tight against the arrow nock. If the knots pinch the nock, the arrow cannot release cleanly. Leave a hair of clearance on each side — the nock should snap on without resistance from the cord.
- Knots not seated. Hand-tightening alone leaves the knots loose enough to creep during the shot. Always finish with pliers.
- Burned ends not flattened. Round molten tips can pull back through the knot. Press them flat with the side of the lighter while the cord is still warm.
- Wrong cord diameter. Cord that is too thin will not grip the serving and will slip. Cord that is too thick will not seat into clean knots. Stick with 1.18mm or 0.040 inch material from a known brand.
- Tying over worn serving. If your string center serving is fuzzy or separating, replace the serving first. Tying a loop over damaged serving accelerates the wear and your nocking point will drift within a hundred shots.
When to Replace Your D-Loop
D-loop cord is consumable. The release aid jaws or hook abrade it every shot, and over time the cord fuzzes, frays, and eventually fails. A failed D-loop at full draw is a dry-fire risk if the cord snaps mid-shot — so replacement before failure is non-negotiable for any compound shooter.
Inspect your loop weekly during heavy practice. Look for fuzzing where the release contacts the cord, frayed strands, and any visible thinning. A healthy D-loop is uniformly braided with no visible white core. Once you see core or significant fuzzing, retie immediately.
For most compound shooters, that means replacing the loop every two to four months under regular practice, and immediately if you notice any fraying. The cord is cheap, the procedure is fast, and a fresh loop tunes the same as the old one if you measure the new install carefully against your existing nocking point reference.
Pairing the D-Loop with Your Release Aid
Your release aid and your D-loop are tuned together. Hook-style releases (hinge, thumb-trigger, resistance) need a loop loose enough that the hook can rotate freely inside it. If the loop is too tight, the hook drags on the cord and the release will not fire cleanly.
Caliper-style index-finger releases work fine on tighter loops because the jaws clamp around the cord rather than rotating inside it. If you switch from a caliper to a hinge, expect to retie your loop slightly larger to give the hook room to move.
Loop length also affects effective draw length. A longer loop pushes your release hand further back from the string, which lengthens your draw by that amount. If you change loop length significantly, recheck your draw length and anchor point — what felt right with a 4 inch loop will feel different with a 3.5 inch loop.

Final Thoughts
Nocking points and D-loops are the unglamorous hardware that decides whether your tuned bow actually shoots tuned. Tie the loop tight with pliers, set the nocking height with paper or bare shaft testing, inspect the cord weekly, and replace it before it fails. Thirty minutes of careful work on string hardware will tighten your groups more than any premium accessory you could bolt onto the rig.
Sources
- Lancaster Archery Supply — How to Tie a D-Loop
- Bowhunter Magazine — D-Loop and Nock Tuning
- AT Archery — Paper Tuning Guide
- Easton Archery — Arrow and String Tuning
Browse archery bows, arrows, and accessories at the Archery Supplier shop →