
Archery Blog
Recurve Bow Tips for Beginners | 12 Essentials for Accuracy
Jul
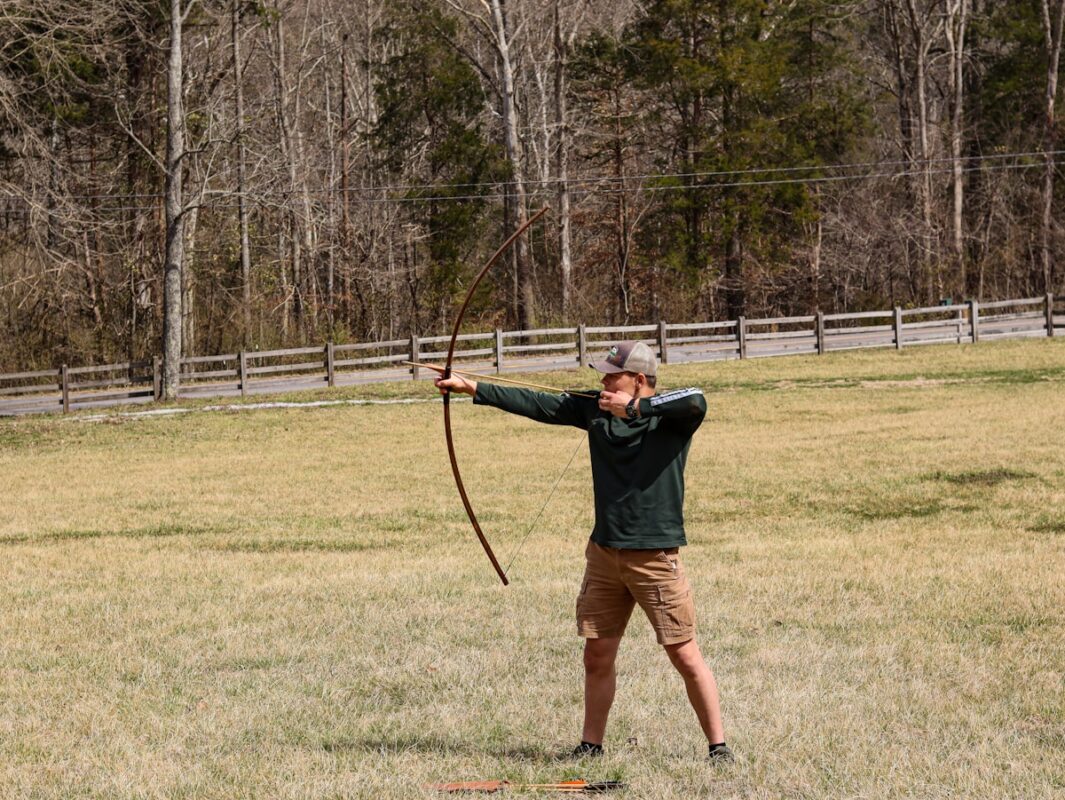
Picking up a recurve bow for the first time is exciting, humbling, and occasionally painful on the forearm. Unlike compound bows that use cams and let-off to hold weight at full draw, a recurve demands that you hold every ounce yourself. That rawness is exactly what draws people to it — no mechanical advantage, just you and the bow.
Whether you grabbed a recurve because you watched Olympic archery and thought “I want to do that,” or because traditional shooting simply speaks to you, the learning curve is real. Bad habits picked up early can take months to undo. The good news? A handful of fundamentals, practiced consistently, will speed up your progress faster than any expensive upgrade.
The 12 recurve bow tips below are built specifically for beginners. This is not advanced tuning theory or competitive mental game — that comes later. These are the foundational skills and awareness shifts that separate frustrated beginners from confident archers.
1. Choose the Right Draw Weight — Then Go Lower
This is the single most common mistake new recurve archers make. Walking into a shop and pulling back a 40-pound bow feels manageable for one or two arrows. Try holding proper form through 60 arrows in a session, and your shoulders will be screaming by arrow 20.
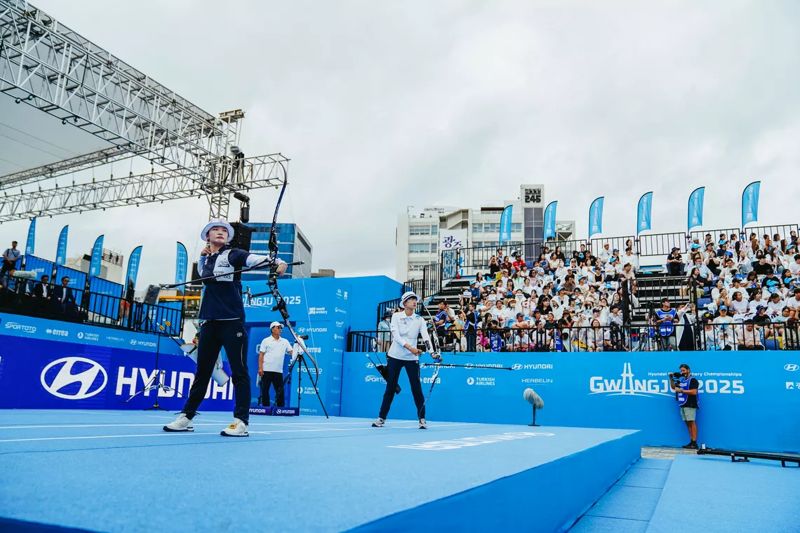
For adult beginners, start between 20 and 28 pounds of draw weight. Most Olympic recurve archers trained for years before shooting the 48-pound bows you see on television. Starting light lets you focus on form without fighting the bow. Your muscles will build naturally, and you can always move to heavier limbs later — which is exactly why a takedown recurve kit is the smartest first purchase.
A good test: hold your bow at full draw for 30 seconds without shaking. If you cannot, the weight is too heavy. Period. World Archery’s equipment guide recommends beginners err on the lighter side and increase gradually over months.
2. Your Stance Sets Everything Up
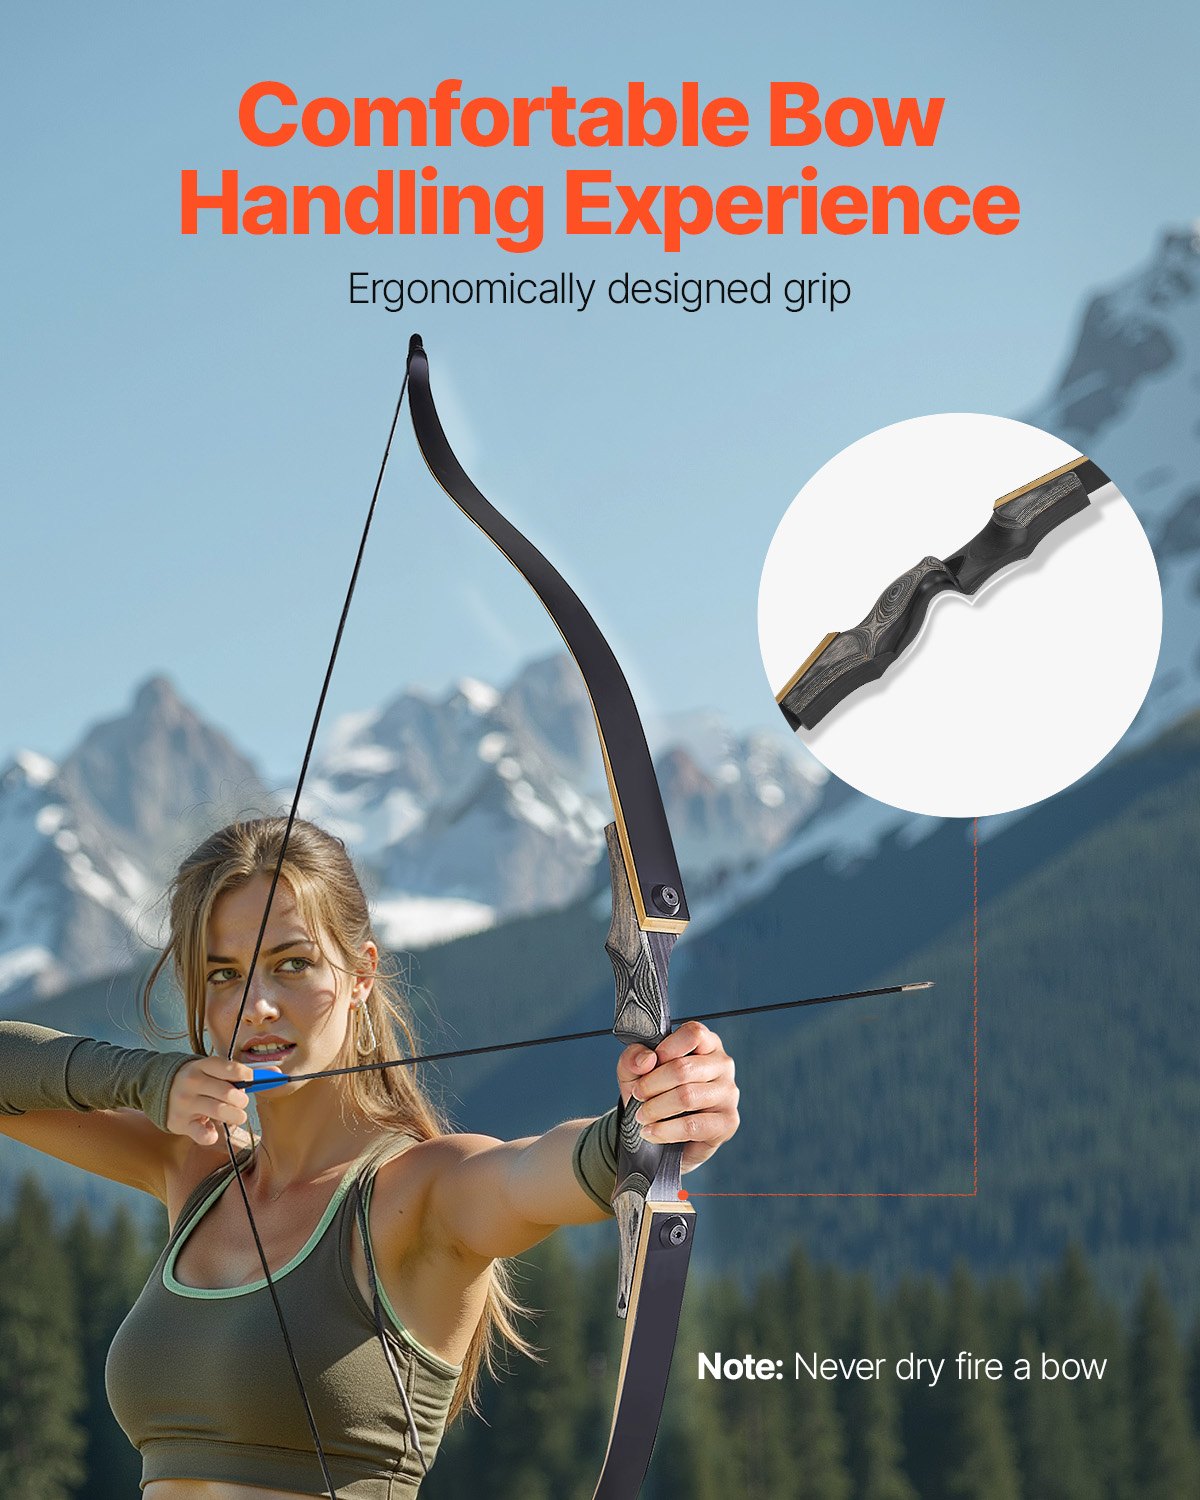
Stand perpendicular to the target with your feet roughly shoulder-width apart. Your front foot (closest to the target) should point slightly toward the target — roughly 15 to 30 degrees open. This is called an open stance, and most coaches recommend it for beginners because it helps with clearance and balance.
Weight should be evenly distributed, maybe slightly forward on the balls of your feet. Avoid leaning backward — a common compensation when the draw weight is too heavy. Your body should feel stacked: feet, hips, shoulders, and head all aligned vertically. Think of yourself as a pillar, not a leaning tower.
Consistency matters more than perfection here. Mark your foot positions with tape during practice so you can replicate the same stance shot after shot. When something goes wrong, your stance is the first thing to check.
3. Master the Grip — Less Is More
Gripping a recurve bow too tightly is instinctive and wrong. A death grip torques the bow at release, sending arrows left or right unpredictably. The correct grip is barely a grip at all.
Place the bow handle against the meaty pad at the base of your thumb — the thenar eminence, if you want the anatomical term. Your fingers should be relaxed, either curled loosely around the grip or hanging open. Many experienced archers use a wrist sling precisely so they can open their hand completely without dropping the bow.
The pressure point should be on the thumb pad, slightly to the left of center (for right-handed shooters). If you see white knuckles, you are gripping too hard. Let the bow sit in your hand. Trust the sling. Your groups will tighten immediately.
4. Find Your Anchor Point and Never Leave It
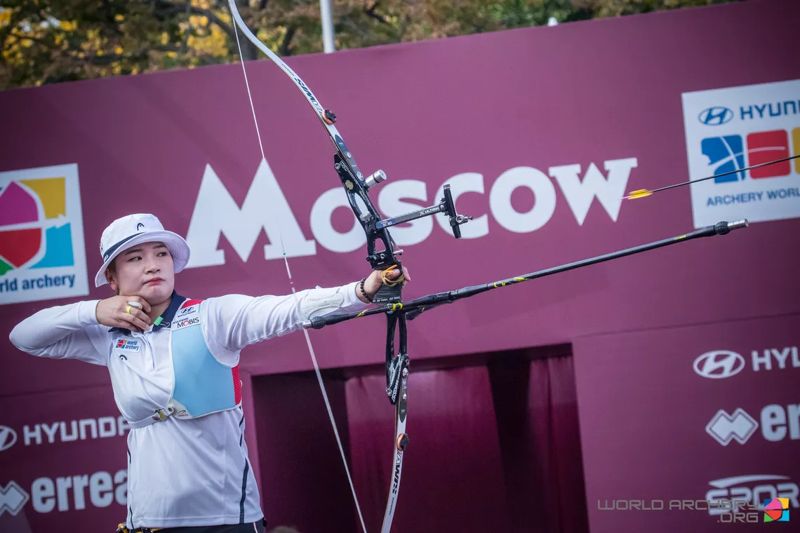
Your anchor point is where your drawing hand contacts your face at full draw. For recurve archers, common anchor points include the corner of the mouth, the chin, or beneath the jawbone. Olympic-style shooters typically anchor under the chin with the string touching the nose and chin simultaneously.
The specific position matters less than the consistency. Your anchor point creates a fixed rear reference for every shot. If it moves even half an inch between shots, your arrows will scatter across the target. Pick a spot that feels natural and repeatable, then train your muscle memory until it is automatic.
A useful drill: close your eyes, draw to anchor, and have a friend check your position. Do this 10 times. If your hand lands in the same spot every time, you have built a reliable anchor. If not, keep drilling.
5. Use Back Tension for the Draw — Not Your Arms
Your arms get the string back. Your back muscles hold it there. This distinction separates beginners from intermediate archers faster than anything else.
At full draw, you should feel engagement in your rhomboids and lower trapezius — the muscles between your shoulder blades. Imagine squeezing a pencil between your shoulder blades. If you are holding weight primarily with your bicep and forearm, fatigue will set in quickly, and your form will fall apart.
A helpful visualization: think of your drawing elbow as driving backward, not pulling the string. Your elbow leads, your hand follows. The string just happens to come along for the ride. This shift in thinking activates the correct muscle groups and produces a cleaner, more powerful draw cycle.
If you have read our guide on proper archery form fundamentals, you will recognize back tension as one of the core pillars. It applies doubly to recurve because there is no let-off to help you hold at full draw.
6. The Release: Let It Happen
With a recurve bow, you release the string by relaxing your fingers. That sounds simple. It is not. The temptation to “throw” the string or open your fingers deliberately creates inconsistency. A true recurve release happens when back tension increases to the point where the string slips from your fingers naturally.
Practice this motion without an arrow. Draw to anchor, build back tension, and let the string slide off your fingertips. Your hand should snap backward along your jaw — not fly outward or drop down. That backward movement confirms that back tension was doing the work.
Target panic — the involuntary flinch or early release that plagues archers — often starts with a tense, deliberate release. Building the habit of a relaxed, back-tension-driven release from day one is the best defense against target panic down the road.
7. Follow Through Like You Mean It
Your shot does not end when the arrow leaves the string. Hold your position until the arrow hits the target. Your bow arm stays up, your drawing hand stays at your face (or slightly behind it), and your eyes stay on the target.
Dropping your bow arm is called “peeking,” and it pulls arrows low. Collapsing forward shifts impact unpredictably. Think of a golf swing — the follow-through determines as much about the shot’s direction as the backswing.
A good follow-through is evidence that everything before it was correct. If your body collapses or lurches at release, something upstream in the shot sequence broke down. Use follow-through as your diagnostic tool.
8. Get Arrows That Match Your Setup
Shooting arrows with the wrong spine (stiffness) for your draw length and bow weight is like putting the wrong tires on a car. The bow might work, but accuracy will suffer no matter how good your form gets.
Arrow spine needs to match your draw weight and draw length. Manufacturers like Easton and Gold Tip publish spine charts — use them. For beginners, aluminum arrows like the Easton Jazz or XX75 are affordable, durable, and available in a wide range of spines. Carbon arrows perform better but cost more and are less forgiving of mistakes.
If your arrows consistently fly with the nock end kicking left (for right-handed shooters), they may be too stiff. If they kick right, they may be too weak. Check out our detailed breakdown on arrow spine charts and how to pick the right arrows for your setup.
9. Install a Proper Arrow Rest and Nocking Point
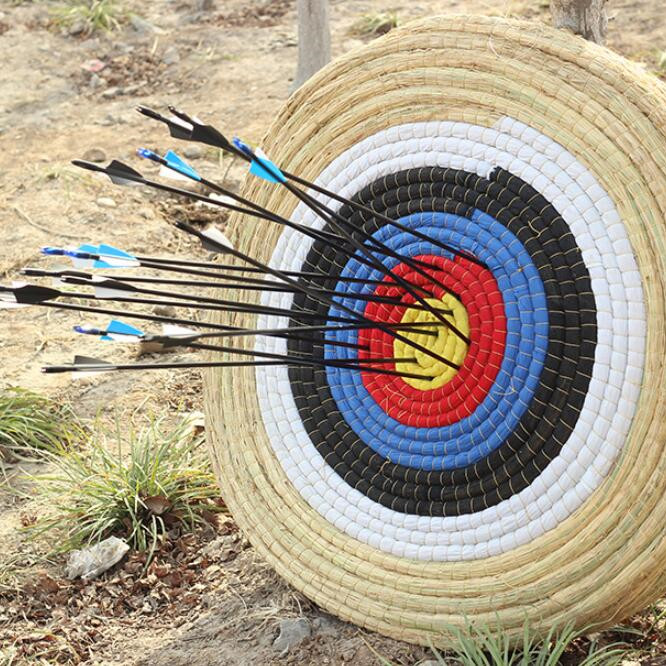
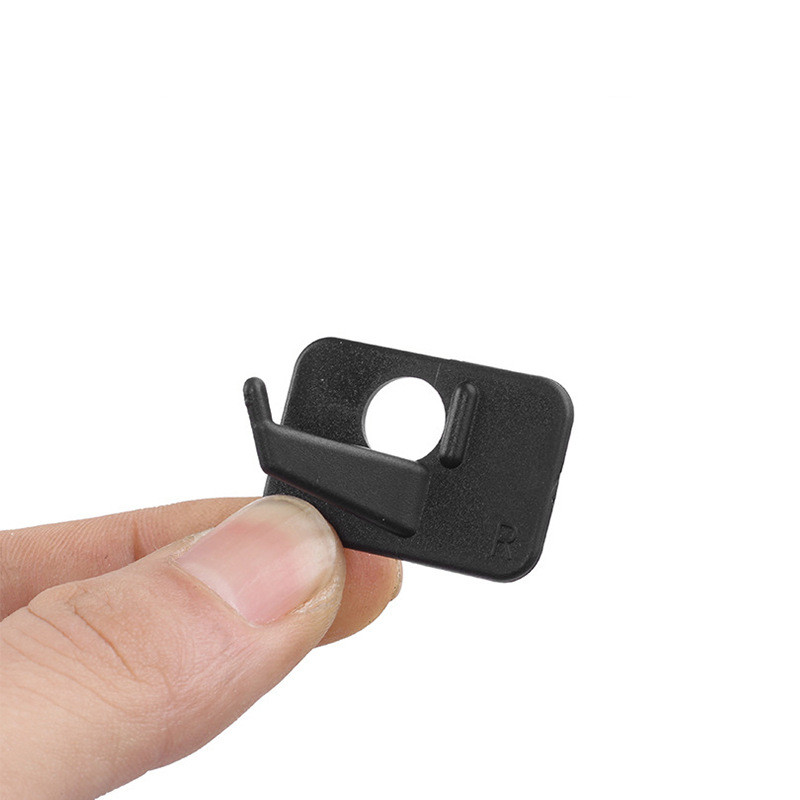
Many beginner recurve bows come with a simple stick-on rest or a shelf covered with leather. Either works, but the setup needs to be correct. Your nocking point — the small brass crimp or tied-on locator on your string — determines where the arrow sits vertically.
For a basic setup, the nocking point should position the arrow slightly above perpendicular to the string, typically about 1/8 to 1/4 inch high. This ensures clean arrow clearance at release. A bow square (T-square) makes this measurement simple and costs a few dollars.
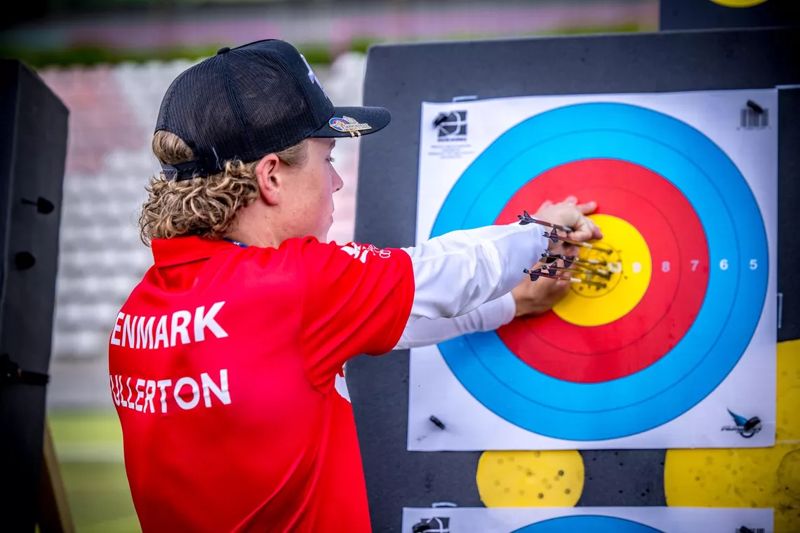
If you are shooting off the shelf, apply a small adhesive rest pad and a side plate to protect the bow and provide consistent arrow flight. USA Archery provides basic equipment setup guides on their website that walk through rest and nocking point installation step by step.
10. Wear an Arm Guard — No Excuses
String slap — the bowstring hitting your forearm on release — hurts. It bruises. It makes you flinch on the next shot, which makes your form worse, which makes string slap more likely. It is a vicious cycle.
An arm guard costs between five and fifteen dollars and prevents all of this. Wear one every time you shoot. Period. Even if your form is perfect and string slap has not happened yet, it will happen the moment you get tired and your elbow rotates inward.
Beyond the arm guard, check your bow arm’s elbow rotation. The inside of your elbow should face outward (toward the sky), not inward toward the string path. A slight bend or rotation of the elbow clears the string path naturally. If you are still getting hit despite correct rotation, your brace height may be too low — measure it and compare to the manufacturer’s recommendation. Our beginner archery set guide covers arm guards and other protective equipment in detail.
11. Practice with Purpose, Not Just Volume
Shooting 200 arrows while thinking about dinner reinforces bad habits. Shooting 30 arrows with full focus on one element of your form — say, your grip — builds skill. Quality over quantity applies to archery more than almost any other sport.
Structure your practice sessions. Spend the first 10 arrows on blank bale shooting (no target face, close distance) to warm up and check form. Then work on one specific element for 20 to 30 arrows. Finish with a scoring round to see how the session’s focus translates to the target.
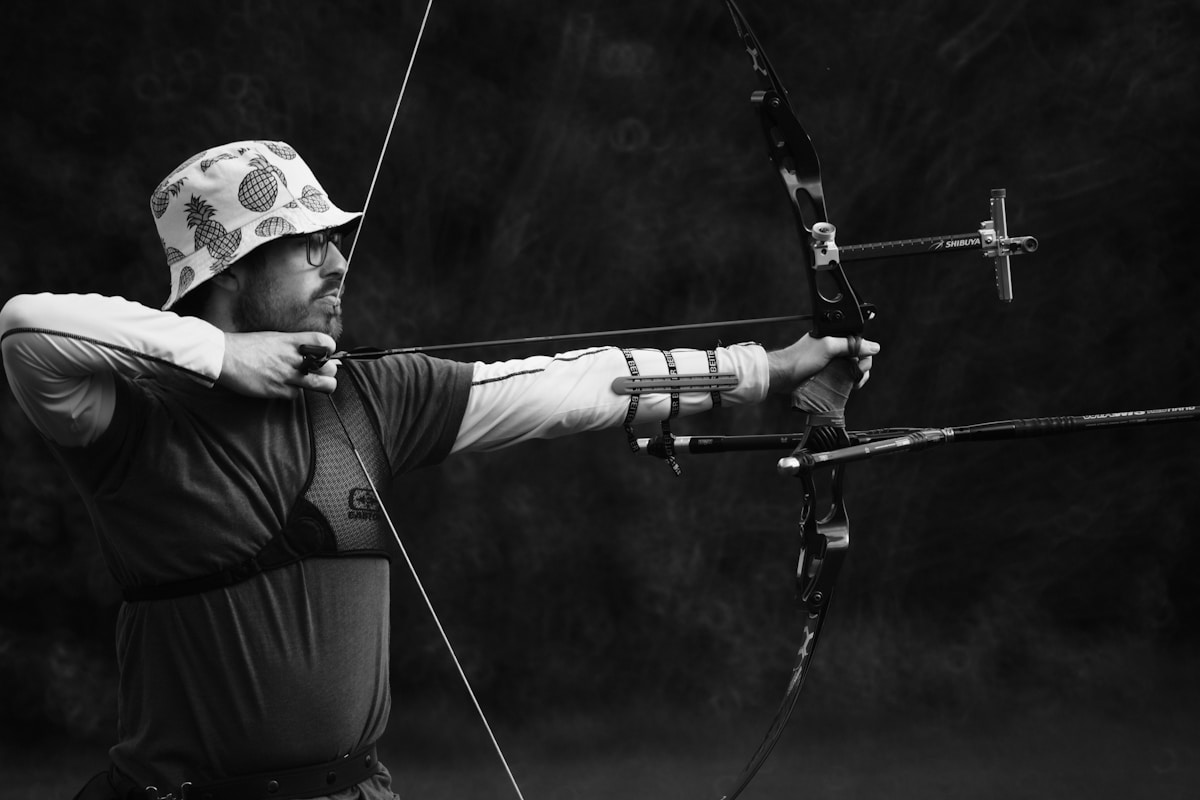
Keep a shooting journal. Note what you worked on, what felt different, and what the results were. Over weeks and months, patterns emerge that help you and any coach you work with diagnose issues. The archers who improve fastest are not the ones who shoot the most — they are the ones who think about what they are doing while they shoot.
12. Get at Least One Lesson From a Coach
YouTube is a great resource. This article is a great resource. Neither replaces a qualified coach watching you shoot in real time and giving immediate feedback on habits you cannot see or feel yet.
Even a single one-hour lesson with a certified instructor can correct issues that would have taken you months to identify on your own. Many archery pro shops offer beginner clinics for $20 to $40. USA Archery’s club finder can help you locate programs near you.
If in-person coaching is not an option, film yourself from the side and from behind. Compare your form to reference videos from trusted sources. You will catch things in the footage that you cannot feel while shooting — a collapsing bow shoulder, a creeping draw length, or an inconsistent anchor.
Putting These Recurve Bow Tips for Beginners Together
All 12 of these tips connect to each other. Your stance affects your grip. Your grip affects your draw. Your draw affects your anchor. Your anchor affects your release. And your release affects where the arrow goes. Archery is a chain, and the weakest link decides your accuracy.
For your first month, focus on tips 1 through 7 — the physical fundamentals. Get your draw weight right, build a consistent stance and grip, find your anchor, learn back tension, develop a clean release, and hold your follow-through. These habits need to be automatic before you start worrying about fine-tuning equipment or chasing tight groups.
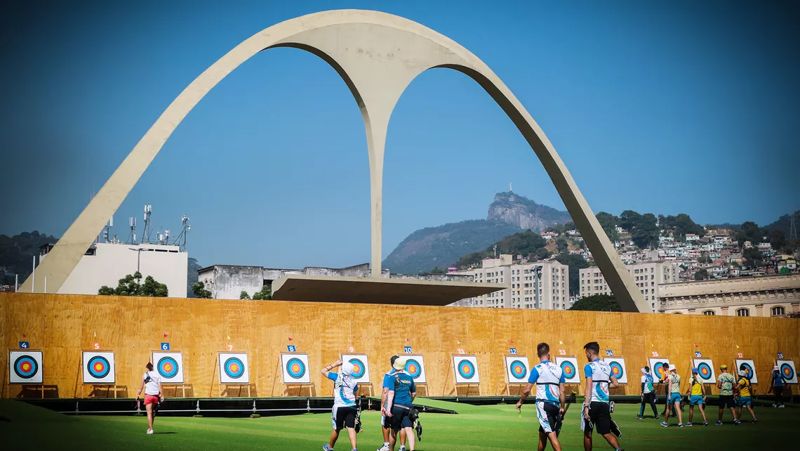
During month two, dial in your equipment (tips 8 and 9) and commit to purposeful practice (tip 11). Match your arrows to your bow, set your nocking point correctly, and start structuring sessions instead of just flinging arrows.
By month three, you should be ready for a coaching session (tip 12) where a trained eye can polish what you have built and spot blind spots. You will also be ready to start pushing your distance — moving from 10 or 15 meters out to 20, then 30, then eventually the standard 70-meter Olympic distance if that is your goal.
The recurve bow rewards patience. There are no shortcuts, no gadgets that replace practice, and no substitute for honest self-assessment. But every archer who has ever stepped onto an Olympic podium started exactly where you are now — pulling back a light bow, trying to hit the center of a target, and slowly falling in love with the process.
If you are still setting up your kit, read our guide on how to maintain your recurve bow so you can keep your gear in top shape from day one.
Watch: How to Shoot a Recurve Bow for Beginners
This video walks through the fundamentals of recurve shooting step by step — a good companion to the tips above.
Sources
- World Archery — How to Choose the Right Equipment — official guidance on beginner draw weight and gear selection.
- World Archery — Recurve Equipment — breakdown of recurve bow components and setup.
- USA Archery — national governing body, coaching resources and club finder.
