Archery Blog
Recurve Bow Shooting Tips | 12 Ways to Improve Your Accuracy
Mar
Shooting a recurve bow well demands more than raw strength or expensive equipment. It requires disciplined form, mental focus, and deliberate practice habits that develop over months and years. Whether you picked up your first recurve last week or you have been shooting for a decade, there is always room to tighten your groups and make every arrow count.
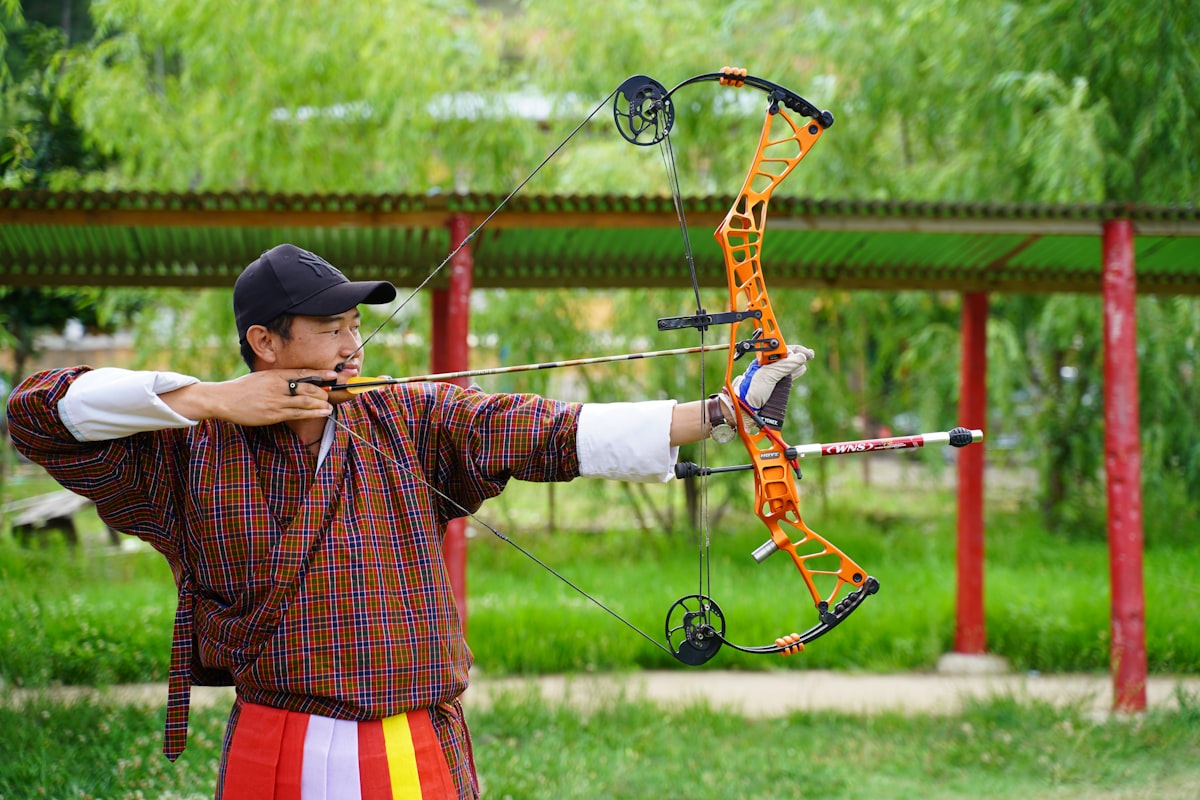
The recurve bow is the only bow style used in Olympic archery, and for good reason. It strips away mechanical aids like release triggers and let-off cams, leaving the archer fully responsible for every aspect of the shot. That purity makes it deeply rewarding — and deeply humbling when your arrows start drifting.
Below you will find twelve proven tips that target the most common problem areas recurve archers face. Each one focuses on a specific element of your shot cycle, from the ground up. Apply them patiently and your scores will reflect the work.
1. Build Your Stance from the Ground Up
Your feet set the stage for everything above them. Stand with your feet shoulder-width apart, perpendicular to the target line, with roughly 60 percent of your weight on the balls of your feet. This is the square stance, and it is the starting point for most recurve archers.
Some experienced shooters adopt an open stance, rotating the front foot slightly toward the target. This opens the hips and can help clear the bowstring from your chest or arm guard. Experiment with both, but commit to one for at least a few weeks before switching. Changing your stance mid-session is a recipe for scattered arrows.
Keep your knees soft — not locked, not bent. A rigid lower body transfers vibration upward and introduces tension in your hips and core, exactly where you need stability. Think of your legs as shock absorbers planted into the ground.
2. Master the Relaxed Bow Hand
Grip torque is the single largest accuracy killer for recurve shooters. If you squeeze the grip like a baseball bat, you introduce lateral torque that sends arrows left or right in unpredictable patterns. The fix is counterintuitive: hold the bow less, not more.
Place the grip in the meaty pad between your thumb and index finger — the thenar eminence. Let your fingers hang loose. Some archers shoot with a completely open hand, relying on a finger sling or wrist sling to catch the bow after release. This eliminates grip torque entirely.
If you notice your arrows grouping to the left (for a right-handed archer), grip torque is almost certainly the culprit. Spend an entire practice session focused on nothing but relaxing your bow hand. It feels wrong at first. That feeling goes away, and your groups tighten dramatically.
3. Find a Repeatable Anchor Point
Your anchor point is where your draw hand consistently lands on your face at full draw. For Olympic-style recurve, the most common anchor is the index finger touching the corner of the mouth, with the string bisecting the chin and the tip of the nose. This three-point contact system gives you a reliable reference every single shot.
Traditional and barebow archers may anchor under the chin, at the cheekbone, or even at the ear depending on their aiming method. Whatever anchor you choose, it must be exactly the same on every shot. Even a quarter-inch variation at anchor translates to several inches of deviation at 18 or 70 meters.
Practice drawing to anchor with your eyes closed. You should be able to feel every contact point without visual confirmation. When your anchor becomes muscle memory, half the battle is already won.
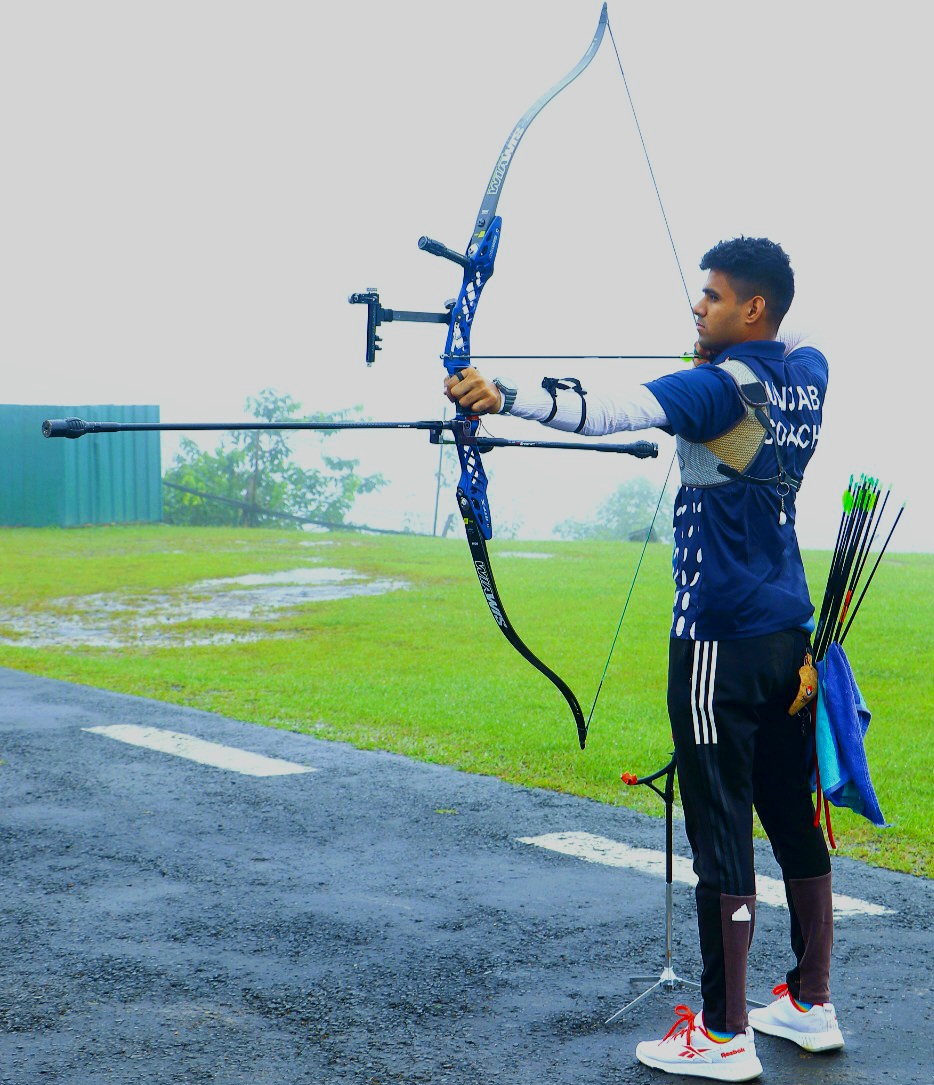
4. Align Your Body Like a Straight Line
At full draw, your body should form a T-shape when viewed from above. Your bow arm pushes straight toward the target. Your draw arm pulls straight back, with the elbow slightly behind the arrow line. The force travels through your skeletal structure — bone on bone — rather than relying on arm and shoulder muscles to hold the draw weight.
This concept is called alignment, and it is what separates archers who can hold steady at full draw from those who shake after three seconds. When your bones carry the load, your muscles can relax, your sight picture stabilizes, and your release becomes smoother.
A common alignment mistake is collapsing the draw shoulder forward. This shifts the load onto the bicep and deltoid, which fatigue quickly. Think about squeezing your shoulder blades together at full draw. Your draw-side shoulder should sit low and back, not hunched up toward your ear. For a deeper dive into alignment fundamentals, check out our guide on basic archery form for beginners.
5. Use Back Tension for a Clean Release
The release is where everything comes together or falls apart. Recurve archers shoot with fingers on the string, which makes a clean release more challenging than a mechanical trigger. The key is back tension — using the muscles between your shoulder blades to continue the draw motion through the release rather than consciously opening your fingers.
Think of it this way: your fingers do not release the string. Your back muscles pull your draw hand through the shot, and your fingers open as a natural consequence of that motion. When done correctly, the release surprises you slightly every time. That slight surprise is a good sign — it means you are not punching the shot.
A plucking release, where the fingers snap outward and away from the face, pushes the string sideways and ruins your arrow flight. If you find string residue on the side of your nose guard or arm guard, you are likely plucking. Focus on letting the string slide off your fingertips in a straight line.
6. Follow Through Like You Mean It
Follow-through is what happens after the string leaves your fingers, and it matters more than most archers realize. Your bow arm should remain extended and steady, pointed at the target. Your draw hand should drift backward along your neck, ending near or behind your ear. This backward drift is a natural result of maintained back tension.
Dropping your bow arm the instant the arrow leaves is called “peeking,” and it causes low shots. Your brain anticipates the release, tells your bow arm to drop so you can see where the arrow lands, and the motion begins before the arrow has fully cleared the bow. The arrow is on the string for about 15 milliseconds. That is enough time for a premature drop to send it into the dirt.
Hold your form for a full two seconds after release. Watch the arrow hit the target with your bow arm still extended. This discipline alone can fix chronic low-grouping problems that no amount of sight adjustment will solve.
🏹 Ready to Start Shooting Recurve?
If you are building your first recurve setup or replacing worn gear, start with quality essentials:
- 60-Inch Recurve Bow Kit 50lb — Complete kit with everything you need to start shooting
- 8mm Aluminum Alloy Practice Arrows — Durable practice arrows built for consistency
- Replacement Bowstring for Recurve Bow — Keep a spare bowstring in your bag at all times
7. Choose the Right Draw Weight
Overbowing is the most common mistake in recurve archery, and it sabotages every tip on this list. If your draw weight is too heavy, you cannot hold steady at full draw long enough to aim properly, your form collapses under the load, and fatigue sets in after just a few ends. Your accuracy craters and your risk of shoulder injury climbs.
A good rule of thumb: you should be able to hold at full draw for at least 10 seconds without shaking. If you cannot, your limbs are too heavy. Drop down 2-4 pounds and work your way back up as your archery-specific muscles develop. Olympic archers train at lower draw weights for form work even when they compete at much higher poundages.
Most beginner recurve archers should start between 20 and 28 pounds of draw weight. Intermediate archers typically shoot between 30 and 38 pounds. Competitive archers may go higher, but only after years of progressive training. Your bow is a precision tool, not a strength test.
8. Match Your Arrows to Your Bow
An arrow that does not match your bow’s draw weight and your draw length will never fly straight, no matter how perfect your form is. Arrow spine — the stiffness of the shaft — must correspond to the energy your bow produces. Too stiff and the arrow kicks right (for a right-handed archer). Too weak and it fishtails left.
Consult an arrow spine chart from your shaft manufacturer, cross-referencing your bow’s draw weight at your actual draw length with the point weight you are using. Getting this right eliminates a massive variable from your shooting equation.
Beyond spine, consider arrow weight. Heavier arrows absorb more energy and are more forgiving of slight form errors, while lighter arrows fly flatter but amplify any release mistakes. For practice and learning, err on the slightly heavier side. Competition arrows can be fine-tuned later.
9. Develop a Pre-Shot Routine
Every elite archer — from Olympic gold medalists to field archery champions — uses a pre-shot routine. This is a deliberate sequence of mental and physical steps performed before every single shot. It might include a specific breathing pattern, a visualization of the arrow hitting the center, a check of your stance and grip, or a quiet word to yourself.
The routine serves two purposes. First, it creates consistency by ensuring you approach each shot the same way. Second, it acts as a mental reset button. Whether your last arrow was a ten or a three, the routine brings your focus back to the present shot. Archery is a sport where dwelling on the previous arrow guarantees a bad next one.
Keep your routine short — 5 to 10 seconds maximum before you raise the bow. A long routine slows your shooting rhythm and gives your brain too much time to overthink. Write your routine down, practice it at home without a bow, and then apply it on the range until it becomes automatic.
10. Train at Short Distance First
Blank-bale shooting at 3 to 5 meters is the single most effective training method for recurve archers, yet most archers skip it because it feels boring. At close range, you cannot miss the target, which removes the stress of aiming and lets you focus entirely on form: stance, grip, draw, anchor, alignment, release, follow-through.
Spend the first 20 to 30 minutes of every practice session on blank-bale work. Shoot with your eyes closed to heighten your awareness of body positions. Feel your draw hand contact your face at anchor. Feel your back muscles engage. Feel the string slide off your fingers. This is where form improvements happen fastest.
When you step back to 18 or 30 meters, the form you drilled at close range comes with you. Archers who only practice at long distance develop compensation habits — small adjustments that mask form problems but limit their scoring ceiling. Close-range work removes those masks.
🎯 Upgrade Your Practice Setup
The right practice gear makes every session more productive:
- Turkey Archery 3D Shooting Target — Add variety to your practice with realistic 3D targets
- Recurve Bow Carry Bag — Protect your recurve during transport to the range
11. Manage Your Mental Game
Archery is 90 percent mental once your form is solid. Target panic — the involuntary flinch, freeze, or snap-shot that occurs when your sight picture reaches the center — affects archers at every level. It is your brain’s fight-or-flight response triggered by the anticipation of the release.
If you experience target panic, do not try to push through it by sheer willpower. Instead, return to blank-bale shooting and rebuild your shot process without the pressure of aiming. Use a systematic desensitization approach: shoot at a blank target, then a large circle, then a smaller circle, then a full target face, only progressing when you can execute a clean shot at each stage.
Breathing is your most powerful mental tool. Take a deep breath before raising your bow. Exhale half as you draw. Hold steady through your aiming and expansion phase. Breathe naturally after the shot. This rhythm calms your nervous system and keeps your heart rate from spiking during critical moments. Organizations like World Archery have published extensive resources on mental training for competitive archers.
12. Keep a Shooting Journal
The archers who improve fastest are the ones who track their progress deliberately. After every practice session, note what you worked on, what felt good, what felt off, and any specific shot patterns you observed. Did your arrows drift right after 40 shots? That is fatigue affecting your form — valuable information for adjusting your training volume.
Record your equipment settings as well: brace height, tiller, nocking point position, draw weight, arrow details. When your bow is shooting perfectly, you want to know exactly what the setup looked like so you can reproduce it after any changes. USA Archery coaches recommend detailed shot logging as a standard part of athlete development programs.
A simple notebook works. So does a spreadsheet or a dedicated archery app. The format matters less than the habit. Over weeks and months, your journal becomes a roadmap of what works for your specific body, bow, and shooting style. It is the most personalized coaching tool you can have.
Putting It All Together
Improvement in recurve archery does not come from finding one secret trick. It comes from systematically addressing each element of your shot cycle — stance, grip, draw, anchor, alignment, release, follow-through — and building those elements into habits that fire automatically under pressure.
Start with the fundamentals. Nail your stance and bow hand before worrying about aiming systems or equipment upgrades. Shoot at close range until your form is repeatable with your eyes closed. Then gradually increase distance and complexity. Keep your draw weight honest. Log your sessions. And above all, be patient with yourself.
The recurve bow rewards discipline. Every archer who has ever hit the gold at 70 meters started by learning how to stand, how to hold the bow without squeezing, and how to let the string go without flinching. Those basics never stop being relevant. They just become automatic — and that is when the real scoring begins.
For ongoing bow care between sessions, make sure you are following proper recurve bow maintenance practices to keep your equipment performing at its best.
🛒 Complete Your Recurve Setup
Whether you are just starting or upgrading your current rig, we carry everything you need for recurve archery:
- 60-Inch Recurve Bow Kit 50lb — A complete recurve package to get shooting fast
- 8mm Aluminum Alloy Practice Arrows — Reliable arrows for daily practice
- Replacement Bowstring for Recurve Bow — Always have a backup ready
- Recurve Bow Carry Bag — Portable protection for your recurve
- Turkey Archery 3D Shooting Target — Realistic 3D target for backyard shooting
Browse the Full Archery Supplier Shop →