
Archery Blog
Getting Started With Recurve Archery: A Newcomer’s Roadmap
Jul
There’s a particular kind of quiet that settles over you the first time you draw a recurve bow and hold it at anchor. No pulleys, no cams, no let-off doing the work for you — just your body, a curved stick, and a string under tension. Recurve archery is the oldest and most elemental form of the sport still in wide use today, and it’s the discipline you’ll see at the Olympic Games. It rewards patience and repeatable form more than raw strength, which is exactly why it’s such a satisfying place to begin. This roadmap is for the complete newcomer: what a recurve actually is, the gear that genuinely matters at the start, and how to build a shot you can repeat.
What Makes a Bow a Recurve
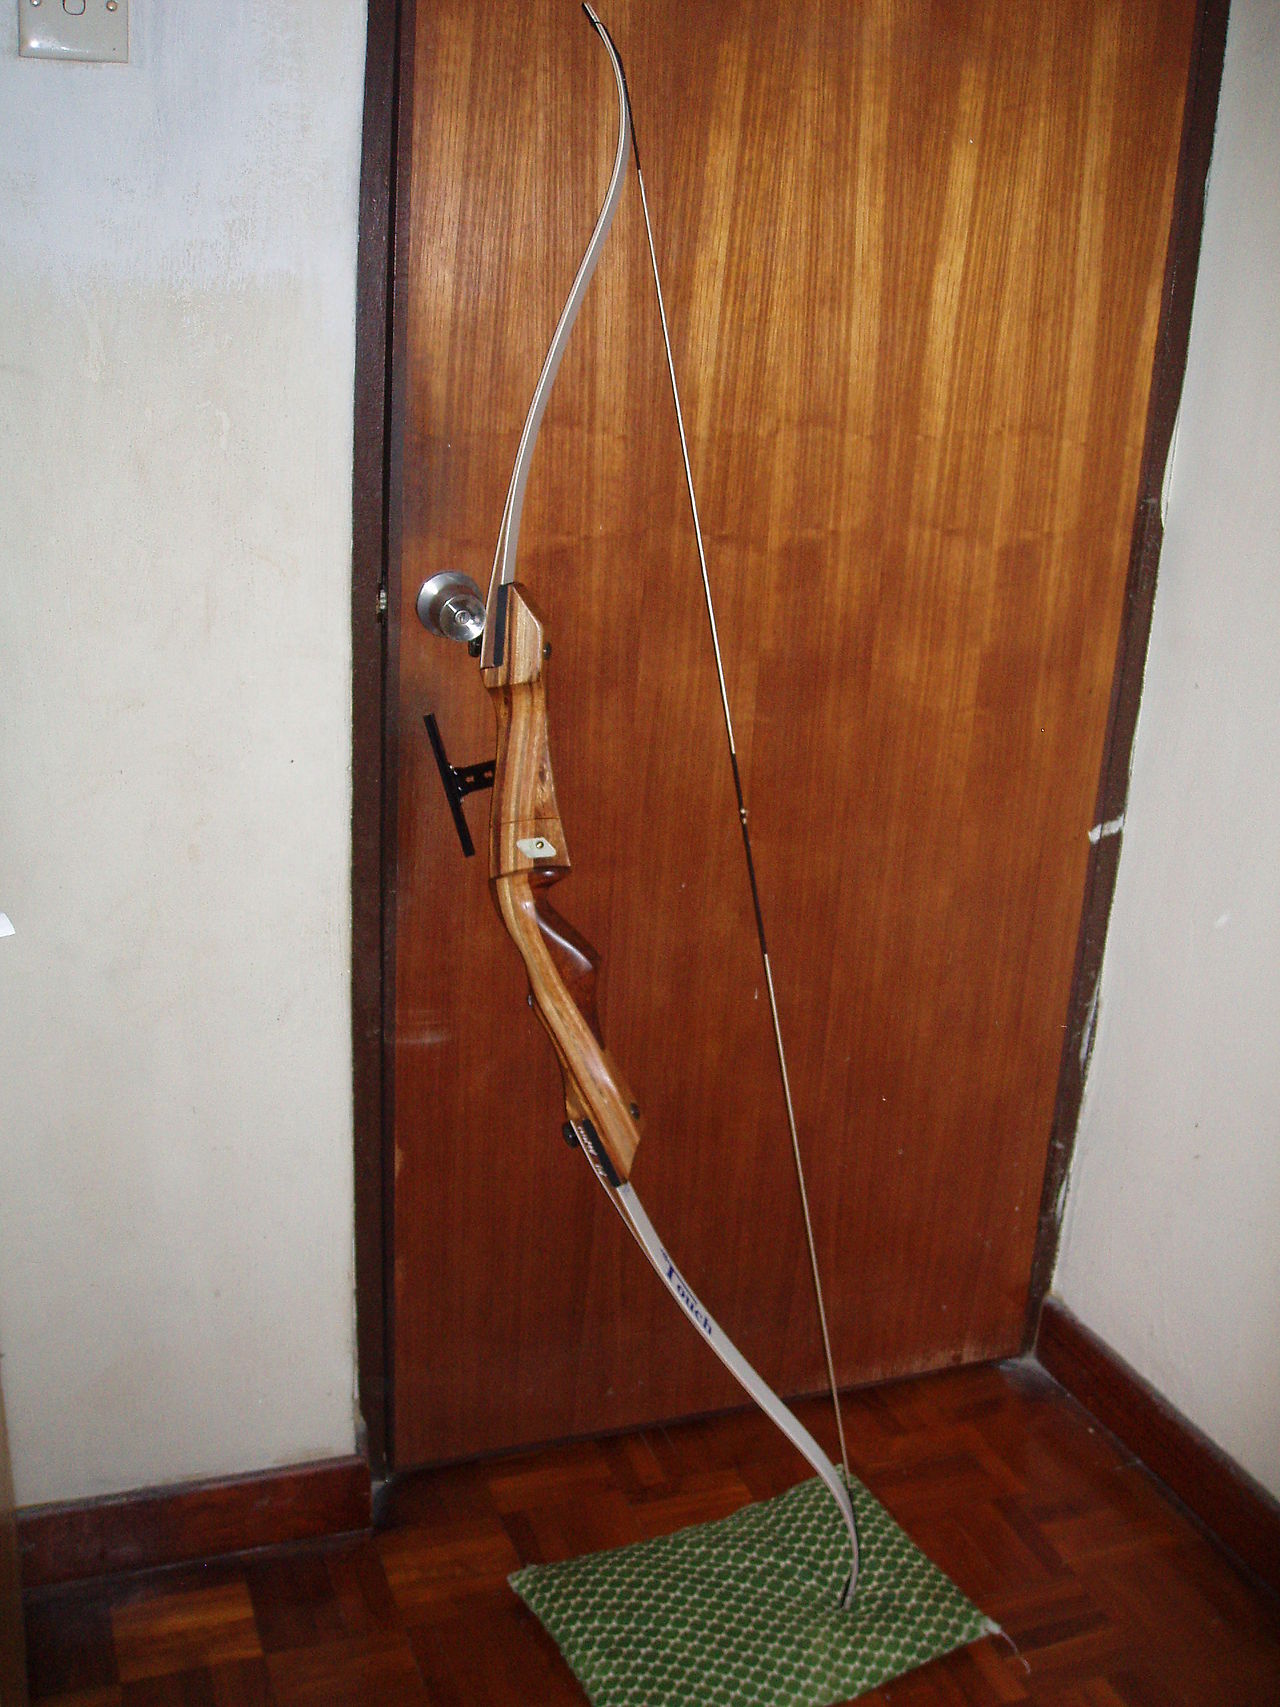
The name comes from the shape of the limbs. Look at a recurve from the side and you’ll notice the tips curve away from you, back toward the target, when the bow is unstrung. That reverse curve is doing real work: it stores energy more efficiently than a straight-limbed longbow of the same length, so you get more arrow speed for the same draw weight. When you string the bow, those tips snap back under load, and the string touches the belly of each limb tip before running to the nock — a detail that gives the recurve its distinctive crisp release.
Modern target recurves are almost always “takedown” bows, meaning they come apart into three pieces: a central riser and two limbs that bolt into it. This matters more than it sounds. A takedown bow travels easily, and — crucially for a beginner — it lets you increase draw weight over time by swapping the limbs while keeping the same riser. You start light, groove your form, and grow into a heavier setup without buying a whole new bow.
The Riser Is the Heart of the Setup
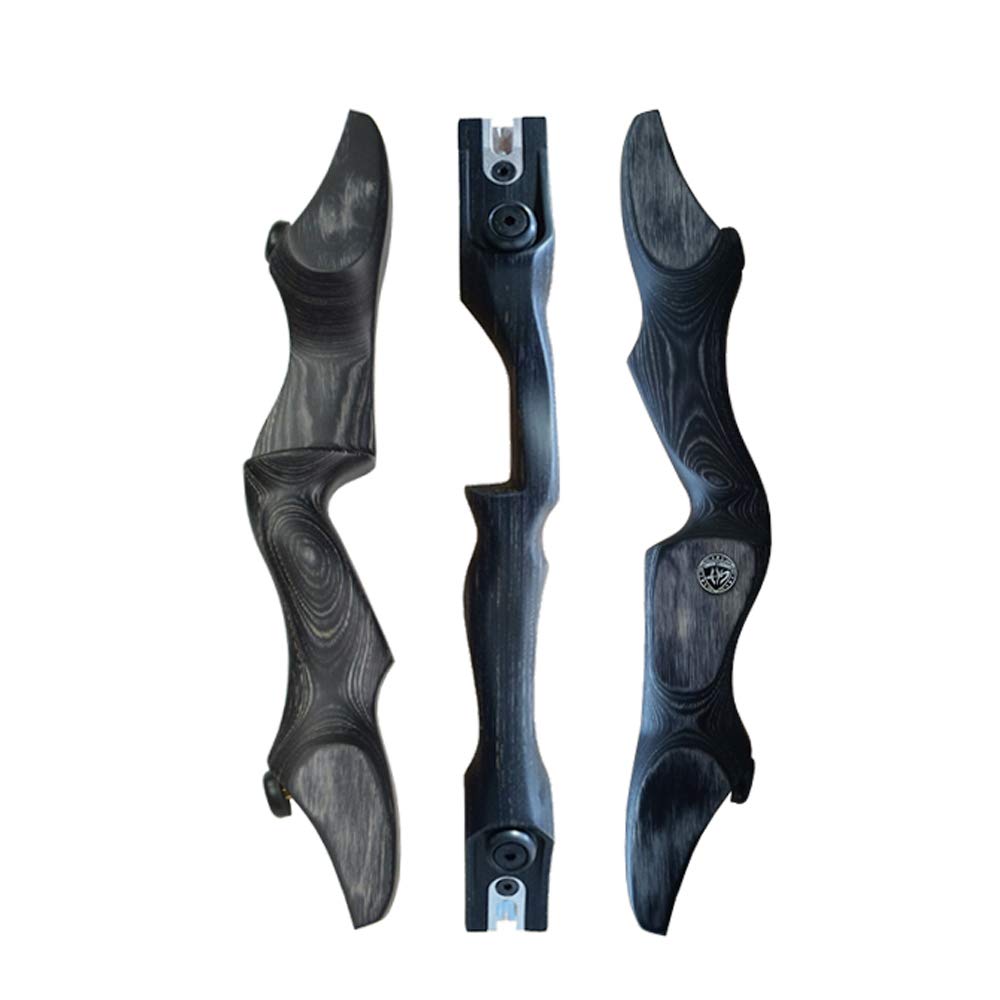
The riser is the machined center section you hold. Entry-level risers are often aluminum or a composite; higher-end ones are CNC-milled aluminum with threaded bushings for accessories like a sight, a stabilizer, and an arrow rest. Don’t get seduced by exotic risers on day one. A solid, honestly priced 25-inch takedown riser will carry you well past the beginner stage. What you’re really buying is a stable platform that won’t twist in your hand.
Choosing Your First Draw Weight
This is where most newcomers make their one avoidable mistake: they buy too much bow. Draw weight is measured in pounds and describes the force needed to pull the string to a standard 28-inch draw. It’s tempting to reach for something heavy because it feels more “serious,” but a bow you can’t hold steady is a bow that teaches you bad habits. Every flinch, every collapse at anchor, every early release gets baked into your muscle memory.
For an adult starting out, limbs in the 18-to-24-pound range are plenty. You want to draw, settle, hold for a few seconds, and let down comfortably several dozen times in a session without your form falling apart from fatigue. If the last arrows of your practice look sloppier than the first, your bow is too heavy. Because a takedown lets you swap limbs later, there is genuinely no downside to starting light — you’ll shoot better sooner and progress faster.
Shop takedown recurve bows for beginners on Amazon →
The Gear You Actually Need First
Archery marketing will happily sell you a cart full of accessories before you’ve loosed a single arrow. Resist. The starting kit is refreshingly short, and everything else can wait until your form tells you it’s ready.
Arrows Matched to You
Arrows aren’t interchangeable. Their stiffness — called spine — needs to match your draw weight and draw length, and their length must suit your reach. An arrow that’s too stiff or too limp will refuse to fly straight no matter how clean your release is. Aluminum arrows are the friendliest starting point: forgiving, affordable, and easy to replace when you inevitably lose a few in the grass. Have a shop or a knowledgeable club member help you size your first set rather than guessing online.
A Tab and an Armguard
Two small pieces of gear prevent the two most common beginner injuries. A finger tab is a flat piece of leather that sits between your fingers and the string, protecting your fingertips and giving you a smoother release. An armguard straps to your bow arm and saves your forearm from the sting of a string slap — which, if your form is a little off early on, will happen more than once. Neither costs much, and both make your first sessions dramatically more pleasant.
A Nocking Point and a Simple Rest
Your string needs a nocking point — a small marker that tells you exactly where the arrow clips on every single time, so your shots start from an identical spot. Most beginner bows include a basic stick-on arrow rest as well. That’s genuinely all the hardware you need to start shooting accurately. Sights and stabilizers are wonderful tools, but they refine an existing shot rather than create one. Add them once your form is consistent enough to benefit.
Shop finger tabs and armguards on Amazon →
Building Your First Shot
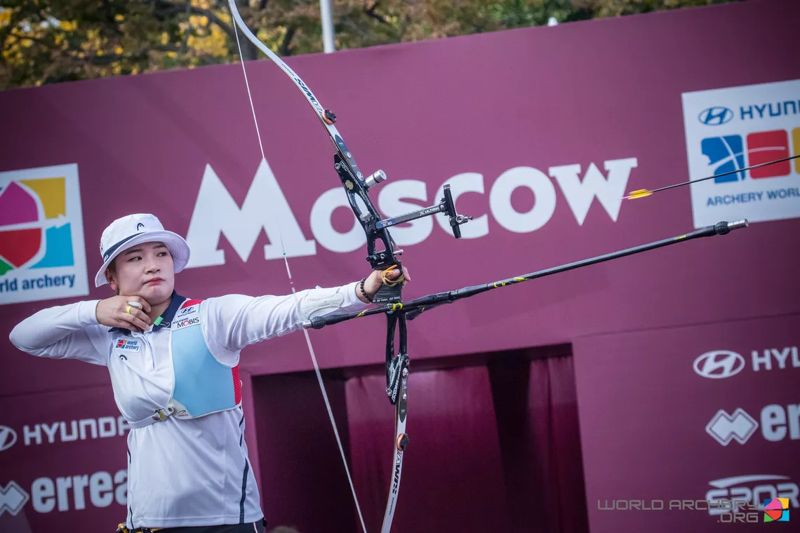
Accuracy in recurve archery comes from doing the same thing every time, not from muscling the arrow toward the target. Think of the shot as a small ritual with a fixed sequence. The steps below aren’t a checklist to rush through — they’re a rhythm you’ll eventually perform without conscious thought.
Begin with your stance: feet roughly shoulder-width apart, straddling the shooting line, body turned about ninety degrees to the target. Nock an arrow against your nocking point. Set your bow-hand grip low and relaxed — a tense grip torques the bow and throws the shot. Hook the string with three fingers behind your tab, one above the arrow and two below, and keep that hook relaxed too.
Raise the bow toward the target and draw the string back by rotating your drawing shoulder and engaging your back — not by yanking with your arm. This is the single idea that separates archers who plateau from those who improve: the pull comes from the large muscles between your shoulder blades. Draw until your hand reaches a consistent anchor point, usually the corner of your mouth or under your chin, where the same spot on your hand touches the same spot on your face every time.
At full draw, settle. Aim, but don’t fight to freeze the sight picture perfectly still — a little float is normal. Keep expanding gently through your back, and let the release happen by relaxing your string fingers rather than actively opening them. Then hold your follow-through: keep your bow arm up and pointed at the target for a beat after the arrow leaves. A clean follow-through is proof that your shot was driven by your back and not thrown by your hand.
Where and How to Practice Safely
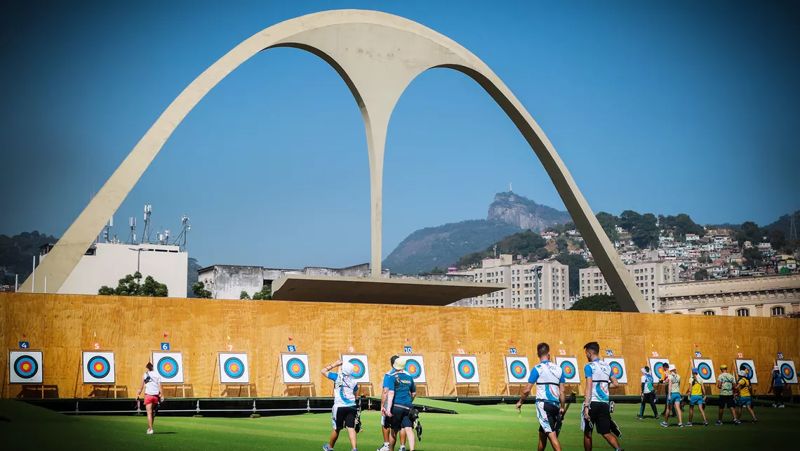
A bow is not a toy, and even a light recurve fires an arrow with enough energy to cause serious harm. Before your first end of arrows, sort out three things: a proper backstop, a clear range behind the target, and an unbreakable rule that you never point a nocked bow anywhere but downrange.
The easiest and safest way to start is at a local club or an indoor range with qualified coaches. You’ll get loaner equipment sized correctly for you, immediate feedback on your form before bad habits set in, and a controlled environment where safety is already handled. Many newcomers who begin at a club shoot better in their first month than self-taught archers do in their first year, simply because someone catches the small errors early.
If you’re setting up at home, start close — five to ten meters. A distance that feels almost too easy is exactly right, because it lets you focus entirely on your form instead of chasing the target. Accuracy at distance is a byproduct of a repeatable shot up close. Move the target back only when your groups tighten, never before.
The Mindset That Carries You Forward
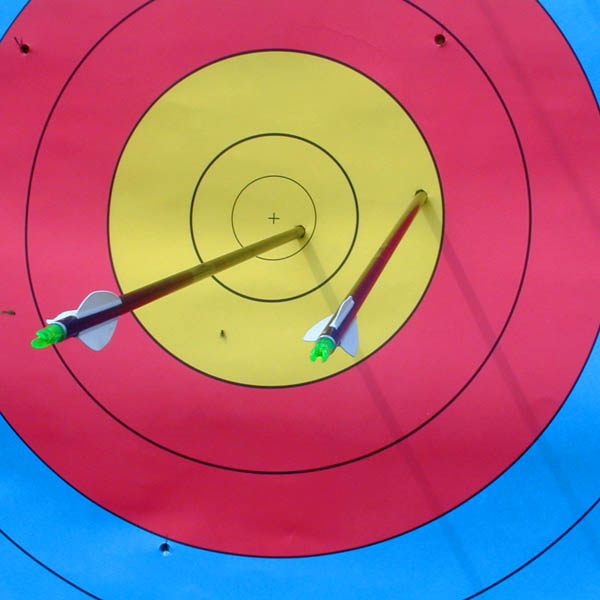
Here’s the thing nobody tells you at the start: recurve archery is a slow sport, and that’s the whole appeal. There is no shortcut around building a consistent shot one arrow at a time. Progress arrives as a gradual tightening of your groups and a growing sense that the bow is becoming an extension of your body rather than a thing you’re wrestling.
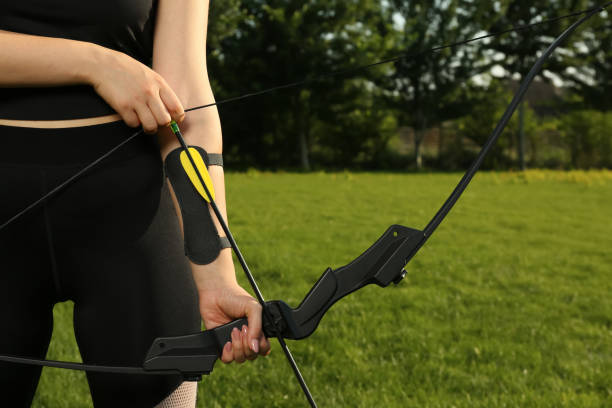
Keep your early sessions short and focused. Twenty deliberate arrows shot with full attention teach you far more than sixty tired ones. Pay attention to how a good shot feels — the relaxed grip, the back doing the work, the surprise-clean release — and try to recreate that feeling rather than obsessing over where each arrow lands. The scoring takes care of itself once the feeling is repeatable.
Start light, keep your gear simple, get a coach’s eyes on your form if you possibly can, and give yourself permission to be a beginner. The recurve has been teaching people patience for thousands of years. Yours is just getting started.
Sources
- World Archery — governing body for the sport, rules and recurve discipline reference
- USA Archery — beginner programs, coaching, and safety guidance
- Wikipedia: Recurve bow — background on limb design and history
