Archery Blog
DIY Elk Hunt: 9-Step Plan for Your First Archery Bull
Jun
A DIY elk hunt on western public land costs about $1,200 in tags, gas, food, and fuel — roughly 12% of what a guided September archery bull costs through a reputable outfitter. The trade-off is that you do every job the guide would have done: tag research, e-scouting, fitness prep, calling, packing meat seven miles in the dark. Done right, it is the most rewarding hunt in North America. Done wrong, you eat tag soup and limp home with a knee injury. This 9-step plan walks through the decisions that actually move the needle for first-time bowhunters chasing public-land bulls.
Why a DIY Elk Hunt Beats an Outfitted Bull
An outfitter handles the logistics. That sounds great until you realize the logistics are the hunt. Picking a unit, learning the country, knowing where the bulls bed when the wind shifts in the afternoon — that’s the part that turns a tourist into a hunter. Strip it out and you’ve paid $9,000 to ride a horse to a tree stand someone else picked.
The honest case for a DIY elk hunt isn’t that it’s cheaper, although it is. It’s that you build a skill stack that compounds every season. After three DIY elk hunt trips, most hunters can scout a new unit in under a week. That kind of repeatable competence is worth more than a single guided bull.
Step 1: Pick a State and Tag You Can Actually Draw
Colorado, Idaho, Montana, and Wyoming all run over-the-counter (OTC) archery elk tags or low-point draws that a first-time nonresident can realistically get. Colorado sells the most OTC archery tags in the country — buy one online the day they go live and you are in. Idaho splits its OTC into zone-specific quotas that sell out within hours in popular areas, so know your dates.
If you have a few preference points already, look at New Mexico’s draw or specific Wyoming general areas. Skip Arizona, Utah, and Nevada as a first DIY elk hunt destination — the tags take 10+ years to draw, and the country eats unprepared hunters. The fastest path to a tag is a Colorado OTC archery license filed in early August for a September hunt.
Step 2: E-Scout Like You Are Already Out There
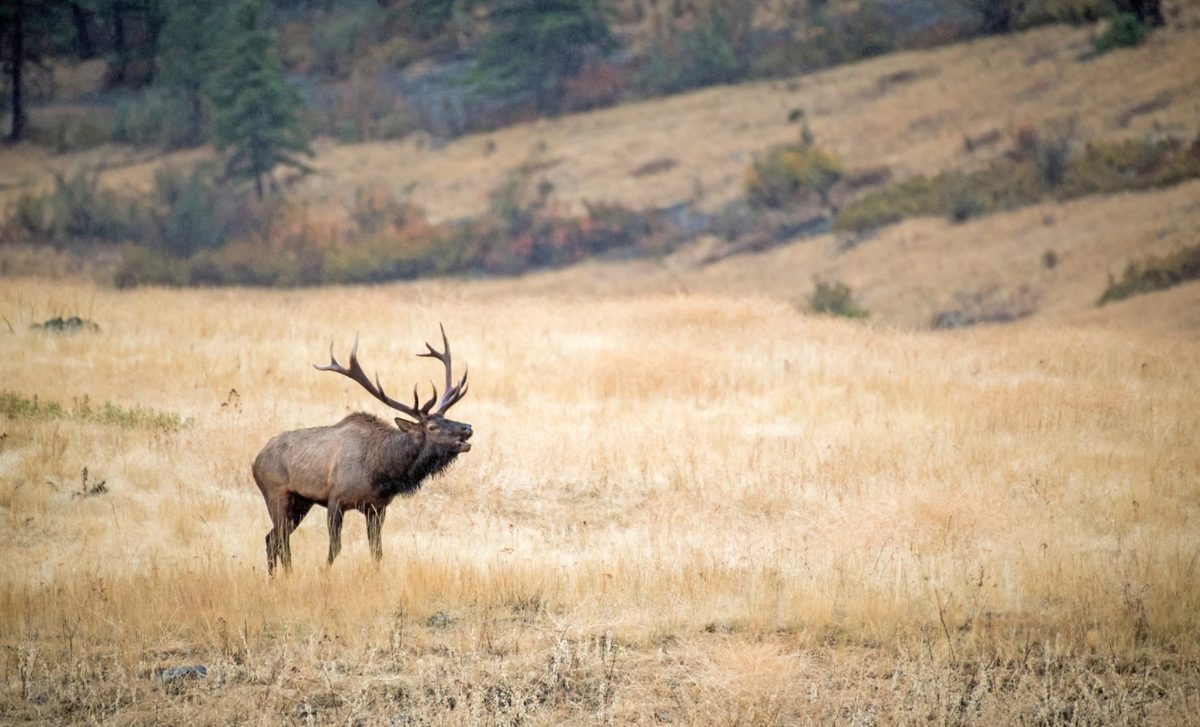
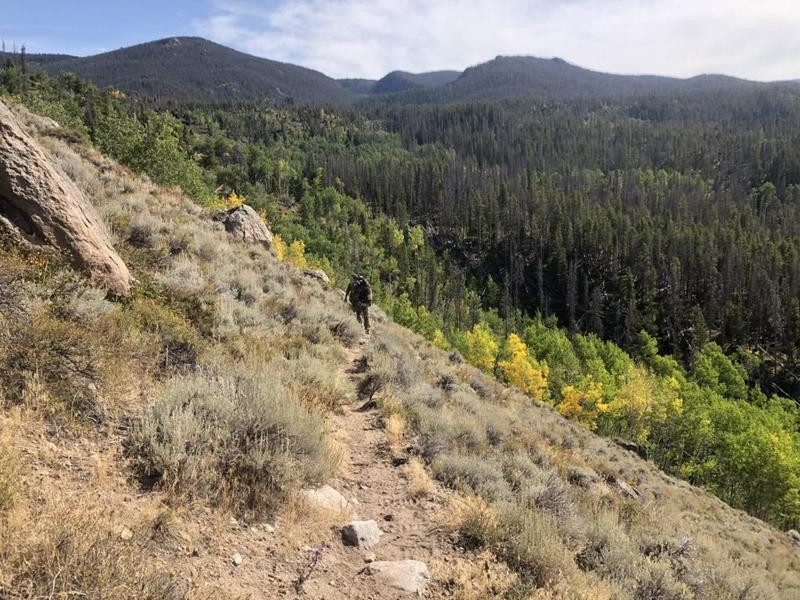
Open onX Hunt or BaseMap on your laptop, drop into satellite view, and start hunting from your couch. Elk in September want three things in one place: dark north-facing timber for bedding, grassy benches or burns for feeding, and water within a mile of both. When all three line up at 9,500 to 11,000 feet on a sheltered drainage, you’ve found a starting point.
Mark 8 to 12 spots before you ever drive west. Score them by hunter pressure (distance from any road, presence of forest service trail closures), thermals (does the canyon pull morning thermals up to a glassing knob?), and access points (can you legally cross to public ground without trespassing on a checkerboard private inholding?). The onX Hunt blog has unit-specific walkthroughs that pair well with this kind of map work.
Step 3: Build a Bow Setup the Mountain Won’t Break
Elk are not deer. A 580-pound bull standing quartering-to at 42 yards is an animal that demands the right kit. Most DIY elk hunt bowhunters chase bulls with 60 to 70 pounds of draw weight, a 28- to 30-inch draw, and a fixed-pin or single-pin slider sight. The bow itself matters less than your ability to hold it steady at full draw after a 200-yard sprint up a ridge.
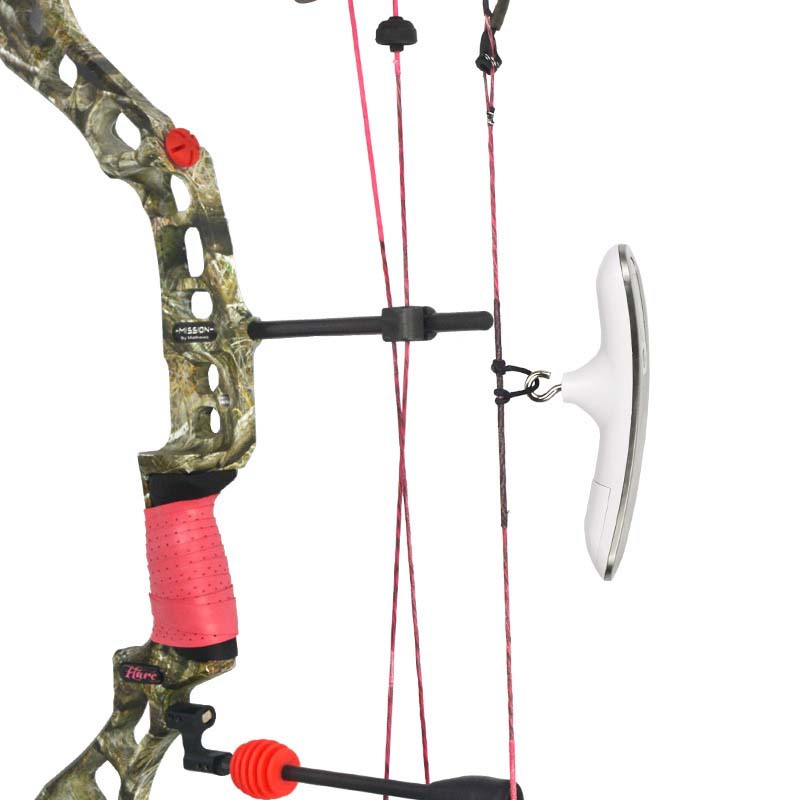
Test your setup at the bow shop with a draw scale before you trust your numbers. A “70-pound” bow set to the bottom of the limb bolt range often pulls 64 to 67 — you want to know that before you’re 30 yards from a herd bull. A digital peak scale removes the guesswork and lets you verify after every limb bolt adjustment.

Step 4: Get Your Arrow Build Right for a 600-Pound Animal
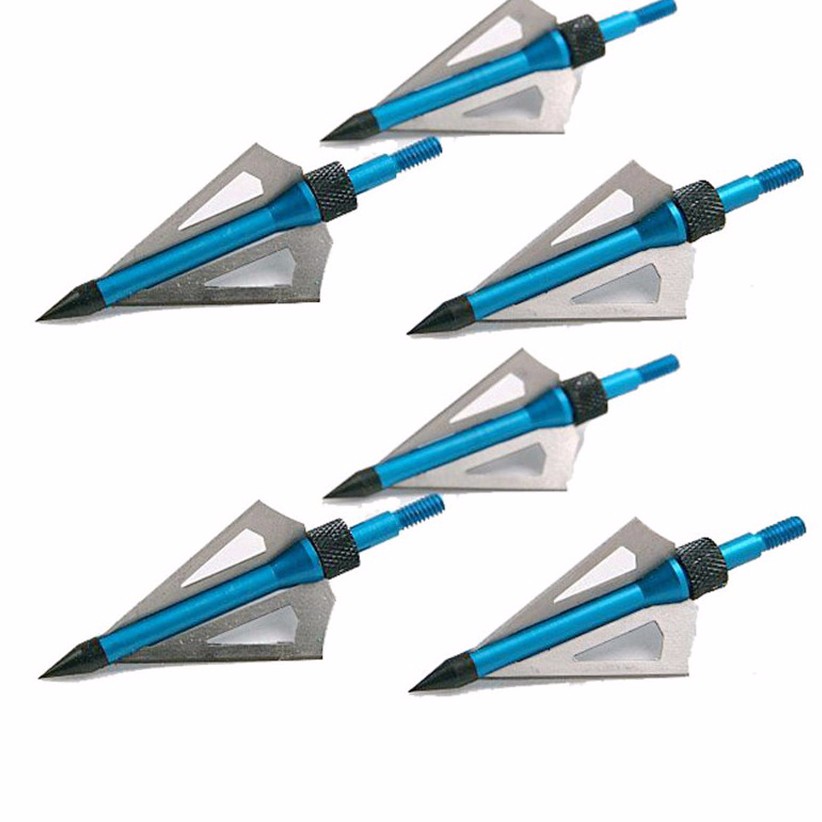
An elk-grade hunting arrow weighs between 450 and 550 grains and runs a 300 or 340 spine for most setups. The math is simple: 6 to 8 grains of total arrow weight per pound of draw weight gives you penetration on heavy bone without bleeding too much trajectory. A 70-pound bow with a 500-grain arrow at roughly 280 fps holds a flat enough sight tape to 50 yards while still driving a fixed-blade broadhead through a scapula on a quartering shot.
Match a high-FOC build (12% or higher) with a tough fixed-blade head and a tight broadhead-to-field-point tune. Arrow FOC tuning on the Archery Supplier blog walks through the build math — weigh every component on a grain scale, not your guess. Easton’s arrow spine guide covers the deflection numbers if you want to verify a specific shaft against your draw stack.
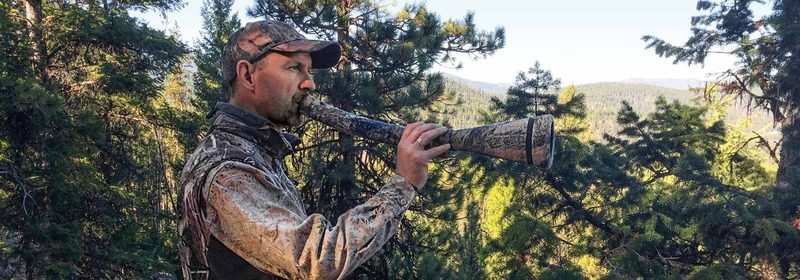
Step 5: Learn Two Bugles, Three Cow Calls, and When to Stay Silent
Bulls respond to two emotional triggers: the desire to breed and the desire to fight. Cow calls work the first lever. Bugles work the second. Learn a location bugle (long, drawn-out, climbing in pitch) for first light, a challenge bugle (short, aggressive, with a chuckle on the back end) for closing the gap, and a soft cow mew for the moment a bull hangs up at 60 yards.
The mistake new callers make is calling too much. If a bull bugles back and you hear hooves, set the call down, nock an arrow, and shut up. Aggressive calling on a quiet bull works in the early season; it pushes pressured rut bulls straight onto someone else’s tag.
Step 6: Train Like the DIY Elk Hunt Already Started
The air at 10,500 feet is roughly 30% thinner than sea level. The first day at elevation is for adjusting, not chasing. The fitter you arrive, the smaller that adjustment window becomes. Six months before your DIY elk hunt, build a base of weighted ruck walks — 35 to 50 pounds, three miles, three times a week, on the steepest hill in your zip code.
Add lower-body strength (squats, step-ups, deadlifts) and lung capacity work (interval runs, stair sprints). The standard most western guides use is the ability to ruck eight miles with 60 pounds over 2,500 feet of vertical without bonking. If you can do that in May, September won’t break you.
Step 7: Pack a Kit That Earns Its Weight
Every ounce in your pack travels every step of every day. Cut what you can. The day pack should weigh 18 to 24 pounds total, including water and lunch. Core items: 100 ounces of water, a 16-ounce filter, a wind checker, a rangefinder, a headlamp with a spare set of batteries, a SAT communicator, four meal bars, a fixed-blade knife, 25 feet of paracord, a contractor bag, and a first-aid kit weighted toward blister and ankle care.
Skip the GoPro, the second jacket, and the 32-ounce stainless thermos. Buy a 60-liter expedition pack for the overnight bivvy or the packout — Stone Glacier, Mystery Ranch, and Kifaru all make frames rated for 100 pounds of bone-in elk meat. Cheap packs fail under that load and ruin trips.
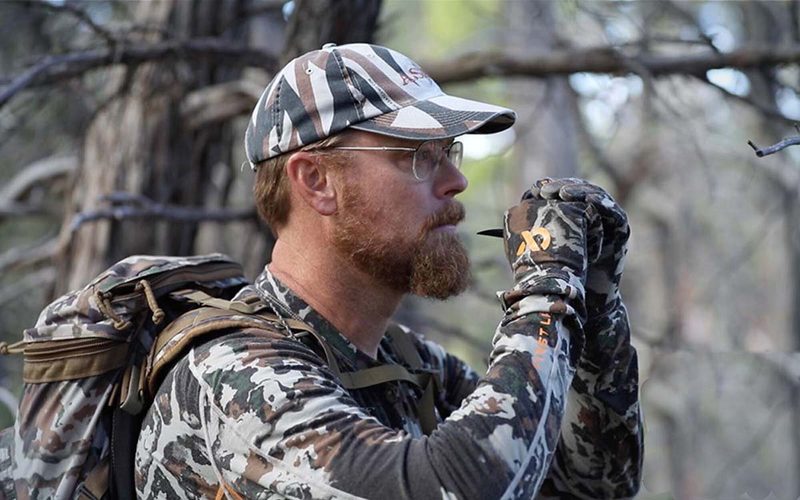
Step 8: Practice Broadhead Shots from Hunting Positions
Field points fly straight off a flat range. Broadheads off a steep sidehill, kneeling, with a 30-knot crosswind do not. Tune your broadheads to fly with your field points at 30 and 40 yards, then practice from kneeling, sitting, and braced standing positions. Shoot uphill and downhill at a 3D target, not just paper at 20 yards.
Drill the awkward shot — the angle you’re most likely to refuse, you should rehearse the most. Most western bowhunters miss inside 30 yards because they never practiced the shot they actually got. Pair this work with spot and stalk bowhunting tactics to build the closing skills you’ll need when calling fails.
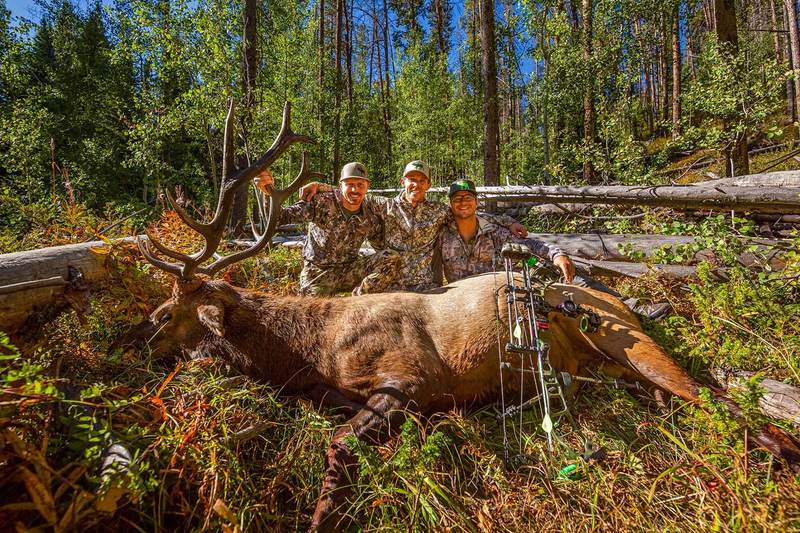
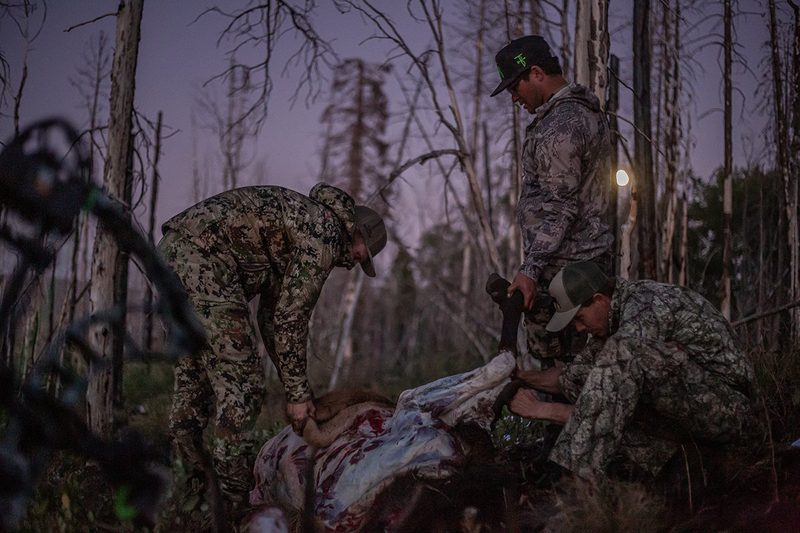
Step 9: Plan the Packout Before You Pull the Trigger
A mature bull yields roughly 180 to 220 pounds of bone-in meat. If you are three miles from the truck and the temperature is climbing, you have somewhere between four and six trips ahead. Know that math before you release the arrow. The kindest filter on a hard shot opportunity is asking yourself: “Can I get this animal out?” The answer changes how patient you are with shot selection.
Carry game bags, a sharpener, and the gambrel-free knowledge of the gutless method. Learn it on YouTube before you fly out — fumbling through hot field dressing at 11 PM is how meat spoils and how partnerships end. Cooling the meat fast is the single most important post-shot decision.
The Honest Math on DIY Elk Hunt Success Rates
Public-land OTC archery elk success rates in Colorado sit between 11% and 15% for residents, with nonresident first-timers often closer to 6%. That number is a tax on inexperience. By trip three on the same unit, hunters report success closer to 25–35%. Treat your first DIY elk hunt as a paid education — go in expecting to fill the freezer with knowledge and any meat is gravy.
The cost stack for a Colorado OTC archery hunt comes in around $1,150 to $1,400 for nonresidents in 2026 ($770 tag, $11 small game stamp, plus fuel, groceries, and one cheap motel night on the front and back end). Compare that to a guided elk hunt at $5,500 to $11,000 and the math behind a DIY elk hunt becomes obvious.
Plan the DIY elk hunt now if you want to be ready for September. Pull state-by-state hunting regulations for tag deadlines and gear laws, then start the e-scout this weekend. Match your bow setup to the animal with the right broadhead for elk and stop guessing on draw weight or arrow build. Your future tagged bull is already on the mountain — your job is to be ready when he steps into 35 yards.
Sources
- Rocky Mountain Elk Foundation — habitat, conservation, and elk biology reference
- Outdoor Life: The Everyman’s Approach to DIY Archery Elk Hunting — first-person tactics and unit selection
- Outdoor Life: How to Call Elk — bugle and cow-call sequence reference
- onX Hunt: Late Season Elk Calling Tips — e-scouting and map data
- Easton Archery: Making Sense of Arrow Spine — arrow build deflection data
- Mossy Oak: Proper Arrow Builds for Elk Hunting — total arrow weight and FOC guidance
Browse archery bows, arrows, and accessories at the Archery Supplier shop →