
Archery Blog
Archery Clicker: 7 Steps to Master Your Draw
Jul
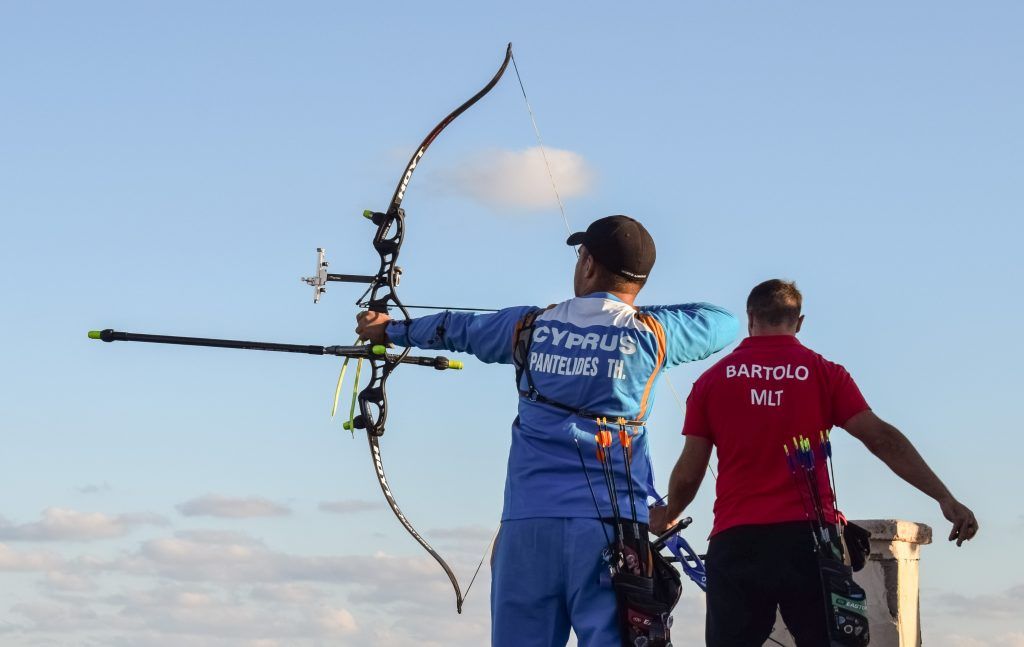
Every archer on the Olympic recurve line uses a clicker. Not most of them — all of them. The reason is a number: a draw-length change of just 1/8 inch shifts your arrow’s impact by roughly three inches at 70 metres. An archery clicker removes that variable by handing you the same draw length on shot one and shot one hundred. Set it up right and it becomes the most dependable accuracy tool on the bow. Set it up wrong and it feeds target panic instead of curing it. This guide walks through what the clicker does, how to install and position it, and the seven steps that turn it from an annoyance into a scoring machine.

What Is an Archery Clicker?
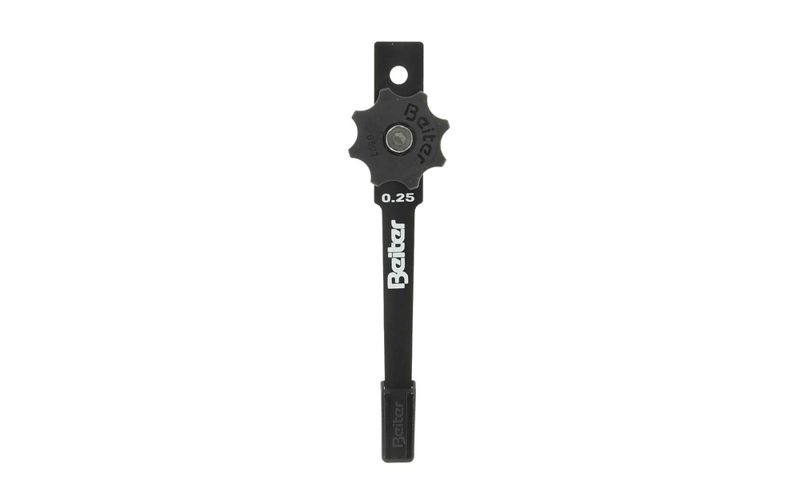
An archery clicker is a draw-check device. It sits on the sight window of the riser, and the arrow rides underneath the blade from the moment you nock it. As you draw and expand, the arrow slides forward until its point clears the end of the blade. The blade snaps down against the riser or the pressure button plunger and makes a sharp click. That sound is your green light to release.
It looks almost too simple to matter — a strip of spring steel about three inches long and a quarter inch wide, held by a single screw. But it is doing something no amount of feel can match: it measures your draw to a fraction of a millimetre and tells you, audibly, that you have arrived at exactly the same spot as last time.
How a Clicker Actually Works
The clicker is really a length gauge disguised as a trigger. When you tune it, you are setting the exact arrow travel that puts you at your ideal draw length. Because the arrow point has to travel out from under a fixed blade, there is only one position where the click can happen. Come up short and it will not go off; overdraw and you have already blown past it.
Two things happen at the click. First, you get confirmation of consistent draw length. Second — and this is the part beginners miss — the click acts as a release cue that pulls the shot out of your conscious mind. Instead of deciding when to loose, you let the sound decide, which smooths out the flinch and hesitation that wreck groups.
Where the Clicker Sits on the Riser
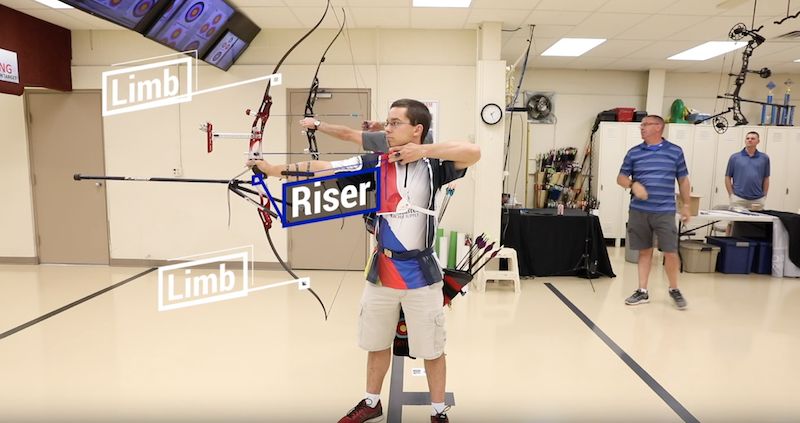
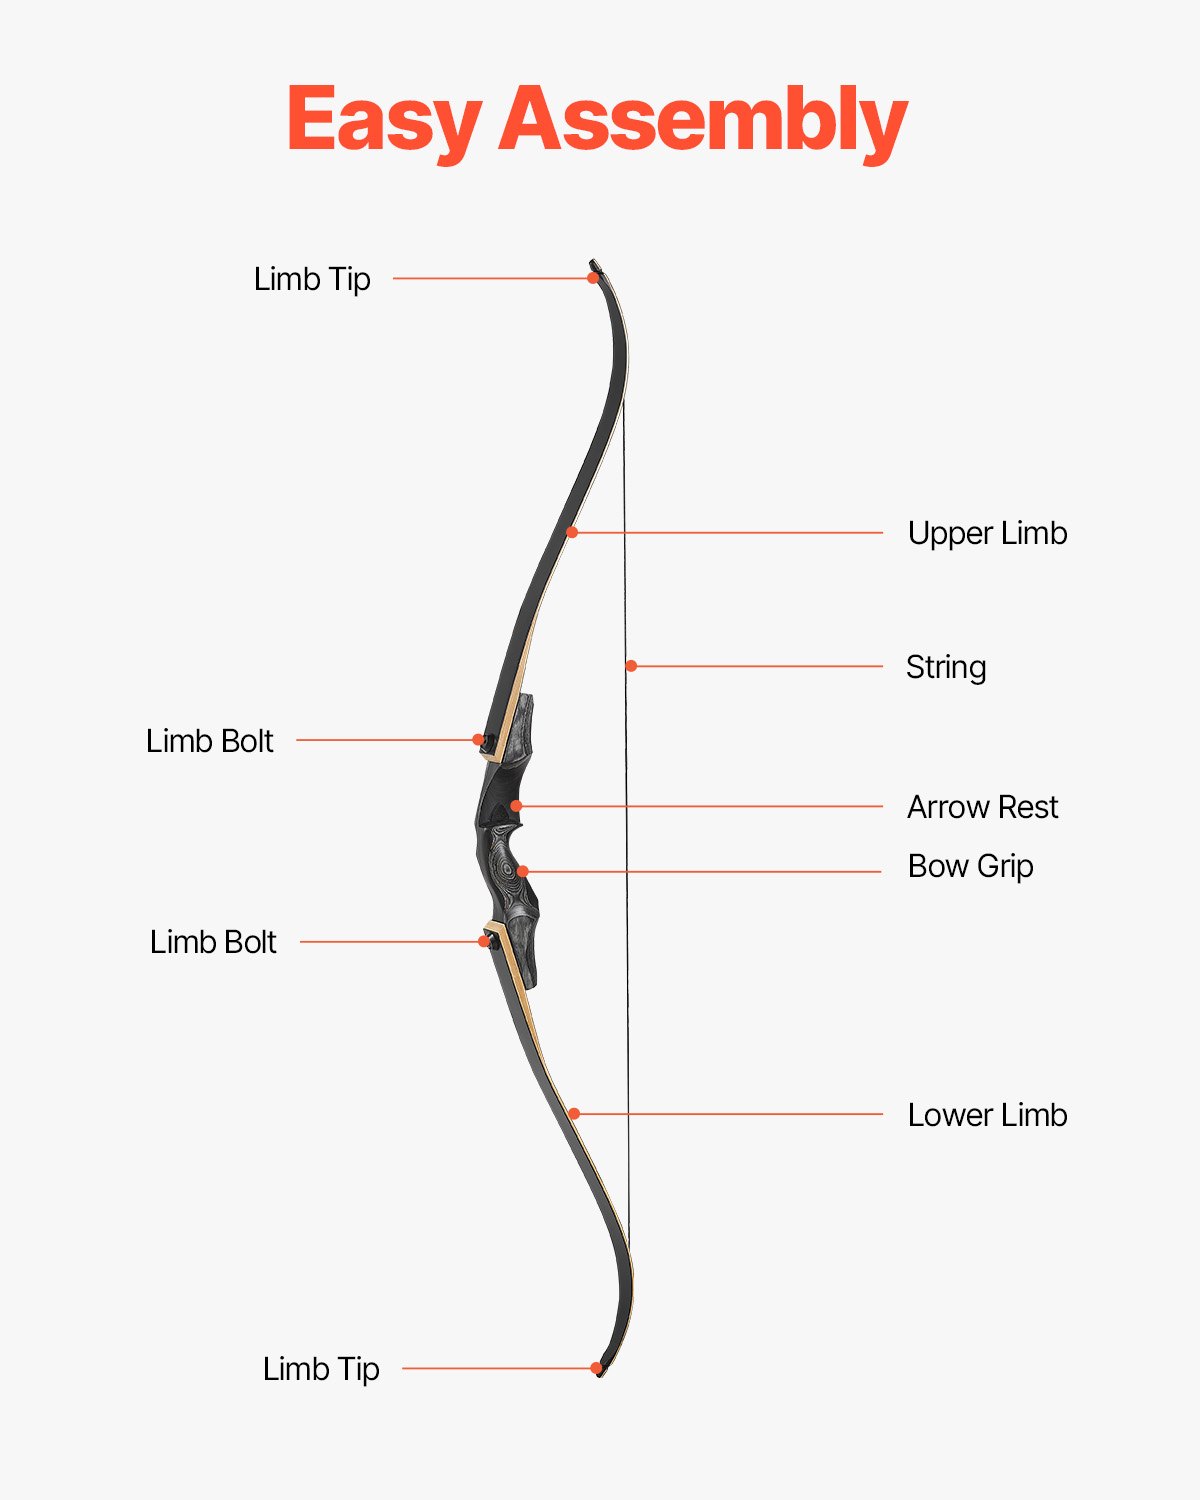
The clicker screws into the sight window, high on the riser, so the blade hangs down across the path of the arrow just ahead of the rest and pressure button. Most modern risers have a threaded hole drilled specifically for it. Older or entry-level risers may need a clicker plate or a magnetic clicker that sticks to the metal.
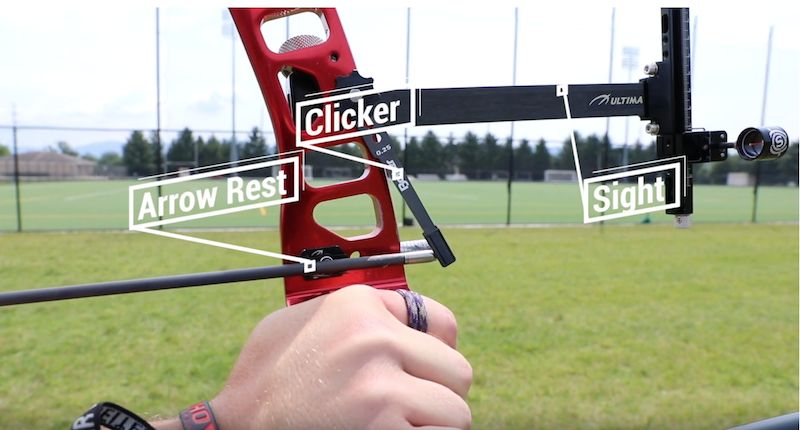
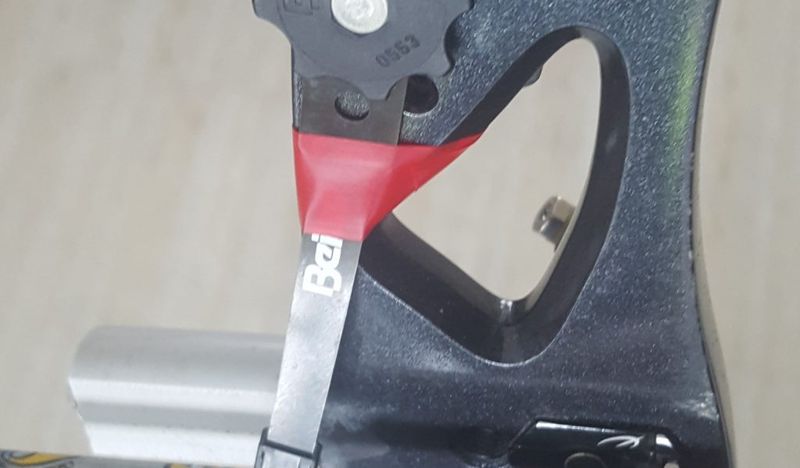
Position matters more than brand. The blade has to cross the arrow shaft cleanly, sit flat against the riser when it releases, and clear the point at full draw. The photo below shows a standard blade clicker mounted above the arrow rest, with the arrow tucked underneath it.
How to Install a Clicker on Your Recurve
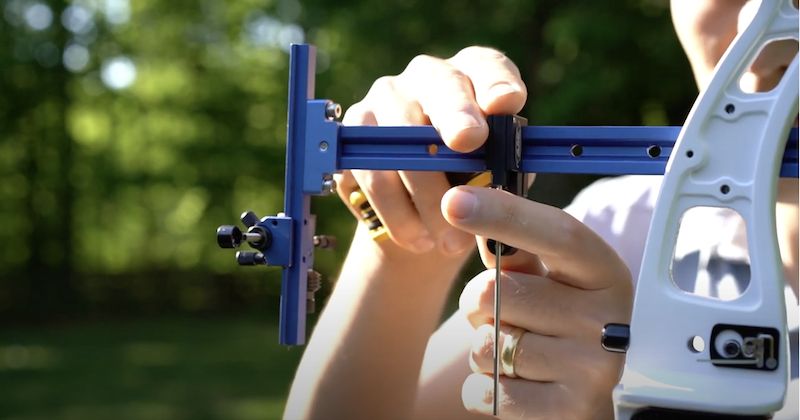
Installation takes about five minutes and one hex key. Back the mounting screw out of the clicker plate or riser hole, slide the blade into position so it lies flat and vertical against the sight window, then snug the screw down — firm, not gorilla-tight, or you can strip the aluminium threads. If your riser has no threaded hole, a stick-on magnetic clicker mounts in seconds and holds fine for recurve poundages.
One detail people skip: the blade must be vertical, not cocked at an angle. A tilted blade drags on the shaft and gives you an inconsistent, mushy click. Sight down the riser and line the blade up with the arrow before you tighten.
How to Set Clicker Position: The Quarter-Inch Rule
Here is where most of the accuracy lives. Nock an arrow, draw to your natural, relaxed anchor, and note where the arrow point sits relative to the blade tip. You want the point to stop about a quarter inch (roughly half a centimetre) behind the end of the blade at your solid anchor. That leaves a small amount of expansion to click through — enough to keep your back working, not so much that you stall and shake.
Loosen the screw and slide the clicker forward or back to dial that gap in. Too far forward and you can never reach the click without overdrawing; too far back and it goes off before you are anchored. Shoot a dozen arrows, adjust a hair at a time, and lock it once the click lands right as you settle into full draw.
7 Steps to Master Your Archery Clicker
Owning a clicker and trusting a clicker are different things. These seven steps build the habit that lets the click run your shot instead of ambushing it.
- Set the quarter-inch gap first. Everything downstream depends on the blade being in the right spot for your true draw length. Confirm it before you drill any technique.
- Draw to a fixed anchor, every time. The clicker only measures consistency you already own. If your anchor point wanders, the click will feel random. Lock the hand to the same place under the jaw or against the corner of the mouth.
- Keep expanding through the click. The blade should come off because your back muscles are still pulling, not because you crept the last millimetre with your fingers. Motion at the click is what you are after.
- Release on the sound, not the sight picture. Let the click trigger the loose. If you wait to “aim better” after it fires, you are inviting the exact hesitation the clicker exists to kill.
- Practise blank-bale clicking. Stand a few feet from a target with no aiming pressure, run your shot, click through, and let down or shoot. Repeat until the click-to-release feels automatic.
- Never chase the click. If you stall short, come down and start over. Reaching or lunging to force it off is how snap-shooting and target panic take root.
- Re-check it when anything changes. New arrows, a different anchor, a tweak to draw weight, or fresh limbs can all shift where the click lands. Re-verify the gap after any equipment change.
Common Clicker Mistakes That Cost Points
The most common failure is not a setup error at all — it is snap shooting, where the archer collapses or releases the instant the click sounds, robbing the shot of any follow-through. The click should start the release, but the back keeps working right through it. A clean shot has the string hand moving away from the face as the arrow leaves.
The second trap is creeping. Under pressure, tired shoulders let the draw ease forward a hair, the click fires early, and the arrow lands short. The fix is not more clicker — it is holding tension. The third mistake is setting the gap too big, which turns every shot into a grinding, shaky stall. If you are fighting the blade, move it back toward you.
Do Barebow and Hunting Archers Need a Clicker?
Here is a mild heresy: a clicker is not just an Olympic-recurve toy. Barebow shooters are barred from clickers under World Archery rules, so they build draw-length consistency through relentless anchor work instead. But traditional and hunting recurve archers — who face no such rule — often benefit hugely, because inconsistent draw length is the number-one accuracy leak in instinctive shooting. A soft-clicking magnetic model on a hunting recurve can quietly tighten groups without the sharp report that spooks game.
My take: if you shoot a sighted recurve and you are not using a clicker, you are leaving points on the table. If you shoot traditional, try one on the practice range before you write it off. The tool cures a problem almost every archer has, whether or not they admit it.
Frequently Asked Questions
When should a beginner add a clicker? Once your draw length and anchor are repeatable — usually after a few months of consistent form work. Adding a clicker before you own a solid anchor just gives you one more thing to fight. Nail your aiming and form first, then bolt on the clicker.
Can you use a clicker without a sight? Yes. The clicker checks draw length; the sight checks aim. They are independent. Plenty of field and traditional archers run a clicker with no sight at all.
What if the clicker will not go off? Either the blade is too far forward for your draw or your draw length has shrunk under fatigue. Confirm your draw length first, then reposition the blade rather than reaching for it.
Metal or magnetic clicker? Threaded blade clickers are the target standard for their crisp, loud click. Magnetic clickers are the pick when your riser lacks a mounting hole or you want a quieter click for hunting.
The Bottom Line
The clicker is the rare piece of gear that makes you better the day you understand it and keeps paying off for years. Bolt it on, set the quarter-inch gap, and spend a week letting the sound run your release before you judge it. The archers who plateau are usually the ones still deciding when to shoot; the ones who break through have handed that decision to a three-inch strip of steel. Get yours dialled in, then go bury your arrows in the middle.
Sources
- World Archery — Recurve Equipment — official breakdown of recurve components including the clicker as a draw-check device.
- Lancaster Archery Supply — Olympic Archery Explained: The Clicker — how clickers function and why every Olympic recurve archer uses one.
- Archery 360 — A Beginner’s Guide to Recurve Clickers — setup guidance and the quarter-inch expansion rule.
Browse archery bows, arrows, and accessories at the Archery Supplier shop →
Shop on Amazon
Archery Equipment on Amazon →
As an Amazon Associate we earn from qualifying purchases.
