Archery Blog
3D Archery for Beginners: 7 Essential Basics
Jul
A single foam elk target from Rinehart or Delta McKenzie costs a club several hundred dollars, and one careless archer shooting a broadhead can chew it up in an afternoon. That is the first thing a 3D range wants you to understand, and it tells you almost everything about the sport: it is hunting practice dressed up as a walk in the woods, and everyone there is trying to protect the targets while quietly outscoring their buddies. If you can shoot a bow at a backyard bag, you already have what you need to start.
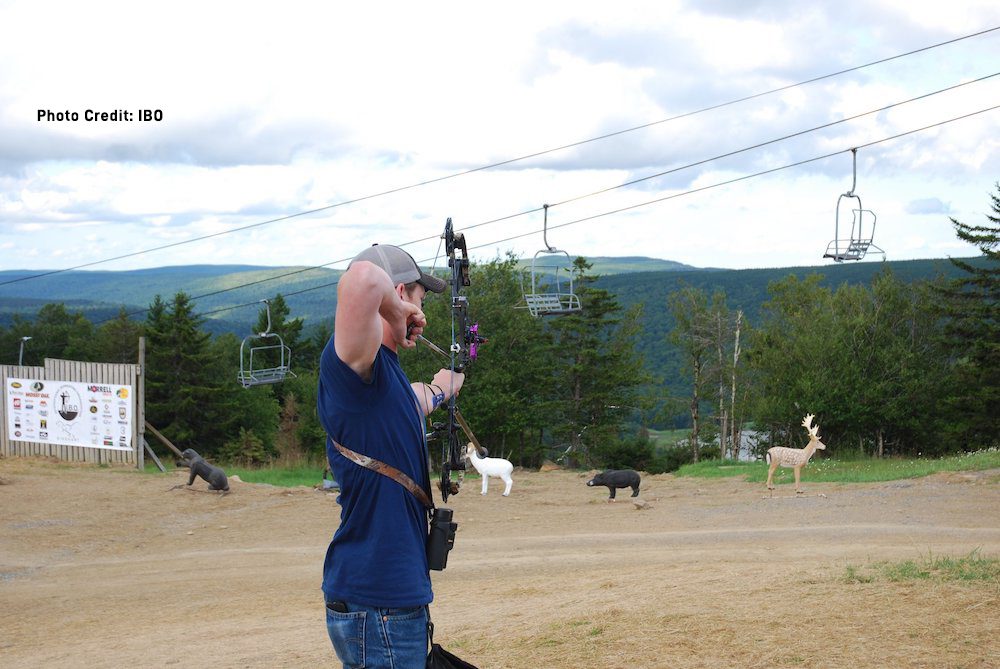
A 3D course scatters foam animals across real terrain — uphill, downhill, and half-hidden in brush.
What 3D Archery for Beginners Actually Looks Like
You show up at a club, pay an entry fee that usually runs $10 to $20, and get sorted into a group of three or four archers. Together you walk a trail through the woods. At each stop there is a stake in the ground and a foam animal somewhere ahead of it — a deer, a boar, a turkey, sometimes a bear or even a velociraptor if the club has a sense of humor. Everyone shoots one arrow from the stake, you walk up together, score the arrows, pull them, and move to the next target.
There is no clock and no pressure to shoot fast. A full round of 20 to 40 targets takes two to four hours, and most of it is spent walking and talking. The appeal is that a foam deer standing at an unknown distance in dappled shade behaves nothing like a paper bullseye at a flat 20 yards. It teaches you the exact skills bowhunting demands, which is why the season peaks in spring and summer as hunters tune up for fall.
The Gear You Actually Need to Start
Here is the honest version: your hunting or target bow, a half-dozen arrows, and a way to carry them. That is a real starting kit. Compound bows dominate the stakes at most shoots, but there are dedicated divisions for barebow, traditional recurve, and Olympic recurve, so nobody gets turned away for shooting the “wrong” bow.
The one rule you cannot break is arrow tips. Shoot field points only — broadheads shred foam and get you sent home. Match your arrow spine to your setup so your groups stay tight downrange; if you have never checked that, our guide to choosing arrow spine walks through it. Beyond that, bring binoculars for reading targets, an arrow puller so you are not wrestling shafts out of dense foam, a small towel, and water. New to bows entirely? Start with a forgiving rig from our best recurve bows for beginners roundup before you spend on accessories.
How a 3D Round Works, Step by Step
The flow is simple once you have done one target. You reach a numbered stake — often color-coded by division, so kids and adults shoot the same target from different distances. You range or judge the target, draw, and put one arrow into it. Your group scores together, which keeps everyone honest, and then you all pull arrows and move on.
Etiquette matters more than in most sports. Stay quiet while someone is at full draw, never walk downrange until every archer in the group has shot, and call out your line if you plan to aim at a tucked-away high-value ring so your groupmates know where to look. The video below breaks the whole sequence down for a first-timer better than any paragraph can.
How 3D Archery Scoring Works
Scoring is where the two big organizations split, and it is worth knowing both before your first shoot. Every foam animal has scoring rings printed over its vitals. Hit the body anywhere and you get 5. The outer vital ring is 8, the inner ring is 10, and there are small high-value rings tucked inside for the archers who can find them.
The Archery Shooters Association (ASA) uses foam from Delta McKenzie and adds a pair of 12-rings inside the 10, plus a 14-ring on the upper edge of the 8. The lower 12 is in play by default; you have to announce out loud if you are going for the upper 12 or the 14. The International Bowhunting Organization (IBO) keeps it leaner with an 11-ring inside the 10. One rule saves beginners points constantly: an arrow only has to touch a higher ring to earn it, so a shaft buried in the 8 but nicking the 10 line scores a 10.
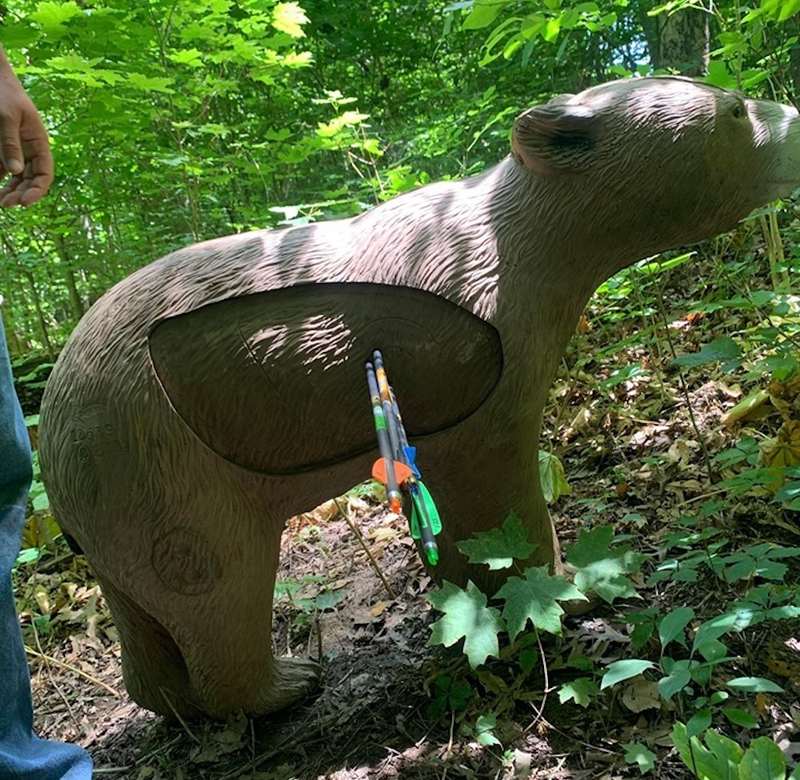
Arrows stacked in the vitals of a foam bear — the rings decide whether that group is worth 30 points or 24.
Known vs Unknown Distance: Which Division Should a Beginner Pick?
This is the single most important choice a newcomer makes, and the answer is not close. In a known-distance division, every target’s yardage is posted, so your only job is to aim and execute a clean shot. In an unknown-distance division, rangefinders are banned and you have to judge the yardage yourself — a skill that takes months to build and wrecks scorecards until it clicks.
Start known. You will spend your energy on form and sight picture instead of second-guessing whether that deer is at 28 or 34 yards, and a bad range estimate can turn a perfect shot into a 5. ASA added known-distance classes in 2007 specifically to give beginners a place to land, so use it. Once your groups are consistent, the unknown classes will still be there.
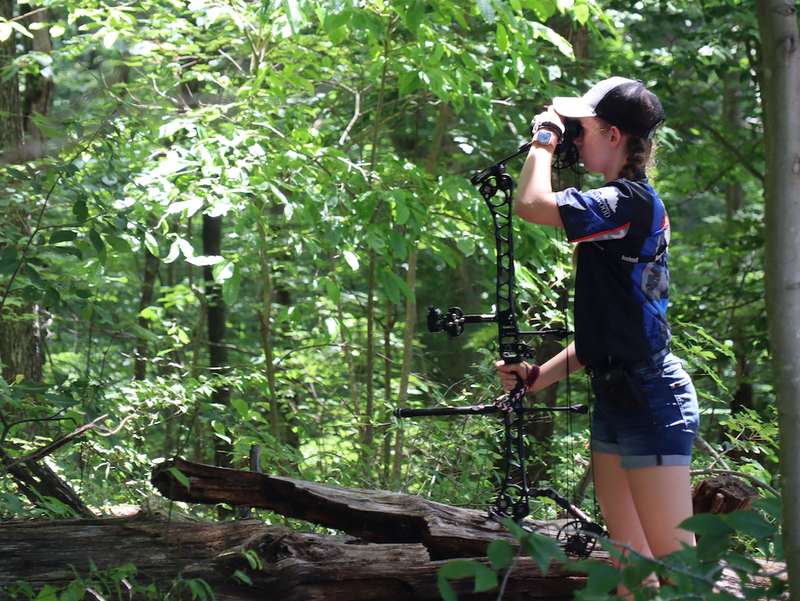
Youth and novice divisions cap distances at 30 to 40 yards so newer archers shoot within their range.
How to Judge Distance Without a Rangefinder
Even in a known class, learning to eyeball range makes you a better shot and prepares you for the bowhunting woods. The method most experienced archers use is simple: pick a distance you know cold — say 20 yards — and mentally “stack” those chunks between you and the target. Two and a half stacks is roughly 50 yards.
Terrain lies to you in predictable ways. Uphill and downhill shots read farther than they are, and open fields make targets look closer while shady timber pushes them away. The fix is repetition: judge every target before you range it, then check yourself, and after a few hundred guesses your eye calibrates. Practicing on a real 3D animal at home speeds this up more than any drill on a flat range.
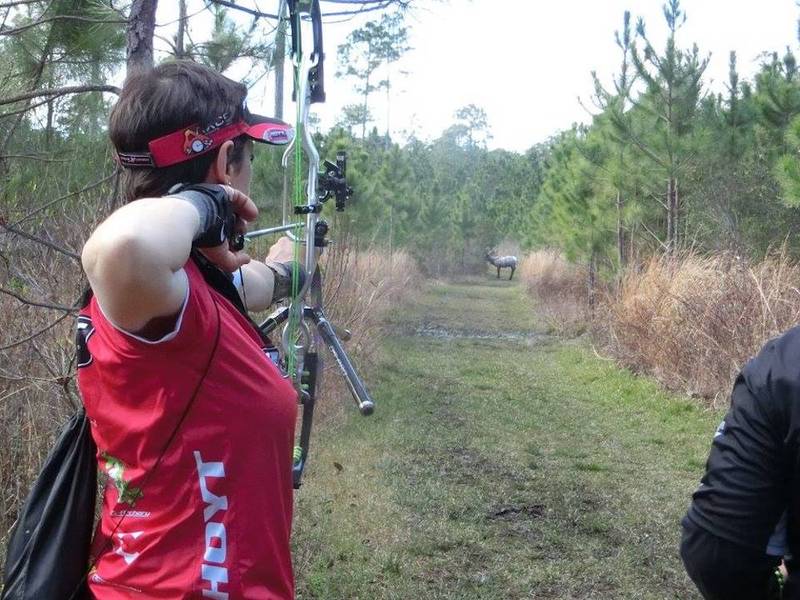
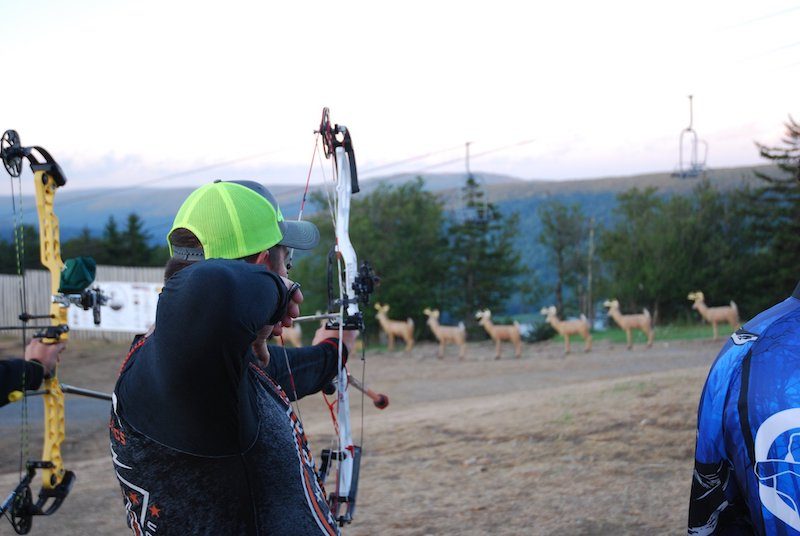
Judging range down a lane like this is the whole game in unknown-distance divisions.
Practice 3D at Home Before Your First Shoot
The archers who show up and shoot well their first time almost always practiced on a 3D target in the backyard first, not just a bag. Shooting at an animal shape trains you to pick a spot on a rounded, shaded body instead of a flat printed dot — a surprisingly different mental task. A single foam animal and a safe backstop turn any yard into a mini course.
Set the target at odd, unrounded yardages like 27 or 33 yards to mimic what a course throws at you, and dial your sight in properly first so a miss tells you something real. Our walkthrough on how to sight in a compound bow covers that setup. A backstop net behind the target catches the inevitable flyer and keeps arrows out of your fence.
Common Beginner Mistakes to Dodge
The most expensive mistake is over-bowing. A lot of new archers pull more draw weight than they can hold steady after ninety minutes of walking, and their groups fall apart on the back half of the course. Shoot a weight you can draw smoothly while seated, and your last ten targets will look like your first ten.
The second is chasing the high-value rings too early. Aim for the center of the 10 on every target and let the occasional 12 happen by accident — greedily stabbing at a 14 costs beginners far more 5s than it earns 14s. And do not skip the mental side; a shoot is quietly competitive, and nerves tank scores just like they do on a hunt. A little pressure training, covered in our notes on the mental game of archery, pays off the moment your group is watching you draw.
Your First Shoot: What to Expect
Nobody at a local 3D shoot cares that you are new. Show up early, tell the check-in table it is your first time, and ask to be put in the beginner or novice known-distance class. Bring more arrows than you think you need — foam eats a few every round — plus a marked scorecard pencil and cash for the entry fee, since a lot of rural clubs still do not take cards.
Walk the course to have fun and to learn the rhythm, not to win. Watch how the experienced shooters in your group range, anchor, and follow through, then copy what looks smooth. By your third or fourth shoot you will have a sight tape you trust and a feel for terrain that no flat range can teach.
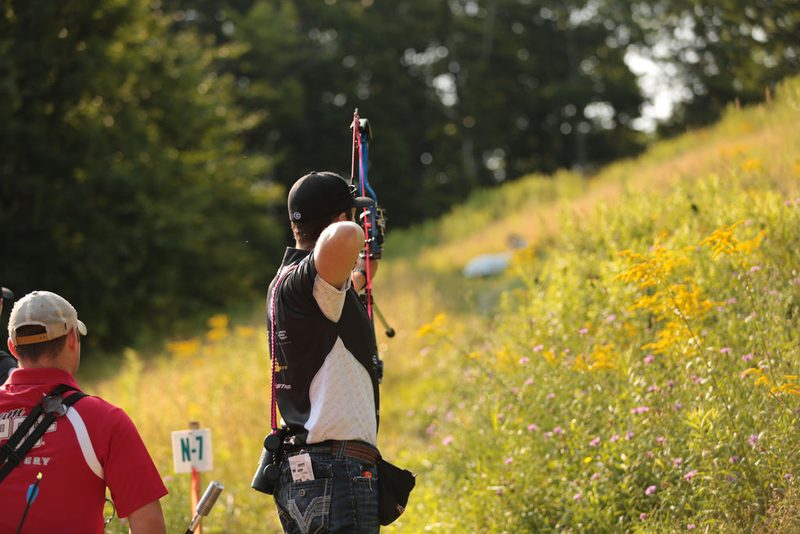
Every target starts at a numbered stake — your whole shoot is a series of these, one arrow at a time.
Find a club near you, put a foam animal in the backyard this week, and shoot known distance until your groups are boring. The day judging range becomes second nature is the day 3D archery stops being practice and starts being the most honest test of a shot you can take without a hunting tag in your pocket.
Sources
- Archery 360 — 3D Archery Primer — overview of course format, targets, and how a round is shot.
- Bowhunting.com — ASA vs. IBO 3D Competition — scoring ring values and organizational differences.
- Archery 360 — How to Shoot 3D Archery — known vs. unknown distance divisions and course etiquette.
- Mossy Oak — A Guide to 3D Archery Tournaments — beginner gear list and distance judging.
