Archery Blog
Release Aid Buying Guide: Matching Trigger Style to Your Hand, Draw, and Discipline
May
A release aid is the single piece of gear that touches your shot more directly than anything except the string itself. Pick the wrong one and you will fight punching, target panic, and inconsistent groups for years without ever suspecting the device strapped to your wrist. This release aid buying guide is built around the three decisions that actually matter: the trigger style that suits your nervous system, the jaw or hook that suits your D-loop, and the connection — wrist strap or handheld — that suits the way you draw and anchor.
We’ll skip the marketing language and look at how each style behaves under fatigue, cold weather, and the specific demands of treestand hunting versus 50-meter target work. By the end you should be able to walk into a pro shop or open a product page and know within two minutes whether a release fits your situation.
Start With the Trigger Style, Not the Brand
Brand loyalty in the release aid world is loud, but the trigger mechanism matters far more than the logo on the side. There are four mainstream styles, and each one trains your shot process in a different direction.
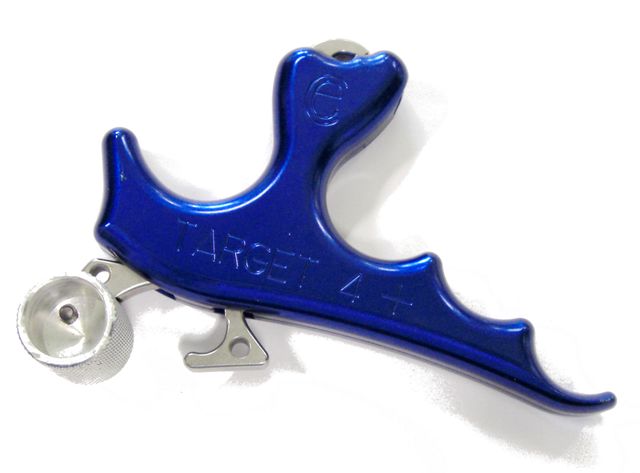
Index Finger (Caliper or Hook)
The index finger release is the default starter device for a reason. It mounts to a wrist strap, the jaws clip onto the D-loop, and you fire by curling your trigger finger. It is fast to deploy, forgiving of cold hands, and almost universal in bowhunting because you can sit at full draw with the release already attached. The downside is the same as its strength: a trigger you can punch is a trigger you will punch, and target panic in compound archery is overwhelmingly an index-finger story.
Thumb Trigger (Handheld)
Thumb releases sit in your palm and fire when your thumb presses a small post or button. They encourage a wrapped grip and a more deliberate shot, and most target archers eventually migrate to them because the larger muscles of the thumb and hand are less twitchy than a single index finger. Handhelds also force you to be deliberate about when you connect to the string, which slows you down — usually a good thing on a target range, sometimes a problem in a treestand.
Hinge (Back Tension)
A hinge release has no trigger at all. You rotate it through your hand by engaging your back muscles, and at some unknown point the hook rolls off the moon-shaped sear and the bow fires. This is the gold standard for shot execution because it is genuinely impossible to punch — but it is also genuinely capable of firing while you’re still drawing back, which is why nobody hunts with one. Hinges reward archers who already have a solid foundation; they punish beginners by making every flaw visible.
Resistance Activated (Tension)
Resistance releases fire when you pull through a specific holding weight — usually a few pounds above your bow’s back wall. They sit between thumb triggers and hinges on the learning curve. You can set the activation weight, which gives you a tunable shot process, but if you don’t pull straight through, the release simply won’t go off and you’ll let down and start over. That’s annoying at first and addictive later.
Match the Release to the Discipline
The trigger style discussion gets simpler once you put it in the context of how you actually shoot. The same archer can reasonably own three releases — one for hunting, one for target, one for training — and use each for its strengths.
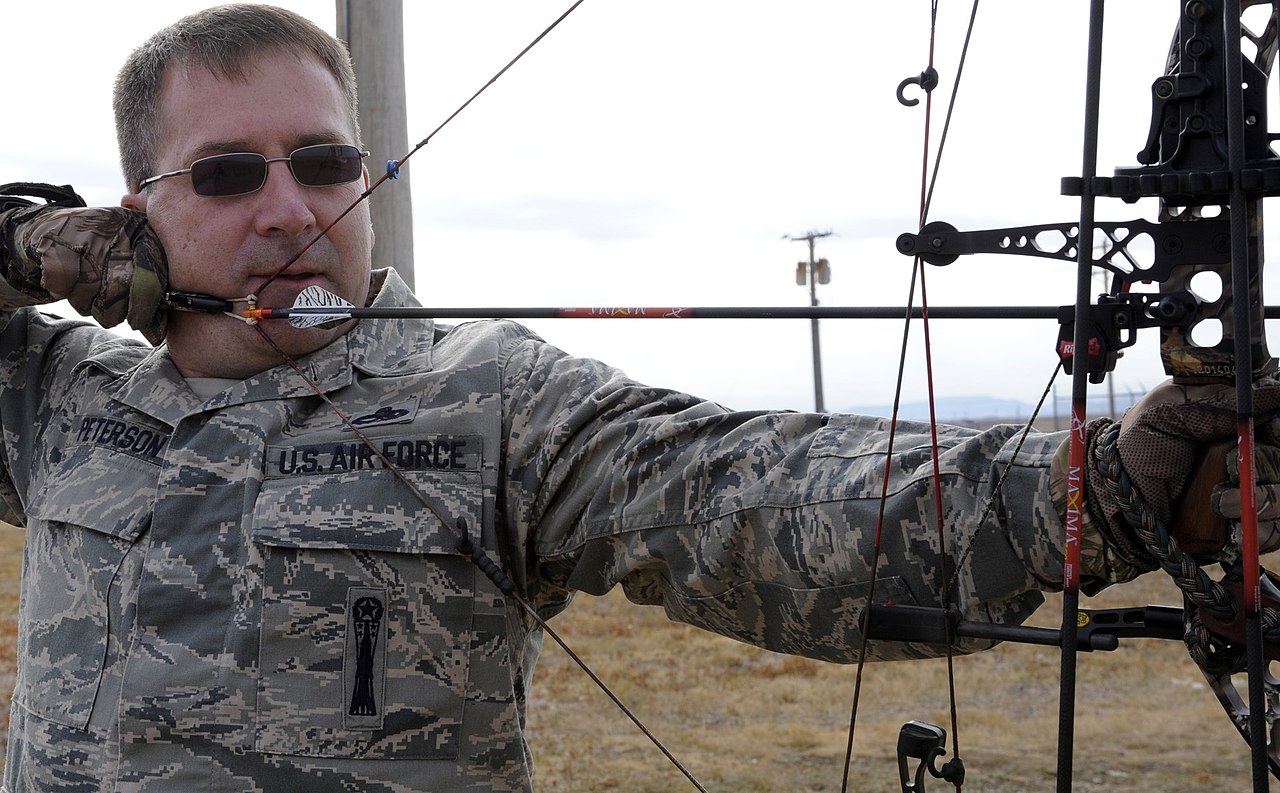
Bowhunting
For hunting, a wrist-strap index release is still the practical answer. You can attach it to the loop before climbing into a stand, leave it dangling on your wrist for hours, and draw with the device already in place. Look for an open-hook jaw rather than a caliper — open hooks let you connect to the D-loop silently with one hand, which matters when a deer is at 25 yards. Adjustable trigger travel and a quiet jaw closure are worth more than fancy materials.
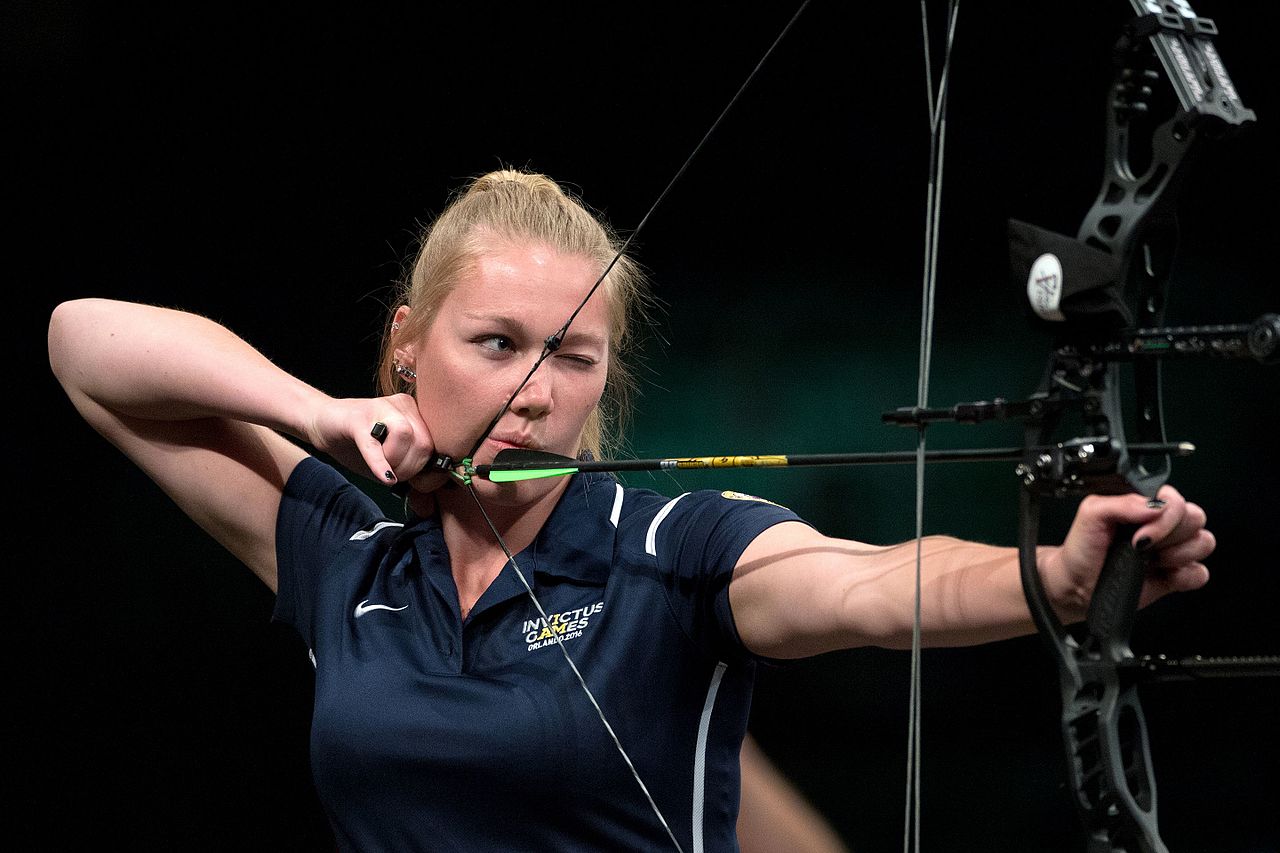
Target and 3D
For target work, thumb triggers dominate the known-distance lines, and hinges or resistance releases dominate the rest. The shot windows on a target range are long enough to allow a deliberate execution sequence, and consistent groups at 50 meters are far more achievable when the release is fired by back tension rather than finger punch. 3D archers tend to favor thumb triggers because of the time pressure on unknown-distance courses, but plenty of competitive 3D shooters use hinges and live with the occasional unwanted activation.
Training and Recovery
If you already shoot with an index release and have noticed flinching, anticipation, or groups that mysteriously open up at distance, a hinge or resistance release used purely for blank-bale work is the standard rehabilitation tool. You don’t have to switch your hunting release — you just need to retrain your nervous system to associate the shot with back engagement rather than finger movement.
Sizing: The Boring Detail That Decides Everything
A release that doesn’t fit your hand will sabotage every other decision you made. Most return-and-exchange traffic in pro shops is sizing-related, and almost all of it is avoidable if you measure first.

- Hand length: measure from the base of your palm to the tip of your middle finger. Most handheld releases are sized small/medium/large based on this number. A medium-handed adult is typically 18–19 cm.
- Number of fingers: handheld releases come in 2, 3, and 4-finger versions. More fingers means more contact area and more leverage, which translates to a softer feel at the bow’s back wall.
- Trigger reach: on thumb releases, the thumb post is adjustable. On index releases, the trigger blade is rotatable. Set this so your firing digit is relaxed and only lightly contacting the trigger at full draw.
- D-loop diameter: most jaws are designed for standard #24 BCY loop material. If you use heavy hunting loops or specialty cord, double-check the jaw’s published throat size before ordering.
- Wrist strap closure: buckles are quiet and adjustable but slow; hook-and-loop is fast but noisy in cold weather when the loops freeze.
Connection Style: Wrist Strap vs Handheld
The strap-or-no-strap question is partly preference, but it has real mechanical consequences. A wrist strap transfers the bow’s holding weight to your forearm, which lets your hand stay relaxed. Handhelds put all the weight in your fingers, which can fatigue you on long target sessions but also encourage a more conscious grip on the release itself. Many archers find that switching from index wrist-strap to thumb handheld also fixes a chronic torque problem, because the wrapped grip on a handheld naturally aligns the release behind the loop.
One overlooked detail: handhelds need somewhere to live when you’re not shooting. Hunters who try to switch to a thumb release in the field usually fail because they can’t figure out where to stash it during a long sit. A holster, lanyard, or bino-harness pouch solves this, but it adds gear and noise.
What to Skip and What to Spend On
Release aid pricing runs from roughly USD 40 for basic index models to over USD 300 for premium handhelds. The premium price is not snake oil — machined components, sealed bearings, and tighter tolerances make a real difference in trigger feel — but it is also not always necessary.
- Worth paying for: adjustable trigger travel, adjustable trigger weight, sealed bearings in the sear, rotating heads on handhelds, replaceable jaws.
- Skip the upcharge: exotic colors, titanium where stainless does the same job, signature-series models built around a famous archer’s preferences that may not match yours.
- Buy twice if needed: if you’re a new compound archer, start with an inexpensive index release and a separate cheap hinge for training. After a year you’ll know exactly what you want in your forever release.
Maintenance, Adjustment, and Lifespan

A quality release will outlast several bows if you treat it reasonably. The main failure points are the jaw springs, the sear bearings, and the trigger return spring. Keep grit out of the moving parts, wipe the release down after wet weather, and resist the urge to over-oil — most manufacturers specify a single drop of light machine oil on the sear once a season, and more than that attracts dust.
A Quick Decision Matrix
- New to compound, mostly hunting: index wrist strap, adjustable travel, open hook.
- New to compound, mostly target: 3-finger thumb release plus a cheap hinge for training.
- Experienced hunter chasing tighter groups: switch your practice sessions to a thumb release; keep the index for the stand.
- Target archer plateauing at 50m: move to a hinge or resistance release, accept the relearning curve.
- Fighting target panic: buy any back-tension release and shoot a blank bale until the panic is gone — usually 4–8 weeks.
- Cold-weather hunter: wrist strap with buckle closure and gloves you’ve actually tested with the release.
Where the Release Sits in Your Tuning Stack
One last consideration: changing your release is also changing your tuning. A new release will sit at a slightly different angle behind the D-loop, which changes nock travel. After any release swap, walk-back-tune or bare-shaft-tune the bow before judging the new gear’s accuracy. Many archers blame the release for groups that opened up after a switch, when the real culprit is a half-twist of cable timing or a center-shot that needs to move a hair.
Buy the release that suits your discipline, fit it to your hand, set the trigger conservatively, retune the bow, then shoot it for a season before changing anything. The release that you can ignore during the shot — the one you stop thinking about — is the right one.
Sources
- USA Archery — national governing body, equipment and coaching references
- World Archery — international rules and competition equipment standards
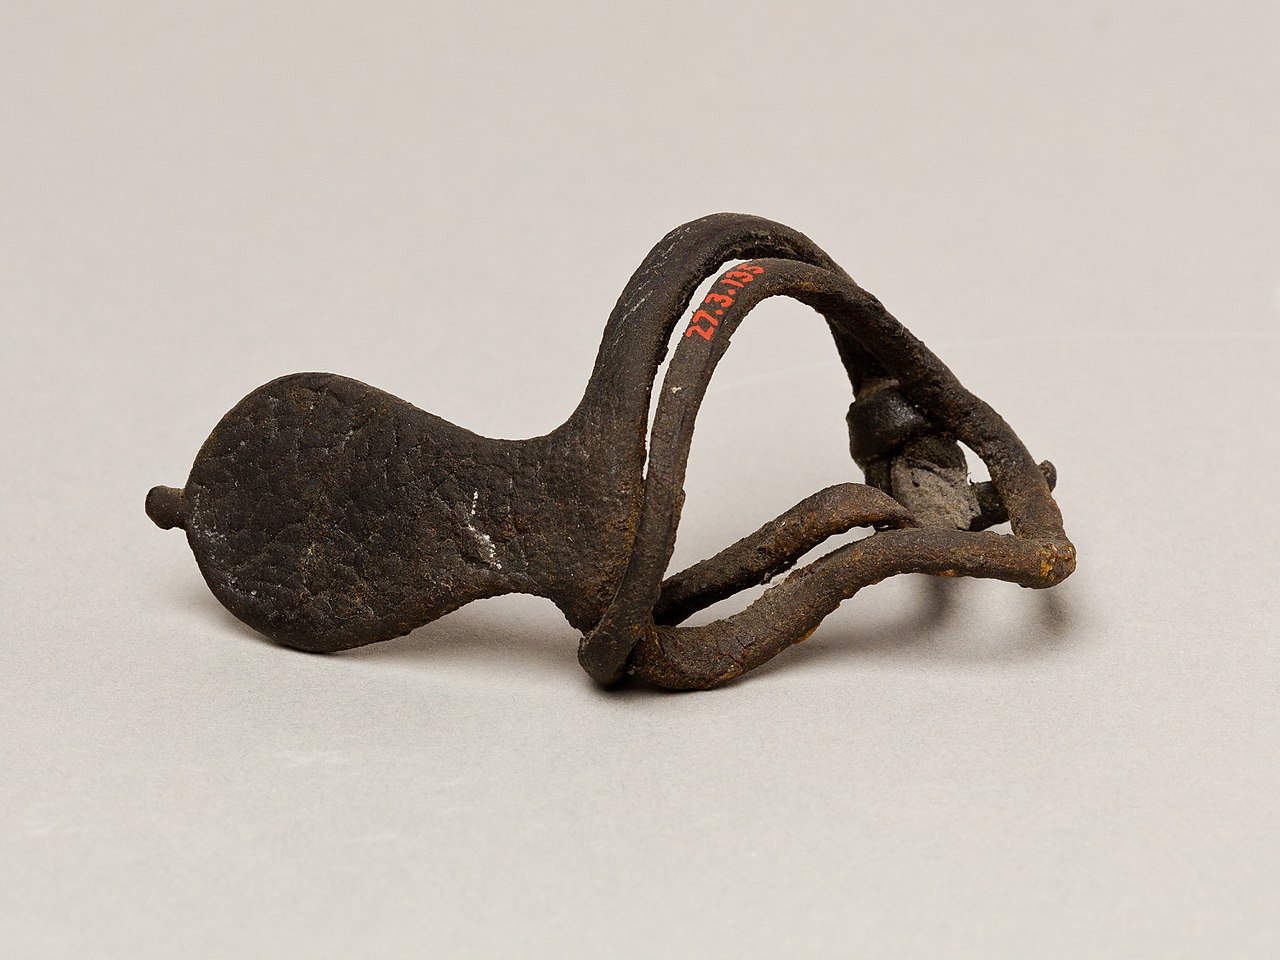
- Wikipedia: Release aid — overview of mechanical release devices and history
Browse archery bows, arrows, and accessories at the Archery Supplier shop →