
Uncategorized
How to Set Up a Tree Stand for Bowhunting: 7-Step Safety Guide
Jul
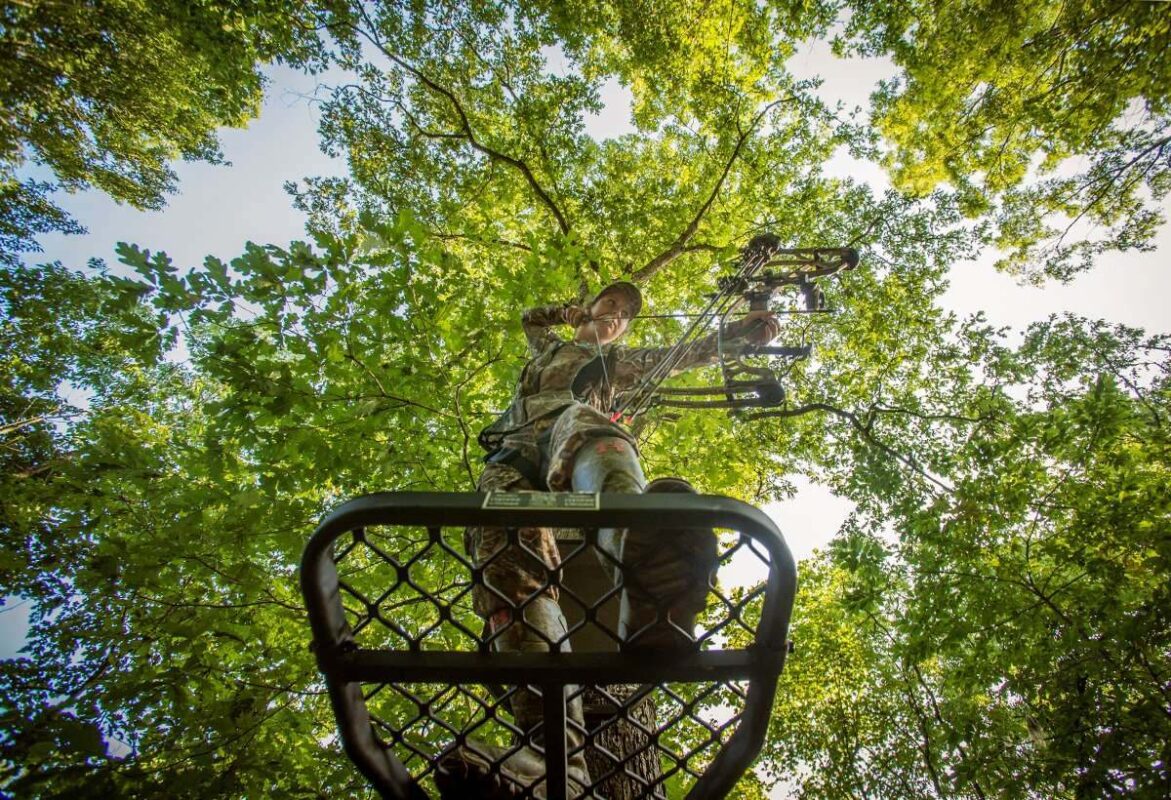
The average bowhunter shoots from 20 yards. At 18 feet of elevation, that shot angle drops roughly 23 degrees — steep enough that even a well-scouted stand placement will cost you a clean shot if the setup is wrong. Tree stand positioning, harness use, and lane trimming are all skills that get skipped in the rush of early season, and that’s when accidents and blown opportunities happen. This guide walks through every step of hanging and hunting from a stand so that none of those details get missed.
Choosing the Right Tree Stand Type for Bowhunting
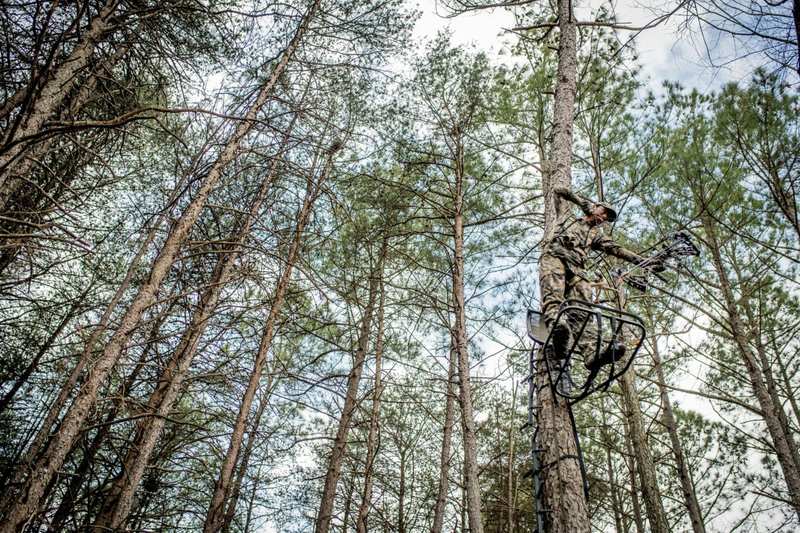
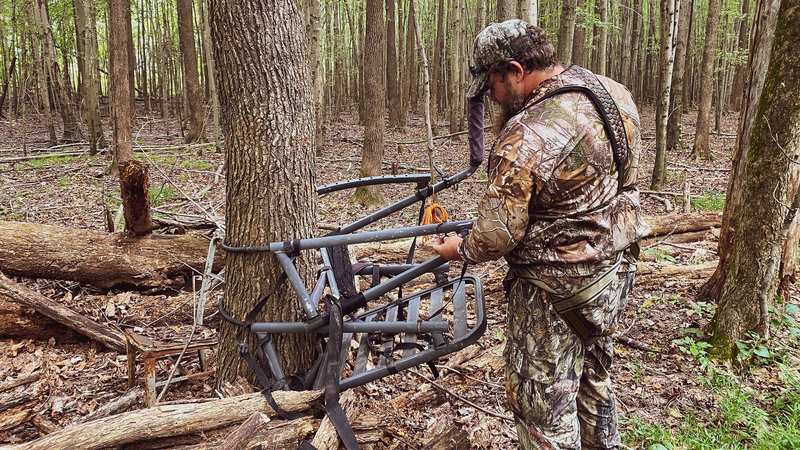
Three stand types dominate bowhunting: hang-on stands, ladder stands, and climbing stands. Each has a distinct use case. Hang-on stands (also called lock-ons) are the most versatile — you can hang them in virtually any tree, adjust their position laterally around the trunk, and move them quickly if deer patterns shift. They need separate climbing sticks or steps, which adds setup time but gives you more tree selection flexibility.
Ladder stands sacrifice portability for ease of use. They go up in one piece, often in 15 minutes, making them ideal for a permanent early-season setup on a well-scouted funnel. The downside: you’re committed to one tree and one height.
Climbing stands work only on straight, limbless trunks — mature pines, some oaks. They’re the best option for mobile hunters who don’t want to leave hardware in the woods. One person can carry in, climb, and hunt without any pre-hung hardware. The trade-off is that the right tree has to be there when you need it.
For most bowhunters learning how to set up a tree stand for bowhunting, a hang-on stand paired with three or four climbing sticks is the right starting point. It handles the widest range of tree types and gives you the flexibility to reposition if your first choice doesn’t pan out.
How to Set Up a Tree Stand for Bowhunting — Step by Step
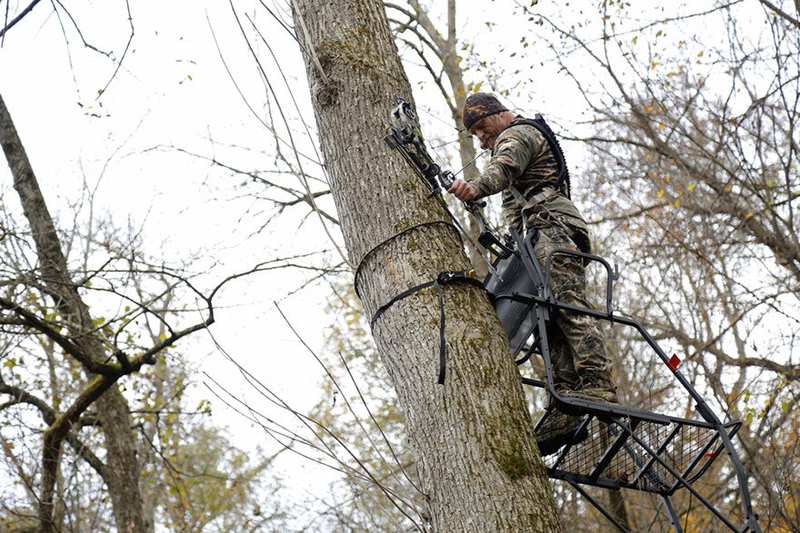
Before you touch the tree, assemble everything on the ground and inspect it. Check strap webbing for fraying, verify that platform bolts are tight, and run your harness through a practice fit so you can clip in fast in the dark. Here’s the sequence once you’re on site:
- Connect your climbing sticks on the ground. Strap them together and pre-set the spacing so climbing feels natural. Steps should extend 12–18 inches above your platform when fully hung.
- Secure the first stick at waist height and attach your lineman’s belt around the tree. This keeps you connected to the tree throughout the entire hang — not just when you’re in the seat.
- Climb and set each remaining stick before pulling the stand up. Use the lineman’s belt to work hands-free at each section.
- Hoist the stand using a dedicated pull rope tied to your bow hanger or platform frame. Never carry a hang-on stand up the tree on your back.
- Attach the stand’s primary strap high and tight. A tree-saver strap protects bark and keeps the platform from creeping down over the season.
- Level the platform. Most modern stands have a ratchet or micro-adjust system. A platform tipped forward by even five degrees shifts your weight toward the tree and kills comfort during a three-hour sit.
- Set your bow hanger and haul rope on the opposite side of your steps. Your bow should hang at a height where you can reach it seated without standing.
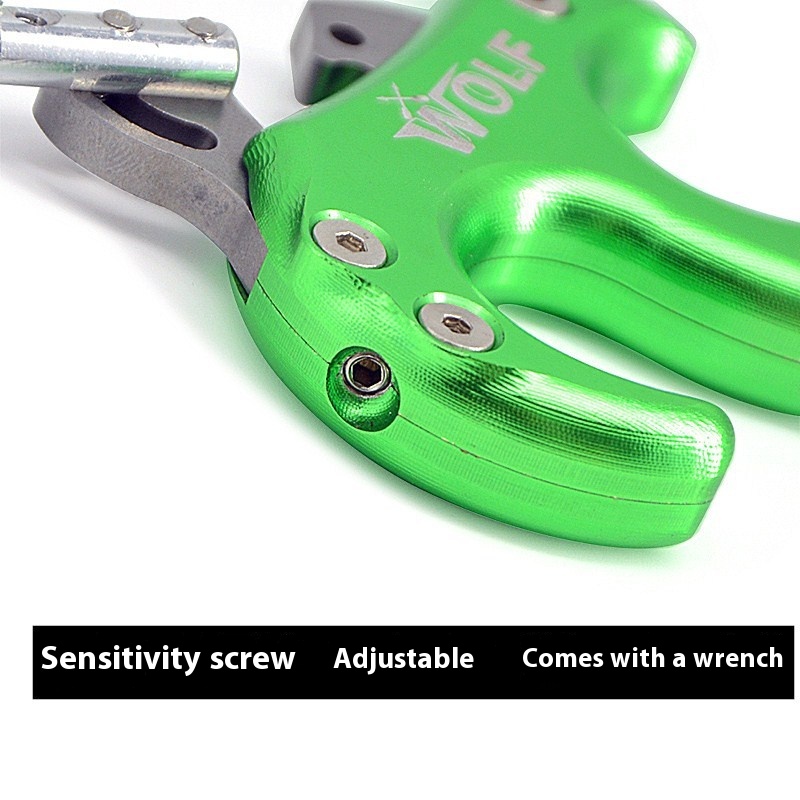
One detail most new stand hunters miss: hang a bow hook at a height that lets you reach your compound bow while seated. Standing to grab your bow when a deer is at 20 yards is how seasons end early. A quality compound bow for hunting also benefits from a smooth wrist strap release, which is quieter and faster to draw from a hook than a hand-held.
How High Should You Hang a Tree Stand?
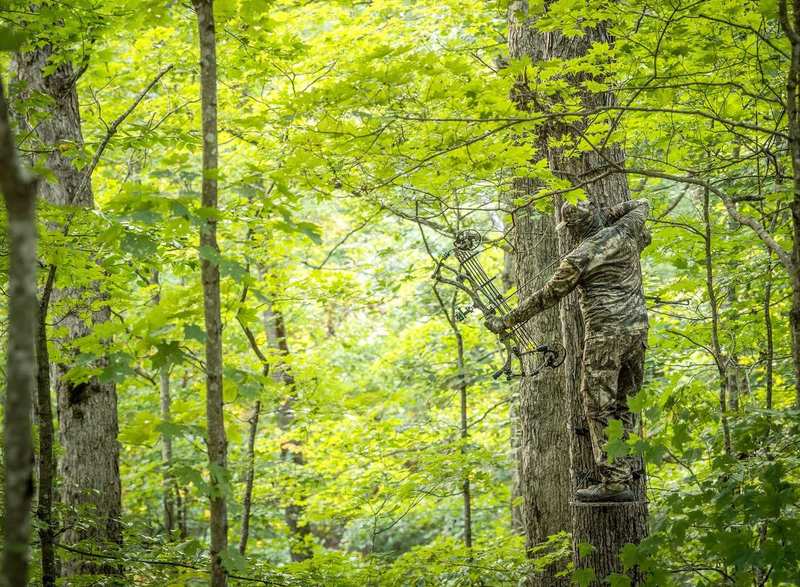
The frequently cited “20 feet” benchmark is a starting point, not a rule. A 2024 video test by Outdoor Life found that most hunters actually hunt lower — around 15 feet — and that the shot angle at 15–18 feet from a 20-yard deer is between 20–23 degrees. That’s steep enough to clear a deer’s back without being so extreme that your arrow misses both lungs on a quartering shot.
Height is partly about concealment. In open timber with little branching, you need 20–22 feet to break a deer’s line of sight. In a mature oak with horizontal limbs at 14 feet, you can sit at 17 feet and be effectively invisible from the ground. The tree does more concealment work than raw altitude.
Above 20 feet, two things get harder: shot angle sharpens (a 25-foot hang puts you at roughly 30 degrees to a 20-yard deer), and the tree sways more in wind. Beyond 22 feet, most hunters sacrifice more accuracy than they gain in concealment. The sweet spot is 15–20 feet, adjusted based on available tree structure and cover at that height.
Tree Stand Placement — Wind, Cover, and Access
Stand placement solves three problems simultaneously: it puts you downwind of deer, gives you enough natural cover to stay invisible, and gets you in and out without blowing your spot before you ever sit in it.
Wind is non-negotiable. Pick a stand tree where the prevailing wind during your planned hunt direction will carry your scent into a “dead zone” — an open field, a wide creek, thick brush deer won’t cross into the wind. If that clean wind isn’t available for at least three mornings a week in your area, the location won’t be productive long-term regardless of how much sign you find there.
Access matters almost as much. Don’t walk the same trail deer use to reach your stand. Even a clean elevated hunt can be undone by boot scent on a runway that a buck crosses two hours after you’ve settled in. Parallel deer movement on your way in, use water or hard surfaces where possible, and keep entry and exit paths 50 yards off main deer trails.
One technique worth adopting from onX Maps’ treestand guide: use terrain features as natural blockers — a wide ditch, a field edge, or a dense stand of thorns can redirect deer movement and concentrate it toward your shooting lanes without any additional prep work.
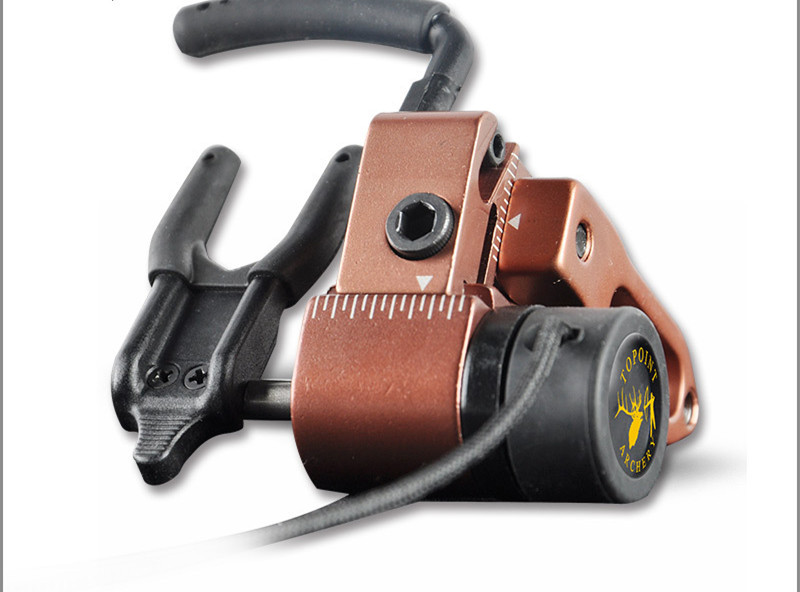
From an elevated position, the drop-away arrow rest earns its reputation. When you draw at a downward angle, a full-capture rest can push your arrow off the shelf slightly on the draw. A drop-away falls clear the moment the cable breaks — there’s no fletching contact, no deflection, even on steep shots. Worth setting up before season as part of your compound bow sighting-in process.
Clearing Shooting Lanes Without Alerting Deer
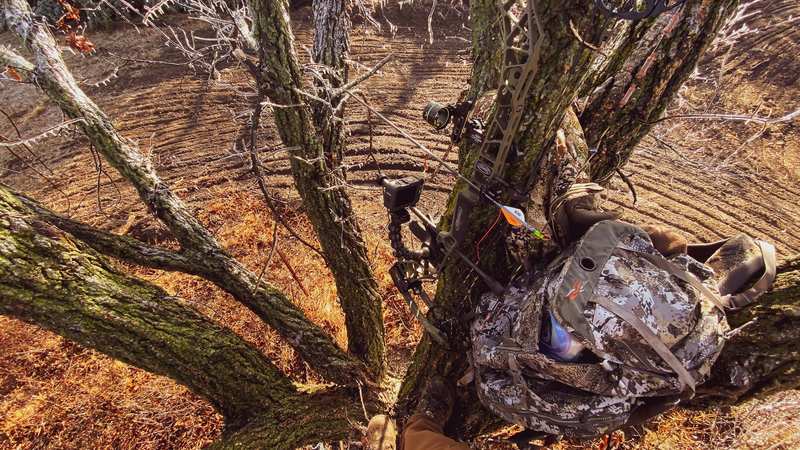
Trim two to three shooting lanes extending 30–50 yards in the directions deer are most likely to approach. The mistake is clearing too much — a grid of open lanes looks like obvious human disturbance and changes how mature deer move through the area.
Instead, target the specific branches and stems that will catch your arrow at the height you’ll be shooting. Get in the stand first, identify the exact shooting window you need, then come down and clear only those specific obstructions. One stem three inches in diameter at 15 yards is enough to send your arrow three feet off target.
Carry your cut material out of the area or throw it well downwind. A pile of fresh-cut brush near your stand tells every deer that something changed in that tree. Mature whitetails have core home ranges they pattern for years — anything new registers immediately.
Also check your stand’s silhouette from the ground. Walk 30 yards in every approach direction and look back at your position. If you can clearly see your head and shoulders against the sky, a deer at ground level will too. Add a few conifer branches behind your stand or hunt on the high side of a tree fork when possible.
Tree Stand Safety Harness — Non-Negotiable
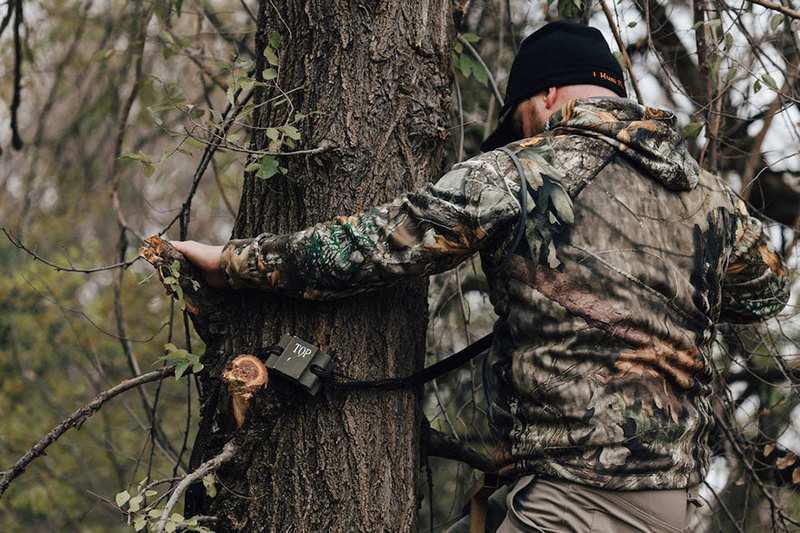
According to the Tree Stand Safety Association, treestand falls account for roughly one-third of all serious hunting injuries in North America each year. The majority of those involve hunters who owned a harness but weren’t wearing it when the fall happened — usually because the fall occurred while climbing, not while sitting.
The correct protocol is a lifeline system. Run a Prusik-knotted rope from ground level up to a point above your head when standing on the platform. Clip your harness tether to this rope at ground level before you take your first step, and stay clipped until both feet are back on the ground at the end of the hunt. This way a slip on any step, at any height, is caught by the lifeline before it becomes a fall.
Practice putting your harness on in the dark. Opening morning starts before first light, and fumbling with buckles while half-awake is exactly when shortcuts happen. Summit Treestands recommends drilling the harness routine at home until it takes under two minutes without looking at the clips. That’s the standard.
Practicing Elevated Shots Before Opening Day
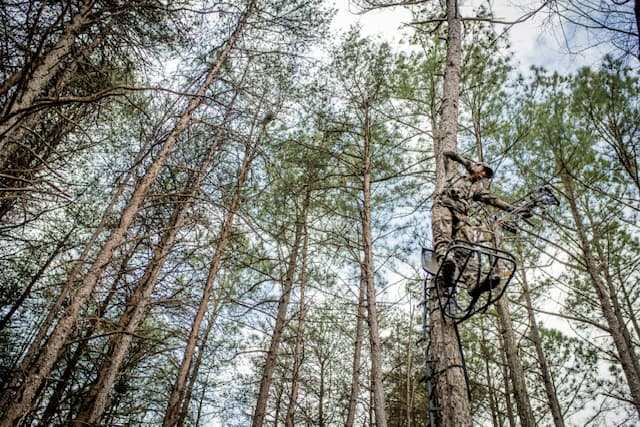
Flat-range practice doesn’t transfer directly to elevated shots. From 18 feet, you’re bending at the waist to aim down — not just angling the bow. Shoulders, hips, and draw position all shift slightly. The first time most hunters deal with this is opening morning on a live deer, which is the worst possible time to discover that their form doesn’t hold at a downward angle.
If you have a climbing stand, use it for summer practice sessions. Get to your hunting height, hang a target at 15–25 yards, and shoot a minimum of 30 arrows per session at the angles you’ll actually face. Pay attention to where the arrow hits relative to flat-range zero — most hunters shoot slightly low from elevation because they don’t bend far enough at the waist before aiming.
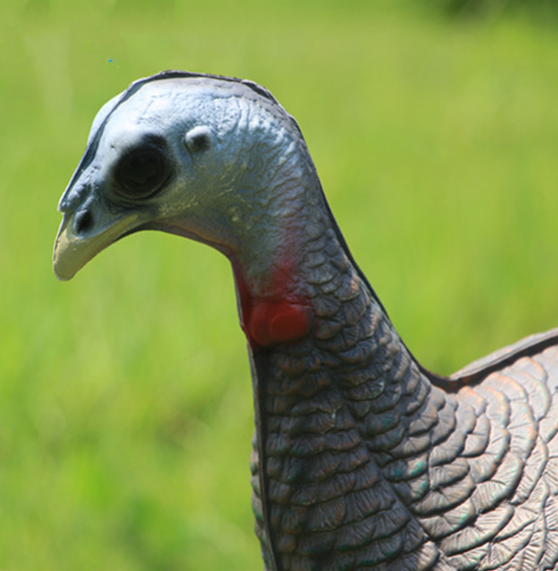
3D targets are more valuable here than flat bag targets because the shot placement feedback is immediate and realistic. The turkey bowhunting guide covers shot placement angles in detail — the elevated shot on a standing turkey and a standing deer require the same adjustment.
One drill worth adding before season: shoot from kneeling position in the stand. A deer that approaches at 10 yards below your platform often requires you to kneel to clear the platform railing for a clean shot angle. Most hunters skip this position entirely until they need it.
The most expensive part of a failed bowhunt isn’t the gear — it’s the season lost to a preventable mistake. Hang your stand weeks before opening day, walk the access trail a dozen times to silence it, shoot from elevation until the angle feels normal, and wear that harness every time. The hunters who consistently fill tags aren’t running better scouting data — they’re the ones who made the setup routine before excitement took over.
Sources
- Tree Stand Safety Association — Treestand fall statistics and full-body harness requirements
- Outdoor Life — Best Treestand Height for Bowhunting — Video test data on shot angles at various stand heights
- onX Maps — Top Tactics for Setting Up a Tree Stand — Access route strategy and terrain manipulation techniques
