Archery Blog
Compound Bow Tuning | Step-by-Step Guide to Perfect Arrow Flight
Mar
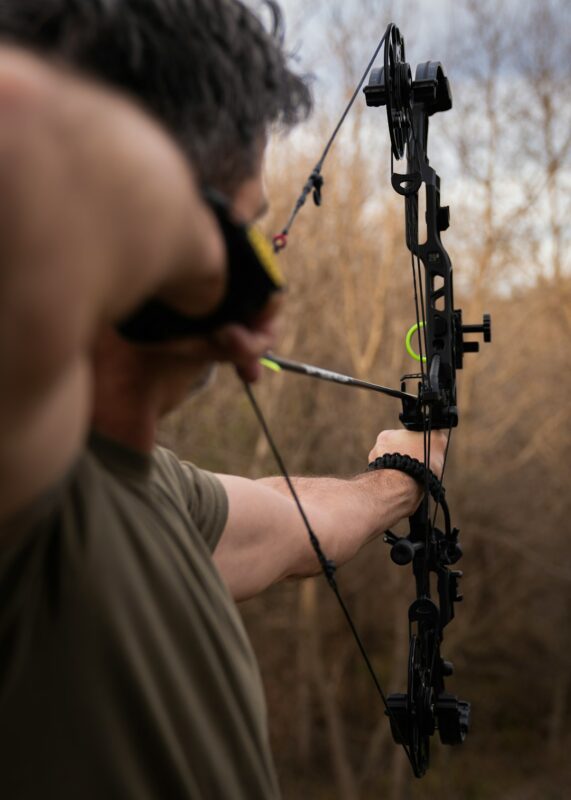
A perfectly tuned compound bow is the difference between stacking arrows in the X-ring and chasing erratic groups across the target face. Whether you shoot competitively or chase whitetails every fall, bow tuning eliminates variables and gives your arrows the cleanest possible flight path from the moment they leave the string. The good news? You don’t need a pro shop to get it done. With some basic tools, patience, and a systematic approach, you can tune your compound bow at home and achieve results that rival what any technician can deliver.
This guide walks through every major tuning method — from initial setup through paper tuning, walk-back tuning, bare-shaft diagnostics, and broadhead verification. Follow these steps in order, and you’ll build a bow setup that shoots with machine-like consistency.
Why Compound Bow Tuning Matters
An out-of-tune bow introduces inconsistencies that compound over distance. At 20 yards, a slight nock-high tear might only move your point of impact an inch. At 60 yards, that same tear can translate to six or eight inches of drift — enough to wound an animal or miss a scoring ring entirely. Tuning addresses the relationship between your bow’s mechanics, your arrow selection, and your shooting form so that every component works together instead of fighting against each other.
Factory settings on a new compound bow get you close, but they can’t account for your specific draw length subtleties, your release style, or the particular arrows you’ve chosen to shoot. That final ten percent of accuracy comes from hands-on tuning, and it’s what separates archers who shoot “pretty well” from those who shoot with genuine precision.
According to USA Archery’s compound tuning series, even Olympic-level athletes begin each season with a full bow tune — and they shoot bows that cost thousands of dollars with professional-grade components. If the best archers in the world tune their bows religiously, recreational shooters can only benefit from doing the same.
Tools You Need Before Starting
Gather everything before you begin. Stopping mid-tune to hunt for an Allen wrench kills momentum and can lead to skipped steps.
- Bow press — for cam timing adjustments and string work (a portable press works for most compound bows)
- Allen wrench set — metric and standard, covering your sight, rest, limb bolts, and cable guard
- Bow square (T-square) — essential for measuring nock height and checking tiller
- Paper tuning frame — a simple wood or PVC frame with wrapping paper or butcher paper
- Arrow level — checks that your arrow sits perfectly level on the rest at full draw
- Pliers or bow press tool — for yoke adjustments on split-yoke cam systems
- Sharpie marker — for marking reference points on cams, limbs, and serving
- Bare shafts — identical to your fletched arrows but without vanes (critical for bare-shaft tuning)
If you don’t own a bow press, many adjustments can still be made without one. Paper tuning, walk-back tuning, rest adjustments, and nock height changes all happen without pressing the bow. Cam timing is the main step that requires a press, and your local pro shop will usually press a bow for free or a small fee if you need that one adjustment.
Step 1: Inspect and Set Up the Basics
Before touching anything tuning-related, run through a pre-flight checklist. Look over the entire bow for obvious problems: frayed strings or serving, cracked limbs, loose bolts, worn cam bearings, or a bent arrow rest. Replace or repair anything questionable before you begin tuning — building accuracy on top of damaged equipment is pointless.
Set your draw weight. Tighten both limb bolts evenly to your desired poundage. Use a bow scale if you have one. Both limbs should be at the same number of turns from fully tightened — uneven limb bolts create tiller imbalances that show up as vertical tears during paper tuning.
Check your draw length. At full draw, your bow arm should be slightly bent (not locked out), your release hand anchor should sit naturally against your jaw, and the string should bisect your peep sight cleanly. If you’re straining to reach the wall or cramped at full draw, adjust draw length modules before proceeding. Everything downstream depends on correct draw length.
Set your center shot. Position your arrow rest so the arrow tip sits just outside the center of the riser when viewed from behind the bow. Most manufacturers recommend 13/16″ from the riser to the center of the arrow shaft as a starting point. You’ll fine-tune this during paper and walk-back tuning, but getting close now saves time later.
Set your nocking point. Clip a bow square to the string and measure from where the arrow sits on the rest to the bottom of the nock. Standard starting position places the nock about 1/8″ above square (nock-high). Tie in your D-loop around this point, keeping it snug and centered.
Step 2: Cam Timing and Synchronization
On dual-cam and hybrid-cam compound bows, both cams must reach full rotation at the same time. When one cam hits the stop before the other, the bow produces uneven force on the arrow at release — creating left-right tears or inconsistent groupings that no amount of rest adjustment will fix.
To check cam timing, draw the bow slowly while a friend watches the cams (or use a draw board). Both cams should contact their stops simultaneously at full draw. On a split-yoke system, you adjust timing by twisting or untwisting the yoke legs on the control cable. Adding twists to one side pulls that cam further into rotation; removing twists backs it off.
This is where a bow press becomes necessary. Small adjustments — even a half-twist — can noticeably affect cam timing. Make one change at a time, re-check, and repeat until both cams sync. According to Field & Stream’s compound tuning guide, most factory bows arrive within a twist or two of proper timing, so this step often requires minimal adjustment.
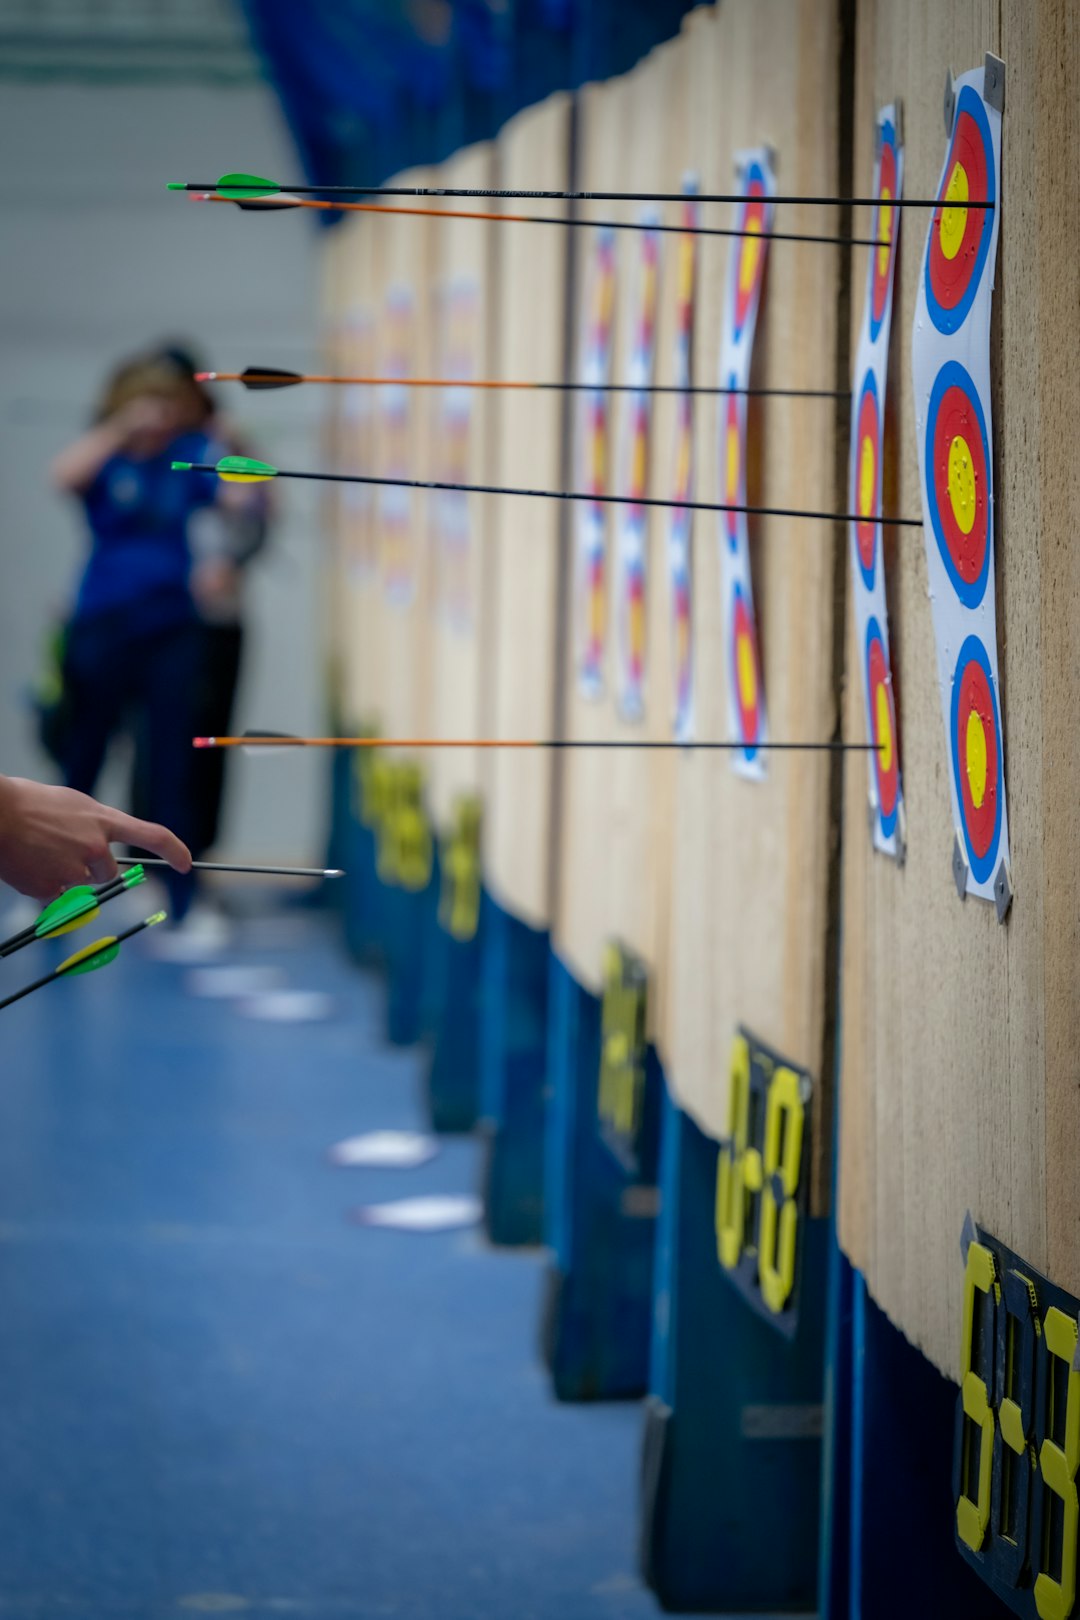
Step 3: Paper Tuning — Reading the Tears
Paper tuning is the most widely used diagnostic tool in compound bow tuning. Shoot a fletched arrow through a sheet of paper from about six feet away and examine the tear pattern. The shape of the hole tells you exactly what adjustment to make.

Bullet hole: A clean, round hole with three even vane marks radiating outward. This is what you want. The arrow passed through the paper perfectly straight — nock, shaft, and point all traveling in the same line.
Nock-high tear: The point hole sits below the nock hole, meaning the back of the arrow is kicking upward at release. Lower your nocking point or raise your arrow rest slightly. If the tear is severe (over an inch), check that your draw length isn’t too long — an overextended bow arm commonly produces nock-high tears.
Nock-low tear: The opposite — the nock hole sits below the point hole. Raise your nocking point or lower your rest. Nock-low tears are less common and sometimes indicate that your arrows are too stiff (over-spined) for your draw weight.
Nock-left tear (right-handed shooter): The arrow’s back end is kicking left at release. Move your rest slightly to the left (toward the riser) or check cam timing. A nock-left tear can also result from excessive cam lean under draw.
Nock-right tear (right-handed shooter): Move your rest slightly away from the riser (to the right). This tear can also indicate that your arrows are under-spined — the shaft is flexing too much around the riser at launch.
Make small adjustments. Move the rest 1/32″ at a time for horizontal corrections. Adjust the nocking point 1/16″ at a time for vertical corrections. Shoot three to five arrows through the paper after each change to confirm consistency before moving on.
Step 4: Walk-Back Tuning for Long-Range Accuracy
Paper tuning gets your arrow flying straight at close range, but walk-back tuning (sometimes called French tuning) verifies alignment over distance. This method catches rest position errors that paper tuning can miss — particularly lateral misalignment that only shows up when arrows travel far enough for small deviations to accumulate.
![]()
Set up a target with a single vertical strip of tape running from top to bottom. Stand at 20 yards and sight in so your arrow hits directly on the tape. Without adjusting your sight, step back to 30 yards and shoot again. Then 40, then 50. If your bow and rest are properly aligned, every arrow should hit on or very near that vertical tape line — just progressively lower as distance increases.
If your arrows drift consistently to the left as distance increases, your rest needs to move slightly left (for a right-handed shooter). Drifting right means move the rest right. The correction is counterintuitive for some people — you move the rest in the direction of the miss, not away from it.
Walk-back tuning is one of the most reliable methods for fine-tuning center shot because it eliminates the influence of form inconsistencies at close range. At 50 yards, even tiny rest misalignment becomes visible. Once your arrows stack on that vertical line at all distances, your center shot is dialed.
Step 5: Bare-Shaft Tuning for Arrow Spine Verification
Bare-shaft tuning takes diagnostics a step further by removing vanes from the equation entirely. Fletching corrects arrow flight — which is exactly why removing it reveals underlying problems that vanes might be masking.
Shoot a group of three fletched arrows at 20 yards, then shoot two or three bare shafts at the same target. Compare where the bare shafts land relative to the fletched group.
Bare shafts hitting left of fletched (right-handed shooter): Your arrows are too stiff. The shaft isn’t flexing enough around the riser, and without vanes to steer, the bare shaft flies where the stiffness sends it. Solutions: increase point weight, reduce draw weight slightly, or switch to a weaker spine arrow.
Bare shafts hitting right of fletched: Your arrows are too weak (under-spined). The shaft is flexing too much. Solutions: decrease point weight, increase draw weight, or switch to a stiffer spine.
Bare shafts hitting with the fletched group: Your arrow spine matches your bow perfectly. This is the goal — when bare shafts and fletched arrows land together, your setup is optimized for the cleanest possible arrow flight.
Bare-shaft tuning also reveals vertical issues. Bare shafts hitting high usually indicates a nocking point that’s too low, while bare shafts landing low points to a nocking point set too high. Use this data to make final nocking point adjustments that paper tuning might have missed.
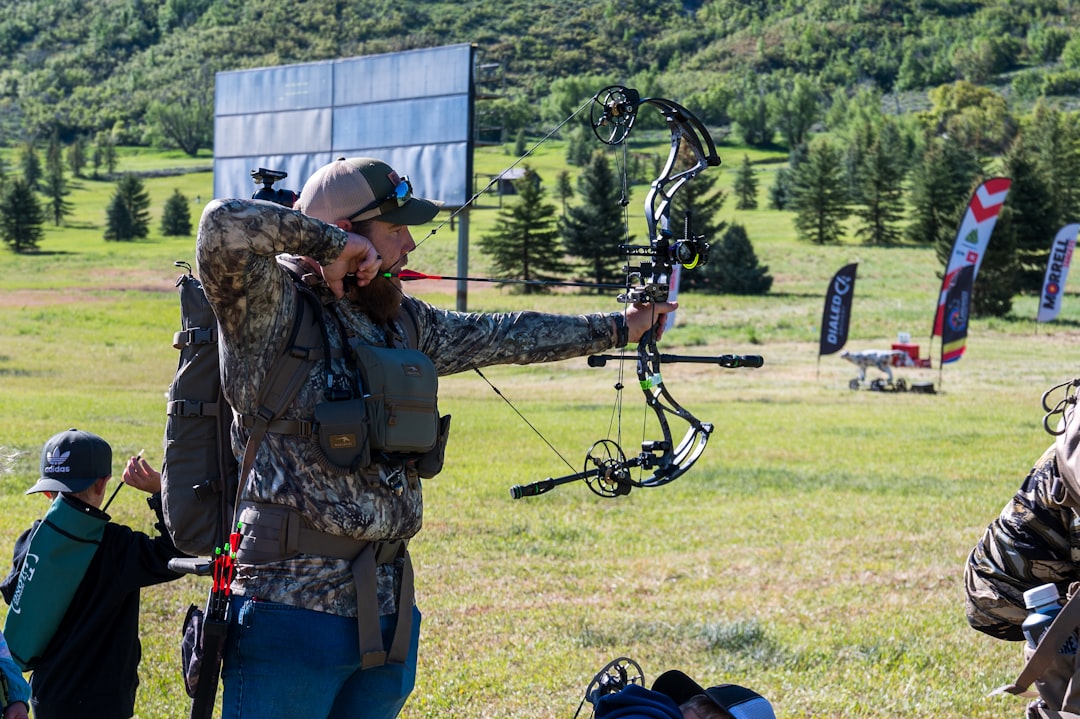
Step 6: Broadhead Tuning for Hunting Season
If you hunt, your tune isn’t complete until broadheads and field points impact at the same point. Fixed-blade broadheads act like small wings on the front of your arrow — any imperfection in arrow flight gets amplified by those blades catching air. A bow that shoots field points perfectly but throws broadheads erratically has a tuning issue, not a broadhead issue.
Start at 20 yards. Shoot a group with field points, then shoot the same distance with broadhead-tipped arrows. If the broadheads land in the same group, you’re done. If they impact differently, follow the broadhead — adjust your rest in the direction the broadheads are hitting relative to the field points.
For example, if broadheads hit two inches left and one inch high compared to field points, move your rest left and raise your nocking point slightly. Make micro-adjustments and re-test. Most well-tuned bows require only tiny corrections at this stage — sometimes none at all if your paper tune and walk-back tune were thorough.
Mechanical broadheads are more forgiving than fixed blades because the blades deploy on impact rather than steering the arrow in flight. But even mechanical heads benefit from a properly tuned bow. World Archery recommends completing all tuning steps with field points first, then verifying with broadheads as a final confirmation.
Common Tuning Mistakes to Avoid
Even experienced archers fall into these traps during the tuning process. Recognizing them saves hours of frustration.
![]()
Changing too many variables at once. Adjust one thing at a time. If you move the rest horizontally and change the nocking point in the same session without testing between changes, you won’t know which adjustment helped — or made things worse.
Tuning with bad form. Your bow can only be tuned to YOUR shot execution. If your grip introduces torque, your release punches the trigger, or your anchor point wanders, the bow will tune to those inconsistencies. Focus on consistent form before blaming the equipment. Shoot from a seated position or use a hooter shooter (mechanical release aid) if you want to isolate bow performance from form variables.
Ignoring arrow spine. No amount of rest adjustment fixes an arrow that’s fundamentally wrong for your setup. If paper tuning produces tears that won’t go away regardless of what you adjust, the culprit is often incorrect arrow spine. Use a spine chart from Easton or your arrow manufacturer to verify your arrows match your draw weight and draw length.
Skipping the bow press for cam timing. Archers who skip cam timing and jump straight to paper tuning often chase their tails for hours. Out-of-sync cams produce tears that mimic rest misalignment. Always check cam timing first — it takes five minutes and can save you an afternoon.
Over-torquing limb bolts. When setting draw weight, tighten limb bolts to max and back off your desired amount. Both bolts must be backed off the same number of turns. Uneven limb bolts create tiller problems that manifest as unpredictable vertical tears and inconsistent groups.
Watch: Complete Compound Bow Tuning Walkthrough
This video from Eastmans’ Hunting Journals walks through the entire compound bow tuning process from start to finish, including paper tuning, walk-back tuning, and broadhead verification. Dan Pickar breaks down each step with clear demonstrations that are easy to follow whether you’re tuning for the first time or refreshing your process for a new season.
Maintaining Your Tune Through the Season
Tuning isn’t a one-and-done event. Temperature changes cause limbs and strings to behave differently. A bow tuned in your 70°F garage may shoot slightly different in 30°F tree stand conditions. String stretch over time gradually alters cam timing and nocking point position. Even changing arrow brands or point weights requires re-verification.
Get in the habit of shooting a few arrows through paper every month during the season. If the bullet hole deteriorates, work backward through the tuning steps to find what shifted. Catching a small change early prevents it from snowballing into a mysterious accuracy problem three weeks before your hunt.
Store your bow in a hard case when traveling and avoid leaving it in extreme heat (like a car trunk in summer). Heat accelerates string stretch and can warp limbs over time. A well-maintained bow holds its tune far longer than one that gets tossed in the back of a truck after every range session.
Consider keeping a tuning log — note your rest position, nocking point measurement, cam timing reference marks, draw weight, and the date of each tune. When something changes, you’ll have a baseline to compare against instead of starting from scratch.
A fully tuned compound bow shoots with a level of consistency that makes archery genuinely addictive. When you release an arrow and it hits exactly where you aimed, time after time, that confidence carries over into competition pressure and hunting scenarios alike. The hour you spend tuning pays back every single time you draw that bow. Now get to the range, run through these steps, and dial your setup in tight.
Looking for more archery fundamentals? Check out our guide on proper archery form, or if you’re still choosing your setup, read how to choose your first bow. For range setup advice, see our breakdown of AMO archery range guidelines.