Archery Blog
Archery Anchor Point: How to Find and Lock In Yours for Maximum Accuracy
Mar
The archery anchor point is the specific spot on your face where your draw hand, string, and anchor contacts meet at full draw — and mastering it is the single biggest factor in shooting consistent, accurate arrows. Once you establish and repeat a reliable anchor position every time, your groups will tighten dramatically regardless of whether you shoot a compound or recurve bow.
What Is an Anchor Point in Archery?
An anchor point is a physical reference — or set of references — that ensures your draw hand lands in exactly the same position for every shot. Think of it as your body’s built-in rear sight. When the back end of your arrow is in the same place every time, the front end (your point of aim) becomes predictable and repeatable.
Unlike a gun’s mechanical rear sight, your anchor point relies on contact between your draw hand, the bowstring, and fixed points on your face: the corner of your mouth, your jawbone, your cheekbone, your nose. The goal is to make these contacts automatic and identical from shot to shot.
Why Your Anchor Point Matters for Accuracy
Even a small shift in your anchor position translates to big misses at distance. Research by USA Archery coaches shows that a 1mm variation in anchor position can move the arrow’s impact by several centimeters at 18 meters — and that gap widens as range increases.
There are three core functions your anchor point serves:
- Vertical reference: Controls whether your arrow flies high or low
- Horizontal reference: Keeps your peep sight or aiming eye aligned with the target
- Draw length confirmation: Confirms you’ve drawn to a consistent length every shot
If you’re struggling with unexplained vertical or horizontal misses — especially at longer distances — an inconsistent anchor point is often the root cause. This connects directly to your archery posture and stance; head position and body alignment feed directly into whether you can find your anchor consistently.
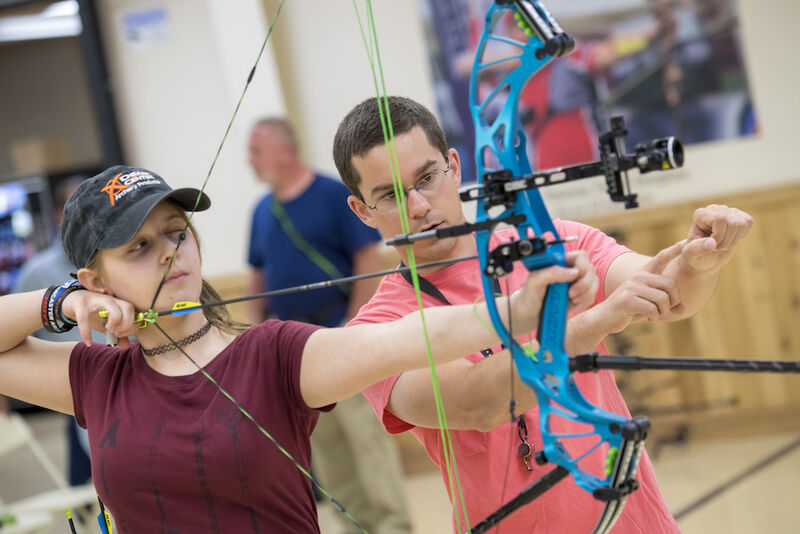
Compound Bow Anchor Point
Compound bow shooters have the advantage of mechanical references that recurve archers don’t: a peep sight built into the string, cam stops or a draw stop that tells them when they’ve hit full draw, and typically a mechanical release aid. These tools make it somewhat easier to achieve a repeatable anchor, but the anchor itself is still critical.
Standard Compound Anchor Position
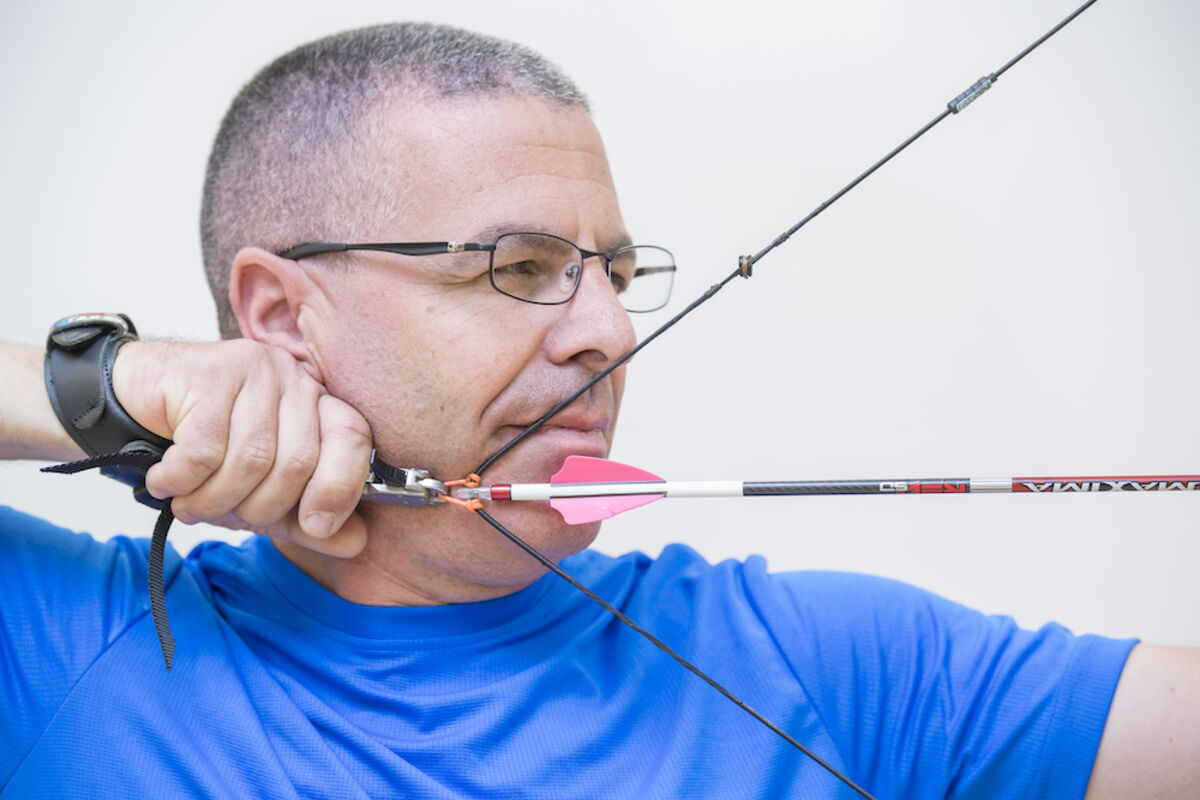
For compound archers using a wrist-strap index-finger release, the most common anchor position places:
- The index-finger knuckle at the corner of the jawbone, just below the ear
- The bowstring touching the tip or side of the nose
- The eye aligned through the peep sight to the housing and pin
For handheld releases (hinge, thumb button, back-tension), the standard anchor places the back of the index finger on one side of the jawbone and the back of the middle finger on the other side, essentially straddling the jaw. This gives a solid, bone-to-bone reference point that is extremely repeatable.
The Peep Sight and Anchor
The peep sight on a compound bow is your primary horizontal and vertical reference, but it only works when your anchor is consistent. Bring the string to your face — don’t move your face to the string. When your head is upright and you bring the bow back to your face, peep alignment becomes natural. When you crane your neck to find the peep, you introduce variation every single shot.
A nose button (sometimes called a Bowmar button — a small rubber tube tied to the string) helps compound archers confirm that the string is touching their nose in the same spot each time. Many experienced compound shooters who start using one are surprised to discover how much nose contact had been varying.
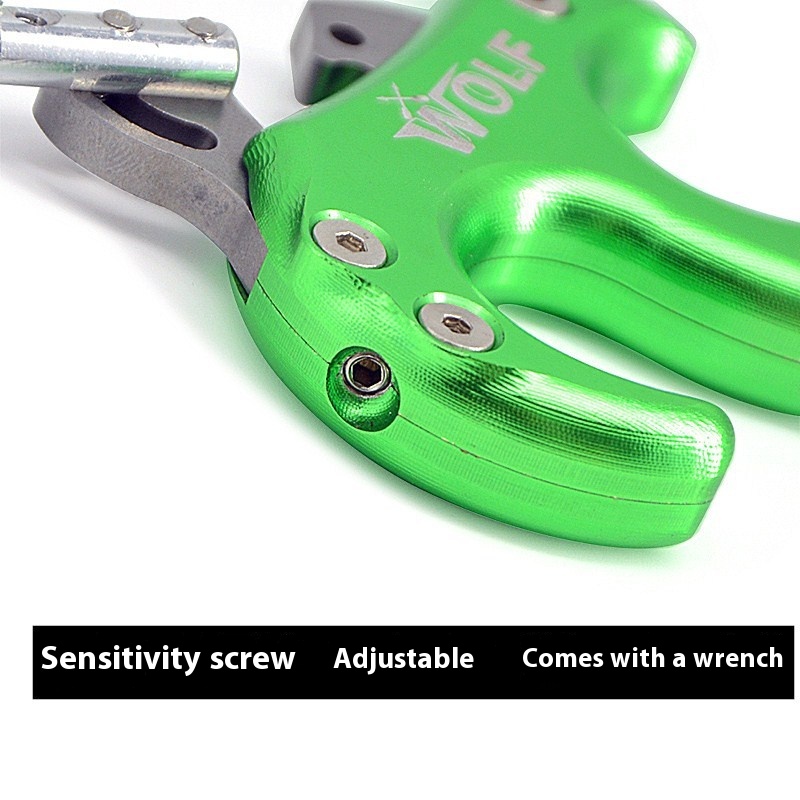
Your choice of release aid directly affects where your anchor hand lands on your face. A wrist strap release typically anchors lower and farther back than a handheld release, so if you’re switching between release types, expect to re-establish your anchor.
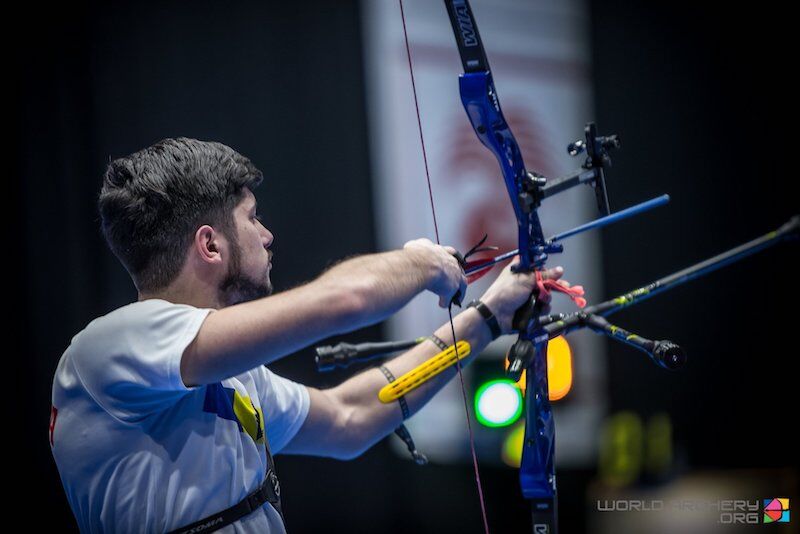
Recurve Bow Anchor Point
Recurve archery has two distinct anchor styles depending on the bow category: barebow (no sight) and Olympic recurve (with sight, stabilizers, and clicker). Each style uses a different anchor position for functional reasons.
Olympic Recurve Anchor
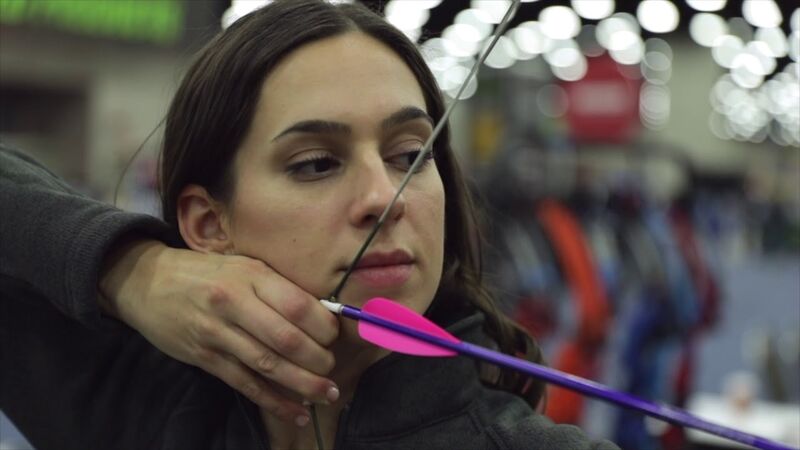
Olympic recurve archers use a split-finger hook (index finger above the arrow, middle and ring fingers below). At full draw, the draw hand comes under the jaw with the top of the hand flat against the underside of the jawbone. The string simultaneously touches the tip of the nose and the lips or chin. The archer uses a finger tab with a shelf/ledge that hooks onto the jaw, providing a solid bone-to-bone reference.
This lower anchor position is chosen because it pushes the rear of the arrow lower, effectively increasing the effective range of the sight. It’s ideal for the longer distances shot in Olympic competition (70 meters for outdoor, 18 meters for indoor).
Barebow Anchor
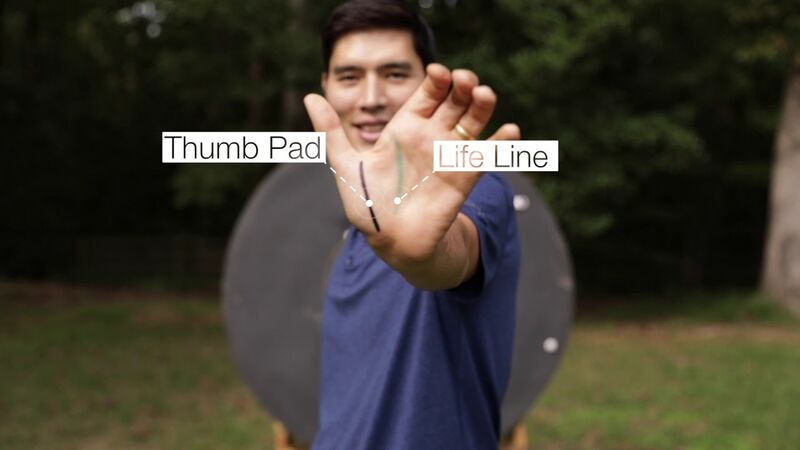
Barebow archers typically use a three-under hook (all three string fingers below the arrow nock). The anchor places the tip of the index finger at the corner of the mouth, bringing the rear of the arrow much closer to the aiming eye. Since barebow archers aim by looking down the arrow shaft, this close-to-eye position is necessary for accuracy.
The tradeoff: the string fingers end up pressed against the cheek, making the release more forced and requiring more practice to master vertical consistency.
How to Find Your Anchor Point
There’s no one universal anchor point that works for every archer. Your anatomy — face shape, jaw structure, nose prominence, arm length — all factor in. Here’s a systematic process for finding yours:
- Start with a coach or experienced archer: Having someone observe your form from the side reveals anchor habits you can’t see yourself.
- Identify your contact points: At full draw, note every place your draw hand touches your face. Common contacts include jawbone, cheekbone, and under the ear.
- Check your string contacts: Does the string touch your nose? Your chin? Your lips? Mark each contact point mentally.
- Test repeatability: Close your eyes, draw to anchor 10 times, then open your eyes. If your peep sight aligns with your housing consistently, your anchor is repeatable. If not, something is drifting.
- Confirm your draw length: Your anchor should be comfortable at your correct draw length. If you’re straining to reach anchor or the bow feels too short, your draw length may need adjustment — check your archery draw length first.
Once you’ve identified your anchor contacts, write them down. Describe them specifically: “back of index finger on right side of jaw, string touches left side of nose tip, thumb tucked under ear.” Vague descriptions don’t help you reproduce the anchor after a break from shooting.
Common Anchor Point Mistakes
Even experienced archers fall into anchor habits that cost them accuracy. These are the most common ones to watch for:
1. Creeping to the String
Moving your head forward to meet the string instead of bringing the string back to your face. This causes your head to be in a slightly different position each time, making peep alignment unpredictable. Always bring the bow to your face, not your face to the bow.
2. Varying String-to-Face Pressure
The amount of pressure your face applies to the bowstring affects the string’s path as it leaves — especially left-right. For right-handed archers, excessive face pressure on the string typically drives arrows left. Aim for light, consistent contact rather than mashing your face into the string.
3. No Secondary Anchor References
Relying on a single anchor contact (like hand to jaw) while ignoring string-to-nose or string-to-chin contact. Multiple anchor references multiply your consistency. If you only have one reference, you need to get it perfectly every time. Two or three references are much more forgiving.
4. Anchor Creep During Draw
This is when you reach full draw but then let your draw hand drift slightly forward (toward the target) before releasing. Even 5mm of forward drift significantly affects arrow impact. A back-tension release can help eliminate this habit by training you to keep pulling through the shot.
5. Inconsistent Head Position
Tilting or rotating your head differently on each shot. Keep your head in a neutral, upright position and turn it toward the target without tilting. Practice drawing without an arrow while watching yourself in a mirror to check head position.
6. Wrong Draw Length Feeding Anchor Issues
If your draw length is too long, your anchor hand will end up too far behind your head or your elbow will flare out. If it’s too short, you’ll struggle to reach a comfortable anchor and tend to tilt your head forward. Both situations make a consistent anchor nearly impossible to achieve.

How to Maintain a Consistent Anchor Point
Finding your anchor is the first step; maintaining it through thousands of arrows is the ongoing work. These practices help:
Blank Bale Shooting
Shoot at a blank target from close range (2-3 meters) with your eyes closed or while focusing entirely on your anchor position. Without the distraction of aiming, you can give full attention to how your draw hand lands on your face. Notice if it feels different on consecutive shots — that’s your anchor drifting.
Use a Mirror or Video
Set up a mirror at 90 degrees to your shooting line, or have someone video your profile while you shoot. Watch for creeping, varying string contact, or head position changes. Patterns you can’t feel are often visible from the side.
Use Physical Markers
A kisser button (a small plastic disc or brass nock set crimped onto the string) that contacts the corner of your mouth gives you immediate feedback that your anchor is right. A nose button does the same for string-to-nose contact. These aren’t crutches — many elite archers use them throughout their careers.
Develop Your Anchor Ritual
Incorporate anchoring into a consistent shot process. Many coaches recommend thinking of the draw and anchor as a single motion with multiple checkpoints: hook → set back shoulder → draw → rotate elbow down → reach anchor → check all contacts → aim → fire. A routine turns the anchor from something you have to think about into something that happens automatically.
Anchor Point and Peep Sight Alignment
For compound bow shooters, the anchor point and peep sight work as a system. The peep is tied into the string at a height that aligns with your aiming eye when you’re at anchor. If your anchor shifts — even slightly — the peep will appear misaligned: it may look like a crescent rather than a full circle, or your scope housing won’t be centered in the peep.
When peep alignment looks off, check your anchor before adjusting the peep. Many archers rotate or move their peep when the real culprit is an inconsistent anchor position. Only adjust the peep’s location if your anchor is confirmed solid and consistent.
Watch: How to Find Your Archery Anchor Point
Recurve vs. Compound: Different Anchors, Same Principle
Whether you shoot recurve or compound, the underlying principle is identical: establish multiple physical contact points, make them bone-to-bone wherever possible, and reproduce them precisely on every shot. The specific contacts differ because the equipment differs — release aids, peep sights, finger tabs, and kisser buttons all change what contacts are available to you.
If you’re switching between bow styles, expect your anchor to change significantly. A recurve archer learning compound shooting will often place their hand too high or use a corner-of-mouth reference that doesn’t work well with a release and peep. Build the correct anchor from scratch for each bow type rather than trying to adapt your existing anchor.
![]()
Anchor Point Drills for Beginners
If you’re new to archery and building your anchor from scratch, these drills accelerate the process:
- Draw and hold: Draw to anchor and hold for 10-15 seconds without shooting. Focus entirely on how the contacts feel. Do this 20 times per session.
- Eyes-closed draw: Draw to anchor with eyes closed, open them, check whether your peep is aligned and your hand is where it should be. If it’s off, you have a drift pattern to correct.
- One-contact isolation: Focus exclusively on one contact per session (e.g., only string-to-nose for today). Over a week, you’ll have locked in all your contacts individually before combining them.
- Dry fire practice (safely, with a safe backstop): Many coaches use a dedicated target at very close range for repetitive draw-anchor-release practice without the mental load of aiming.
For more structured physical training to support your archery form, see the archery fitness exercises guide — strong back and shoulder muscles make holding at anchor dramatically easier.
When to Adjust Your Anchor Point
Once established, you should change your anchor only when:
- You change equipment significantly (new release, new bow, new draw length)
- A coach identifies a structural problem with your current anchor
- You switch bow disciplines (recurve to compound or vice versa)
- Physical changes (growth, injury recovery) alter your face geometry
Never change your anchor mid-season when competing. Make anchor adjustments during practice blocks with time to rebuild the habit before it matters.
According to USA Archery’s athlete development resources, the anchor point is one of the first fundamentals coaches address with new students because it underpins every other element of the shot. And per World Archery’s coach education program, approximately 60% of form corrections at beginner level trace back to anchor inconsistency or incorrect anchor position.
Sources
- Archery 360. “Form Deep Dive: Anchor Point String Contact.” Archery Trade Association, December 2025. archery360.com
- Archery 360. “Which Recurve Anchor is Best for Me?” September 2025. archery360.com
- USA Archery. “Athlete Development Resources.” usaarchery.org
- World Archery. “Coach Education Program.” worldarchery.sport
- Bowhunting.com. “Finding Your Anchor Point.” March 2021. bowhunting.com