Archery Blog
Barebow Shooting Technique: 8 String Walking & Anchor Fixes for Tighter Groups
Jun
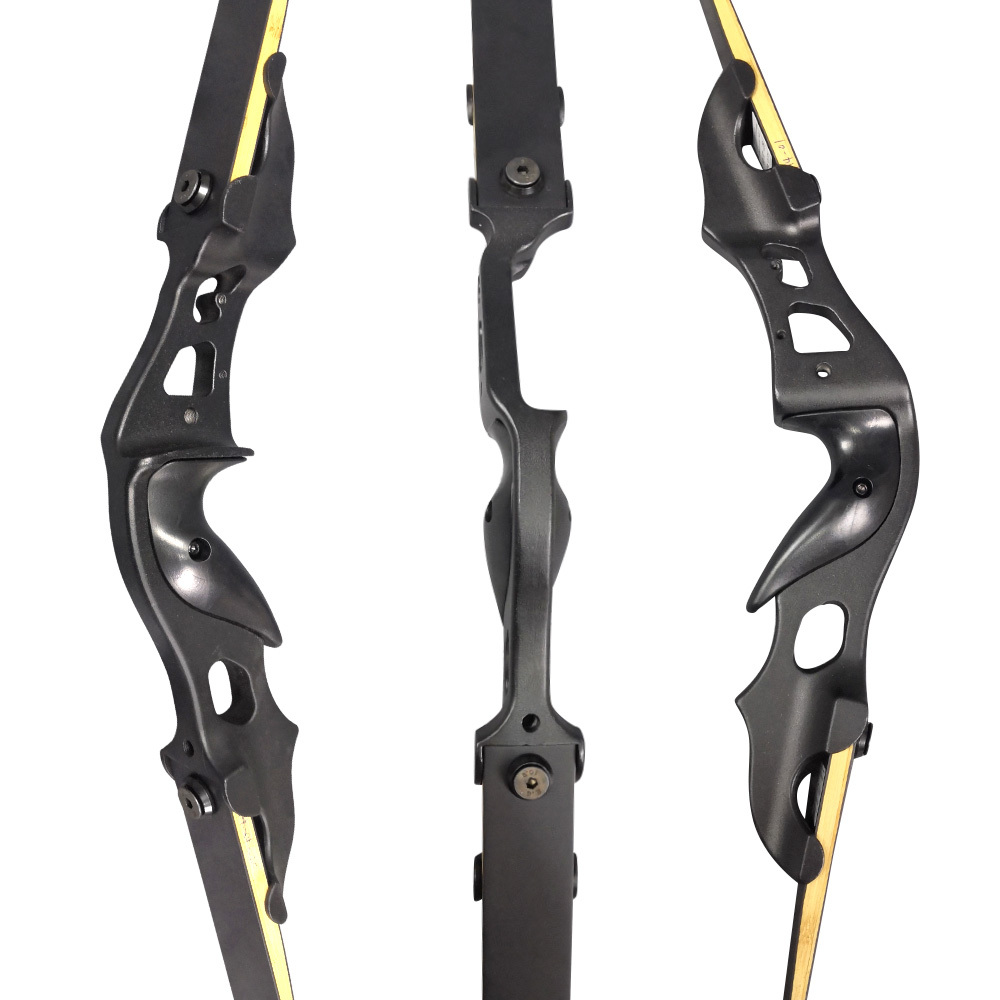
Barebow shooting strips archery down to its core elements — a recurve riser, limbs, a string, and the archer. No sights, no stabilizers, no clickers, no draw checks. That simplicity is also what makes the discipline notoriously hard to master. Every shot depends on consistent form, repeatable anchor placement, and a precise aiming system you build in your head rather than buy off the shelf.
This guide breaks down the eight technique fixes that separate barebow archers shooting 30cm groups at 18 meters from those still spraying arrows across the target face. Whether you’re shooting World Archery barebow indoors, USA Archery Barebow Recurve outdoors, or just enjoying traditional recurve shooting in the backyard, these fundamentals stack the odds in your favor.
1. Understand What Makes Barebow Different
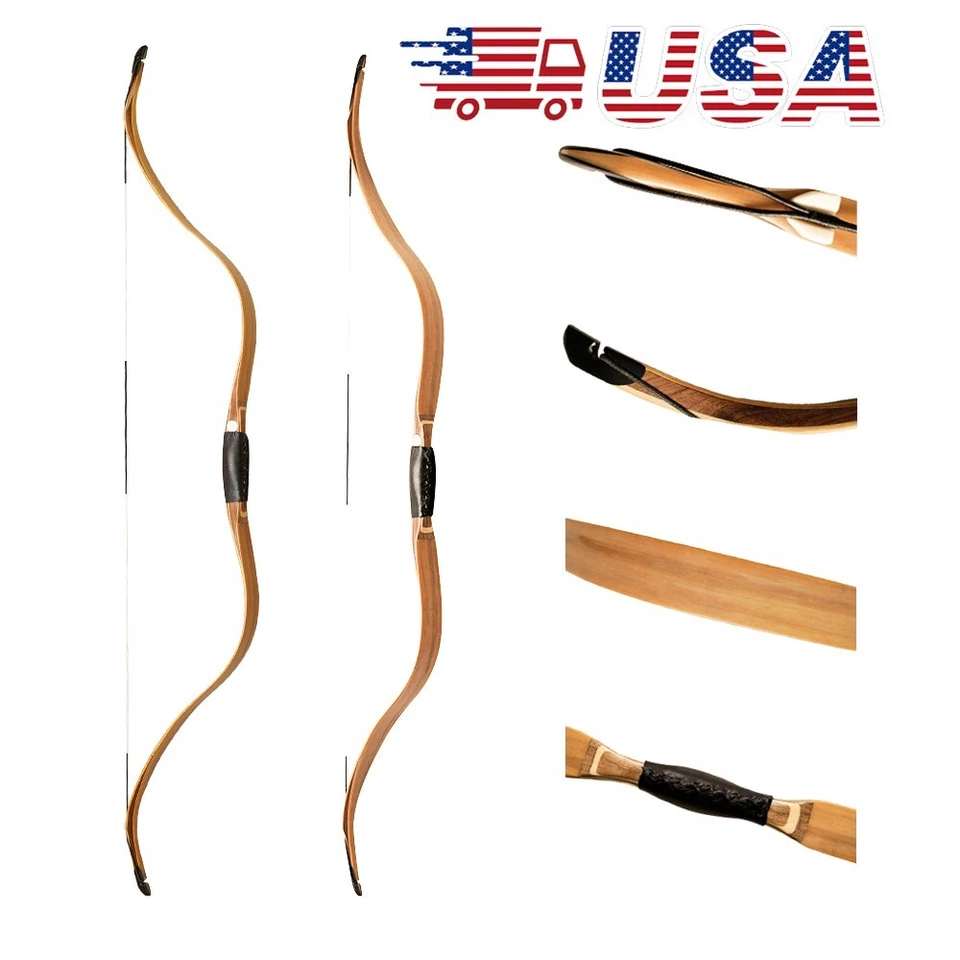
Barebow is a recognized World Archery competition division. The rules are deceptively simple: a recurve bow with no sights, no stabilizers longer than the riser allows, no draw-check indicators, and only an unmarked arrow rest. You may use a plunger button, a finger tab, and one fixed weight under the grip. That’s it.
What this means in practice is that aiming has to happen one of two ways: string walking (sliding your fingers up or down the string to change arrow trajectory) or gap shooting (holding the arrow point a known distance below or above the target). Both demand a rock-solid anchor and a consistent face reference, because changing finger position on the string is meaningless if your draw length wanders shot to shot.
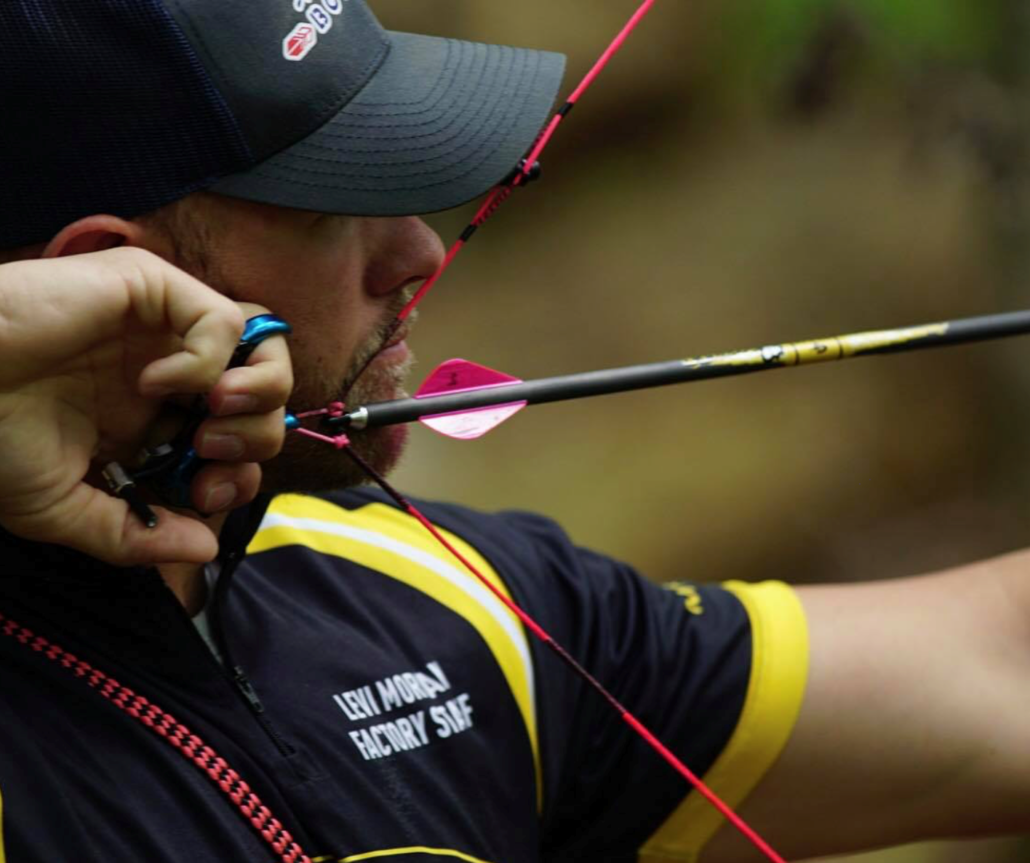
2. Build a Repeatable Anchor — The Foundation of Everything
Olympic recurve shooters anchor under the chin and use a kisser button or clicker to verify draw length. Barebow archers anchor much higher on the face — usually the index finger sitting against the corner of the mouth or cheekbone, with the string touching the side of the nose or chin as a secondary reference. This high anchor is what makes string walking and gap aiming work, because it brings the arrow closer to your dominant eye.
Pick two contact points and use them on every single shot:
- Primary: index finger knuckle pressed firmly into the corner of the mouth or hard against the back molar.
- Secondary: bowstring touching a fixed point on the nose tip or center of the chin.
If either reference moves between shots, your arrow flight will too. Spend the first 20 shots of every practice session anchoring slowly and checking both contacts before the loose.
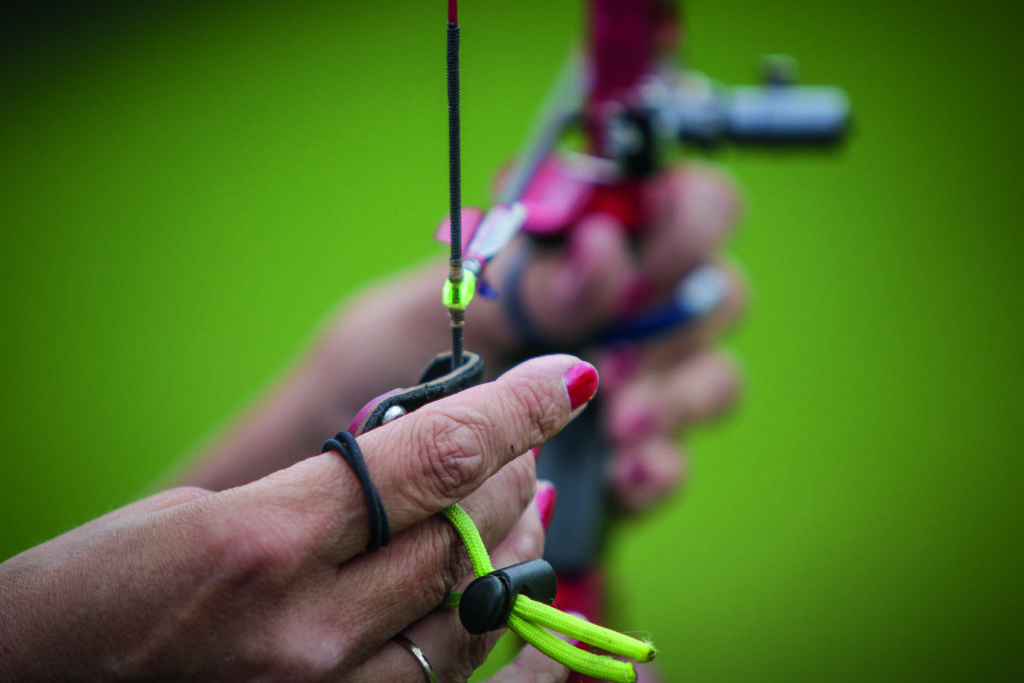
3. String Walking — How to Crawl for Distance
String walking is the dominant aiming method in competitive barebow. You hold the arrow point on the gold and adjust the trajectory by sliding your fingers down the string. The further below the nocking point your top finger sits, the higher the arrow flies — because you’re effectively tilting the bow upward to keep the point on target.
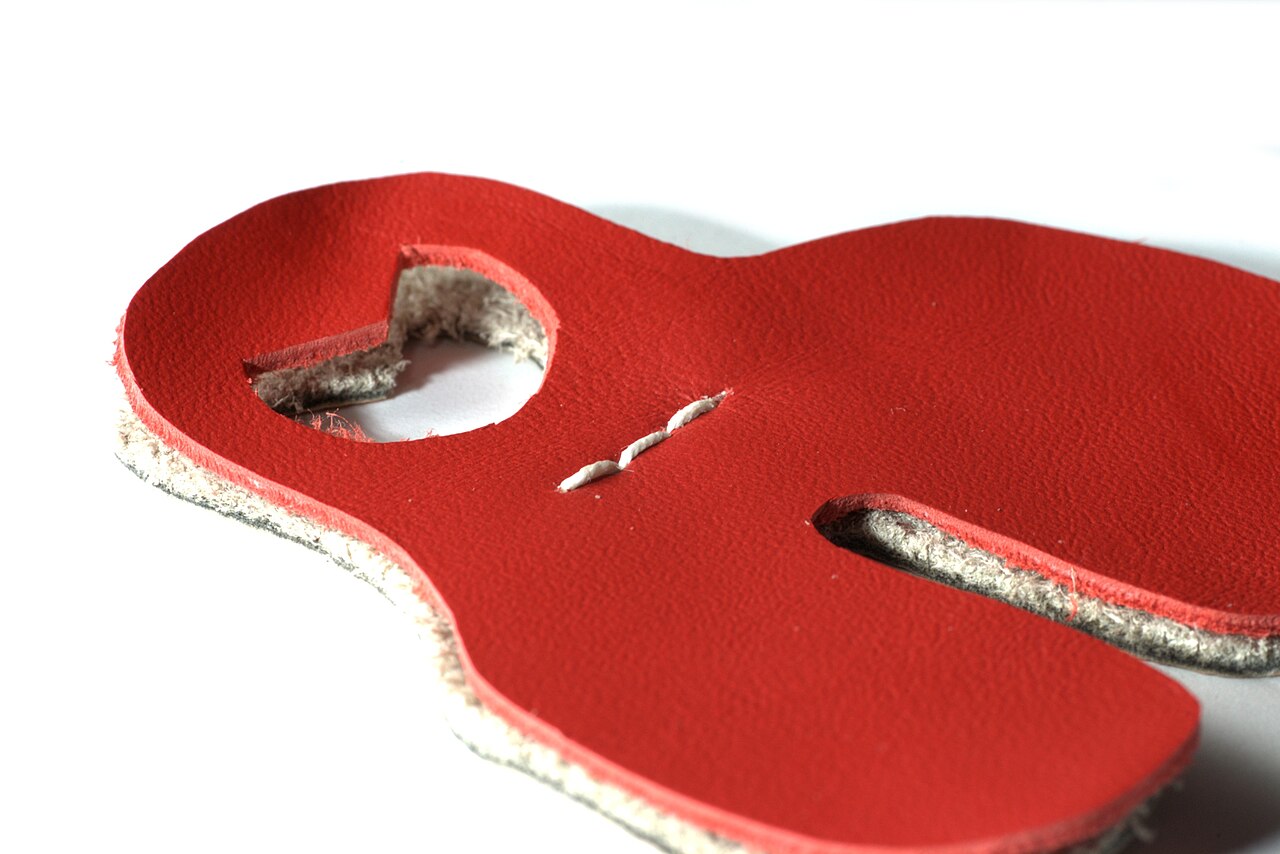
Setting Your Crawl Reference
Use a tab with stitched or marked reference lines. A typical 18m indoor crawl might be 1 to 2 stitch lines down from the nocking point. For 30m it could be 3 to 4 lines. For 50m you often shoot “on the point” — meaning your top finger sits directly under the arrow.
Build a personal crawl chart by shooting groups at known distances and recording where your tab needs to sit for the point to be on the gold. Repeat the test on a calm day and laminate the result. That chart is your sight scale.
4. Gap Shooting — The Instinctive Cousin
Gap shooting is more common in traditional archery and field barebow at unmarked distances. Instead of sliding fingers, you anchor in the same place every shot and hold the arrow point at a calculated gap above or below the target. At 10 yards your point might sit two feet under the spot. At your point-on distance (often 40 to 60 yards depending on draw weight and arrow speed), the tip covers the gold.
Gap shooting trades complexity in finger position for complexity in distance estimation. It’s the preferred system for 3D shoots and bowhunting-adjacent practice, where targets appear at unmarked ranges and you can’t reach down to count tab stitches before each shot.
5. Grip the Bow Like You’re Holding a Bird
One of the most common barebow faults is over-gripping the riser. Because there’s no stabilizer to dampen torque, every grip variation transfers directly into the arrow. Your bow hand should be relaxed, with the riser pressed into the lifeline of the palm and the fingers loose, almost dangling. A sling — wrist or finger — keeps the bow from jumping out of your hand at release, so you don’t have to clench.
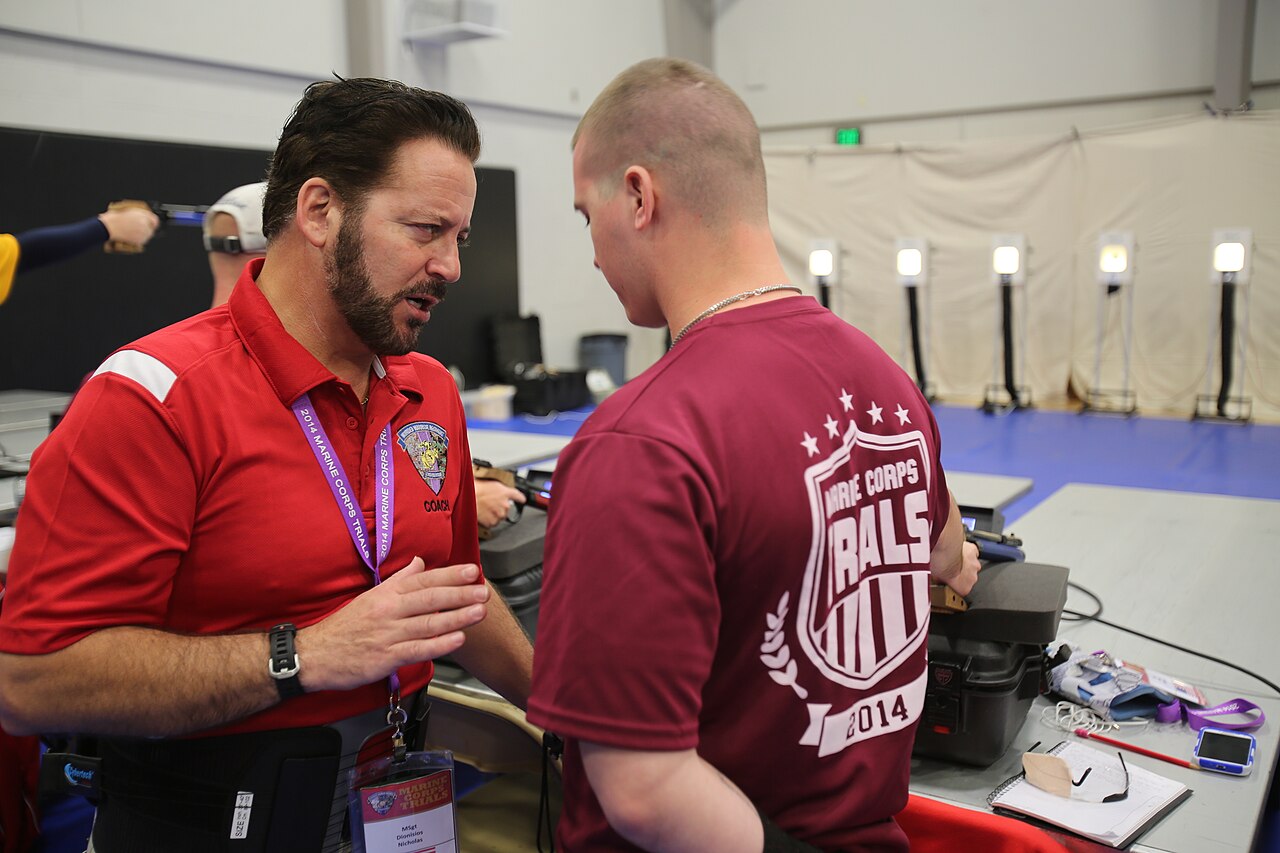
Test it: draw, anchor, and let a coach gently shake the limb. If your hand grips back, your release will torque. Practice with the sling alone for a hundred shots until “relaxed” becomes muscle memory.
6. The Draw — Use Back Tension, Not Arm Strength
Drawing a barebow recurve with arm strength leads to short draws, collapsing release, and inconsistent groups. The draw should come from the back — specifically, the rhomboid and lower trapezius muscles squeezing your shoulder blades together. The drawing hand only acts as a hook on the string.
A useful checkpoint: once you reach anchor, your drawing elbow should be in line with the arrow or slightly behind it when viewed from above. If the elbow drops below the arrow line, you’re using arm and shoulder rather than back, and your release will be soft.

7. The Release — Let the String Slip, Don’t Pluck It
A clean barebow release is a controlled relaxation of the fingers under tension. The string pushes through your fingers as your back continues to expand. You shouldn’t feel an active opening of the hand — instead the hand reacts to the string leaving, sliding back along the neck under the ear.
Common release errors and their fixes:
- Plucking (hand jumps forward or sideways): not enough back tension at the moment of loose.
- Creeping (drawing hand moves forward before release): means you stopped pulling. Use a clicker-like mental cue, or shoot with eyes closed to feel the expansion.
- Dead release (hand stays at anchor): you’re not following through. The string’s energy should pull your hand backward 5 to 10 cm.
8. Tune the Plunger and Nocking Point
Even perfect form won’t compensate for an out-of-tune bow. Barebow shooters rely heavily on plunger button tension and nocking point height to clean up arrow flight. Start with a bare shaft tuning test at 15 to 18 meters:
- Shoot three fletched arrows and three identical bare shafts at the same spot.
- If bare shafts hit left of fletched (right-handed archer): increase plunger spring tension or use a stiffer arrow.
- If bare shafts hit right: decrease plunger tension or use a weaker arrow.
- If bare shafts hit low: raise nocking point.
- If bare shafts hit high: lower nocking point.
The goal is bare shafts and fletched arrows grouping together at 18 meters. World Archery’s tuning manuals are the gold standard reference for this process.
Practice Drills That Actually Improve Groups
Blank Bale at Close Range
Stand 3 meters from a target butt with no face. Shoot 30 to 50 arrows focused entirely on the feel of anchor, back tension, and release. No aiming, no score. This is where you build the unconscious habits that hold up under pressure.
Double Spot at 18 Meters
Use a vertical double spot face and shoot three arrows at the top spot, three at the bottom — without changing your crawl. The vertical gap forces you to confirm anchor and reveals draw-length wobble immediately. If your two groups are vertically misaligned, your anchor or release is inconsistent.
Distance Ladder
Shoot six arrows each at 18m, 30m, 40m, and 50m in a single session — adjusting your crawl as you go. This trains the muscle memory of changing string-walk depth on the fly and builds the personal sight chart you’ll rely on in competition.
Common Mistakes Holding Barebow Archers Back
- Changing anchor for different distances. Anchor is fixed. Distance is solved by string walking or gap, never by raising or lowering your hand on the face.
- Peeking at the bow tip mid-release. Eyes stay on the target until the arrow hits. Head movement is the silent killer of barebow groups.
- Inconsistent string contact. If the string sometimes touches your nose and sometimes doesn’t, your draw length is varying. Pick a contact and verify it every shot.
- Over-bowing. Most beginners draw 5 to 10 pounds heavier than they can hold steady. A draw weight you can repeat 200 times in a session beats a heavier bow you wrestle through the first 30 ends.
Putting It All Together
Barebow rewards patience over equipment. A tuned mid-range recurve with a quality tab and plunger, paired with consistent anchor and clean release, will beat an expensive setup shot with sloppy form every time. Spend your first season focused on the unglamorous fundamentals — high anchor, two face contacts, back-driven release, blank bale repetition — and the scoring rounds take care of themselves.
The discipline is growing fast in both World Archery and USA Archery competition circuits, and indoor barebow leagues are becoming common at archery ranges worldwide. There’s never been a better time to put down the sight, anchor high, and learn to feel the shot.
Sources
- World Archery — official barebow rulebook, tuning manuals, and competition formats
- USA Archery — Barebow Recurve division rules and national tournament structure
- Wikipedia — Barebow — overview of the discipline, history, and aiming systems
- Archery GB — coaching resources and grassroots barebow programs