Archery Blog
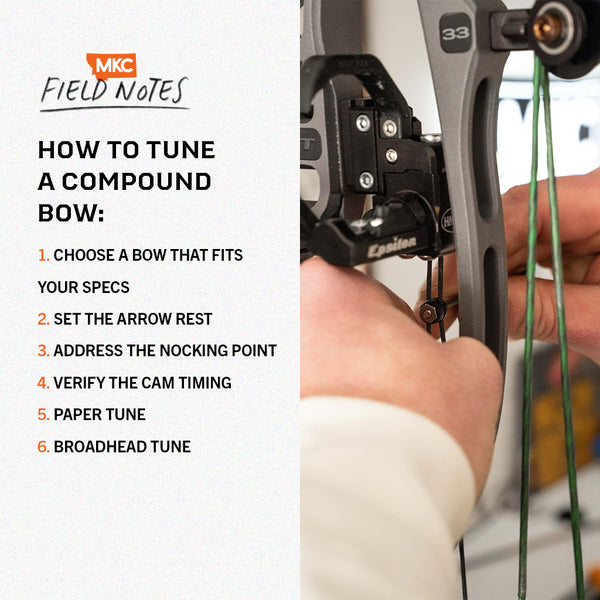
Compound Bow Tuning: Cam Timing, Lean & Rest Setup in 5 Steps
Jun
A compound bow shoots only as well as it is tuned. Two bows off the same production line, set to the same draw weight, will group very differently if one has the cams 1/16-inch out of time, the top cam leaning toward the riser, and the arrow rest set 1/8-inch off centershot. Compound bow tuning is the process of correcting those mechanical errors so the string travels in a straight line, the arrow leaves the rest cleanly, and every shot lands where you aimed.
This guide walks you through the three foundational tuning checks every compound shooter should master: cam timing, cam lean, and arrow rest setup. We will then confirm the work with paper tuning and a walk-back test. Plan on 60–90 minutes for a full pass if you have the tools at home, or one trip to a pro shop with a bow press.
Why Compound Bow Tuning Matters
An untuned compound bow fights the archer. Cams that roll over at different moments throw the arrow nock either up or down at launch. A leaning cam pulls the string sideways at the shot, smearing groups left or right with no obvious form error to blame. A rest set too far inboard or outboard creates fishtail nock-travel that paper-tunes as a tear no amount of shooting form will erase.
Tuning fixes the bow so your form mistakes become visible. That is the real benefit — a tuned rig lets you diagnose your release, your grip, and your back tension because the equipment is no longer hiding behind randomness. Most archers chase form changes for months when a 10-minute timing adjustment would have closed their groups by 40 percent.
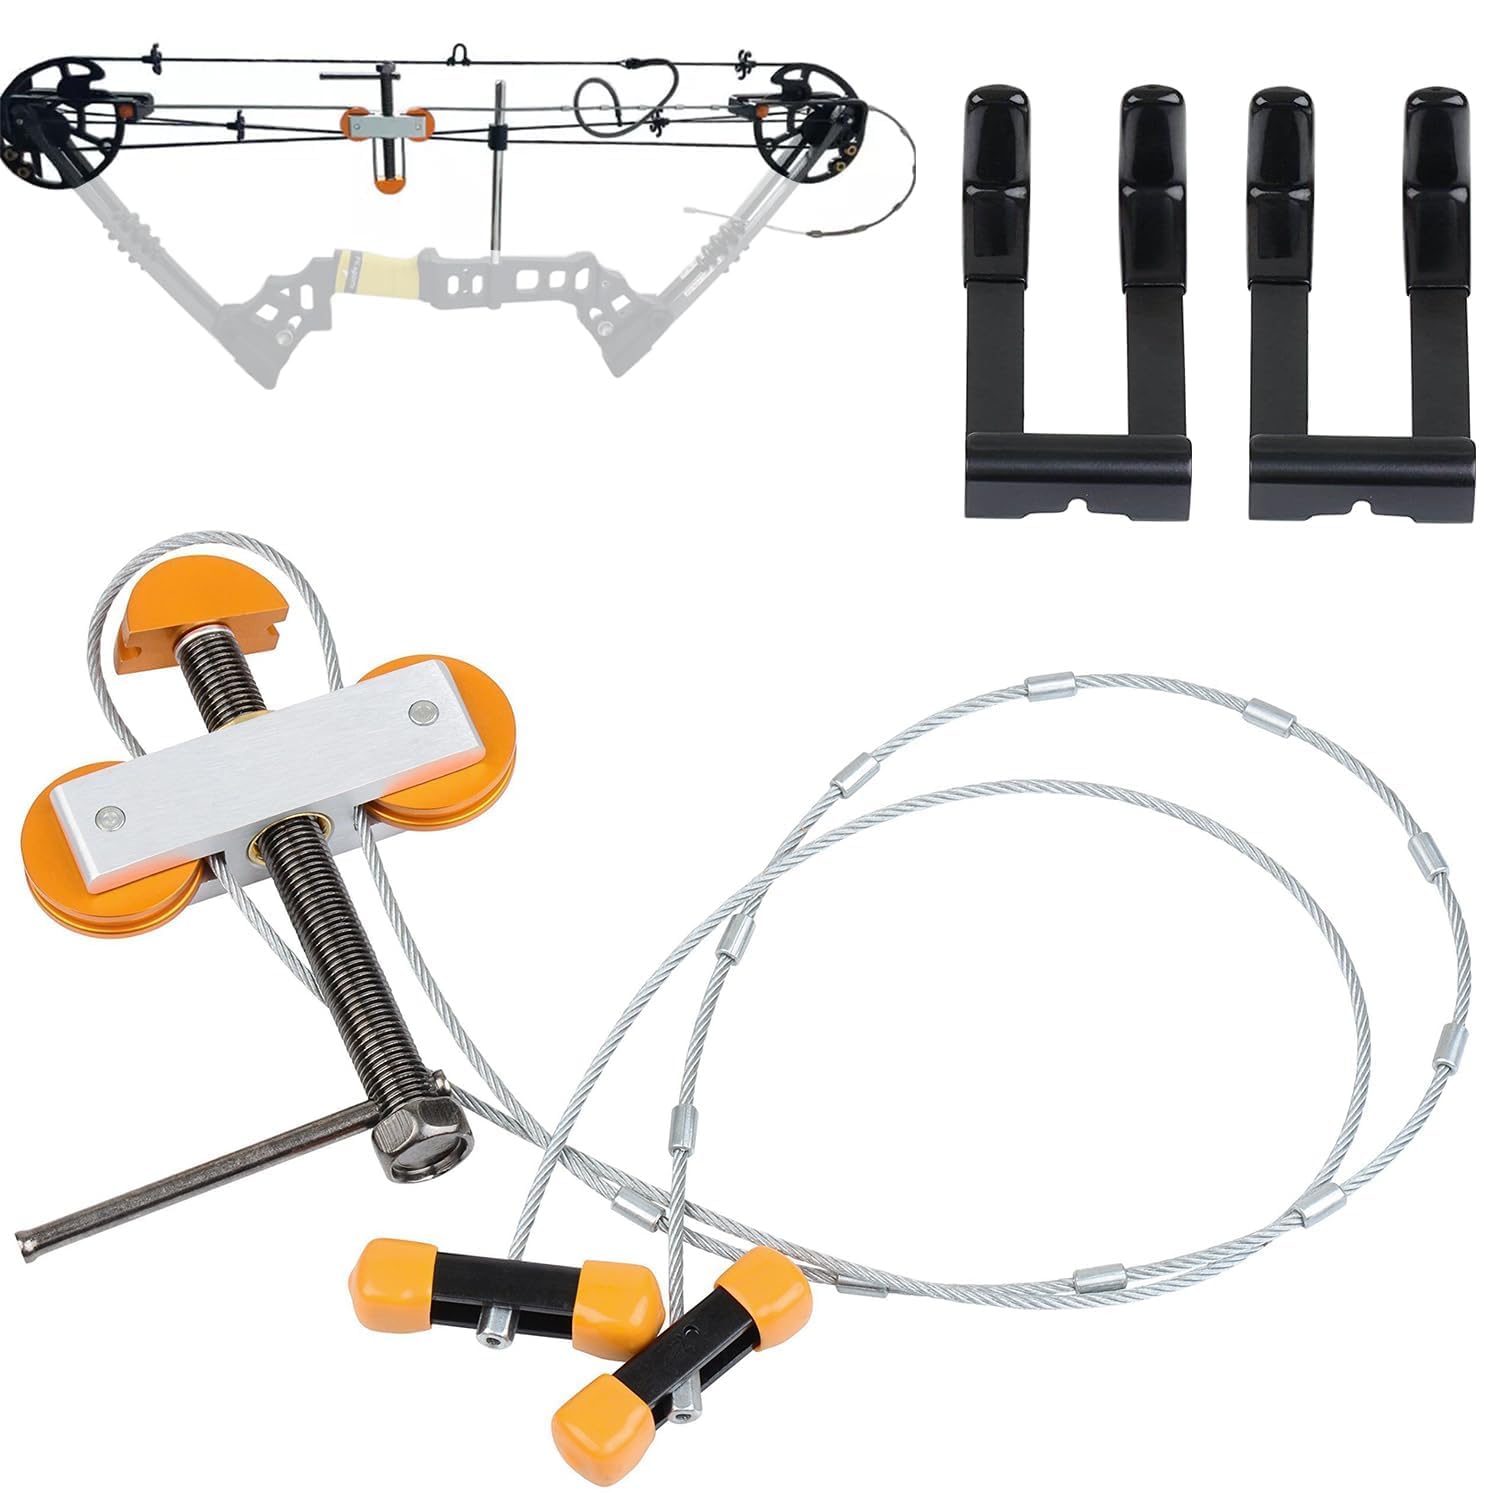
Tools You Need Before You Start
- Bow press (or access to a pro shop press for cable adjustments)
- Allen wrench set (metric and imperial)
- Bow square or T-square for nock height and centershot
- Arrow level or small bubble level for cam lean
- Paper tuning frame and 12×12-inch sheets
- A dozen fletched arrows of correct spine
- A target capable of stopping arrows at 5 yards
If you do not own a bow press, do not improvise with ratchet straps or screwdrivers. The compressed limbs store enough energy to break wrists and faces. Find a pro shop that charges $20–40 to press your bow while you make timing and yoke adjustments.

Step 1: Check and Correct Cam Timing
Cam timing means both cams reaching full draw at the same instant. On a dual-cam or binary-cam bow, the top and bottom cams should hit their draw stops simultaneously. On a single-cam (solocam) bow, the idler wheel position relative to the cam at full draw is the timing reference.
How to Check Timing
Draw the bow to full draw — slowly — and have a friend look at where the draw stops contact the cables. Both stops should touch at the same moment. If the top stop hits first while the bottom is still half a turn from contact, the top cam is advanced.
Another method: at full draw, look at the cable groove on each cam. The cable should exit the cam groove at the same point relative to the cam orientation. Most manufacturers print a timing mark on the cam — align the cable with that mark on both cams.
How to Adjust Timing
Press the bow. Shorten the cable that runs to the lagging cam by twisting it (one or two twists adds roughly 1/16 inch). Conversely, add length to the cable on the advanced cam if you cannot shorten the other side. Re-press, let down, redraw, and re-check. Expect to repeat this two or three times to nail it.
Step 2: Diagnose and Correct Cam Lean
Cam lean is the cam tilting sideways relative to the bowstring at rest or at full draw. A small amount is normal on most modern bows — manufacturers actually build static lean in to offset the dynamic lean that happens at the shot. The goal is not zero lean; the goal is correct lean.
Visual Cam Lean Check
Hold an arrow shaft flat against the side of the cam at full draw (with a draw-board or a partner). The arrow should run roughly parallel to the bowstring. If the arrow points significantly away from the string at the top or bottom, that cam is leaning and needs a yoke tuning adjustment.
Yoke Tuning to Fix Lean
Most modern compounds use a split yoke on the top cable — two strands that loop around the cam axle, one on each side. To pull a top cam toward the riser, twist the riser-side yoke leg (add twists). To pull it away, twist the off-side leg. Start with two twists and re-check.
Some single-cam bows use a top-cable yoke and a fixed bottom; others use shimmed cams instead. Check your bow manual before assuming yoke tuning applies — wrong adjustment on a non-yoked rig is a wasted hour.
Step 3: Set Up the Arrow Rest
With cams timed and lean corrected, the arrow rest becomes the next variable. Three rest settings matter: centershot (left-right position), nock height (vertical position), and launcher angle on drop-aways.
Centershot
Nock an arrow on a level bow square. The shaft, viewed from above, should align with the bowstring or be offset 1/16 inch to the outside (left of string for a right-handed shooter). This is your starting centershot. Most rests have a horizontal adjustment screw — move the rest until the arrow is at the correct lateral position.
Nock Height
The arrow should sit perpendicular to the string or with the nock 1/8 inch higher than the rest contact point. A bow square clipped onto the string makes this measurement obvious. Adjust the rest up or down until the relationship is correct.
Launcher Angle (Drop-Aways)
On a drop-away rest, the launcher arm should sit nearly vertical when supporting the arrow — perpendicular to the shaft, not angled forward or back. Adjust the cord length so the arm rises fully before fletchings reach the rest, then falls cleanly out of contact at the shot.
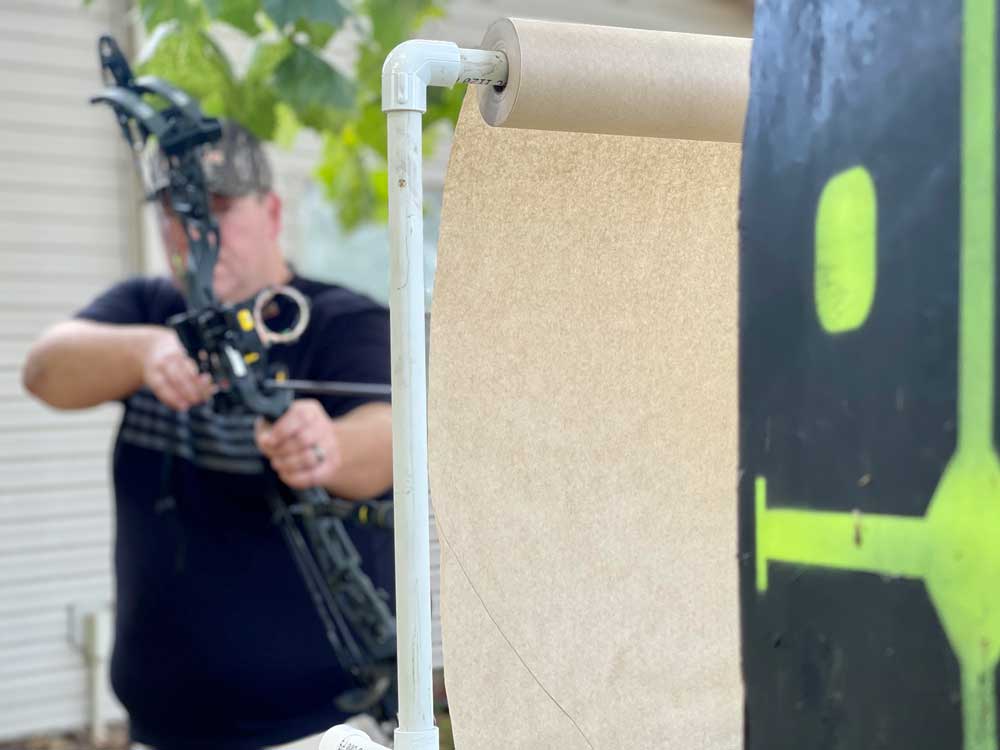
Step 4: Paper Tune to Confirm
Stand 5 yards from a paper tuning frame with a target backing it. Shoot one bare arrow through the paper. The tear shape tells you what is still wrong.
- Bullet hole (round): Tuning is correct. Move on.
- Nock-high tear: Move the rest up 1/32 inch and reshoot.
- Nock-low tear: Move the rest down 1/32 inch.
- Nock-left tear (right-handed shooter): Move the rest right 1/32 inch, or check cam lean again.
- Nock-right tear (right-handed shooter): Move the rest left, or recheck timing.
Make one adjustment at a time. Shoot three arrows after each change to confirm the tear is consistent, not a fluke. If lateral tears will not close with rest movement alone, the problem is cam lean or arrow spine, not rest position.
Step 5: Walk-Back Tune for Distance
Paper tuning catches launch errors. Walk-back tuning catches downrange errors that only show at distance. Set up a target with a vertical line drawn from top to bottom. Aim at a single dot at the top of the line with your 20-yard pin. Shoot one arrow each from 20, 30, 40, and 50 yards using the SAME 20-yard pin so arrows fall progressively lower down the line.
If the impacts walk to the right of the line as distance increases, move the rest left in 1/64-inch increments. If they walk left, move the rest right. The arrows should fall straight down the vertical line — that confirms the centershot is dead-on for downrange travel.
Common Compound Tuning Mistakes
- Tuning without checking arrow spine first. An underspined arrow paper-tunes as a nock-right tear no rest movement will fix. Verify spine matches draw weight before tuning.
- Adjusting rest and timing in the same session without isolating. Change one variable, shoot, then change the next. Chasing two errors at once is how a tuned bow becomes worse.
- Skipping the bow press for yoke adjustments. Trying to twist a cable with the string under tension breaks serving, snaps strands, and occasionally injures hands.
- Tuning a worn string. A string with creep or fuzzed serving will retune itself between sessions. Replace strings every 12–18 months on a frequently shot rig.
- Using mismatched fletchings. A test arrow with one shredded vane will lie about every measurement. Use clean, identical arrows for tuning sessions.
When to Visit a Pro Shop
Some adjustments cross the line between home tinkering and pro-shop work. Anything requiring a bow press — yoke tuning, cable replacement, cam shimming, draw module swaps — is faster and safer at a shop with the right press and a technician who has tuned hundreds of bows. Expect to pay $40–80 for a tuning session that would take you four hours of trial-and-error at home.
A pro shop is also the right call if you have replaced cams, changed draw length modules, or moved up more than 10 pounds in draw weight. Those changes shift everything — timing, rest position, peep alignment, and string stretch — and chasing them piecemeal at home wastes a week of practice time.
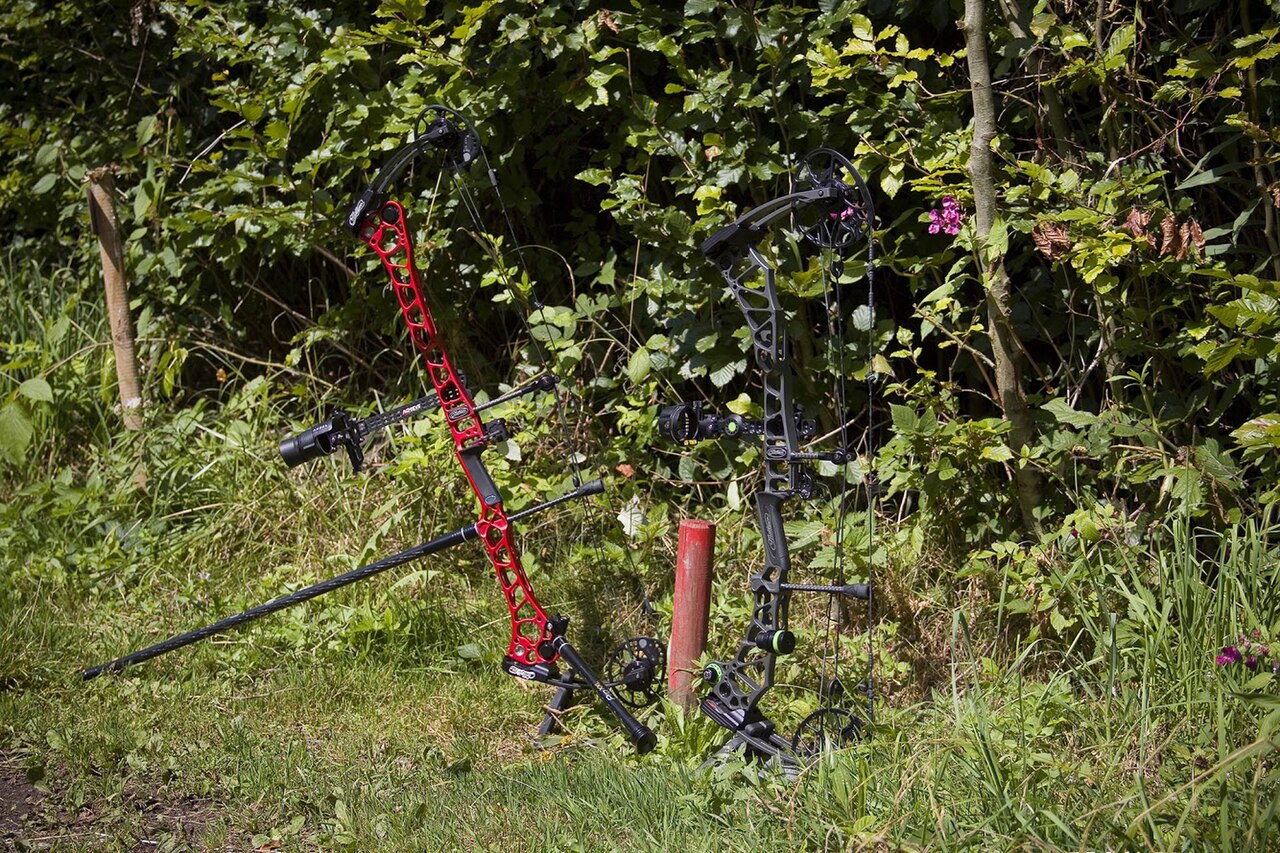
Final Thoughts
Compound bow tuning rewards methodical work more than it rewards expensive gear. A $500 bow with timed cams, corrected lean, and a properly set rest will out-shoot a $1,400 bow that was assembled and never adjusted. Block out a slow afternoon, work through cam timing, cam lean, and rest setup in that order, then verify with paper and walk-back tests. The result is a rig that punishes only your form mistakes — exactly what every serious archer wants.
Re-tune at the start of every season, after any string replacement, and any time your groups start opening up for no obvious form reason. Ten minutes with a bow square beats ten weeks of frustrated practice.
Sources
- Wikipedia — Compound Bow
- Archery 360 — Equipment and Tuning Resources
- Bowhunter Magazine — Compound Bow Setup
- USA Archery — Official Governing Body