
Archery Blog
Anchor Point Archery: 7 Steps to a Locked-In Shot
May
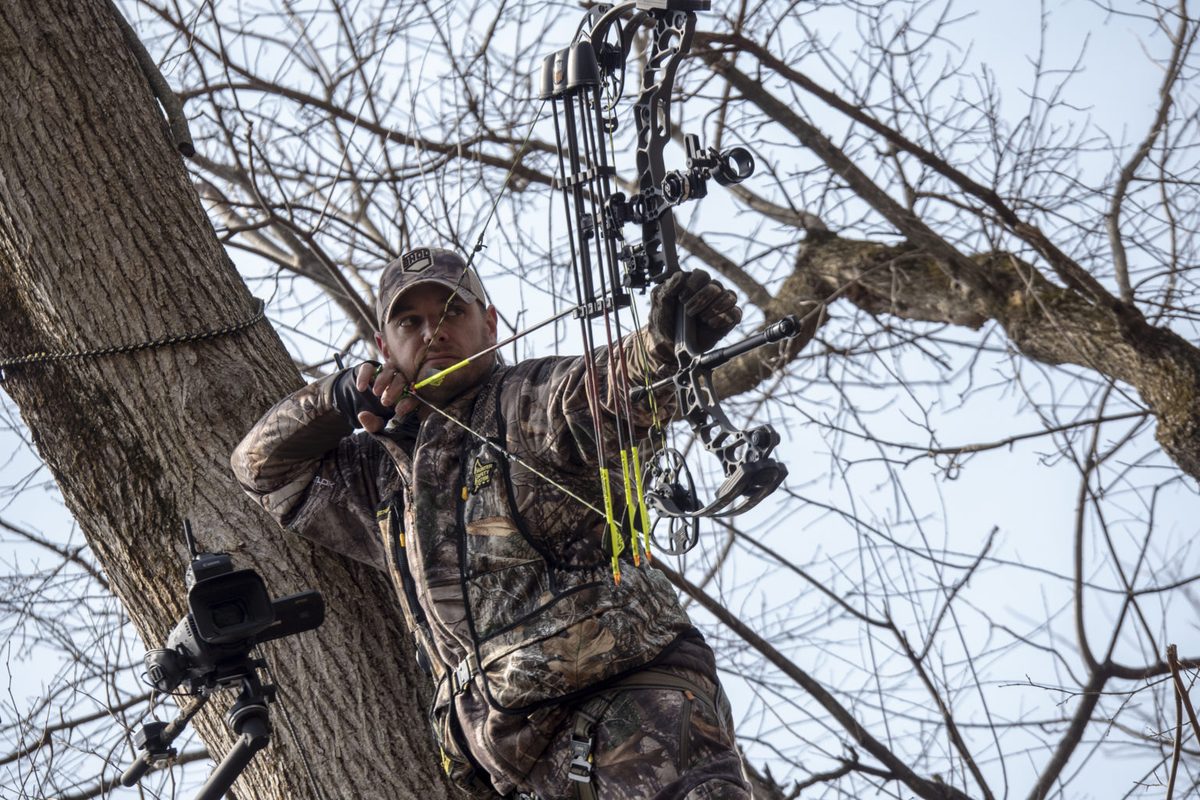
Your anchor point is the single biggest reason your groups shrink or balloon at 40 yards. Anchor point archery is the practice of locking your draw hand into the exact same position on your face every shot, because a one-quarter-inch shift in where your hand lands translates to roughly four inches of drift on a 40-yard target. The mechanics are simple. The discipline of repeating them under fatigue, cold, or hunting pressure is where most archers fail.
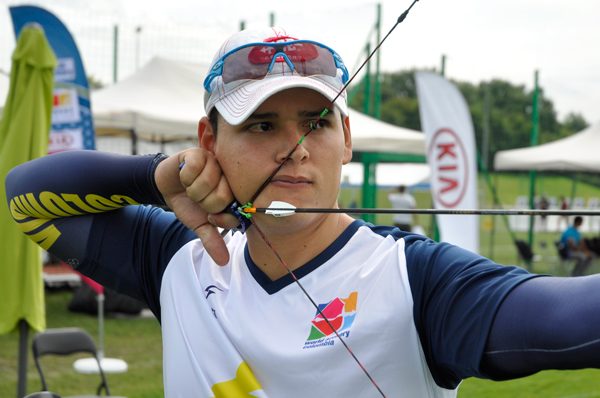
This guide walks through compound and recurve anchors, the six checkpoints that make any anchor repeatable, and the hardware that helps you find the same spot every time. Photos from the World Archery archives show how the best in the world handle string contact, so you can compare what you are doing to what works at the top level.
What an Anchor Point Actually Does for Your Shot
An anchor point is the rear sight on a bow. A rifle has front and rear iron sights bolted to the barrel, fixed in place forever. Your bow only has a front sight or a sight pin. The “rear sight” is wherever your draw hand sits relative to your eye, and you have to put it in the same spot with your face muscles every time you shoot. That is a much harder ask than tightening a screw.
The reason archers obsess over anchor consistency is geometry. Move the rear of the arrow a hair, and the front of the arrow swings several inches at distance. World Archery coaches teach that consistent string-to-face contact is one of the four pillars of repeatable archery, alongside stance, grip, and release. Skip any of them and your group opens up. Skip the anchor and your group disappears.
The truth is, most archers who plateau in the 250-280 range on an indoor target have a stance and a release they can repeat. What they cannot repeat is their anchor. The fix is rarely a new bow.
The Three Most Common Compound Bow Anchor Points
A compound bow anchor point is set by where your release-aid hand contacts your jaw. Because the release does the actual letting-go, the index finger of your draw hand is not on the string the way it is with a recurve. Instead, you use your knuckles, the back of your hand, or the bone of your jaw as the reference.
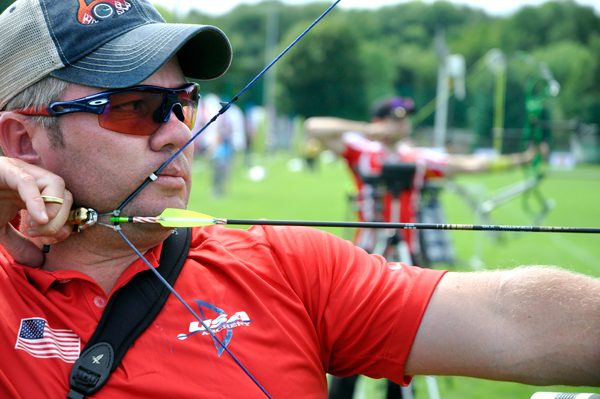
The three most repeatable compound anchors are:
- Index knuckle to jaw corner — the second knuckle of your index finger nests into the back corner of your jaw, just below the earlobe. This is the most common wrist-strap-release anchor and it works for almost any face shape.
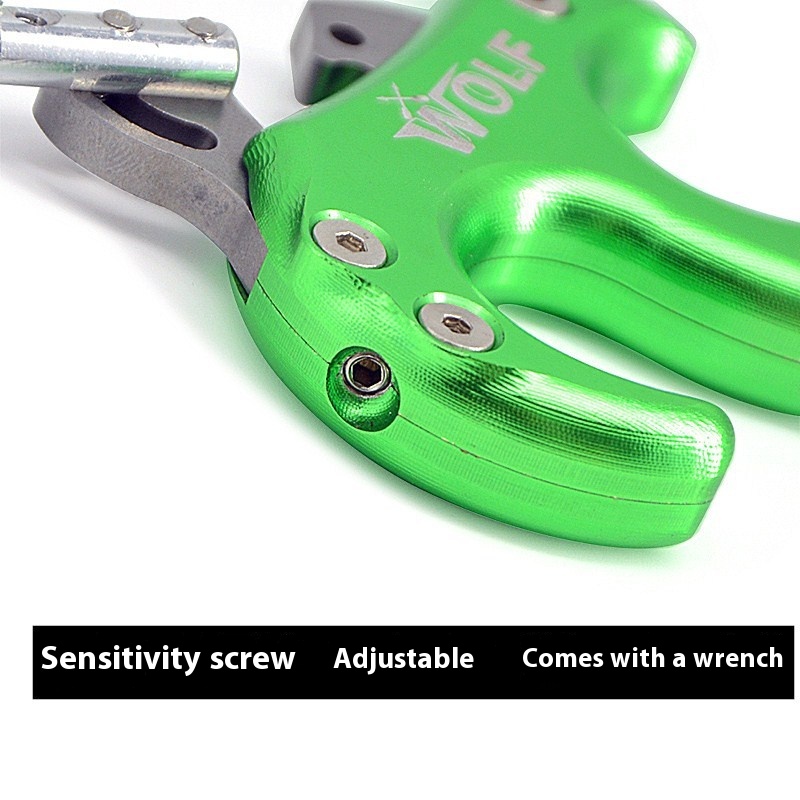
- Thumb behind ear with handheld release — for thumb triggers and back-tension releases, the thumb rides along the back of the jaw and the index finger curls under the jawbone. Outdoor Life’s testing of the best release aids notes this anchor is the standard for top compound shooters.
- String to tip of nose plus peep alignment — every compound anchor should also include nose-to-string contact and a peep sight that lines up with your front sight housing. Three reference points are harder to fake than one.
The hand placement is the foundation. The peep and the nose are the verification.
Recurve Anchor Point Options — Corner of Mouth or Under the Jaw
Recurve archers have two camps. Traditional and barebow shooters typically anchor with the index finger at the corner of the mouth. Olympic-style recurve archers anchor under the jaw with the string touching the tip of the nose, the lips, and the chin. Both work. They optimize for different things.
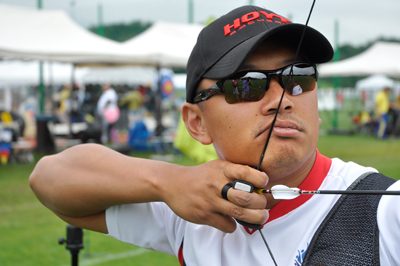
The corner-of-mouth anchor sits the arrow closer to your dominant eye, which makes it easier to aim instinctively without a sight. That is why traditional shooters and field archers favor it. The tradeoff is a higher arrow position, which raises your line of sight above the arrow shaft and forces you to estimate trajectory more aggressively at long range.
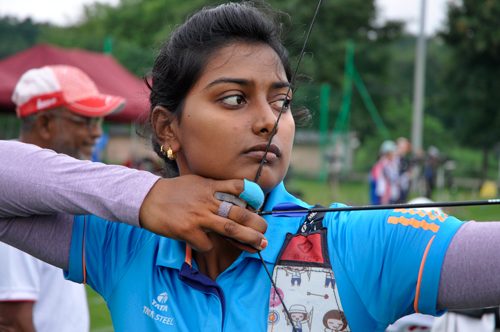
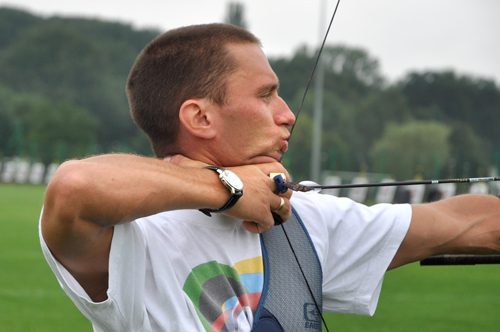
The under-jaw anchor drops the arrow below the eye, which adds distance between you and your sight pin and produces tighter groups at 70 meters. It also gives you three independent reference points — hand under jaw, string on chin, string on nose — which is why every Olympic archer uses some variation of it. Watch a World Cup final and you will see Deepika Kumari, Crispin Duenas, and Mariana Garcia all anchor this way despite being from three different continents and three different coaching schools.
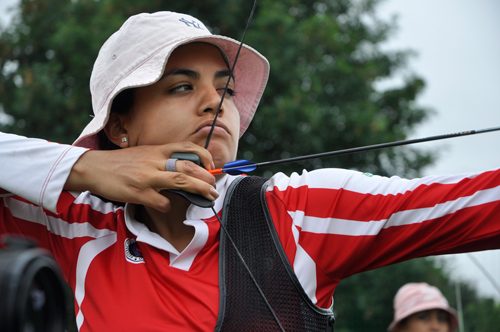
If you are starting out and shooting with a sight, default to the under-jaw anchor. If you are shooting barebow or instinctive, the corner of the mouth is the safer bet because it puts the arrow in your sight line.
The Six-Point Checklist for a Repeatable Anchor
An anchor is not one contact. It is a stack of small contacts that all happen at the same moment. Beginners check one thing — usually their hand position — and ignore the rest. The string drifts off their nose by a millimeter, their jaw rotates because they tilted their head, and the shot opens up by two inches at twenty yards. They blame the bow.
Use this checklist on every shot during practice. Eventually the checks become automatic.
- Hand contact — the back of your release hand or your finger knuckles seat in the same spot on your jaw or face every time.
- String to nose — the bowstring touches the tip of your nose. Not the side. The tip.
- String to lips or chin — for under-jaw anchors, the string runs across your chin or kisses the corner of your lip in the same place.
- Peep alignment — for compound shooters, the peep centers around your sight housing without head tilt. If you have to crane your neck, your peep height is wrong.
- Head position — your head moves to the string, not the other way around. Bring the string up to a fixed head; do not chase the string with your head.
- Bow shoulder height — if your bow shoulder rises during the draw, your anchor lands two inches higher than it did last shot. The shoulder must stay packed down.
Why Your Anchor Point Drifts (And How to Catch It)
Anchor drift is the slow, invisible shift of your reference point over a practice session or a hunting season. You start out with the string on the tip of your nose. Three weeks later you are touching the side of your nose and you have not noticed. Your groups have opened up by an inch and you blame the wind.
Three things cause drift:
- Fatigue — as your back gets tired, your draw arm collapses slightly and your hand lands lower. By round forty of a 70-arrow tournament, you might be anchoring half an inch below where you started.
- Cold weather and heavy clothing — a thick jacket changes the geometry between your shoulder and your jaw. Bowhunters who only practice in t-shirts and then hunt in a parka are a textbook example of why opening-day shots miss.
- Equipment changes — a new release aid, a shorter D-loop, or a peep that moved in the served loop will silently shift your anchor without you realizing what changed.
The fix is video. Set your phone on a tripod at eye level, ten feet to the side of you, and film twenty shots in a row. Play it back at quarter speed and look for the moment the string sits on your nose. If it lands in a different spot on shot one versus shot twenty, you have drift.
Hardware That Locks In Your Anchor
A few small pieces of gear give you tactile feedback when your anchor is right. None of them are required. All of them speed up the process of building muscle memory.
Kisser button. A small plastic disc served onto the string at the height where the string meets the corner of your lips. When the kisser button kisses your lips, you know you are at full draw with your head and string in the right position. Olympic recurve shooters mostly do not use them — they have enough other references — but for bowhunters and beginners, a kisser is the fastest way to standardize a recurve anchor.
Nose button. A small bumper that attaches to the string at the height where the string meets your nose. If you anchor wrong, the nose button is not in contact and you can feel it. Compound shooters use these as a second alignment check beyond the peep.
D-loop. On a compound bow, the D-loop is the small nylon loop tied around the bowstring above and below the arrow nock, and your release attaches to it. The length and consistency of the D-loop directly affect where your hand lands. A D-loop that has stretched or worn down by an eighth of an inch changes your effective anchor without warning. Inspect and replace it on a schedule.
Peep sight. The peep is a small ring inserted into the bowstring at eye level. It only aligns correctly if your anchor is correct. Many compound archers treat the peep as the primary anchor verification, which is fine, but the peep is only useful if your hand placement is consistent first. The peep does not fix a bad anchor; it exposes one.
How to Practice a New Anchor Point Without Losing Your Old Form
Changing an anchor mid-season is a gamble. Your old anchor is encoded in your nervous system after thousands of shots. A new one feels wrong on day one, day three, and day ten. The temptation to revert hits hardest around shot 100, when your accuracy with the new anchor is still worse than your old one.
The drill that works is blind-bale shooting at three yards into a butt. No target. No aiming. Focus only on the new contact points. Shoot fifty arrows a day for two weeks without trying to hit anything. The point is to bake the new anchor into your draw cycle until it feels automatic. Once you stop thinking about hand position and string contact, move out to ten yards and start aiming.
One thing to expect: your group center will move when you change anchors, because your arrow trajectory changes when the rear of the arrow sits at a new height. Re-tune your sight pins after the change is fully grooved in, not before. Re-tuning while the anchor is still wobbly chases a moving target.
When to Change Anchor Points
Most archers should not change their anchor. The shooters who benefit from a change are the ones whose current anchor is the actual root cause of inconsistency, not the ones who think a new anchor will fix a release problem or a tuning problem. Diagnose carefully before you tear apart something that works.
Three situations justify a change:
- You are shooting a corner-of-mouth anchor with a sight at 40 yards or further. Drop to under-jaw to gain sight-radius distance.
- You switched from a wrist-strap release to a thumb trigger or a back-tension release. Your hand position has changed, which means your anchor has to change with it. Trying to keep the same anchor with a different release is a recipe for inconsistency.
- Your anchor relies on a single contact point and you cannot get groups to tighten. Add a second contact — usually nose-to-string — and see if it stabilizes you.
The watch-the-pros instinct can mislead here. Just because every Olympic archer anchors under the jaw does not mean a 3D shooter with a barebow needs to. Pick the anchor that matches your discipline, your bow type, and your draw length, then drill it until it is involuntary.
Video Walkthrough
This Bass Pro Shops tutorial with archery instructor Lance Thornton covers anchor point setup for both compound and recurve, with an emphasis on the small face-to-string checks that build consistency:
Your Next Practice Session
Before you shoot another arrow, take a phone video of your current anchor from the side. If you cannot describe in writing exactly which parts of your face the string and your hand touch, your anchor is not defined enough yet. Define it, document it, and then test it under the conditions you will actually shoot in — fatigue, cold, and the heart-rate spike of a real target. The archers who win are not the ones with the prettiest form. They are the ones whose form does not change between shot one and shot one hundred.
If you are still dialing in the rest of your shot mechanics, the release aid buying guide walks through how trigger style affects hand position, and these target panic drills address one of the most common reasons archers blow through their anchor without realizing it.
Sources
- World Archery — Full Draw Faces: How Six Different International Archers Anchor — Photo gallery and analysis of anchor variations among elite competitors.
- Bowhunting.com — Finding Your Anchor Point — Bowhunt 101 guide on locking in a consistent anchor for hunting situations.
- Archery 360 — Which Recurve Anchor is Best for Me? — Comparison of recurve anchor styles and how to choose one.
- Outdoor Life — Best Release Aids of 2026 — Tested release aids and how each interacts with hand-on-jaw anchors.
- American Hunter (NRA) — Use a Dual Anchor Point for Bowhunting — Why two contact points beat one under hunting pressure.
Browse archery bows, arrows, and accessories at the Archery Supplier shop →
Shop on Amazon
Archery Equipment on Amazon →
As an Amazon Associate we earn from qualifying purchases.
Shop on eBay
Archery Equipment on eBay →
We may earn a commission when you shop through our eBay links.
