Archery Blog
Archery Form: 7 Fundamentals for Accuracy

Mar
Tighter arrow groups, fewer flyers, and scores that actually reflect your potential — all of that starts with one thing: proper archery form. Whether you shoot a compound bow for 3D tournaments, a recurve for target competitions, or a traditional longbow for the pure joy of it, the fundamentals of good shooting form remain remarkably consistent. Master them, and every other aspect of your archery improves.
This guide breaks down the seven core elements of archery shooting form, from the ground up. We’ll cover stance, grip, draw, anchor, aim, release, and follow-through — with practical drills you can use at the range today.
Why Archery Form Matters More Than Equipment
Walk into any pro shop and you’ll hear archers debating stabilizers, arrow spines, and rest types. That gear conversation matters — but not nearly as much as the person holding the bow. A $2,000 rig in the hands of someone with sloppy form will lose to a $400 setup shot by an archer with solid fundamentals every single time.
The reason is simple: archery is a repetition sport. Your body needs to execute the same sequence of movements identically, shot after shot. Small inconsistencies in stance or grip compound over distance. At 20 yards, a minor error might cost you an inch. At 60 yards, that same error sends your arrow off the target entirely.
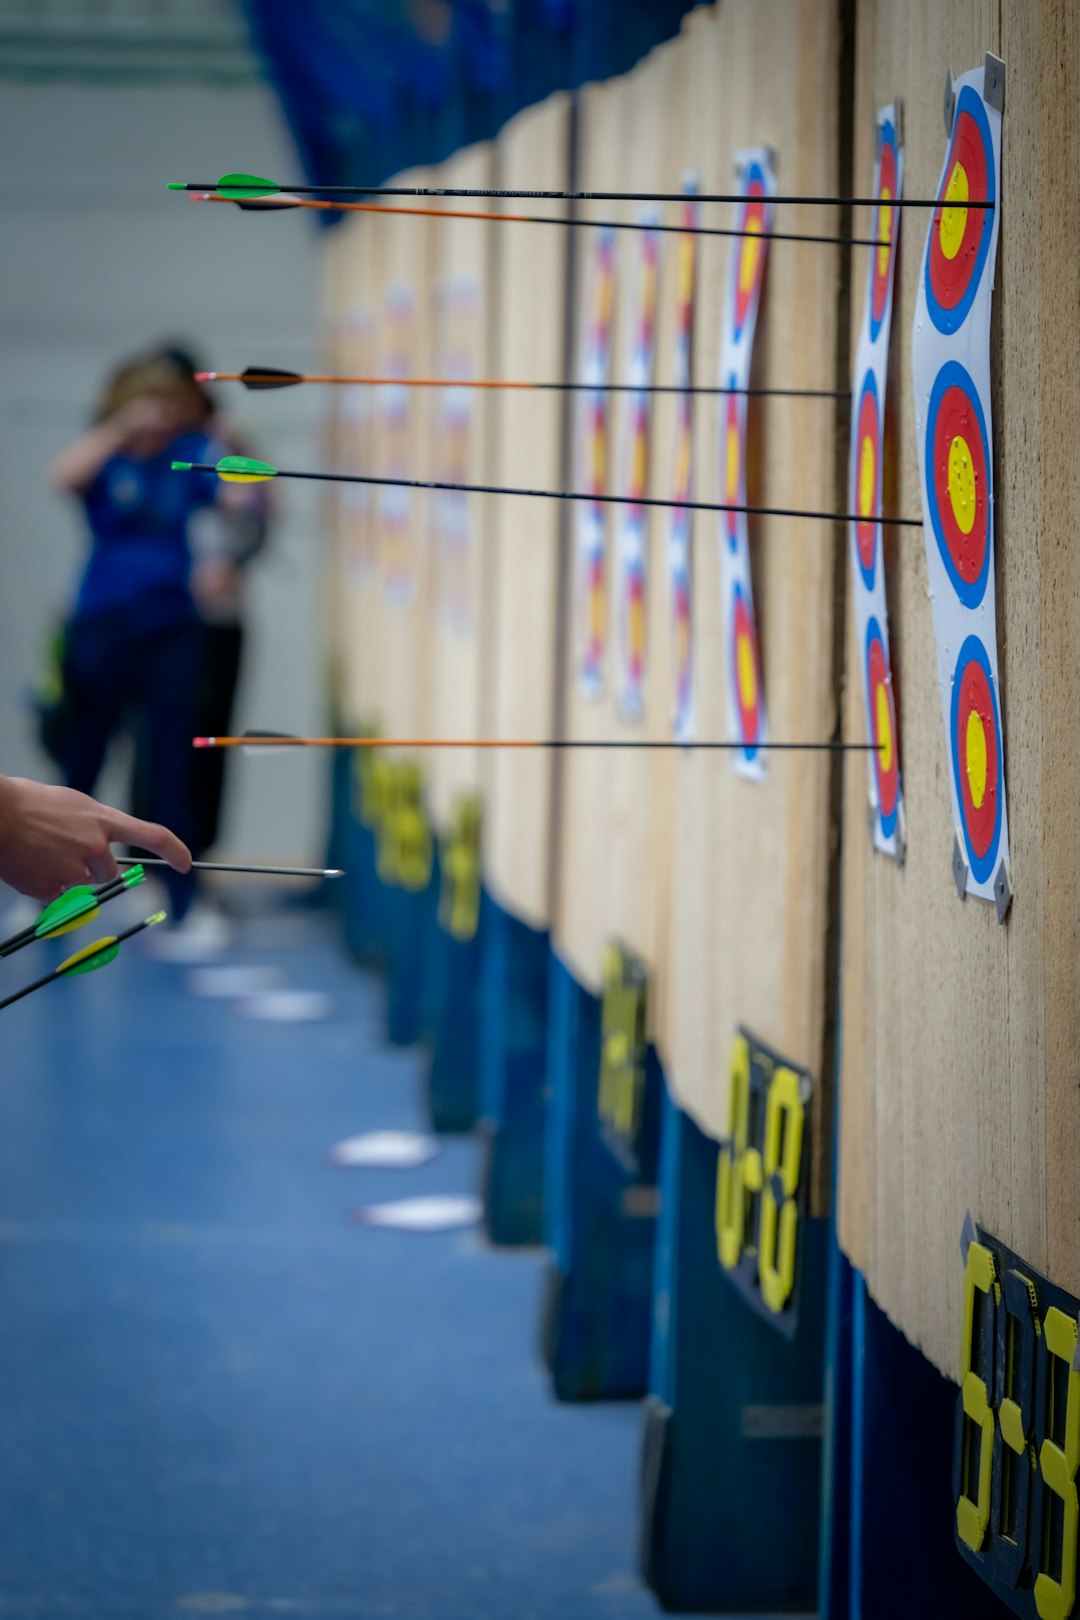
According to World Archery, competitive archers at the elite level shoot groupings within a few centimeters at 70 meters. That level of precision demands near-mechanical consistency — and it all comes back to form.
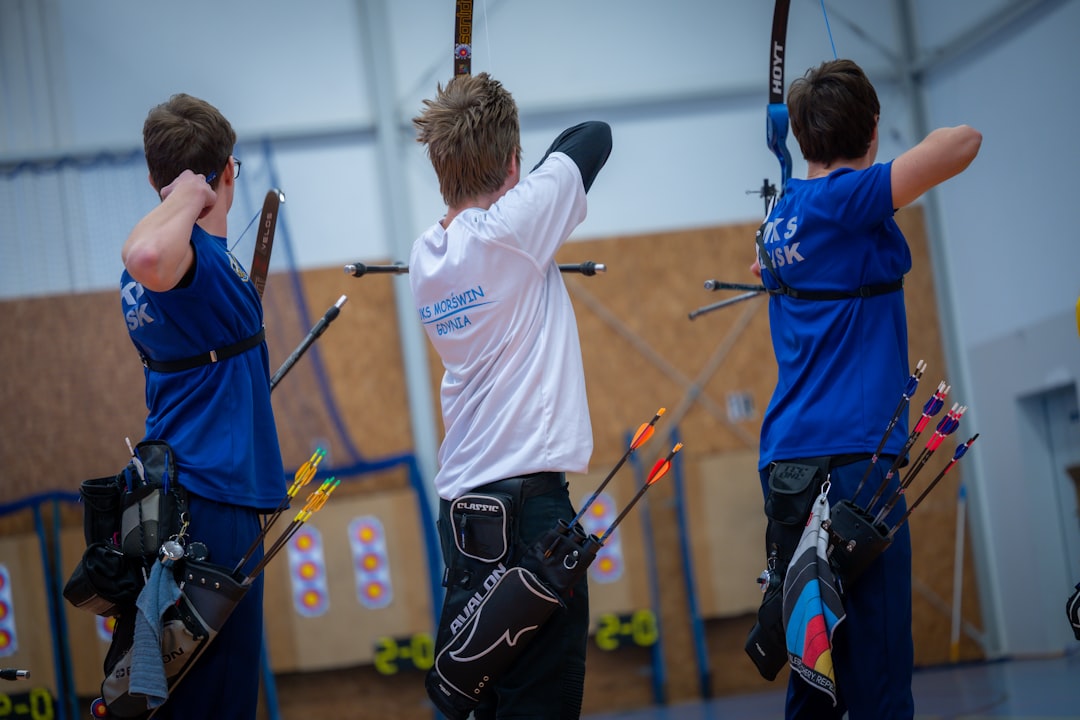
Element 1: Your Stance Sets Everything Else Up
Your feet are your foundation. Get the stance wrong, and compensations ripple through your entire shot cycle. There are three common archery stances, and each has a place depending on your body type and shooting style.
Square stance: Both feet parallel to the shooting line, shoulder-width apart. This is where most beginners start, and it works well for developing initial consistency. Your shoulders naturally align with the target.
Open stance: The front foot (closest to the target) angles slightly toward the target, roughly 25-30 degrees. This opens your hips and creates more stability against wind. Most competitive recurve archers favor this stance because it reduces torso rotation during the shot.
Closed stance: The front foot steps slightly behind the shooting line. This narrows your profile and can help archers who struggle with string clearance on the chest or arm. It’s less common in competition but useful as a diagnostic tool.
Whichever stance you choose, keep your weight evenly distributed across both feet, with a slight bias toward the balls of your feet. Lock your knees softly — not hyperextended, not bent. You want to feel rooted but not rigid. If you’re unsure which stance works best for you, understanding your draw weight and body mechanics is a great first step.

Element 2: Bow Grip — Less Is More
The grip is where most archers unknowingly sabotage their accuracy. The natural instinct is to grab the bow firmly, wrapping all fingers around the riser. That instinct is wrong.
A proper bow grip uses the meaty pad at the base of your thumb — the thenar eminence — as the primary contact point with the riser. Your fingers should hang loose and relaxed, almost as if you could drop the bow at any moment (a wrist sling prevents that).
Here’s why: a tight grip introduces torque. When you squeeze the riser, your hand muscles create lateral pressure that twists the bow at the moment of release. That twist translates directly into left-right arrow deviation. The tighter you grip, the more unpredictable your horizontal grouping becomes.
Grip drill: At the range, shoot three arrows with your normal grip, then three with the loosest grip you can manage without dropping the bow. Compare the groups. Most archers see an immediate improvement with the lighter touch.
The USA Archery coaching manual emphasizes that grip consistency ranks among the top three factors separating intermediate archers from advanced ones.
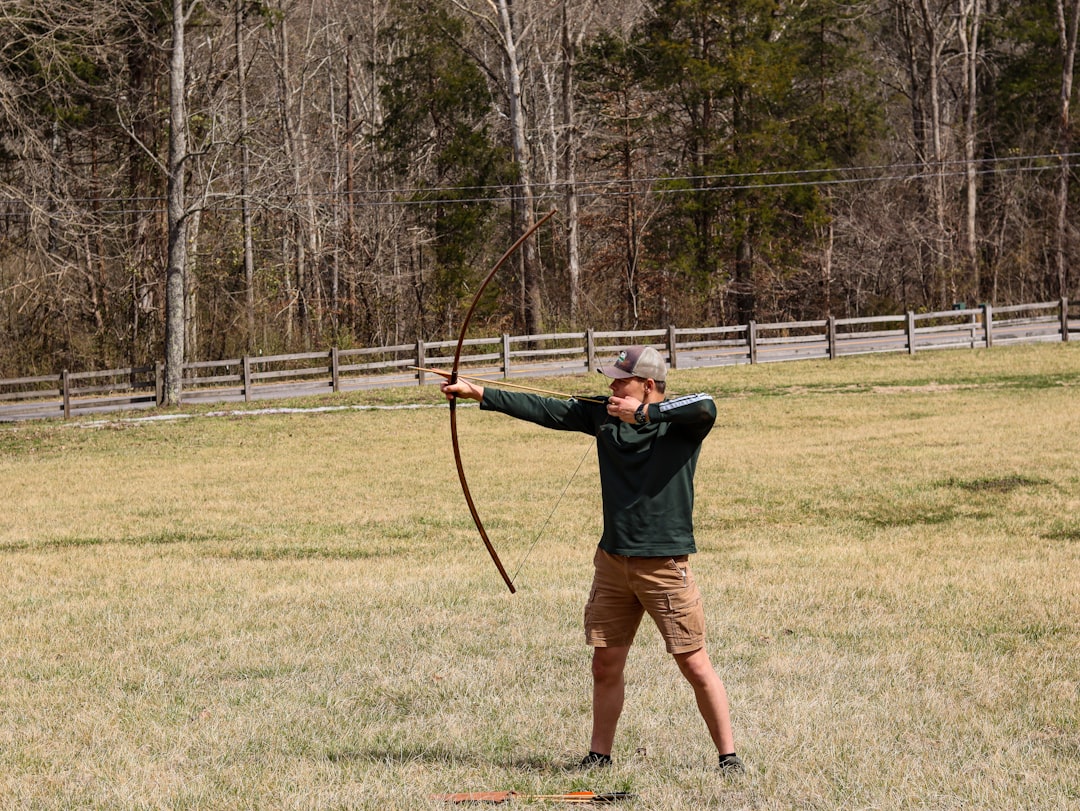
Element 3: Drawing the Bow With Your Back
Most beginners draw the bow using their arm and shoulder muscles. It feels natural but creates a weak, unstable platform. Proper drawing technique engages the large muscles of your upper back — specifically the rhomboids and lower trapezius.
Think of the draw as pulling your shoulder blades together. Your drawing arm is just the connection between your back muscles and the bowstring. When you draw correctly, your elbow on the drawing side points straight back (or slightly past straight back), and you feel the effort primarily between your shoulder blades.
Why back tension matters: Back muscles are larger and more fatigue-resistant than arm muscles. They’re also less prone to the micro-tremors that plague smaller muscle groups under load. By shifting the work to your back, you can hold at full draw longer, with less shaking, and execute a cleaner release.
Draw drill: Stand in front of a mirror without a bow. Extend your bow arm and pull your draw hand to your anchor point, watching your shoulder blades. They should squeeze together visibly. If your shoulders are hunching up toward your ears, you’re using arm muscles. Reset and try again.
Element 4: Finding Your Anchor Point
The anchor point is where your draw hand consistently contacts your face at full draw. This is one of the most critical elements of archery form because even a millimeter of variation here shifts your arrow’s point of impact significantly downrange.
Common anchor points include:
- Corner of the mouth: Traditional and instinctive archers often anchor with the index finger touching the corner of the mouth. Simple, tactile, and repeatable.
- Under the jawbone: Olympic recurve archers typically place the draw hand under the jawbone with the string touching the chin and nose simultaneously. This creates three reference points for maximum consistency.
- Behind the jaw: Compound archers using a release aid often anchor behind the jawbone, with the release hand knuckle pressed into the bone just below the ear. A kisser button or peep sight provides additional reference.
The “right” anchor point depends on your bow type, draw length, and shooting style. What matters most is that you use the same anchor every single shot. If you’re still figuring out your setup, check out this guide on how to choose your first bow — the right equipment makes finding a consistent anchor much easier.
Element 5: Aiming — Trust the Process
How you aim depends heavily on your setup. Sight shooters align a pin with the target. Barebow archers use gap shooting or string walking. Instinctive archers simply focus on where they want the arrow to go. But regardless of aiming method, a few universal principles apply.
Focus on the target, not the sight pin. Your eyes should be soft-focused on the spot you want to hit, with the sight pin floating in your peripheral awareness. Trying to hold the pin perfectly still on the center will cause you to punch the trigger or freeze — both of which destroy accuracy.
Accept the float. No human can hold a bow perfectly still. Your sight pin will trace a small pattern around the center of the target. That pattern is your “float.” Skilled archers accept the float and let the shot happen when alignment is close enough. Beginners fight the float, waiting for a perfect moment that never comes, then panicking when they run out of breath or energy.
Keep both eyes open. Closing your non-dominant eye reduces depth perception and increases facial tension, which can shift your anchor point. If you struggle with target alignment, try a blinder on your non-dominant eye instead of squinting.
Element 6: The Release — Let It Happen
The release is the moment of truth. Everything you’ve built — stance, grip, draw, anchor, aim — converges here. And the single most important thing about a good release is this: don’t think about it.
For finger shooters (recurve and traditional), a clean release means relaxing the fingers of the draw hand simultaneously and smoothly. The string pushes your fingers out of the way rather than you actively opening them. Think of it as “letting go” rather than “releasing.”
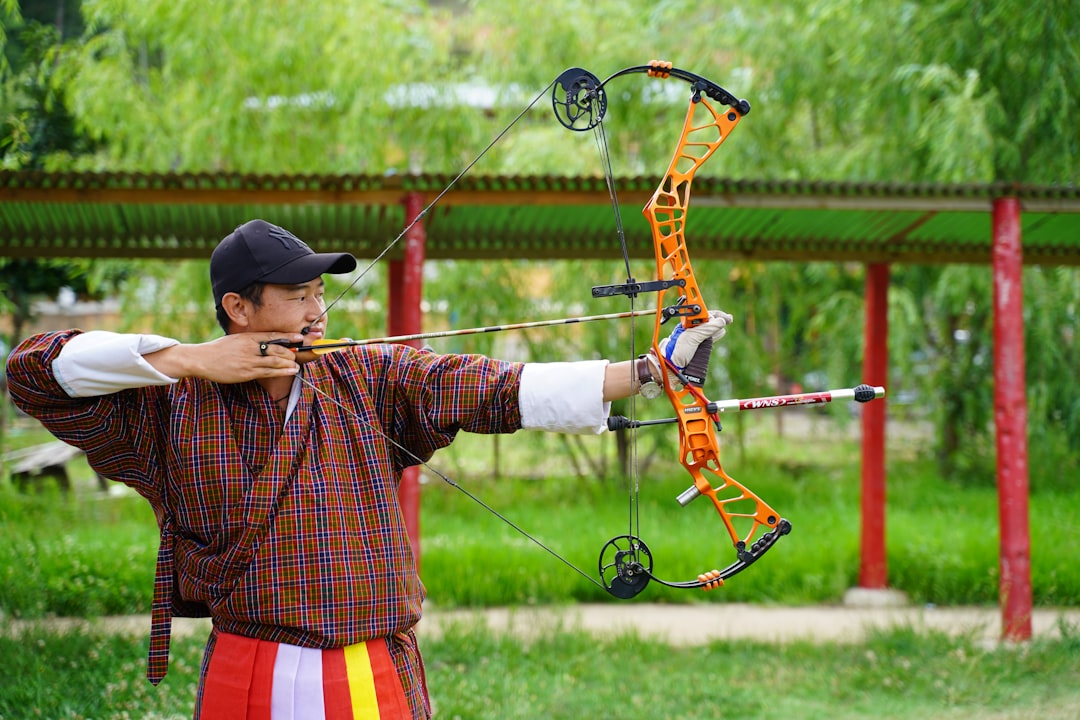
For compound archers using a mechanical release aid, the principle is similar. Continue pulling through the shot with your back muscles, and let the release fire as a surprise. Punching the trigger — consciously deciding “now” and slapping it — is the number one accuracy killer in compound archery. It’s called target panic, and it affects archers at every level.
Release drill: Blank bale shooting. Set up at 5 yards from a large target with no face. Close your eyes, draw, anchor, and focus entirely on back tension and a smooth release. Without a target to aim at, your brain can’t trigger the panic response. Shoot 30-50 arrows this way before each practice session.
Understanding target archery scoring helps contextualize why release consistency matters — a single ring of error on the target face can be the difference between winning and losing at a tournament.
Element 7: Follow-Through Seals the Shot
Follow-through is the most overlooked element of archery form, and that’s exactly why it deserves its own section. Your shot isn’t over when the arrow leaves the string. It’s over when the arrow hits the target.
After the release, your bow arm should stay up, pointing at the target. Your draw hand should drift naturally backward along your neck, pulled by the remaining back tension. Your body should remain still and balanced. Think of it like a golf swing — you don’t stop the club at the ball. You swing through.
Why follow-through matters: If you drop your bow arm or pull your head off the string before the arrow clears the bow, you introduce movement during the critical milliseconds when the arrow is still on the rest. At compound speeds (~300 fps), the arrow clears in about 2 milliseconds. At recurve speeds (~180 fps), it takes longer. Either way, premature movement during that window changes arrow flight.
Follow-through drill: After each shot, hold your position and count to three before moving. Watch where the arrow hits while maintaining form. This builds the habit of staying in the shot until it’s truly finished.
Watch: Archery Form Fundamentals in Action
Sometimes seeing proper form in motion helps more than reading about it. This video from Archery Country covers the critical elements of compound bow shooting form, including stance, grip, and anchor point:
Putting It All Together: A Pre-Shot Routine
Elite archers don’t just shoot with good form — they shoot with the same form every time. That’s where a pre-shot routine comes in. A pre-shot routine is a mental and physical checklist you run through before every single arrow.
Here’s a sample routine you can adapt:
- Stance check: Step to the line, set your feet, feel balanced.
- Nock the arrow: Clip onto the string at the nocking point, verify the index vane is oriented correctly.
- Grip the bow: Set the riser into the web of your hand, relax your fingers.
- Set your posture: Shoulders down and back, chest open, head turned toward the target.
- Raise and draw: Lift the bow arm while engaging back muscles to draw in one fluid motion.
- Anchor: Settle into your anchor point. Confirm all contact points (chin, nose, jaw).
- Aim: Let the pin float. Breathe normally. Don’t force stillness.
- Expand and release: Continue pulling through the shot with your back. Let the release happen.
- Follow through: Hold your position. Watch the arrow hit. Count to three.
- Evaluate: Did the shot feel good? Where did it hit? Note any discrepancies for the next shot.
Running through this sequence every time — whether you’re shooting your first arrow of the day or your last in a tournament — builds the neural pathways that make good form automatic.
Common Form Mistakes and How to Fix Them
Even experienced archers develop bad habits. Here are the most frequent form breakdowns and their fixes:
Gripping the bow too tightly: Install a wrist sling and practice letting the bow jump forward at the shot. If it doesn’t jump, you’re gripping.
Dropping the bow arm on release: This usually stems from anticipating the shot. Blank bale practice and holding your position post-shot cures this quickly.
Inconsistent anchor point: Use physical reference points (string on nose, finger on jawbone) rather than visual ones. Physical contact is more repeatable than visual alignment.
Creeping forward at full draw: This means you’re holding with arm muscles instead of back muscles. Reduce draw weight temporarily and focus on engaging your rhomboids. Knowing basic archery safety principles also helps you practice more confidently at closer ranges during these drills.
Plucking the string: Your fingers are pulling away from your face on release instead of sliding straight back. Practice with a heavier bow temporarily — the increased resistance forces your hand to travel along your face rather than out to the side.
For comprehensive guidance on technique development, the Archery 360 resource center maintained by the Archery Trade Association offers detailed breakdowns for every skill level.
How Often Should You Practice Form?
The short answer: every time you pick up a bow. Form practice isn’t separate from regular shooting — it is regular shooting. But if you want to accelerate your improvement, dedicated form sessions make a massive difference.
Three to four sessions per week, 30-60 minutes each, with a focus on quality over volume. Shoot 60-100 arrows per session rather than 200 sloppy ones. Every arrow should be intentional. If your form starts breaking down due to fatigue, stop. Practicing bad form is worse than not practicing at all.
Film yourself from the side and behind at least once a month. Comparing footage over time reveals drift in your form that you can’t feel in the moment. A smartphone on a tripod is all you need — this single tool has probably improved more archers’ form than any piece of coaching advice ever written.
Good archery form isn’t a destination you arrive at. It’s a discipline you practice every session, refining small details that add up to big results downrange. Start with your stance, work through each element, and trust the process. The arrows will follow.
Browse archery bows, arrows, and accessories at the Archery Supplier shop →
Shop on Amazon
Archery Equipment on Amazon →
As an Amazon Associate we earn from qualifying purchases.