Archery Blog
Arrow Spine Chart Explained | How to Pick the Right Arrows for Your Bow
Mar
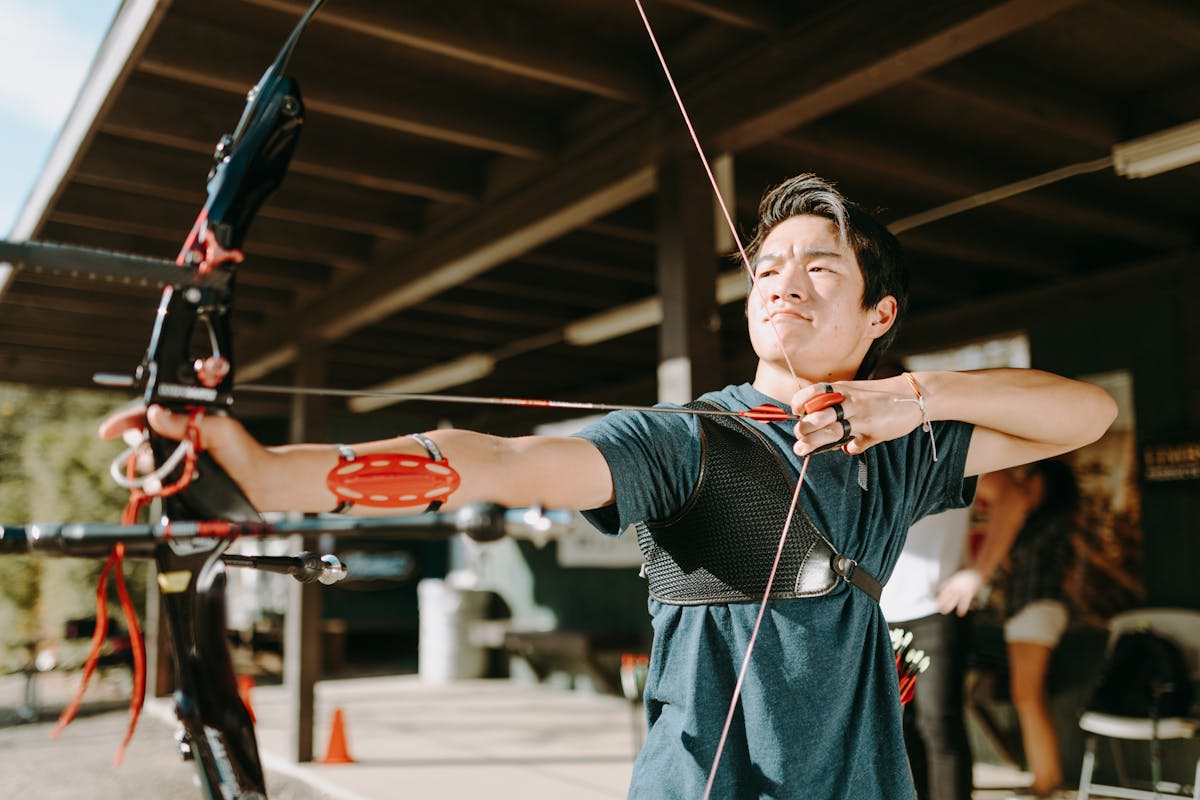
You just bought a new bow and you’re ready to shoot. But grab the wrong arrows and every shot will fly like a drunk bumblebee — fishtailing, porpoising, missing the target by embarrassing margins. The secret to consistent accuracy isn’t always in the bow. It’s in the arrow, and specifically, in understanding arrow spine.
Arrow spine refers to the stiffness of an arrow shaft. It determines how much the shaft flexes when force is applied, and getting it right means the difference between tight groupings and scattered misses. Whether you shoot compound, recurve, or traditional, this guide walks you through everything you need to know about reading an arrow spine chart and selecting arrows that match your setup.
What Is Arrow Spine and Why Does It Matter?
When you release a bowstring, the arrow doesn’t fly perfectly straight off the rest. It flexes — bending around the riser before stabilizing in flight. This phenomenon is called the archer’s paradox, and it’s completely normal. The key is making sure the arrow flexes the right amount for your particular bow.
An arrow that’s too stiff (overspined) won’t flex enough and will kick to one side. An arrow that’s too weak (underspined) will flex too much and wobble wildly. Either way, your groups suffer. Properly spined arrows recover quickly from that initial flex and fly true to the target.
How to Read an Arrow Spine Chart
Every arrow manufacturer publishes a spine chart — a grid that cross-references your draw weight with your arrow length to recommend a spine rating. Spine numbers like 300, 340, 400, 500, and 600 are standard across most brands, though the actual stiffness can vary slightly between manufacturers.
Here’s the counterintuitive part: lower spine numbers mean stiffer arrows. A 300-spine arrow is much stiffer than a 500-spine arrow. The number refers to how many thousandths of an inch the shaft deflects when an 880-gram weight hangs from its center (supported at two points 28 inches apart). Less deflection equals a lower number equals a stiffer shaft.
The Three Variables That Determine Your Spine
- Draw weight — Higher poundage requires stiffer (lower number) spines. A 70-pound compound needs around 300 spine; a 40-pound recurve might use 500 or 600.
- Arrow length — Longer arrows flex more. If you cut arrows longer than the chart’s standard (usually 28-29 inches), you may need to go one spine stiffer.
- Point weight — Heavier tips (125+ grains) effectively weaken the spine because they add leverage to the front of the shaft. Lighter tips (85-100 grains) leave the spine closer to its rated value.
Most spine charts assume a standard point weight (usually 100 grains) and a standard arrow length. If your setup deviates from those assumptions, you’ll need to adjust. A good rule of thumb: adding 25 grains of point weight or one inch of arrow length effectively weakens the spine by about one step.
Carbon vs Aluminum vs Hybrid Arrows
The shaft material affects weight, durability, speed, and cost. Here’s how they compare:
Carbon Arrows
Carbon is the dominant material in modern archery for good reason. Carbon shafts are lightweight, fast, and maintain consistent spine throughout their lifespan. They don’t bend permanently like aluminum can — a carbon arrow is either straight or broken, never in between. Popular choices include the Easton FMJ (Full Metal Jacket), Gold Tip Hunter XT, and Black Eagle Carnivore.
The downside? Carbon arrows can micro-fracture on impact with hard surfaces. Always flex-test your carbon arrows before shooting. Grip the shaft near each end and bend it slightly while listening for cracking sounds. A compromised carbon arrow can shatter on release and cause serious injury.
Aluminum Arrows
Aluminum arrows like the Easton XX75 have been an archery staple for decades. They’re affordable, available in a wide range of spine options, and excellent for beginners. Aluminum is also the standard for indoor target archery — the larger diameter shafts (like the Easton X23) catch more line on scoring rings, potentially earning you extra points.
The trade-off is weight and durability. Aluminum bends on impact with hard targets or when arrows collide (robin-hooding). Bent aluminum arrows can sometimes be straightened, but they’ll never be as true as they were originally.
Hybrid (Carbon/Aluminum) Arrows
Hybrid arrows wrap a carbon layer around an aluminum core (or vice versa). The Easton FMJ and Victory VAP TKO are popular examples. These combine the straightness tolerance of aluminum with the durability and speed of carbon. They tend to be heavier than pure carbon, making them popular for hunting where kinetic energy and penetration matter more than raw speed.
Fletching, Nocks, and Inserts: The Other Pieces
Arrow spine gets the most attention, but the components attached to the shaft matter too.
Fletching (the vanes or feathers at the back) stabilizes the arrow in flight by creating drag-induced spin. Longer, taller vanes provide more stabilization but add drag and slow the arrow. Short, low-profile vanes (like the AAE Max Stealth or Bohning Blazer) are popular for hunting because they stabilize broadheads without excessive speed loss. Target archers often use slightly longer vanes or spin wings for indoor precision.
Nocks must fit your bowstring snugly but not tightly. The nock should click onto the string and hang without falling off when the bow is held vertically. Too tight and it’ll affect your release; too loose and the arrow can fall off the string at full draw. Pin nocks, press-fit nocks, and bushing nocks are the main types — your arrow shaft determines which you need.
Inserts and outserts connect your field point or broadhead to the shaft. Make sure they match your shaft’s inside diameter. Many archers add extra weight to the insert (using brass or tungsten inserts) to push the arrow’s FOC (front of center) forward, improving flight stability and penetration.
Tuning Your Arrows: The Paper Test and Walk-Back Method
Even after selecting the right spine from a chart, real-world tuning is essential. Two popular methods:
Paper Tuning
Shoot through a sheet of paper at about six feet. A perfectly tuned arrow leaves a clean bullet hole — just the point and three vane slits. A tail-right tear (for a right-handed shooter) usually indicates a weak spine or a rest position issue. A tail-left tear suggests the arrow is too stiff. Vertical tears often point to nock height problems rather than spine issues.
Walk-Back Tuning
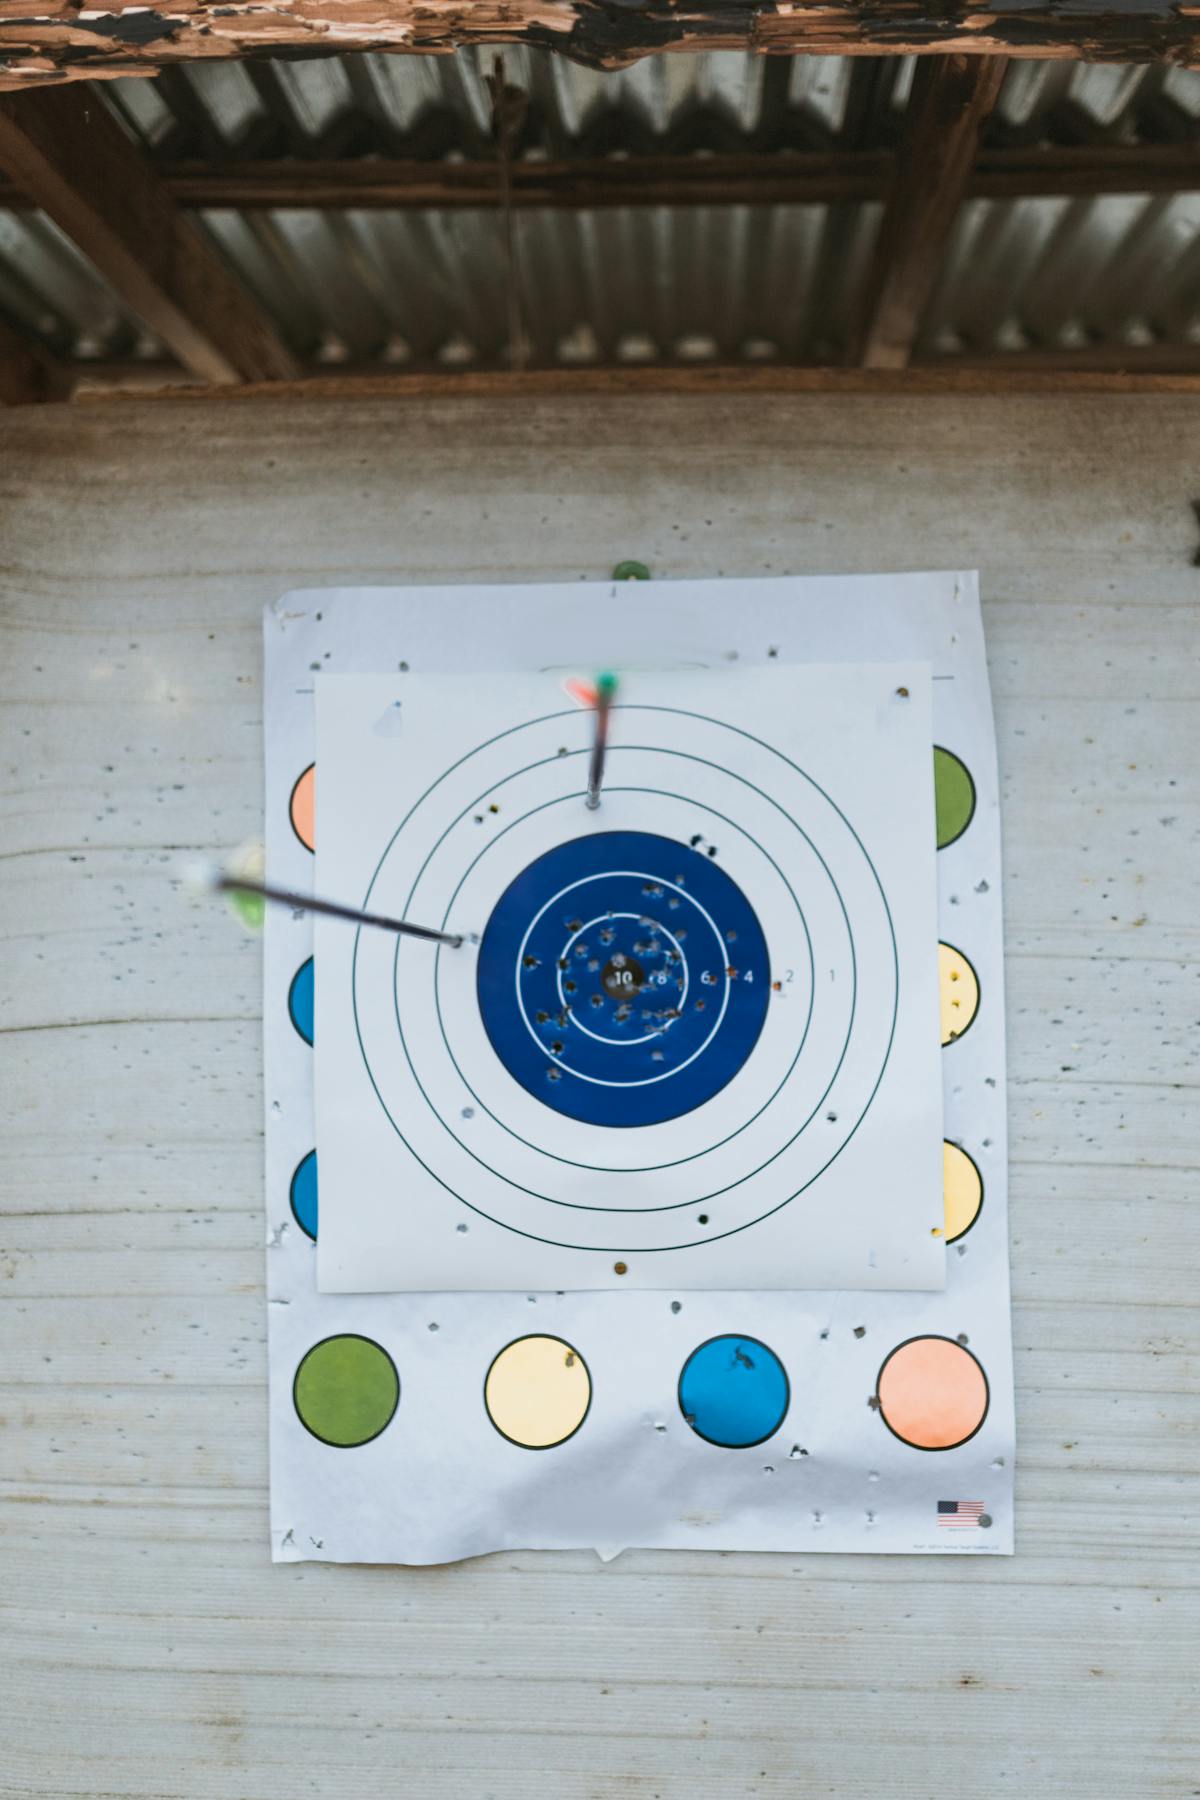
Set a single aiming point on a tall target face. Shoot one arrow at 10 yards, then step back to 20, 30, and 40 yards — all aiming at the same spot. If your arrows drift consistently left or right as distance increases, your arrow rest position needs micro-adjustment. This method reveals centershot alignment issues that paper tuning can miss.
Arrow Selection for Different Disciplines
Target Archery (Indoor)
Indoor target archers at 18 meters benefit from fat-diameter aluminum shafts (like the Easton X23 at 2315 size). The larger diameter catches more scoring ring lines. Spine is still important, but the priority shifts toward consistency and grouping at short range. Many indoor archers also use heavier arrows for a more forgiving shot cycle.
Target Archery (Outdoor)
At 50-70 meters, slim carbon or carbon/aluminum arrows dominate. Wind drift is the enemy at long range, and thinner shafts cut through air better. Archers shooting outdoor FITA rounds typically use shafts like the Easton X10 or Carbon Express Nano Pro — small diameter, tight tolerances, and premium price tags to match.
Bowhunting
Hunting arrows prioritize penetration and durability over pure speed. Heavier arrows (450+ grains total) with high FOC percentages (15% or higher) hit harder and penetrate deeper. Many hunters choose slightly stiffer spines than the chart recommends to ensure clean flight with broadheads, which are less forgiving than field points. Fixed-blade broadheads especially amplify any spine mismatch.
3D and Field Archery
3D and field archery split the difference — you need speed for judging unmarked distances but also enough weight for consistent flight through varying conditions. Mid-weight carbon arrows (350-420 grains) with moderate FOC work well. The Gold Tip Airstrike and Victory RIP are popular choices in these formats.
Common Arrow Selection Mistakes
Even experienced archers fall into these traps:
- Buying arrows based on price alone. Cheap arrows with poor spine consistency will frustrate you more than they save you. Invest in at least mid-range shafts from reputable brands.
- Ignoring point weight changes. Switching from 100-grain field points to 125-grain broadheads effectively weakens your spine. Retune when you change tips.
- Cutting arrows too long “just in case.” Every extra inch of length weakens the effective spine. Cut arrows to your actual draw length plus one inch of safety margin — no more.
- Using the same arrows for everything. Your indoor target arrows and your hunting arrows probably shouldn’t be the same setup. Different disciplines have different requirements.
- Skipping the flex test on carbon arrows. One bad arrow can ruin your day — or your hand. Test every carbon arrow before each shooting session.
Build Your Arrow Setup Step by Step
Here’s a simple process to follow:
- Know your draw weight and draw length. If you’re unsure, visit a pro shop and get measured properly.
- Consult the manufacturer’s spine chart. Find the intersection of your draw weight and intended arrow length.
- Factor in your point weight. If using heavy broadheads (125+ grains), consider going one spine stiffer.
- Choose your shaft material. Carbon for versatility, aluminum for indoor, hybrid for hunting penetration.
- Select components. Match fletching, nocks, and inserts to your shaft and shooting style.
- Build and tune. Paper test first, then walk-back tune at distance.
- Shoot and adjust. No setup is perfect on paper — real-world testing is where the magic happens.
Arrow selection can feel overwhelming with all the variables involved, but it really comes down to matching stiffness to your bow’s power output. Get that right, keep your components consistent, and tune from there. Your groups will thank you.