Archery Blog
Archery Form for Beginners | Guide to Proper Shooting Technique
Mar
Good archery form is the foundation of accurate, consistent shooting. Archers with solid fundamentals outperform stronger shooters with sloppy technique every time. This guide breaks down proper recurve bow form into manageable components that build toward instinctive, repeatable shooting.
Proper Archery Stance
Your stance creates the stable platform from which every shot launches. Stand perpendicular to the target with feet shoulder-width apart. Your toes should form a line pointing directly at the target. Keep weight evenly distributed between both feet throughout the shot.
Square stance works best for most beginners, offering natural balance and consistent positioning. As you advance, you might experiment with slightly open stance (front foot angled toward target) for improved string clearance, particularly if you experience string contact with your chest or arm.
Stay relaxed throughout your lower body. Tension in your legs or core transfers upward, affecting arm steadiness and release quality. Think stable but not rigid.
The Correct Bow Grip
How you hold the bow dramatically affects arrow flight. The grip should rest in the meaty pad at the base of your thumb, not wrapped in your fingers. A tight death grip on the bow causes torque that sends arrows unpredictably off target.
Keep your fingers relaxed and slightly open, almost as if the bow might fall forward after release. Many archers use a wrist sling to prevent dropping the bow, allowing an even more relaxed grip without worry. The bow should feel supported but not squeezed.
Position your knuckles at roughly 45 degrees to the bow handle. This alignment allows your arm bones to absorb recoil efficiently without requiring muscular effort to resist the bows forward push.
Bow Arm Position
Extend your bow arm toward the target with a slight bend maintained in the elbow. Completely locking the elbow creates a rigid arm that absorbs shock poorly and invites string slap on the forearm. The inside of your elbow should rotate outward, away from the strings path.
Raise the bow until your arm reaches roughly parallel to the ground, pointing at the target. Your shoulder should remain down and relaxed, not hunched up toward your ear. Tension in the shoulder causes fatigue and inconsistency.
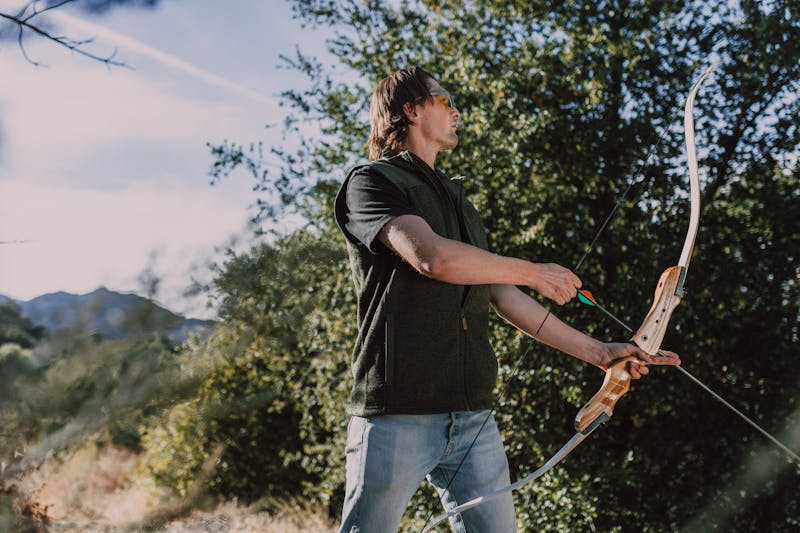
Drawing the Bow with Back Tension
The draw should originate from your back muscles, not your arm. Engage the muscles between your shoulder blades as if squeezing a pencil between them. This creates a stable, powerful drawing platform that resists fatigue far better than arm strength alone.
Draw the string in a smooth, controlled motion to your anchor point. Avoid punching or jerking the string back quickly. The draw should feel steady and deliberate throughout its entire path.
Keep your drawing elbow high, roughly in line with or slightly above the arrow. A low elbow indicates arm-dominant drawing rather than proper back engagement. Watch yourself in a mirror or have someone video your form to check elbow position.
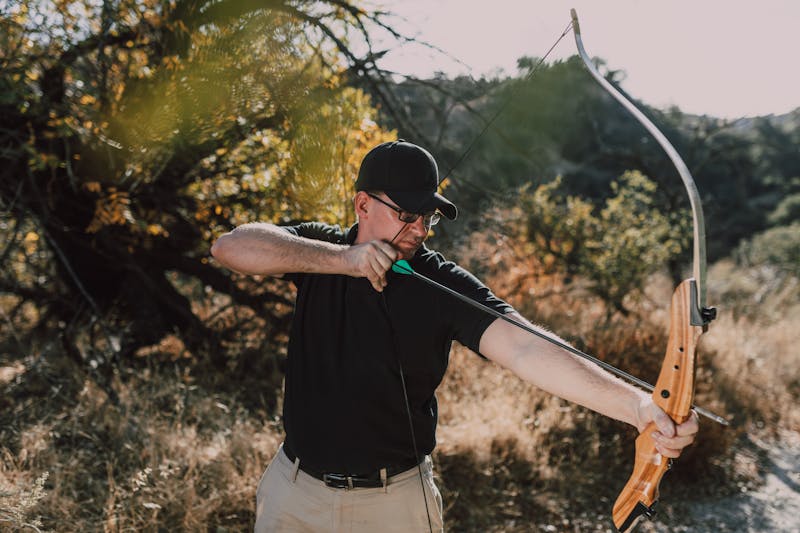
Establishing Your Anchor Point
The anchor point is where your drawing hand consistently contacts your face at full draw. This reference point must be identical for every shot. Common anchor positions include:
- Corner of mouth: Index finger touches the corner of your mouth, traditional and intuitive
- Under chin: Hand pressed firmly against the underside of your jaw, provides solid bone reference
- Side of face: Thumb behind ear with hand along cheekbone, traditional style for instinctive shooting
Choose one anchor and commit to it completely. The string should lightly touch your nose and potentially your chin for additional reference points. Multiple contact points create repeatability that translates directly to accuracy.
Aiming Methods
Recurve archers use several aiming approaches depending on equipment and preference. With a mounted sight, align the pin with your target while maintaining primary focus on where you want the arrow to strike. Without a sight, instinctive shooting requires focusing intensely on the target while your subconscious mind adjusts bow position based on practice experience.
Gap shooting offers a middle ground—you consciously note the gap between your arrow point and target, adjusting aim based on known distances. All methods require extensive practice to become reliable.
The Release
A clean release happens when you simply relax your fingers and allow the string to slip away. Do not consciously throw your hand backward or pluck the string sideways. Simply stop holding and let physics take over.
Maintain back tension through the release. Your drawing hand should travel naturally backward along your face as the string departs your fingers, ending near your ear or shoulder. This follow-through movement confirms proper back engagement throughout the shot.
Follow Through
Hold your position until the arrow strikes the target. Dropping your bow arm prematurely pulls arrows low. Your bow hand should remain extended toward the target while your release hand rests naturally near your ear.
Analyze each shot before moving to the next arrow. Notice how good shots and poor shots feel different in your body. Learning to recognize these sensations helps you repeat successful technique and identify errors.
Common Form Errors to Avoid
- Gripping too tightly: Creates torque and inconsistent arrow flight
- Collapsing at release: Indicates insufficient back tension, causes arrows to fly left for right-handed shooters
- Dropping bow arm early: Consistently pulls shots low
- Inconsistent anchor: Destroys accuracy regardless of other form elements
- Punching the release: Creates erratic, unpredictable arrow flight
Need practice gear? Check our Three-Finger Archery Glove for comfortable shooting sessions.
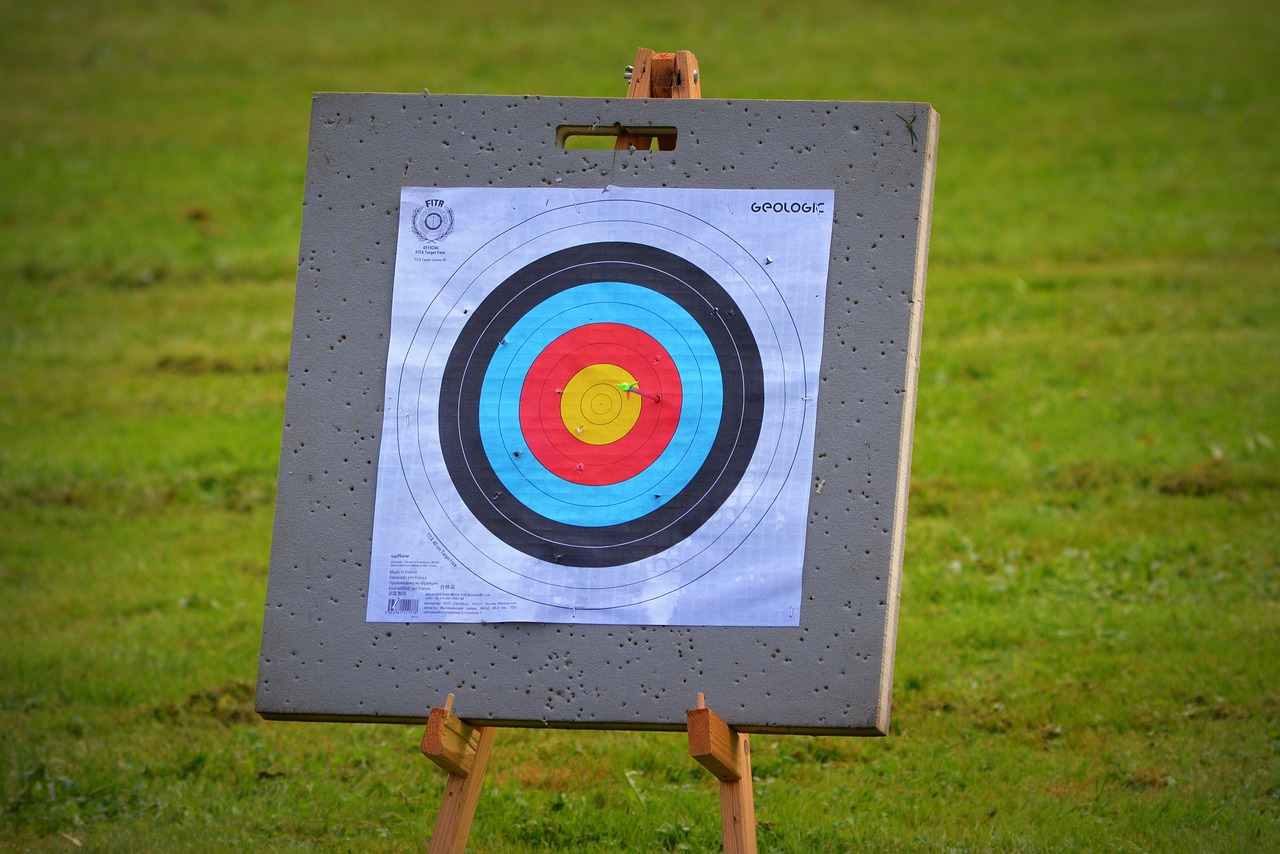
Ready to practice? Check out our paper targets in the shop.