
Archery Blog
Bowhunting for Beginners: From License to First Shot in One Season
May
Bowhunting for beginners looks deceptively simple from the outside — buy a bow, shoot a few arrows, sit in a tree. But the gap between target shooter and ethical hunter is wider than most new hunters realize, and the cost of skipping steps is a wounded animal or a wasted season. This guide walks you through the path that actually works: legal first, gear second, practice third, and the hunt itself only when the earlier pieces are locked in.
What Bowhunting Actually Is (And What It Isn’t)
Bowhunting is close-range, primitive-weapon hunting. Where a rifle hunter might take a deer at 200 yards, the average bowhunter shoots inside 25. Every yard you close on a game animal requires reading wind, terrain, food, and behavior. The shot itself takes a second — the woodcraft to set up that shot can take days.
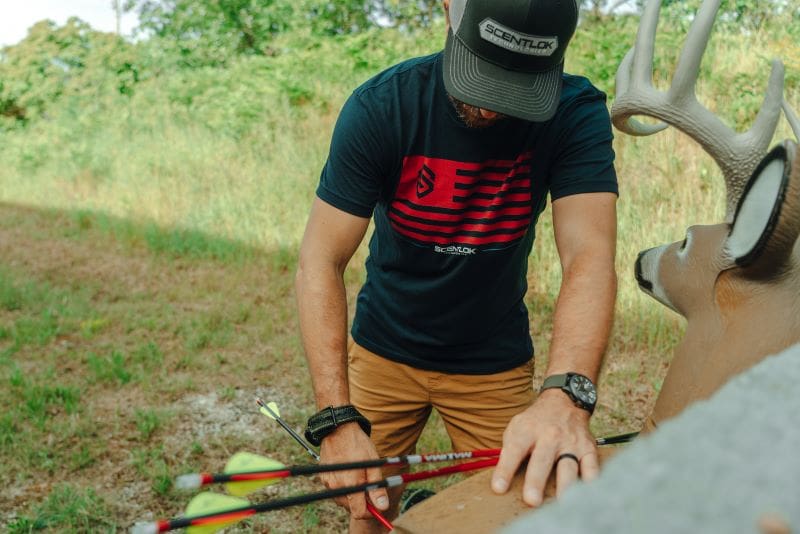
It also isn’t target archery with antlers. A 3D foam buck doesn’t smell you, doesn’t pin you with its eyes at full draw, and doesn’t move six inches as you release. Even hunters who can stack arrows in a paper plate at 40 yards regularly miss live deer at 18. Calibrate your expectations now and your first season will be more rewarding.
Step 1: Get Legal Before You Get Geared
Hunter Education Is Non-Negotiable
Nearly every U.S. state and Canadian province requires a hunter education certificate for new hunters born after a cutoff date (typically the mid-1970s onward). Many also require a separate bowhunter education course before you can purchase an archery tag. These are not check-the-box affairs — the bowhunter course covers shot placement, tracking, and ethics in ways that will save you a wounded animal in year one.
Most courses are now online with an in-person field day. Budget 10–15 hours total. Do this before you spend a dollar on gear, because some states won’t sell you a license at all without the certificate number in hand.
Tags, Seasons, and Public vs Private Land
Read your state wildlife agency’s regulations page cover to cover. Pay specific attention to: archery season dates (often weeks longer than rifle season), legal hunting hours (typically 30 minutes before sunrise to 30 minutes after sunset), minimum draw weight (commonly 35–40 pounds), and broadhead requirements (some states mandate a minimum cutting diameter or prohibit mechanical heads). Public-land access is mapped on apps like OnX or BaseMap — both let you see boundaries, ownership, and historic harvest density before you ever set foot in the woods.
Step 2: Pick a Bow Setup That Won’t Punish You
Draw Weight Reality Check
The single biggest beginner mistake is buying too much bow. A 70-pound compound looks impressive in the shop and feels miserable in November when you’re cold, sitting still, and trying to draw smoothly without spooking a buck at 20 yards. Most modern compounds are adjustable across a 10–15 pound range — start at 55–60 pounds, build clean and repeatable form, and crank up later only if you genuinely need more energy for elk or larger game. Whitetails die at 40 pounds of draw with a sharp broadhead.
Arrow Spine and Broadhead Match
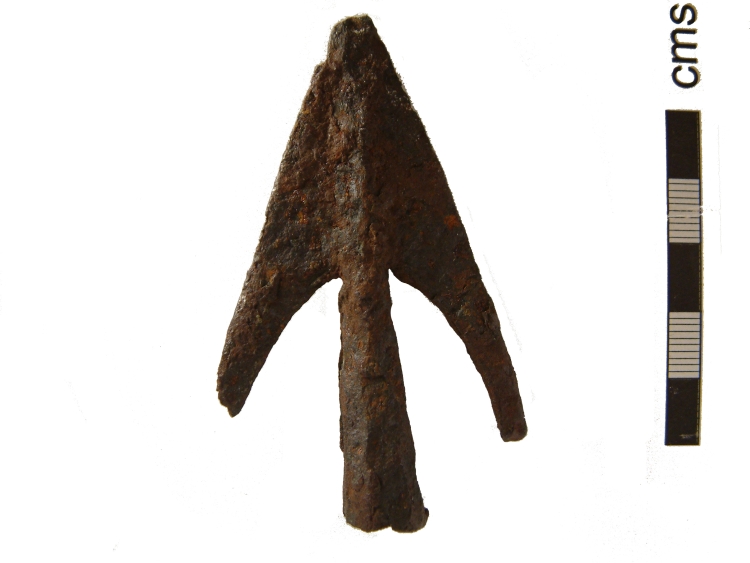
Your arrow spine must match your draw weight and length — this is non-negotiable for accurate, safe flight. Use the manufacturer’s spine chart for your specific arrow brand and don’t guess. For broadheads, fixed-blade heads (three or four blades, no moving parts) are the most forgiving for beginners and legal everywhere. Mechanical (expandable) broadheads fly closer to your field points but demand a healthy poundage and clean form to deploy reliably on bone.
Shop Compound Bow Hunting Packages on Amazon →
Step 3: The Gear Beyond the Bow
Treestand, Saddle, or Ground Blind
Where you sit changes everything about your hunt. The three real options for a new bowhunter:
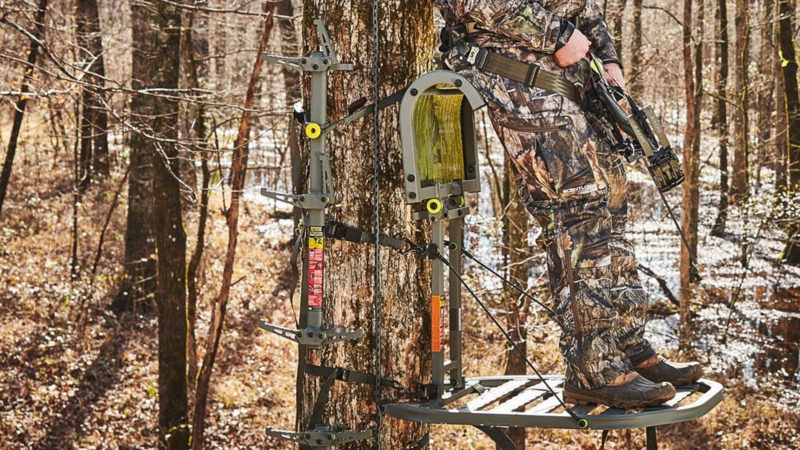
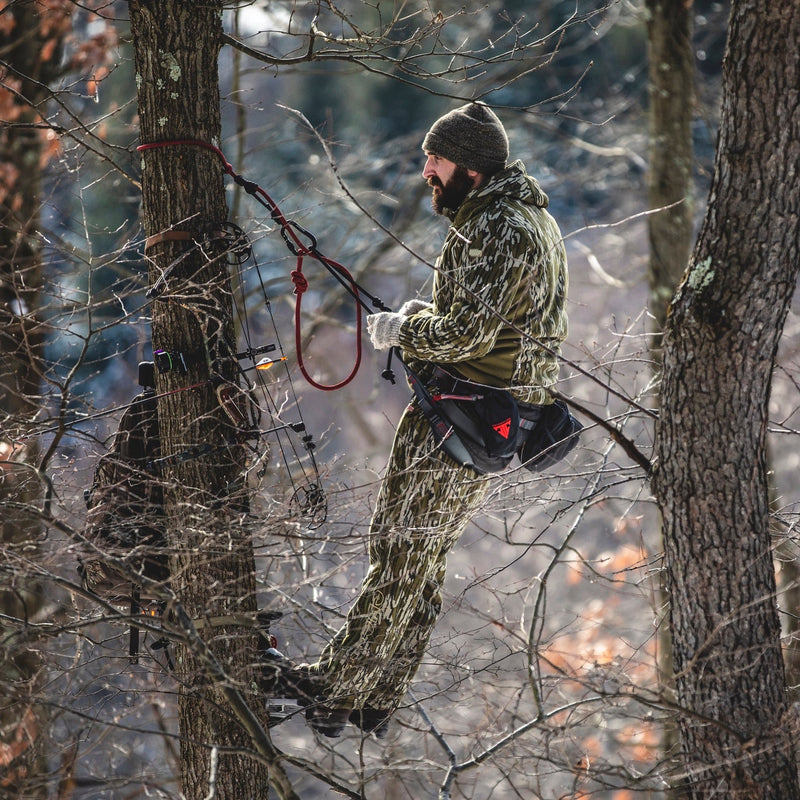
- Hang-on treestand. The traditional choice — a fixed platform 15–20 feet up, accessed by climbing sticks. Stable, comfortable for long sits, but a hassle to relocate mid-season.
- Saddle. A climbing harness that lets you hunt off a small platform or even bare bark. Mobile, packable, and increasingly popular, but a steep learning curve before you shoot well from one.
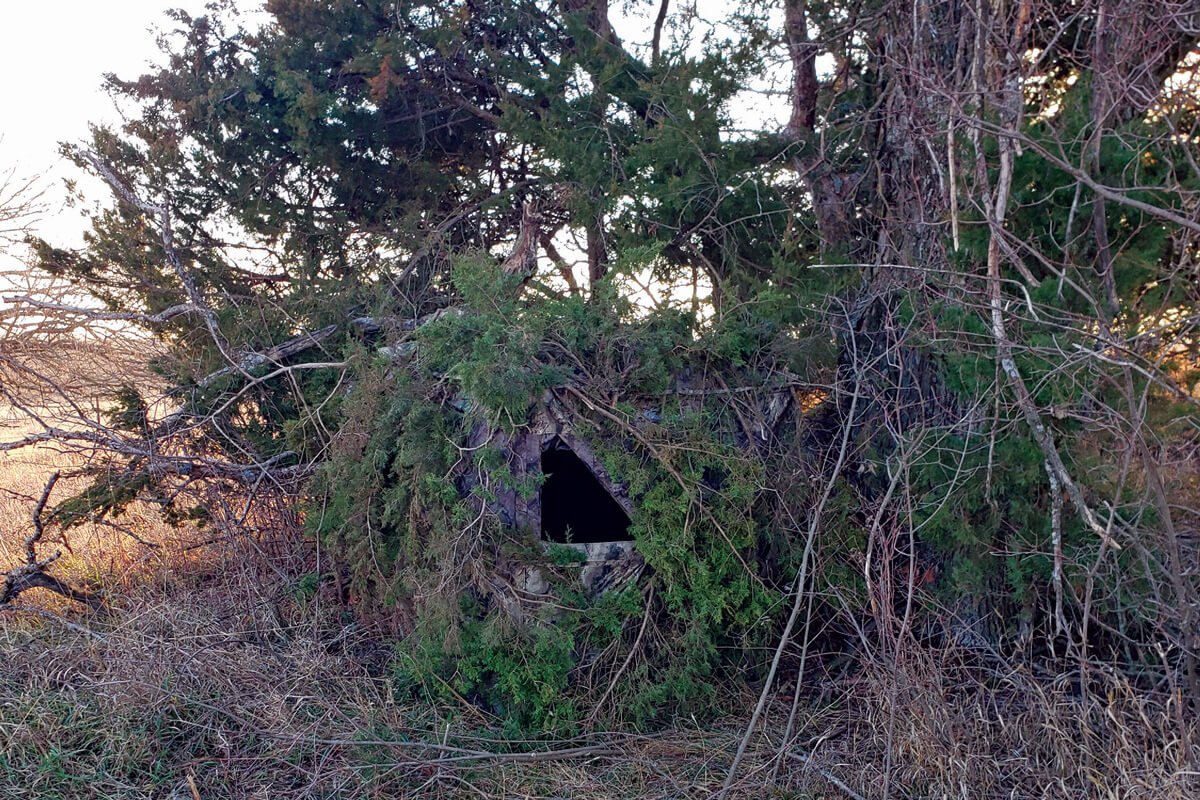
- Ground blind. A pop-up fabric hide. Great for new hunters, kids, and gun-season carryover, but you must brush it in and let local deer pattern it for at least a week before you sit it.
Whichever you choose, a full-body safety harness is mandatory anywhere off the ground. More bowhunters are injured in tree-stand falls each year than by any other cause. Buy the harness before the stand, and never climb without a lifeline rope attached from boots-on-the-ground to seated-and-secure.
Scent Control, Camo, and the Wind
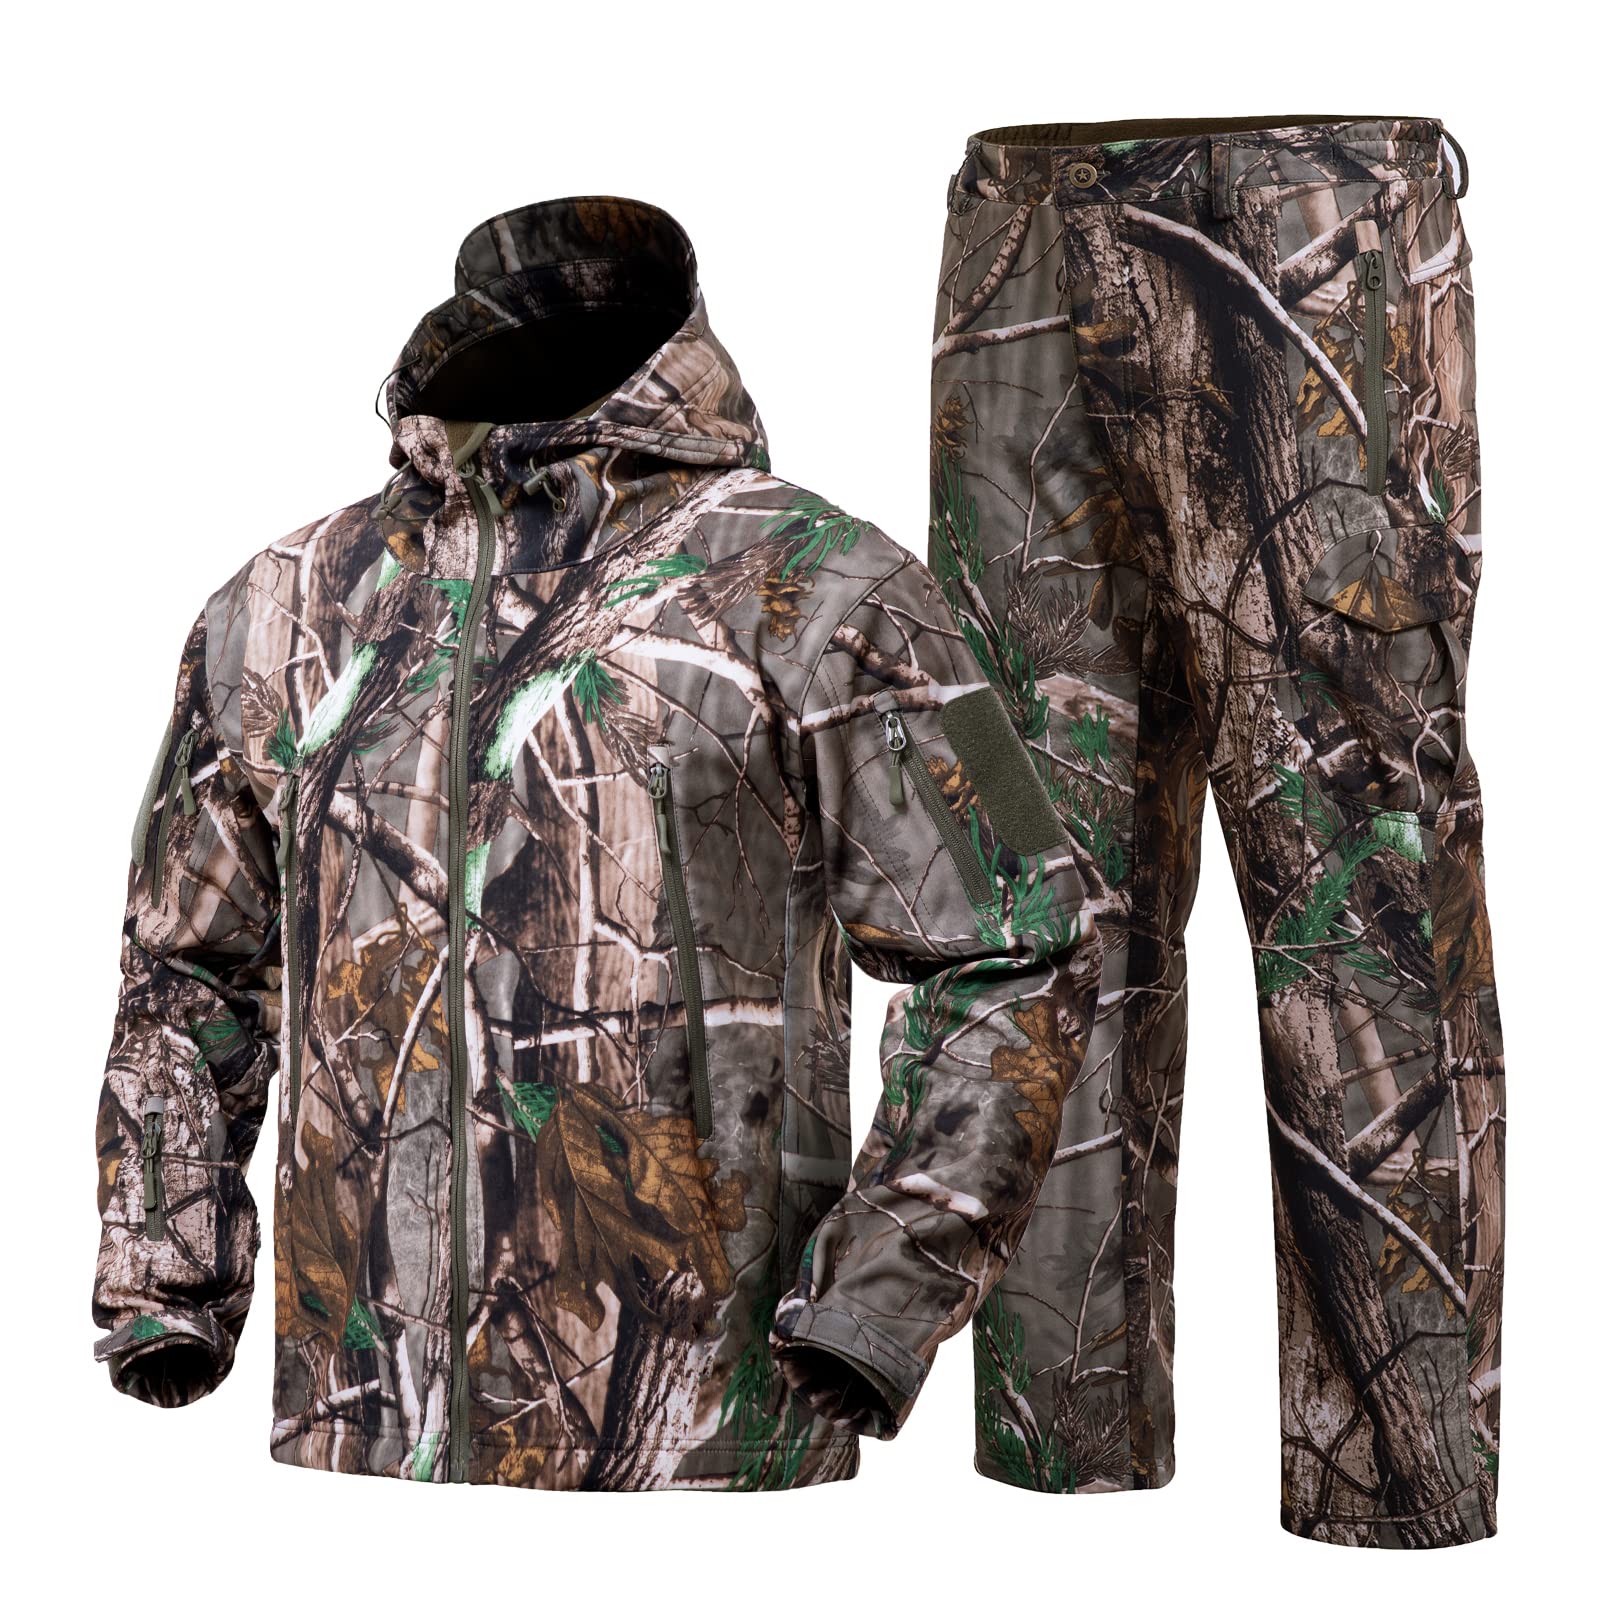
You will not beat a whitetail’s nose with spray. Carbon suits, ozone generators, and scent-free soaps all help at the margin, but wind is the only thing a deer actually believes. Learn to read a wind app, check it every time you enter the woods, and never hunt a stand with the wrong wind no matter how good the sign looks. Patterned camo helps you break up your outline at close range — solid earth tones work nearly as well at typical bow distances.
Step 4: Practice Like You’ll Actually Hunt
Build a Repeatable Shot Routine
Every shot you take in the offseason should look identical: stance, grip, draw, anchor, aim, surprise release, follow-through. The hunt itself adds adrenaline, awkward angles, and time pressure — none of which you can rehearse if your base shot is sloppy. Shoot fewer arrows with full focus rather than 60 arrows on autopilot. Twenty deliberate shots beat a hundred lazy ones for hunting prep.
Distance Discipline and Real-World Reps
Set a personal maximum range — for most first-year bowhunters that’s 25 or 30 yards — and never take a shot past it on a live animal regardless of how confident you feel in the moment. Practice from elevated platforms if you’ll hunt from a stand. Shoot in your hunting clothes including the harness. Shoot kneeling, sitting, and from awkward 3D-target angles. Hunters who only practice from a flat range often miss low when shooting downward from a stand, because they forget to bend at the waist and maintain a proper anchor.
Shop Treestand Safety Harnesses on Amazon →
Step 5: Shot Placement and the Quick, Clean Kill
An arrow kills by hemorrhage, not shock. Your job is to put a sharp broadhead through both lungs — the largest, most blood-rich vital zone on a deer-sized animal. The aim point for a broadside whitetail is roughly four inches behind the shoulder crease, about one-third of the way up the body. Quartering-away angles open the lung cavity beautifully and are often the best shot a bowhunter sees. Quartering-toward shots are tempting but easy to ruin on the shoulder blade — most experienced bowhunters pass on them entirely.
Wait for the animal to step forward with the near leg, fully exposing the vitals. Pick a single hair to aim at, not the whole animal. Squeeze the release through a surprise break. Watch the arrow’s point of impact and the deer’s exit route — those two pieces of information drive your entire tracking job.
Step 6: The Tracking Job
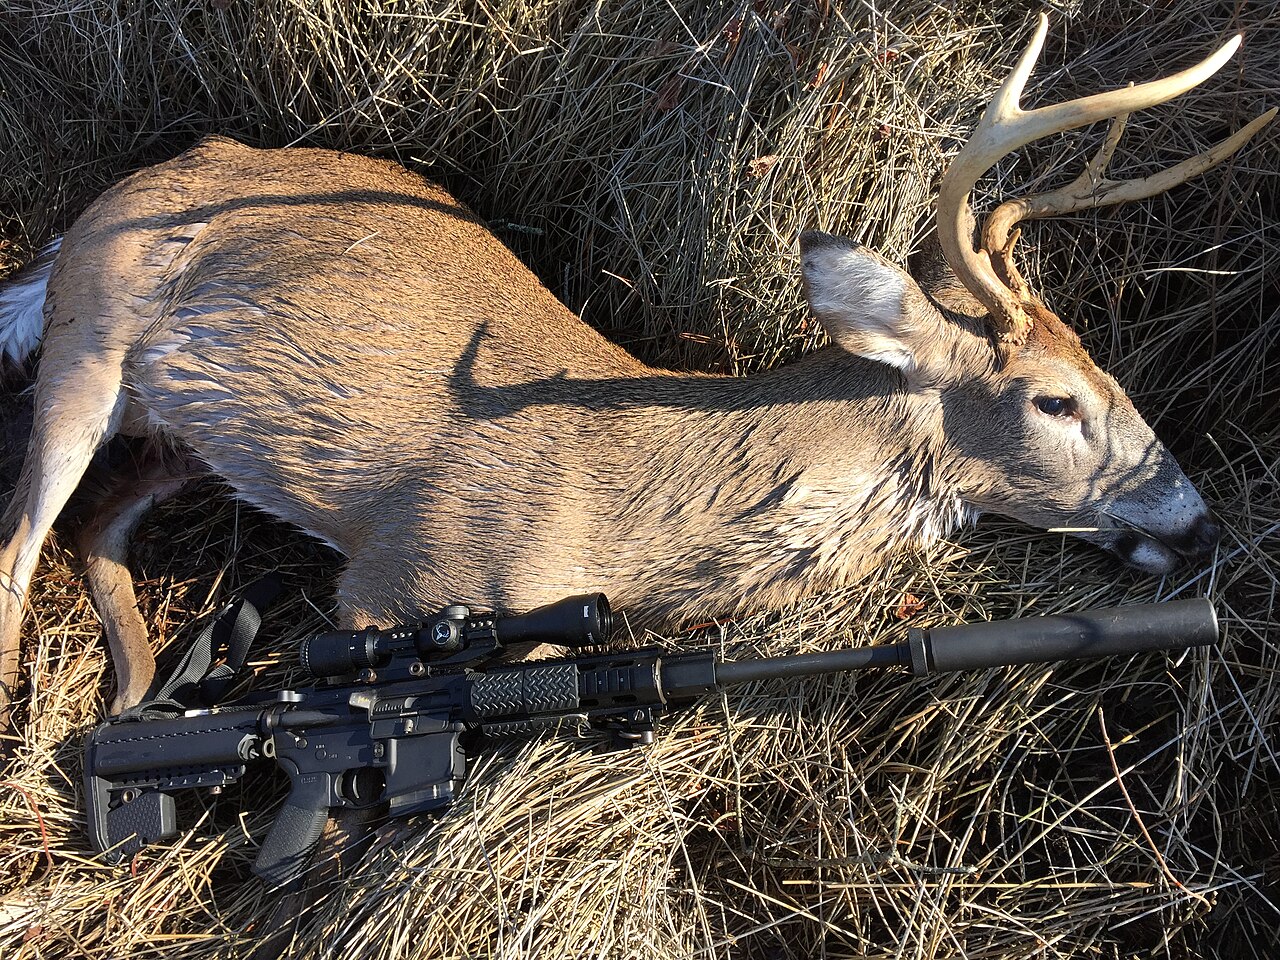
Most bowhunting kills happen within 100 yards of the shot, but the deer rarely drops in sight. Sit quietly in the stand for at least 30 minutes — longer if the shot was anything other than perfect. A pushed deer can run for a mile on the same wound that would have killed it in 80 yards if left alone. When you get down, find your arrow first. Bright red, frothy blood with bubbles means lungs and a fast recovery. Dark red blood means liver — wait six hours. Greenish, foul-smelling matter on the shaft means gut — back out, return in 12 hours, ideally with a tracking dog if your state allows them.
Common First-Year Mistakes
- Over-bowing. Choosing 70 pounds because the shop recommended it. Drop ten pounds and shoot better, period.
- Hunting your stand too often. Every sit burns scent and pattern. A great spot hunted weekly will quit producing by Halloween.
- Ignoring wind for sign. Big tracks and fresh rubs mean nothing if your scent blows straight into the bedding area.
- Taking the marginal shot. When the animal is quartering toward you at 38 yards in fading light, the right answer is almost always to let down.
- Pushing a hit deer. The deer is dying. You have time. Sit down, breathe, and wait the full window before tracking.
- Skipping the post-season tune. Limbs, cams, strings, and rests all drift across a year. A bow you trusted in October needs verification in August.
Shop Fixed-Blade Broadheads on Amazon →
Your First Season Checklist
- Complete hunter education plus the separate bowhunter education certificate.
- Purchase the correct license and archery tag for your specific unit.
- Buy a quality used or entry-level package bow set at a moderate, manageable draw weight.
- Order matched arrows and broadheads; tune until field points and broadheads hit the same point of impact at 20 yards.
- Scout via mapping apps in summer; in-person scouting from late August through early September.
- Hang or place your stand at least two weeks before opening day to let the area settle.
- Practice three to five times per week through the offseason; taper the week before the hunt.
- Always wear your safety harness, always check the wind, always pick a single hair.
Sources
- U.S. Fish and Wildlife Service — federal hunting regulations and migratory game guidance
- Pope and Young Club — bowhunting record-keeping and ethics organization
- National Bowhunter Education Foundation — the official bowhunter education curriculum used by most state agencies
- Wikipedia: Bowhunting — general history and overview
Browse archery bows, arrows, and accessories at the Archery Supplier shop →
