Archery Blog
Bow Sight Adjustment Guide: Master Windage, Elevation & Pin Settings for Perfect Accuracy
Mar
Proper bow sight adjustment is the foundation of accurate archery. Whether you’re a beginner learning the basics or an experienced archer fine-tuning your setup, understanding how to correctly adjust your bow sight will dramatically improve your accuracy and consistency on the range or in the field.
Understanding Bow Sight Basics
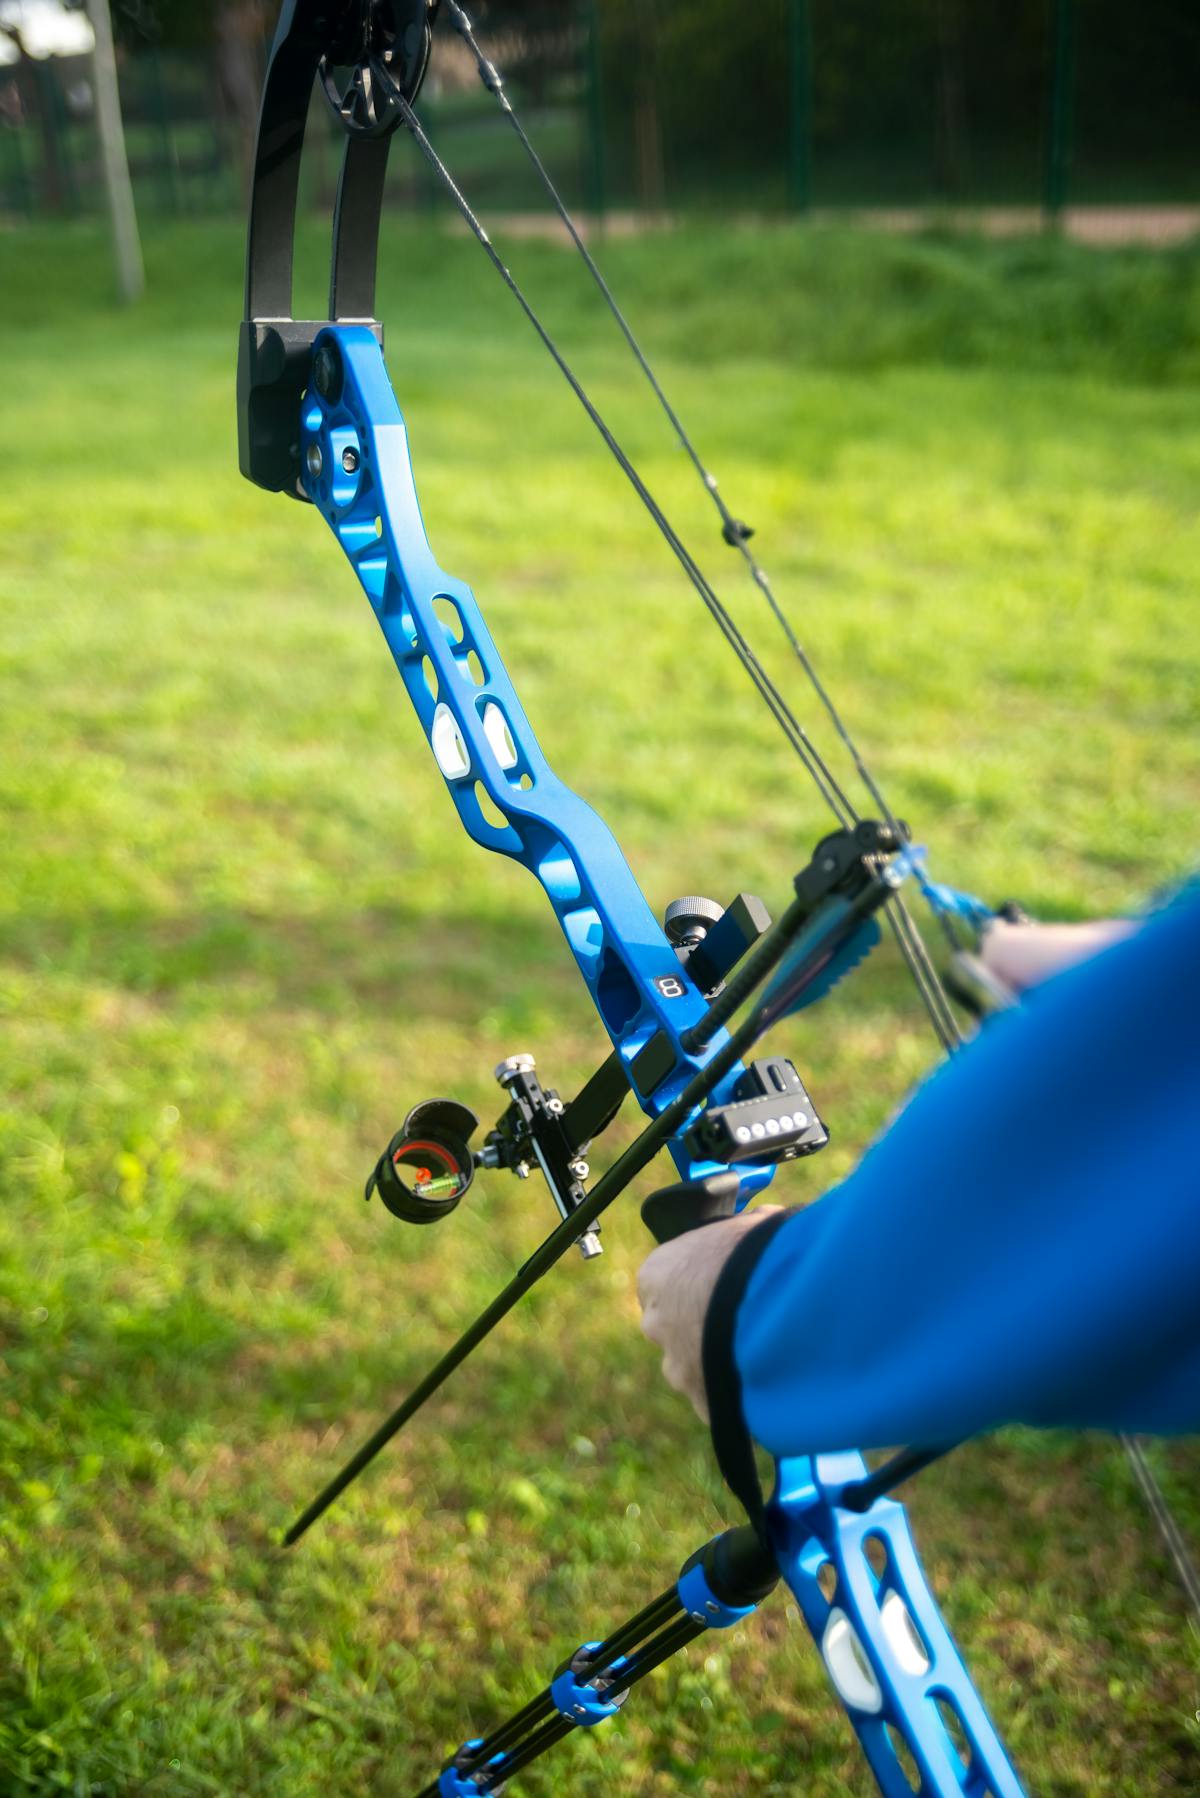
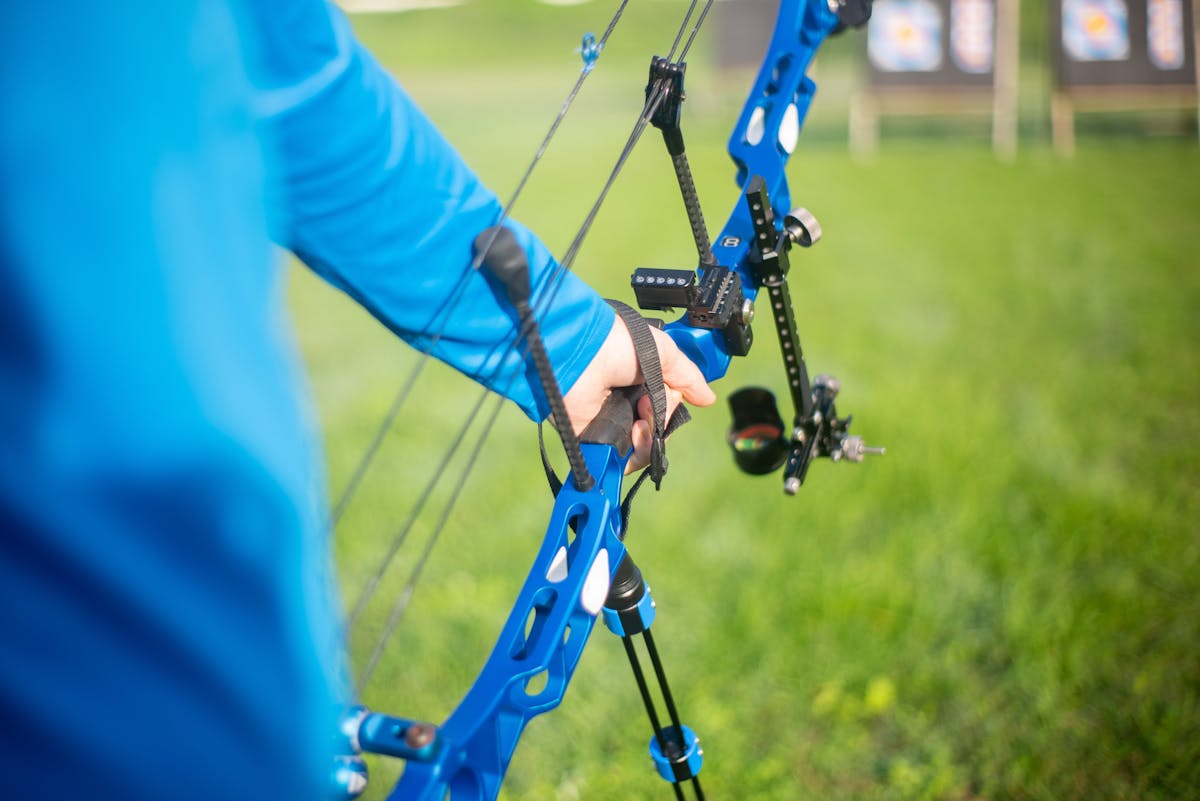
A bow sight serves as your primary aiming reference, allowing you to place arrows precisely where you intend. Modern compound bow sights typically feature adjustable pins or reticles that can be moved in two directions: windage (left and right) and elevation (up and down). Some advanced sights also include second and third axis adjustments for perfect alignment.
The fundamental principle of bow sight adjustment follows a simple rule: move your sight in the direction your arrows are hitting. If your arrows consistently group to the right of your target, adjust your sight to the right. If they’re hitting low, lower your sight. This “chase the arrow” method is the most reliable way to achieve accurate sight settings.
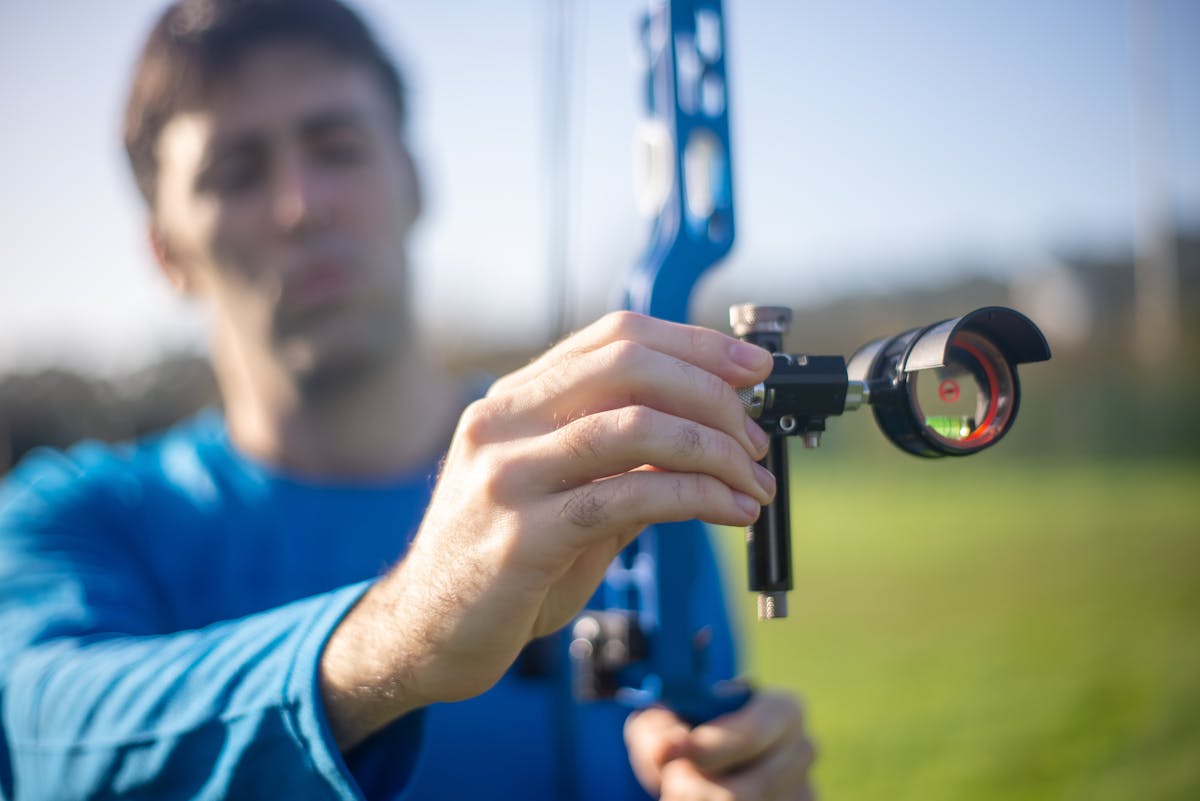
Most modern compound bow sights use fiber optic pins that gather ambient light, making them highly visible in low-light hunting conditions. The brightness and color of these pins — typically green, red, or yellow — help you acquire your aiming point quickly. Some sights also incorporate a round sight housing with a built-in level bubble that shows whether your bow is canted during the shot.
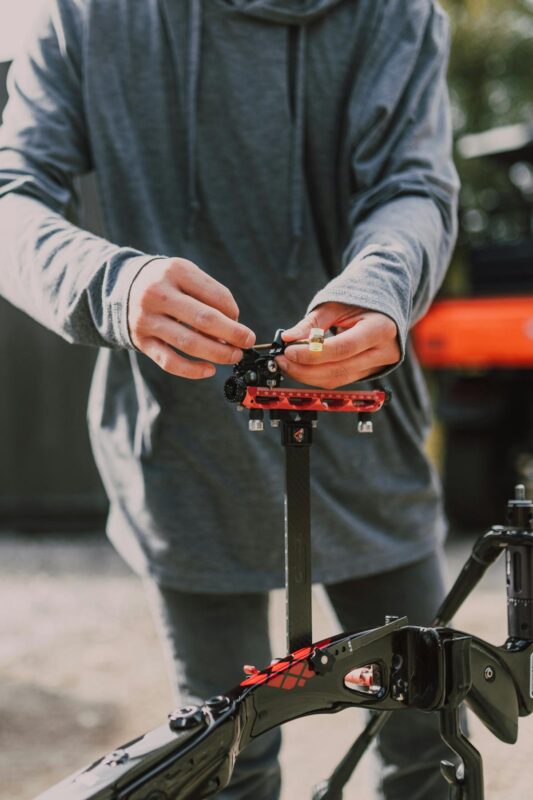
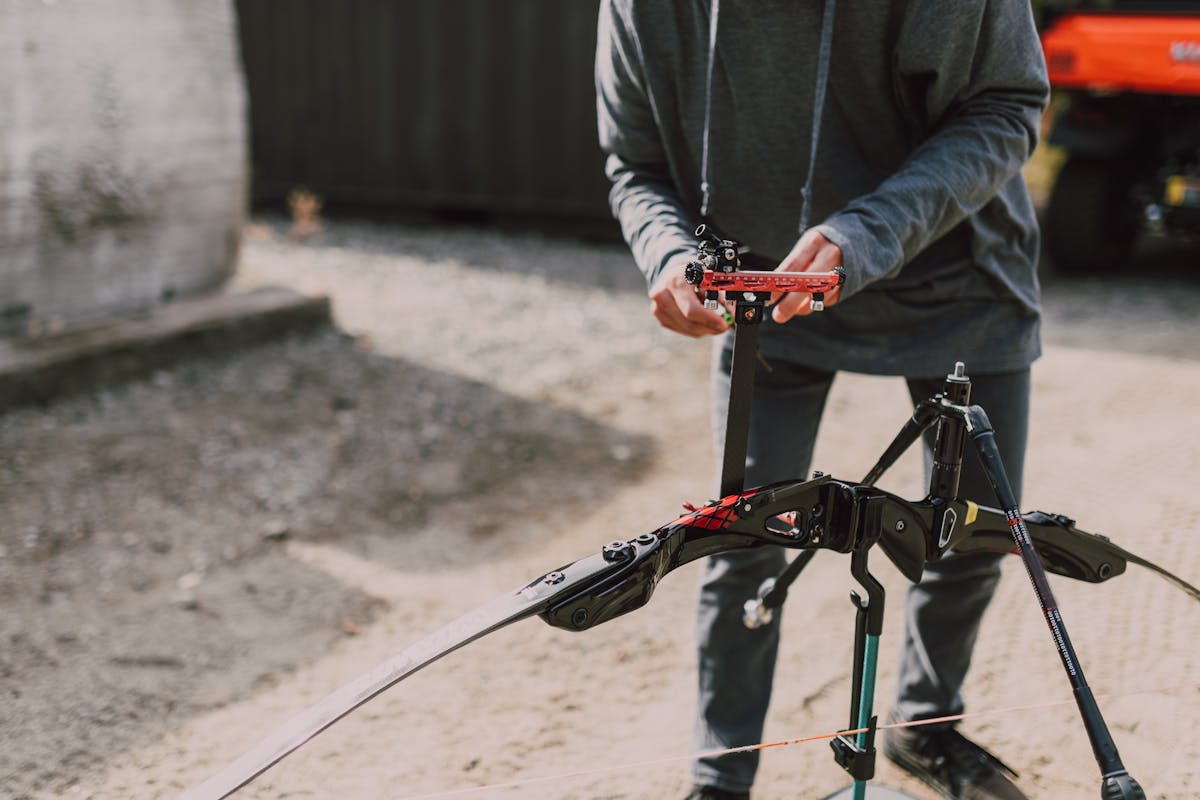
Essential Tools for Sight Adjustment
Before beginning any sight adjustment, ensure you have the proper tools. Most bow sights require hex keys (Allen wrenches) for adjustments. A basic set of metric and standard hex keys will cover most sight models. Many sights include micro-adjustment knobs that can be turned by hand, while others require tools for both coarse and fine adjustments.
Additionally, you’ll need a stable shooting rest or bench, quality arrows, and a clear target face with distinct aiming points. Shooting from a consistent position eliminates form variables and allows you to focus solely on sight adjustments. A small notebook or smartphone app for recording your settings at each distance is also invaluable — you’ll want to track what works so you can replicate it later or recover quickly if something gets bumped.
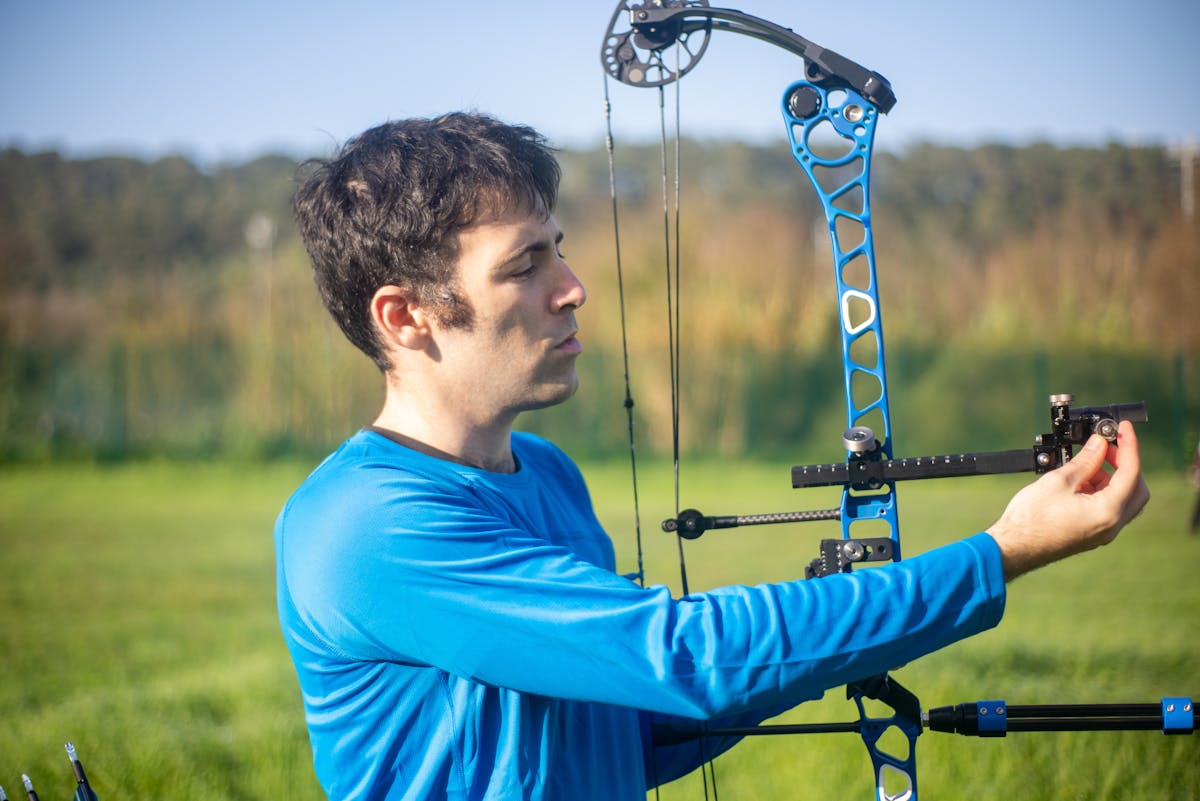
Step-by-Step Sight Adjustment Process
Initial Setup and Safety Checks
Start your sight adjustment process at close range, typically 10-15 yards. This distance allows for easier arrow grouping while minimizing the effects of minor form inconsistencies. Before shooting, verify that all sight mounting screws are secure and that your peep sight aligns properly with your sight housing.
Shoot a group of three to five arrows with your best form. Consistent shooting technique is crucial during sight adjustment – any changes in your anchor point, grip, or release will affect arrow placement and lead to incorrect sight settings.
Windage Adjustments
Windage adjustments control left and right arrow placement. If your arrow group consistently hits to the right of your aiming point, move your sight pin to the right. Conversely, if arrows hit left, adjust your sight left. Make small adjustments – typically 1/8 to 1/4 inch movements at close range.
Many modern sights feature micro-adjustment knobs with click values. Each click typically represents a specific measurement at various distances. Familiarize yourself with your sight’s click values to make precise adjustments without overshooting your target placement.
Elevation Adjustments
Elevation adjustments control the vertical placement of your arrows. If your group hits high, raise your sight pin. If arrows hit low, lower your sight pin. Remember that small adjustments at short distances translate to larger changes at longer ranges.
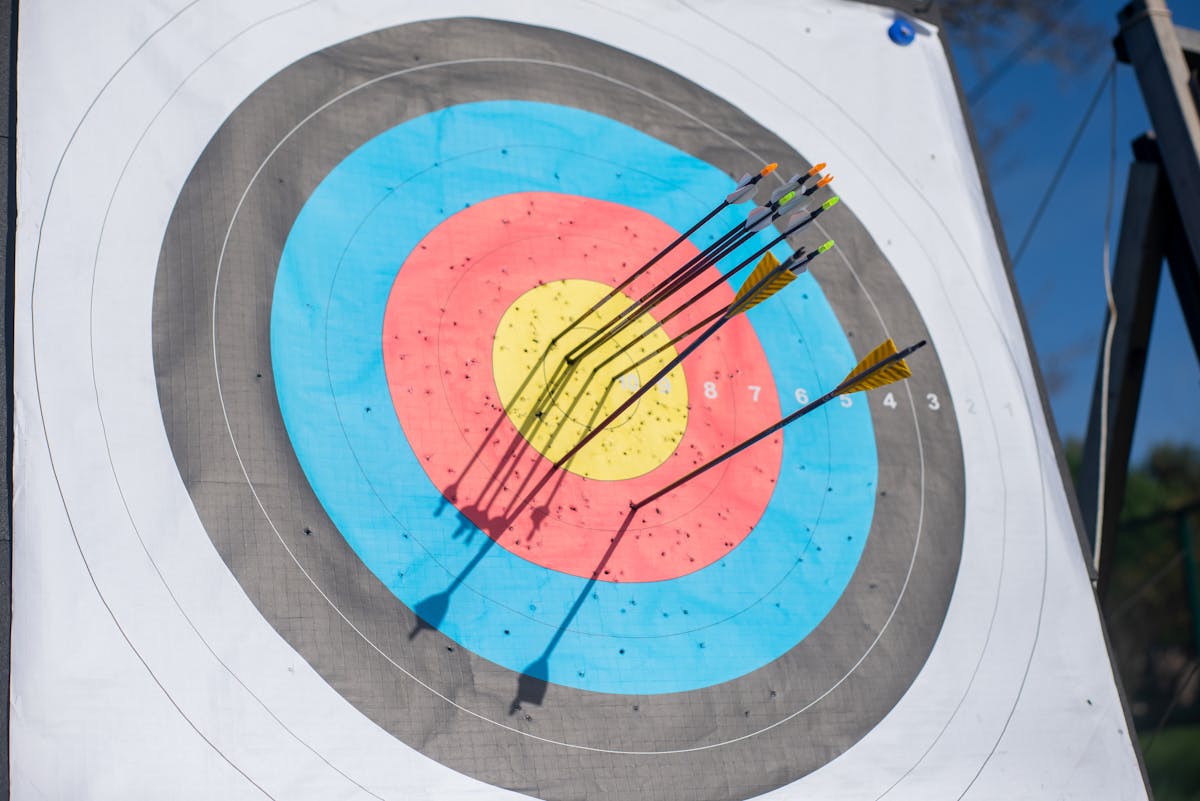
When making elevation adjustments, consider your intended shooting distances. If you plan to shoot multiple distances, start with your closest range and work progressively farther. Most hunters sight their top pin for 20 yards, then adjust subsequent pins for 30, 40, and 50 yards.
One practical tip: after each adjustment, shoot at least three arrows before evaluating. A single arrow can be misleading due to slight form errors. Three to five arrows give you a real group to assess, and you should base your next move on where the center of that group lands relative to your aiming point.
Multi-Pin vs Single-Pin Sight Adjustments
Multi-Pin Sight Setup
Multi-pin sights typically feature 3-7 pins arranged vertically, with each pin pre-set for specific distances. Begin by sighting your top pin at your closest distance (usually 20 yards). Once this pin is accurately adjusted, move to your next distance and adjust the corresponding pin.
The key to multi-pin success is maintaining consistent pin gaps. As distance increases, arrow drop becomes more pronounced, requiring lower pin placement. Most archers find that 10-yard increments work well for hunting applications, while target archers may prefer smaller gaps.
A common approach for a five-pin hunting sight is 20, 30, 40, 50, and 60 yards. However, some bowhunters prefer a 15-yard top pin if they frequently take close shots from treestands. The best pin configuration depends on your typical shooting scenarios and the arrow speed your bow produces — faster bows create tighter pin gaps because the arrows drop less over distance.
Single-Pin Moveable Sight Adjustment
Single-pin sights offer the advantage of an uncluttered sight picture but require adjustment for each distance. Most feature a slider mechanism with yardage markings or sight tapes. To set up a single-pin sight, establish your 20-yard zero, then move to longer distances and mark the slider positions.
Sight tapes provide pre-calculated settings based on your bow’s specifications and arrow speed. However, these are starting points – fine-tuning based on your specific setup is always necessary.
Advanced Sight Adjustments
Second Axis Adjustment
Second axis adjustment ensures your sight housing remains vertical relative to your bow. When shooting on uneven terrain or from elevated positions, proper second axis alignment prevents left and right misses. Most quality sights include a second axis adjustment screw in the sight housing.
To check second axis alignment, use a level on your bow’s riser and adjust the sight housing until its level bubble matches your bow’s orientation. This adjustment is particularly important for 3D archery and bowhunting in mountainous terrain.
Third Axis Adjustment
Third axis adjustment compensates for the bow’s natural cant during the drawing process. This advanced adjustment requires specific tools and knowledge, and many archers benefit from professional assistance for proper third axis setup. When the third axis is off, your level bubble may read correctly on flat ground but show inaccurate readings when shooting at steep uphill or downhill angles — a scenario every treestand or mountain hunter will encounter.
Common Sight Adjustment Mistakes
Over-Adjustment
The most common mistake in sight adjustment is making changes too quickly or too dramatically. Small, incremental adjustments allow you to fine-tune your sight without overshooting your target. If your arrows are hitting two inches right at 20 yards, start with a small adjustment rather than a large movement.
Ignoring Form Issues
Sight adjustments cannot compensate for inconsistent shooting form. If your arrow groups are scattered rather than consistently placed in the wrong location, focus on form improvement before making sight changes. Consistent anchor points, grip pressure, and release technique are prerequisites for accurate sight adjustment.
Environmental Factors
Wind, lighting conditions, and temperature can affect arrow flight and apparent sight picture. When possible, conduct initial sight adjustments in calm conditions with consistent lighting. Once your basic sight settings are established, practice in various conditions to understand how environmental factors affect your shots.
Troubleshooting Sight Adjustment Problems
Sight Won’t Adjust Far Enough
If you’ve reached the limit of your sight’s adjustment range but still can’t achieve proper zero, several solutions exist. For windage issues, check your arrow rest alignment and ensure your bow is properly tuned. For elevation problems, you may need to move your entire sight bracket up or down on the bow’s riser.
Some sights offer different mounting positions or extension lengths that can provide additional adjustment range. Consult your sight’s manual for specific options.
Sight Settings Keep Changing
If your sight settings seem to drift over time, check all mounting screws for tightness. Vibration from shooting can gradually loosen sight components, leading to accuracy problems. Use threadlocker compound on screws if recommended by your sight manufacturer. Blue Loctite (medium strength) is the go-to choice — it prevents vibration loosening while still allowing you to remove screws with a hex key when you need to make future adjustments.
Maintaining Your Bow Sight Settings
Once you’ve achieved accurate sight settings, record them for future reference. Many archers keep a shooting log with sight settings for different distances, arrows, and conditions. This information proves invaluable when switching between hunting and target setups or when traveling to different shooting venues.
Regular maintenance includes checking sight pin brightness, cleaning sight housing windows, and verifying that all adjustment mechanisms move smoothly. Replace worn or damaged sight components before they affect accuracy.
Professional vs DIY Sight Adjustment
While basic sight adjustments can be performed by any archer, complex issues may require professional attention. Archery pro shops have specialized tools and expertise for advanced adjustments like paper tuning, cam timing, and third axis alignment.
Consider professional help if you experience persistent accuracy problems, if your arrows aren’t grouping consistently, or if you’re uncomfortable making adjustments yourself. The cost of professional tuning often pays dividends in improved accuracy and shooting enjoyment.
Mastering bow sight adjustment is essential for archery success. Whether you shoot for recreation, competition, or hunting, properly adjusted sights give you the confidence to place arrows exactly where you aim. Small changes, consistent shooting form, and patience will lead to the accuracy you desire. Take time to understand your specific sight’s features and adjustment mechanisms, practice the adjustment process regularly, and don’t hesitate to seek professional help when needed. With properly adjusted sights and consistent practice, you’ll achieve the accuracy that makes archery both challenging and rewarding.