Archery Blog
Archery Release Aid Guide | Wrist, Thumb, Hinge & Back Tension Types Explained
Mar
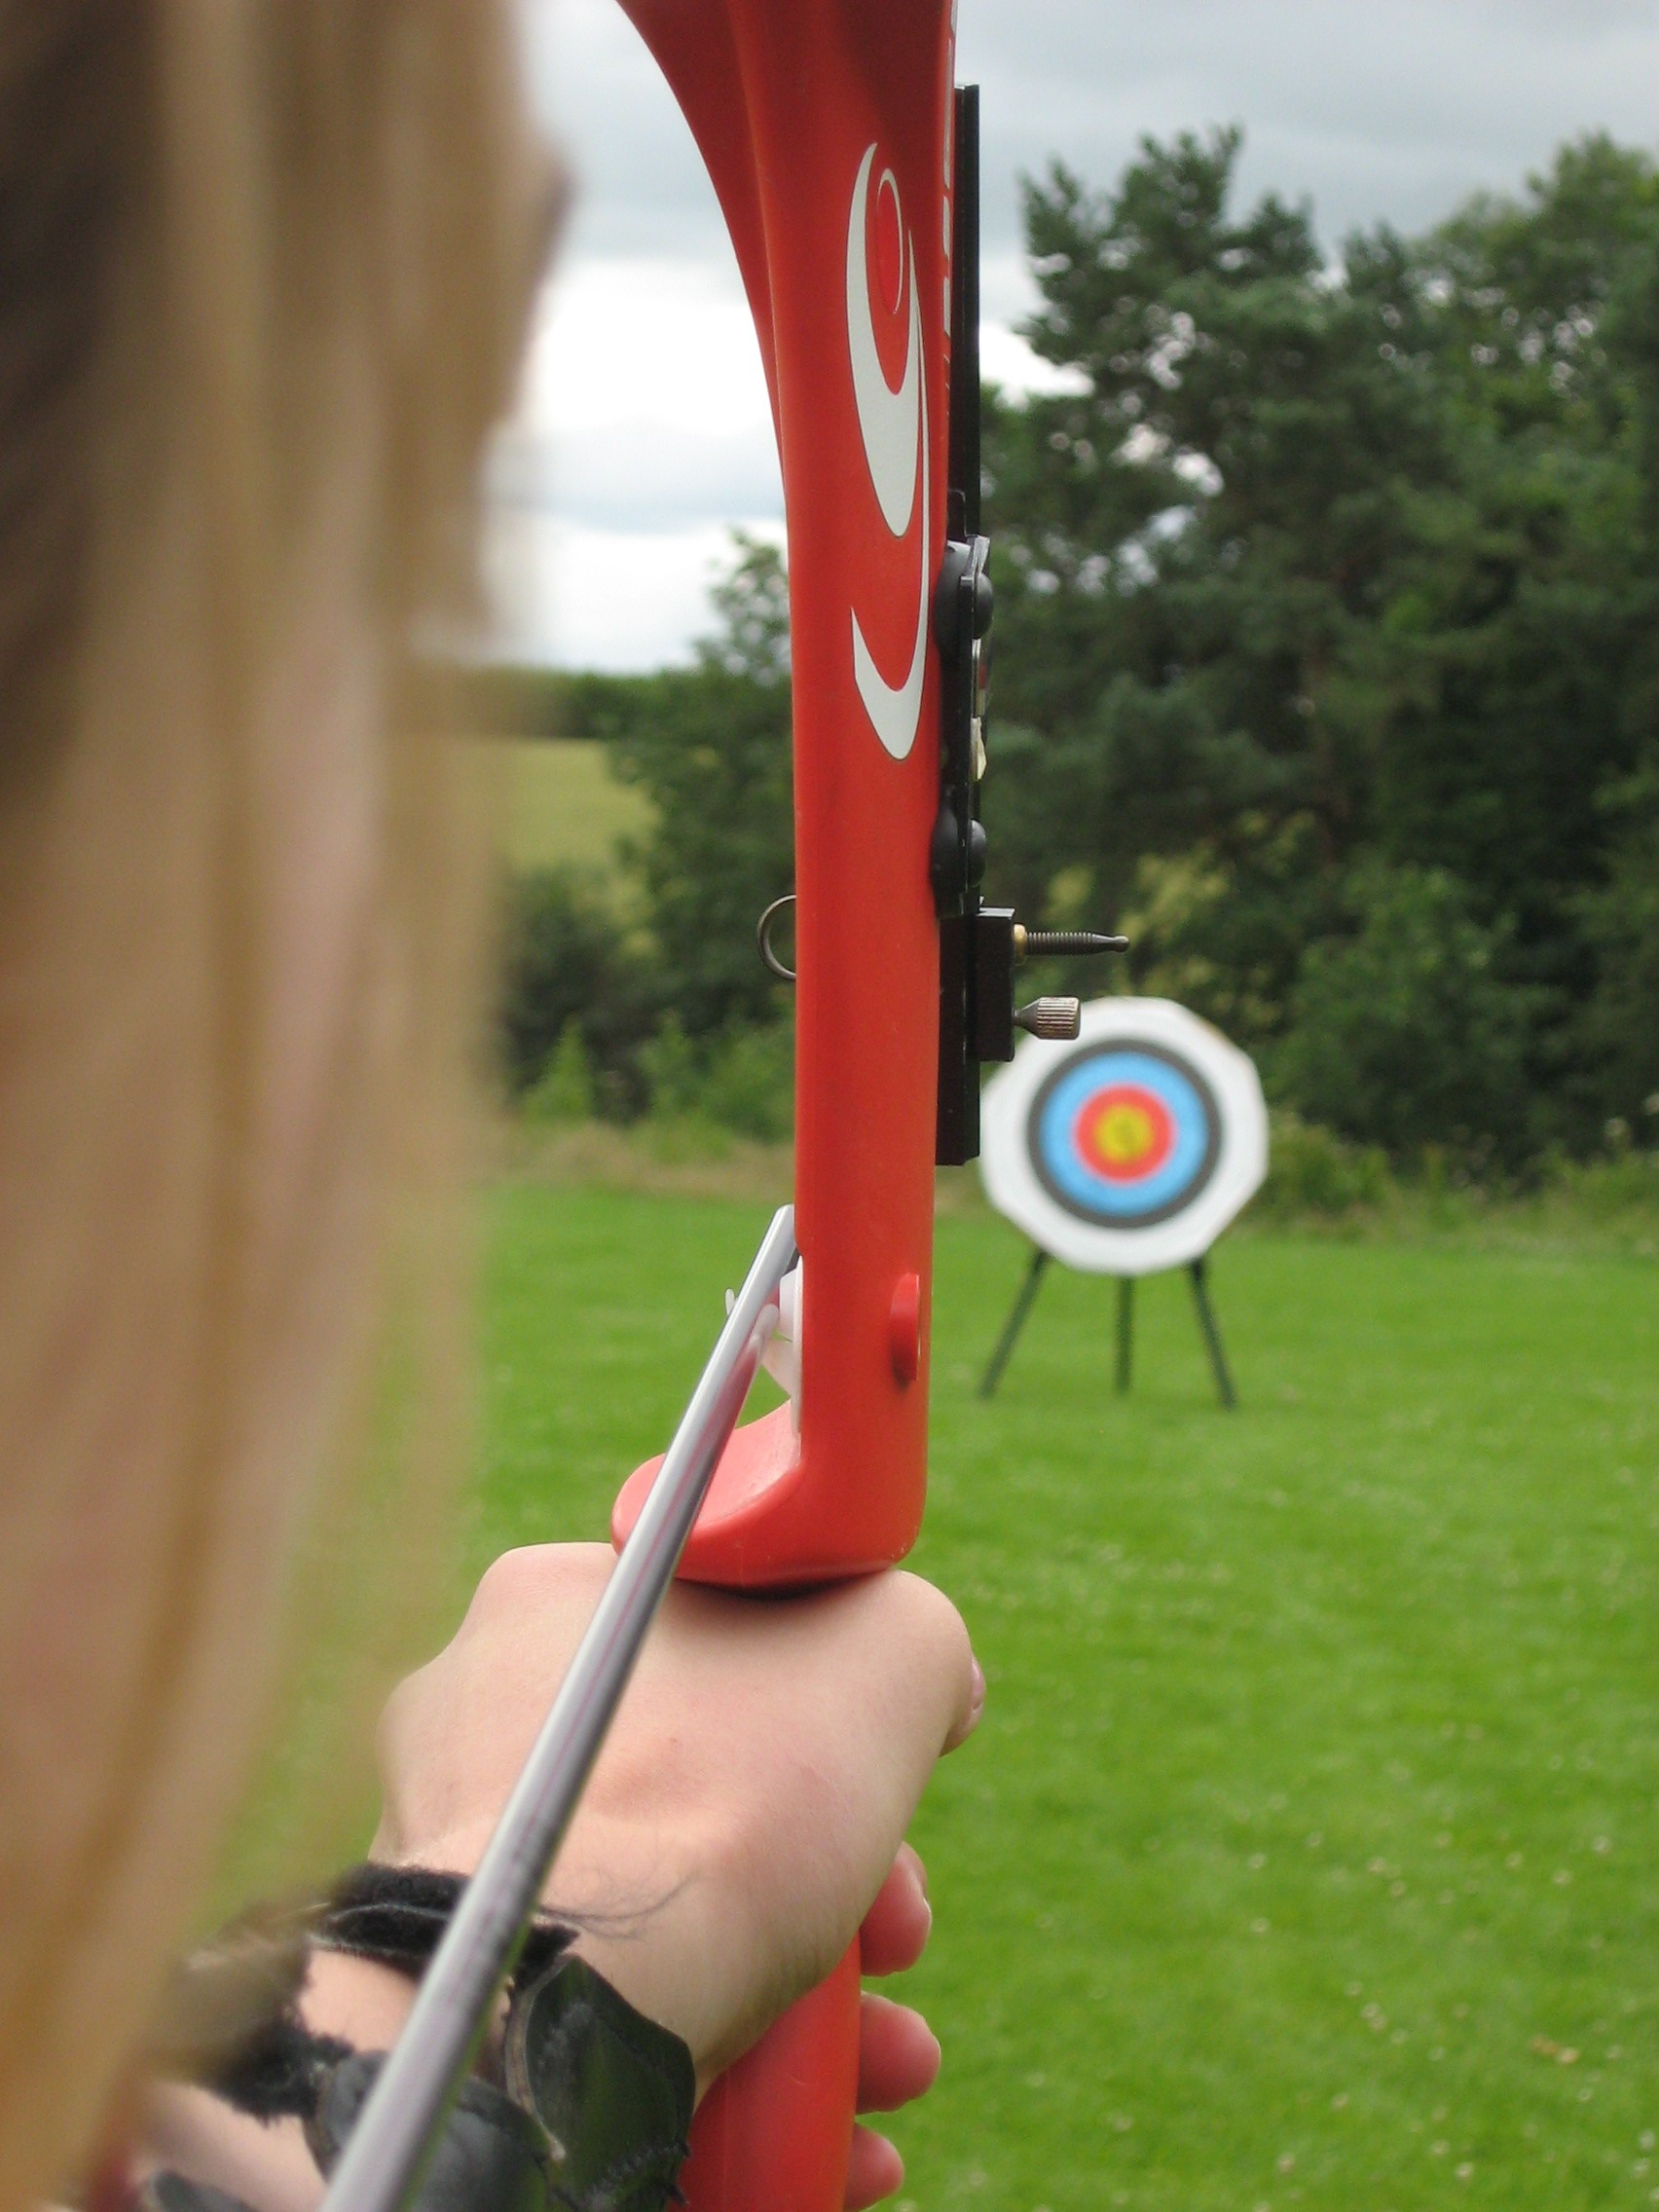
An archery release aid is the mechanical device that connects your hand to the bowstring and controls when the string lets go. Every compound archer uses one, and picking the wrong type can stall your progress for months. The right release for your shooting style eliminates bad habits, reduces target panic, and tightens groups at every distance.
This guide breaks down the four main types of archery release aids — index finger wrist releases, thumb button releases, hinge releases, and tension-activated releases — so you can match the right tool to how you actually shoot.
Why Your Release Aid Matters More Than You Think
Most compound archers obsess over draw weight, arrow spine, and sight pins. The release aid gets overlooked, but it controls the single most critical moment in every shot: the instant the string leaves. A clean release sends the arrow straight. A punched trigger sends it sideways.
The difference between a 290 and a 300 score in a 30-arrow round often comes down to release execution. Whether you hunt whitetails from a treestand or chase X-rings at an indoor league, how the string leaves your hand defines your ceiling as an archer.
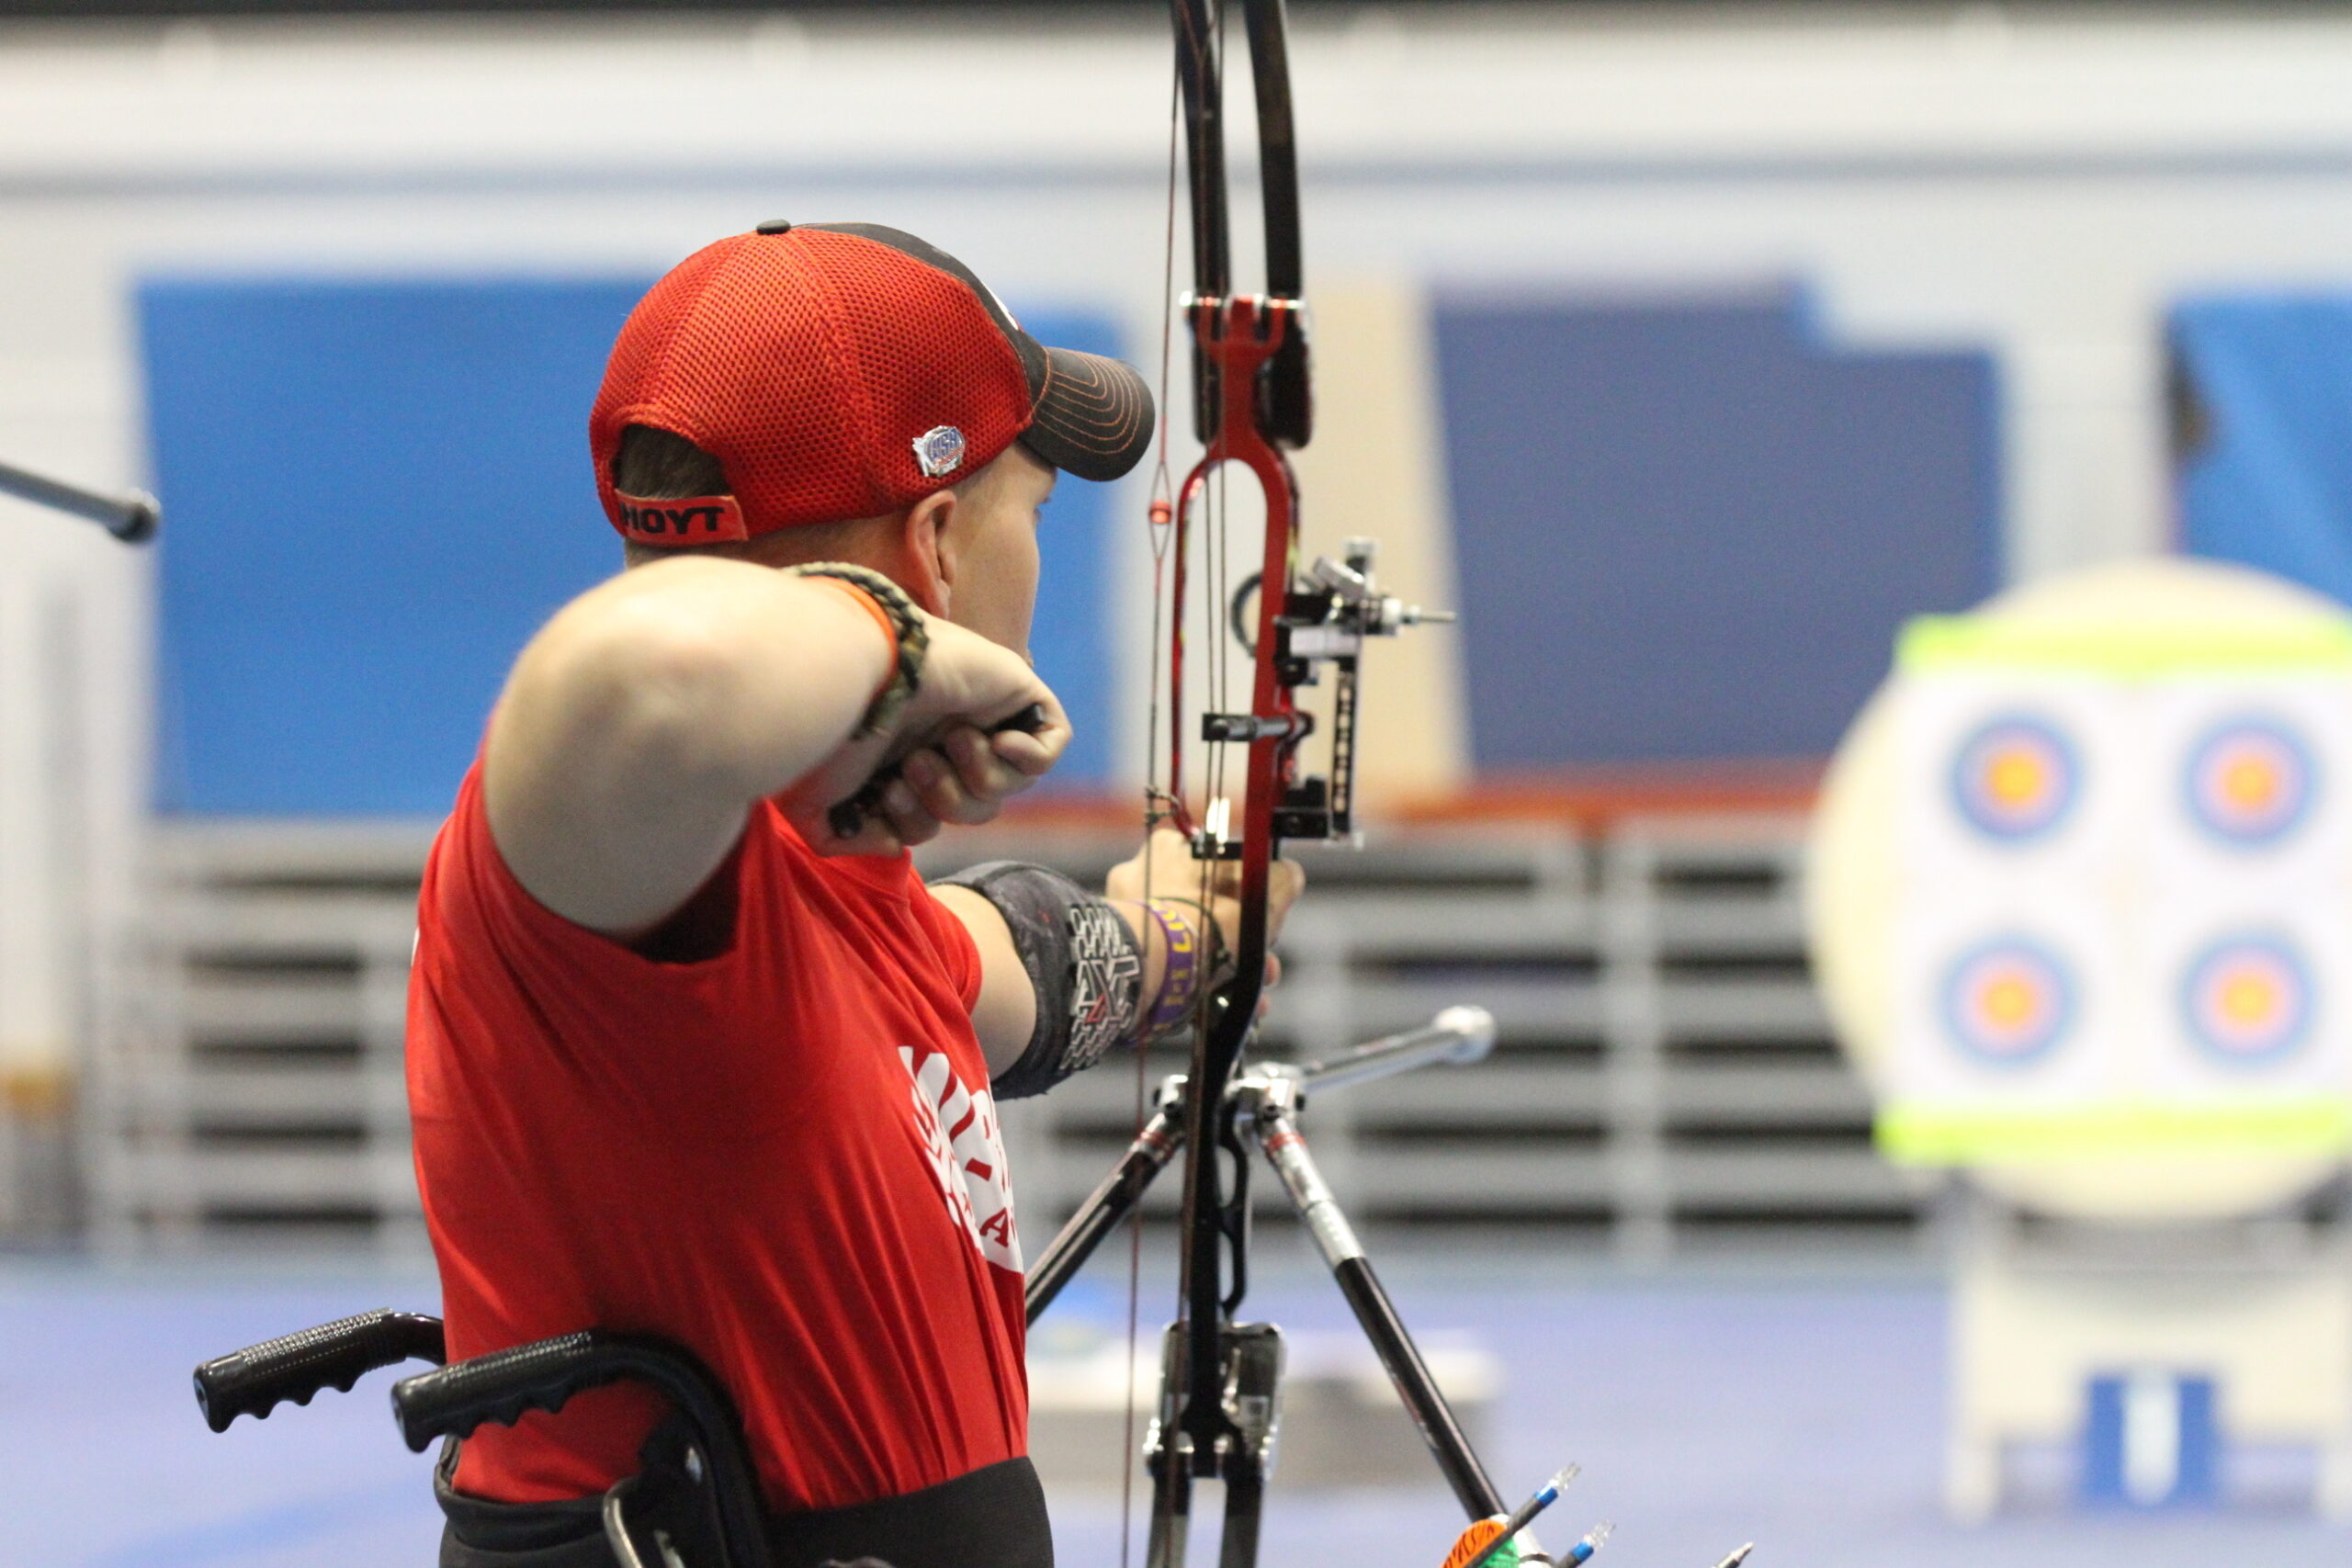
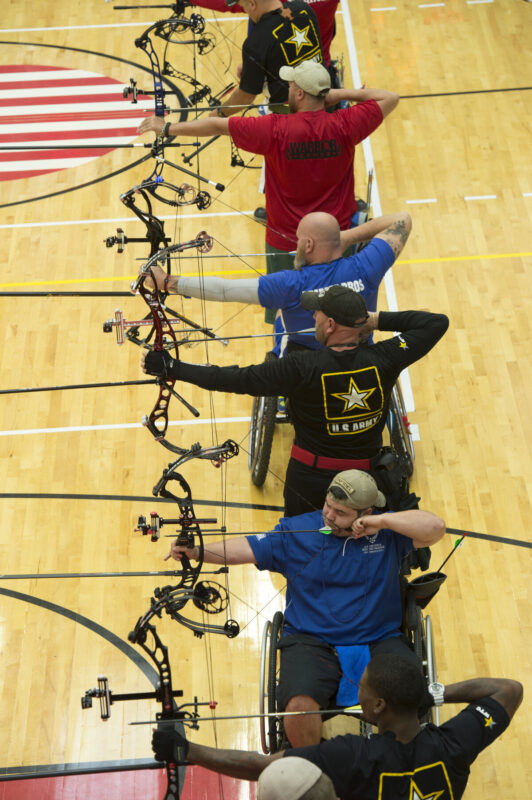
Index Finger Wrist Release — The Most Popular Starting Point
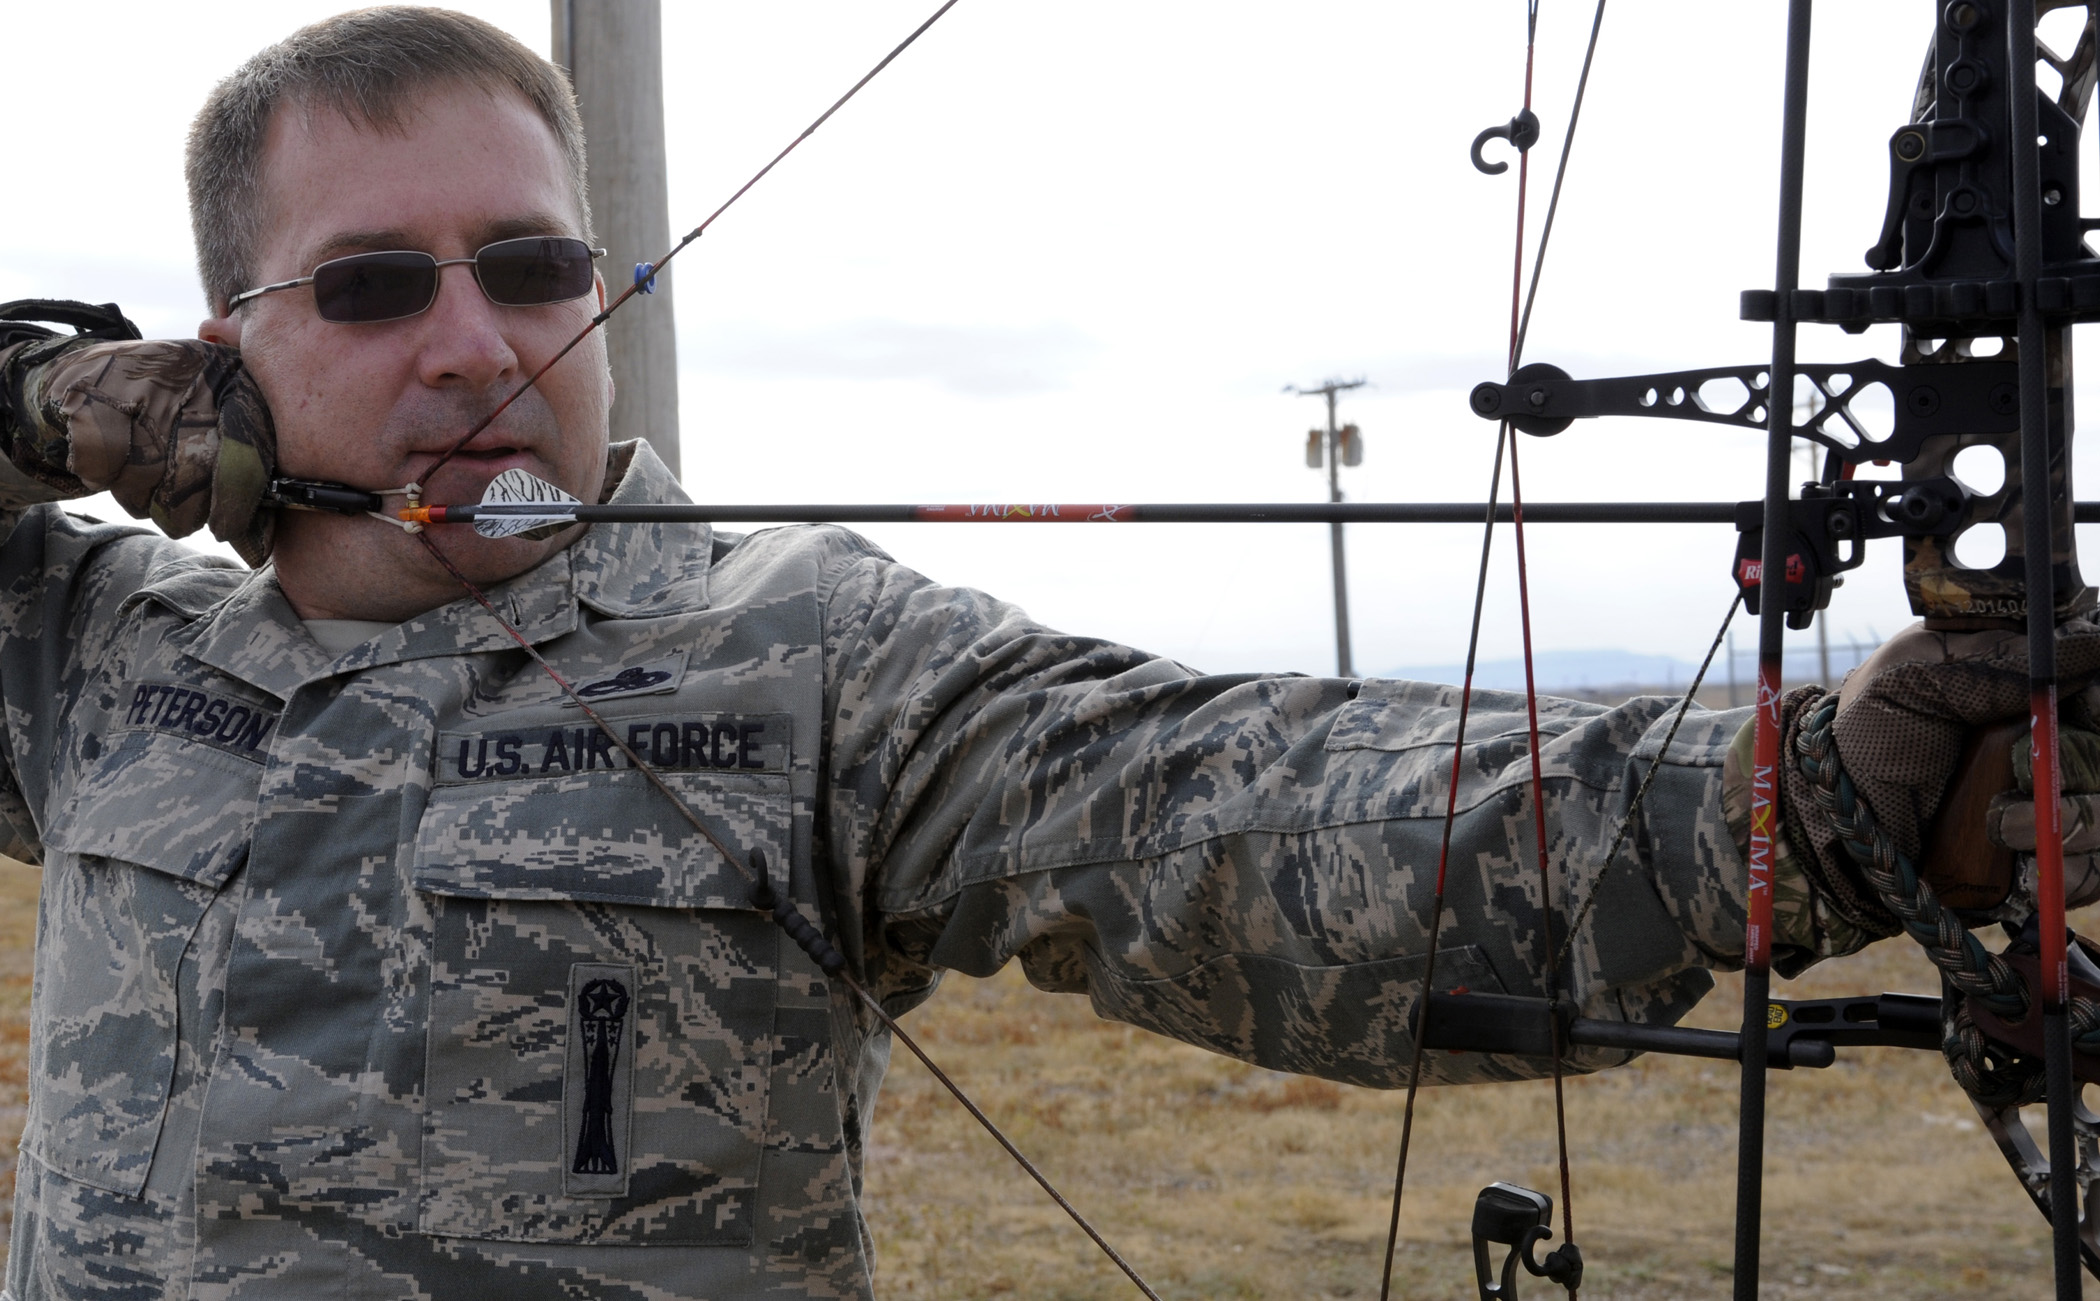
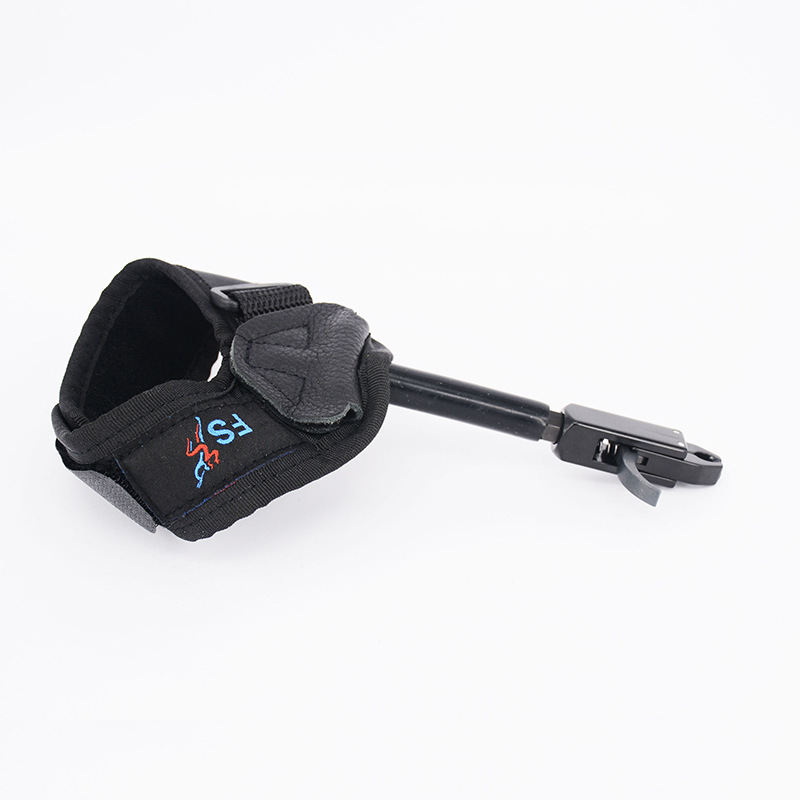
The index finger release straps to your wrist with an adjustable cuff. A caliper jaw clips onto the D-loop, and you fire the shot by squeezing a trigger with your index finger. Think of it as a gun trigger for your bow.
This design puts the bowstring load on your entire forearm instead of just your fingers. That mechanical advantage makes drawing heavy bows easier and keeps the release ready at all times — you never fumble to grab it when a buck steps out at 30 yards.
Pros of Wrist Releases
- Always attached and ready to clip onto the D-loop
- Forearm bears the draw weight, reducing hand fatigue
- Simple trigger gives you full control of shot timing
- Wide range of trigger sensitivity adjustments
- Most affordable release type — quality options start under $40
Cons of Wrist Releases
- Easiest release to anticipate, which can lead to punching the trigger
- Target panic develops more frequently with trigger releases
- The wrist strap can feel bulky during warm-weather hunts
Index finger wrist releases remain the best starting point for new compound archers. They are intuitive, reliable, and forgiving. Brands like Scott, TRU Ball, and Carter produce models with adjustable trigger travel and sensitivity that let you fine-tune the break point.
🎯 Compound Bow Wrist Release Aid
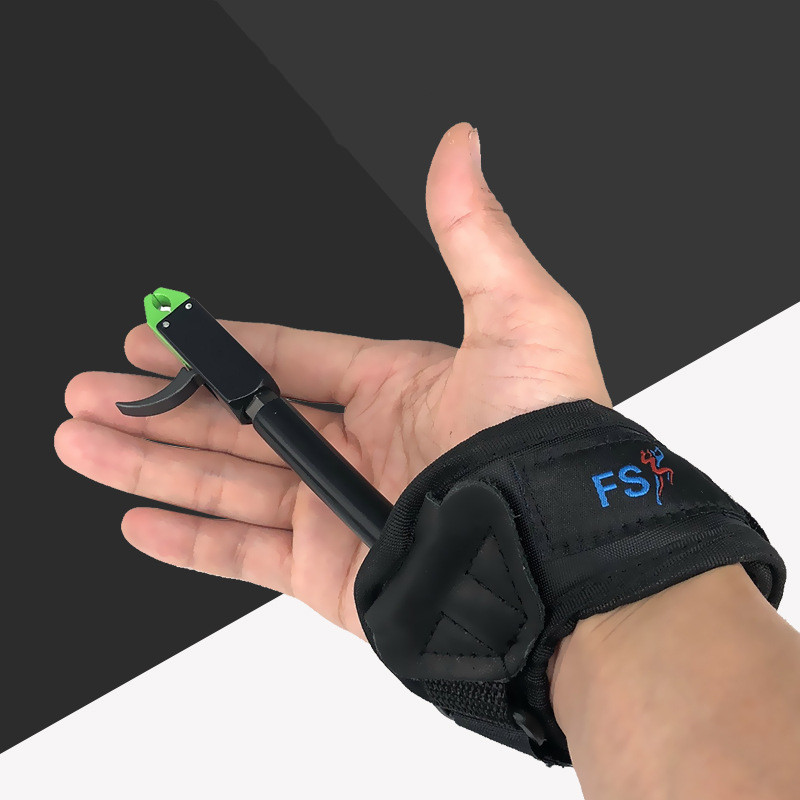
Adjustable wrist strap caliper release with sensitive trigger — a reliable training and hunting release at an unbeatable price.
Thumb Button Release — The Hunter’s Upgrade
A thumb button release is a handheld device you grip with two, three, or four fingers. The trigger sits under your thumb, and you fire by pressing down. Unlike a wrist release, there is no strap — you hold it like a small tool in your hand.

What makes thumb buttons special is their dual personality. You can fire on command by deliberately pressing the button, or you can shoot by surprise. The surprise method works like this: place your thumb on the button with light pressure, then keep pulling back through the shot while aiming. Your expanding back muscles increase pressure on the button until it fires without you consciously deciding to press it.
That surprise break is why so many bowhunters upgrade from wrist releases to thumb buttons. You get the command-fire option for moments that require exact timing — a deer about to step behind a tree, for example — plus the surprise-fire option for practice sessions where you want to build clean habits.
Pros of Thumb Button Releases
- Surprise shot capability reduces target panic
- Can also fire on command when hunting situations demand it
- Cleaner hand position promotes better back tension
- Available in 2, 3, and 4-finger models for different hand sizes
Cons of Thumb Button Releases
- Higher price point — expect $80 to $200 for quality models
- Must hold the release in your hand or pocket it between shots
- Short learning curve if switching from a wrist strap
🎯 4-Finger Metal Compound Bow Release Aid
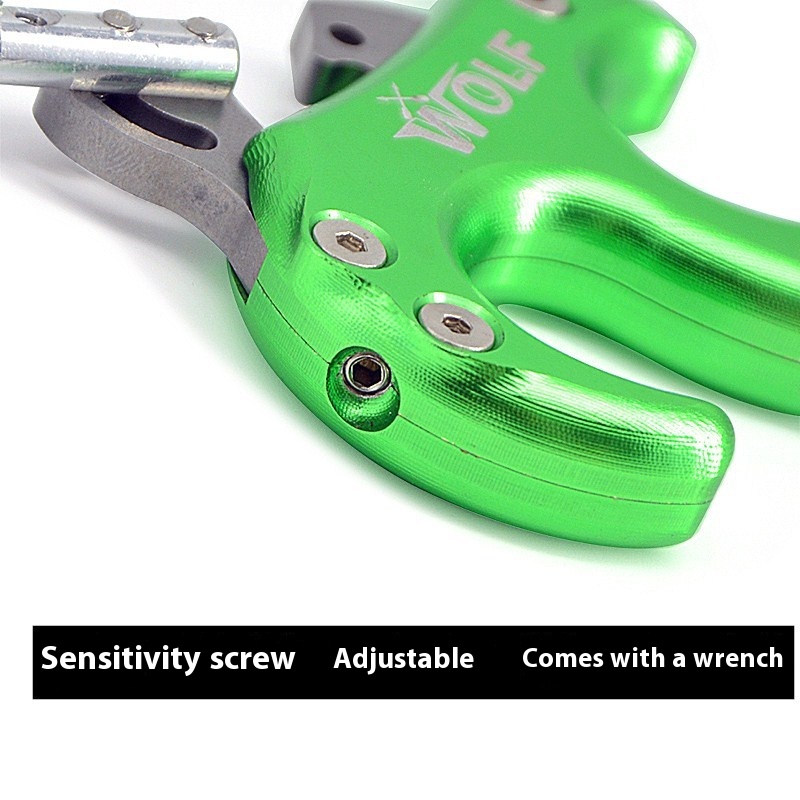
Heavy-duty 4-finger handheld release with precision-machined trigger — built for serious target shooters and bowhunters who demand a consistent break.
Hinge Release — The Target Archer’s Secret Weapon
A hinge release has no trigger at all. Instead, it fires when the internal crescent-shaped mechanism rotates past a set point. You activate that rotation by expanding your back muscles — pushing your shoulder blades together — which causes your release hand to rotate slightly and trip the hinge.
Because there is no trigger to punch, hinge releases produce the cleanest surprise shots in archery. Your subconscious cannot anticipate the exact moment of release, which eliminates flinching entirely. This is why hinge releases dominate the indoor target circuit and why coaches prescribe them for archers fighting target panic.
How to Shoot a Hinge Release
- Set the hinge to a safe position (usually clicks into a detent) before drawing
- Draw the bow using your back muscles, keeping the hinge in the safe zone
- Settle your pin on target and begin your aiming process
- Continue expanding through your back — push shoulder blades together
- The release rotates and fires when expansion reaches the break point
The learning curve is steeper than trigger releases. New hinge shooters should practice at close range on a large target until they develop the muscle memory for a controlled expansion shot. Drawing without accidentally firing the release takes dedicated practice.
Pros of Hinge Releases
- Purest surprise shot available — no trigger to anticipate
- Best tool for curing target panic
- Forces proper back tension form
- Produces the tightest groups when mastered
Cons of Hinge Releases
- Steepest learning curve of all release types
- Risk of accidental firing during the draw cycle
- Not practical for most hunting situations
- Premium models cost $150 to $300
Tension-Activated Release — True Back Tension
Tension-activated releases are the purest form of back tension shooting. They fire when pulling force exceeds a pre-set threshold — no trigger, no rotation, just increasing tension until the mechanism trips. You set the firing weight above your bow’s holding weight, draw through peak weight while holding a safety, then expand until the tension breaks the shot.
These releases are almost exclusively used by competitive target archers and as training tools. They teach you to pull through every shot with consistent force, which translates to tighter groups with any release type. Very few bowhunters carry a tension-activated release into the field because you cannot fire them on command.
Pros of Tension-Activated Releases
- Eliminates all anticipation — fires purely on increasing back tension
- Best training tool for building a consistent expansion shot
- Teaches proper muscle engagement that transfers to other release types
Cons of Tension-Activated Releases
- Cannot fire on command — impractical for hunting
- Requires careful calibration to your bow’s draw cycle
- Limited selection compared to other release types
How to Choose the Right Archery Release Aid
Your shooting goals should drive your release choice. Here is a straightforward decision framework:
New archer or bowhunter who needs reliability: Start with an index finger wrist release. Learn the fundamentals of trigger control and shot execution before adding complexity. A quality wrist release from Scott, TRU Ball, or Carter costs $30 to $80 and will serve you well for years.
Experienced hunter ready to improve groups: Move to a thumb button release. You keep the command-fire capability for hunting while gaining the surprise-shot option for practice. The Spot Hogg Wiseguy, Carter Wise Choice, and TRU Ball Fang are popular picks.
Target archer chasing tighter scores: Add a hinge release to your rotation. Many competitive archers own both a thumb button and a hinge — the hinge for practice and indoor leagues, the thumb button for outdoor field courses where wind requires faster shot execution.
Archer fighting target panic: Go straight to a hinge or tension-activated release. Remove the trigger entirely. Spend two to four weeks shooting blank bale (no target face) with the new release until your shot process feels automatic.
Release Aid Setup Tips
Buying the right release is half the equation. Setting it up correctly is the other half.
D-loop length matters. Your D-loop should be long enough that the release jaw sits cleanly below the nocking point without pinching the arrow nock. Most archers tie D-loops between 3/8 and 1/2 inch above and below the nock.
Trigger travel and sensitivity. On trigger releases, start with a medium trigger tension. Too light and you will fire accidentally. Too heavy and you will punch through it. Adjust in small increments until the break feels clean but deliberate.
Hand position consistency. With handheld releases, grip the handle the same way every single shot. Inconsistent hand placement changes the leverage on the trigger or hinge and produces inconsistent shots.
Wrist strap fit. On wrist releases, the strap should be snug but not tight. You want the release to hang at a consistent position relative to your hand so the trigger lands at the same spot on your index finger every draw.
Target Panic and Release Aids
Target panic is the involuntary flinch or freeze that happens when your brain anticipates the shot breaking. It is the most common accuracy killer in compound archery, and release choice plays a direct role in both causing and curing it.
Index finger releases are the most common trigger for target panic because the conscious act of squeezing a trigger creates a feedback loop. Your brain learns exactly when the shot will break and starts flinching before it happens.
Switching to a hinge or tension-activated release breaks that loop by removing the trigger entirely. Your brain cannot anticipate a moment it cannot control. Over weeks of practice, the flinch response fades because there is nothing to flinch against.
The protocol most coaches recommend: switch to a hinge release, shoot blank bale at 5 yards for two weeks, then gradually add a target face. Do not rush the process. Target panic took months to develop and takes weeks of deliberate practice to unwind.
Frequently Asked Questions
What release aid do most bowhunters use?
The index finger wrist release is the most popular choice among bowhunters. It stays attached to your wrist, draws easily, and fires on command. Thumb button releases are the second most common choice for experienced hunters who want cleaner shot execution.
Can I use a hinge release for hunting?
Some experienced archers hunt with hinge releases, but it is uncommon. The inability to fire on command makes it risky when you need to release at a precise moment. Most hunters who own a hinge use it exclusively for target practice and training.
How do I know if my release aid is causing accuracy problems?
If your groups are wider than expected and you notice yourself flinching at the shot, punching the trigger, or freezing your pin above or below the target, your release execution is likely the issue. Try blind-bale shooting at close range to isolate whether the problem is aim or release.
Should beginners start with a wrist release or handheld?
Wrist releases are the standard recommendation for beginners. The wrist strap takes the load off your fingers, the trigger is intuitive, and the release stays attached so you cannot drop it. After six months to a year of consistent shooting, consider trying a handheld thumb button to develop your shot further.
🏹 Upgrade Your Compound Setup

Pair your new release with a carbon fiber stabilizer for rock-steady aiming. Lightweight construction absorbs vibration and balances your bow at full draw.
Shop Bow Stabilizers → · Shop Arrow Rests →
Image credits: U.S. Air Force (public domain), World Archery / Wikimedia Commons (CC0, CC BY-SA), Archery Supplier product photography.