Archery Blog
How to Sight In a Compound Bow | Step-by-Step Pin Adjustment Guide
Mar
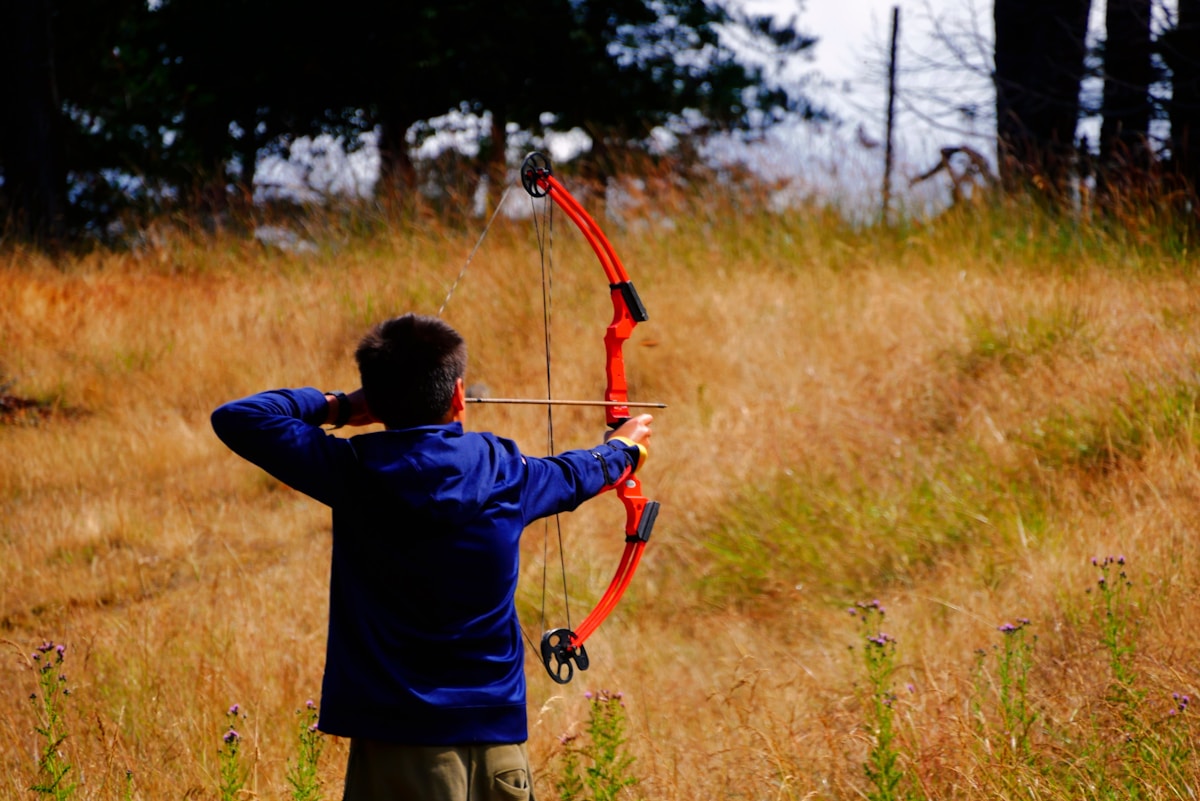
Getting a new compound bow is exciting — but that excitement fades fast when your arrows are landing a foot away from where you’re aiming. A properly sighted-in bow is the difference between stacking arrows in the X-ring and wondering why nothing groups. Whether you just bought your first compound or you’re re-sighting after a string change, this guide walks you through the entire process from start to finish.
What You Need Before You Start
Before you touch a single pin, make sure your bow is mechanically ready. Sighting in a bow that isn’t tuned is like calibrating a scope on a rifle with a bent barrel — you’ll chase your tail all day.
Here’s your pre-sighting checklist:
- Bow is paper-tuned or walk-back tuned — read our compound bow tuning guide if you haven’t done this yet
- Arrow rest is centered and level — center shot should be around 13/16″ from the riser
- Draw weight and draw length are set — don’t change these after sighting in
- Arrows are properly spined — check your spine with our arrow spine chart
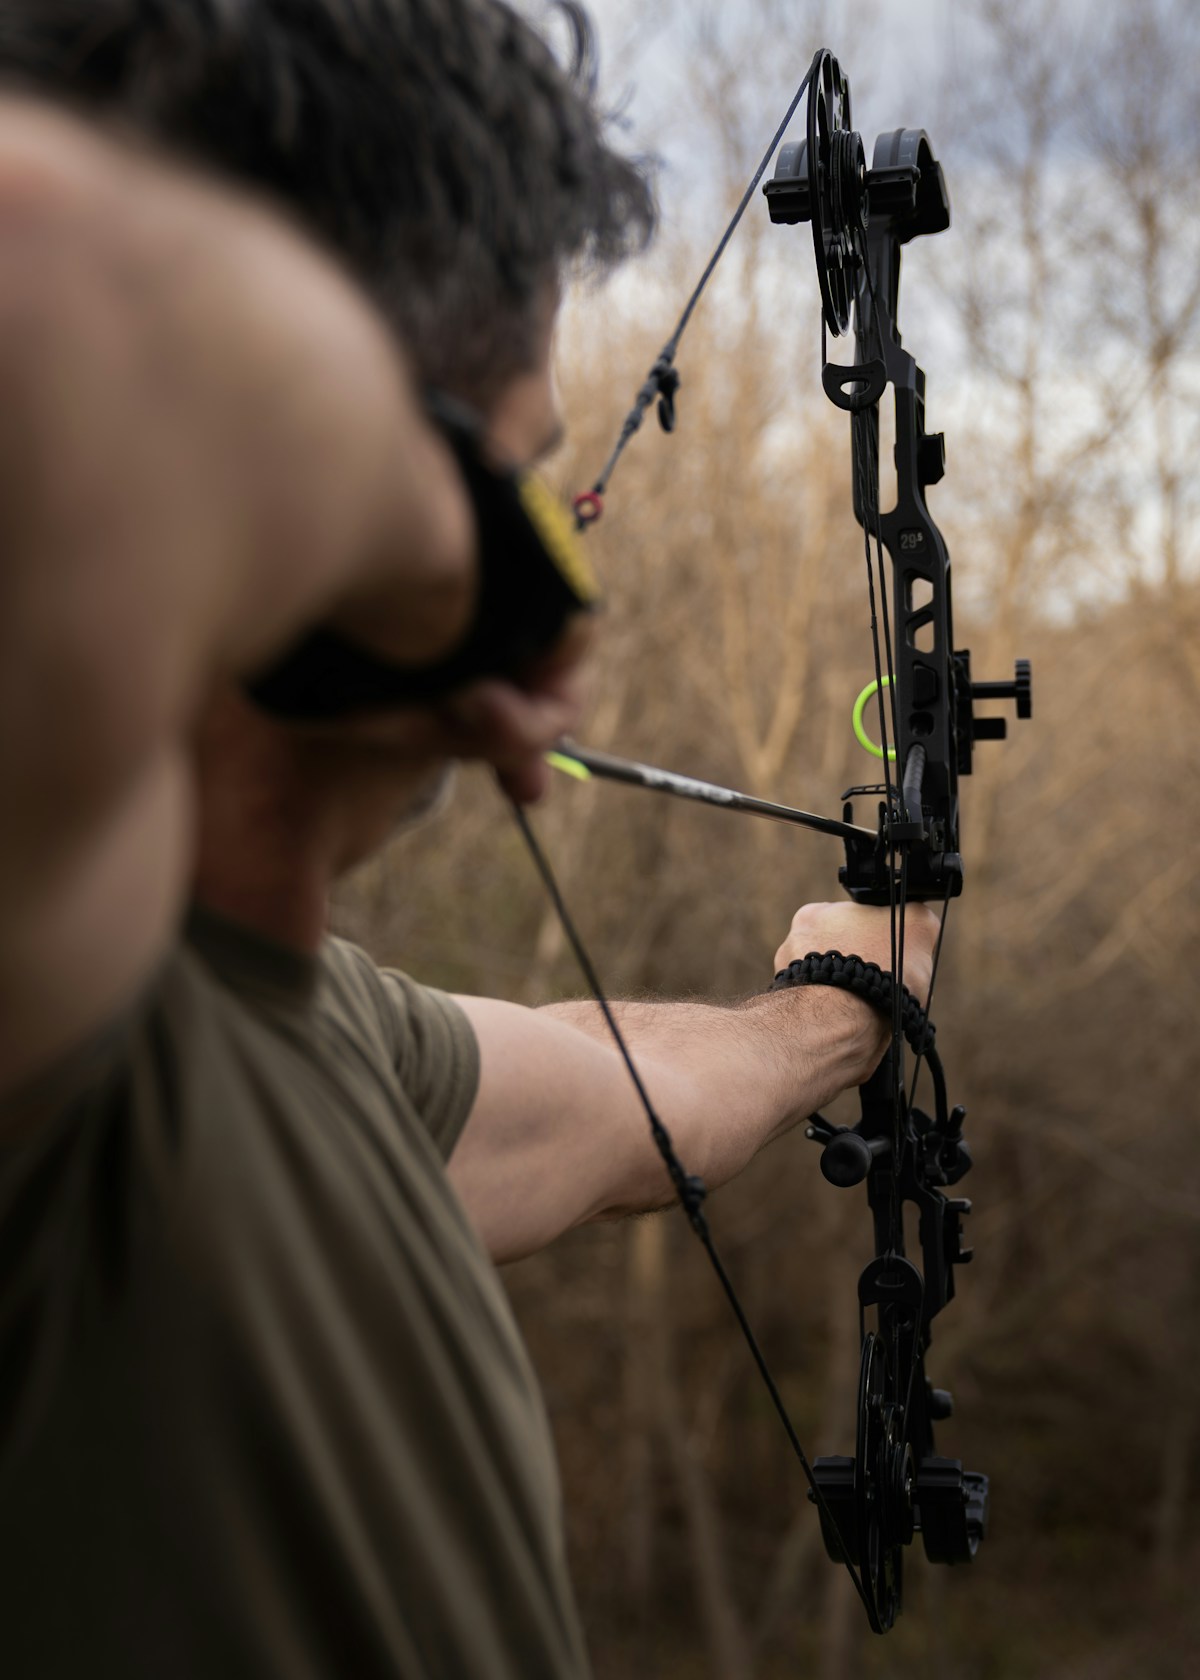
- Peep sight is installed and aligned — it should naturally align with your sight housing at full draw
- Allen wrench set — you’ll need the right size for your sight’s adjustment screws
- A solid target at 10, 20, 30, 40, and 50 yards
If your bow isn’t tuned, stop here. Go tune it first. Sighting in an untuned bow is a waste of arrows and patience.
Multi-Pin vs. Single-Pin Sights: Know What You’re Working With
The sighting process differs slightly depending on your sight type. Most compound shooters use one of two styles:
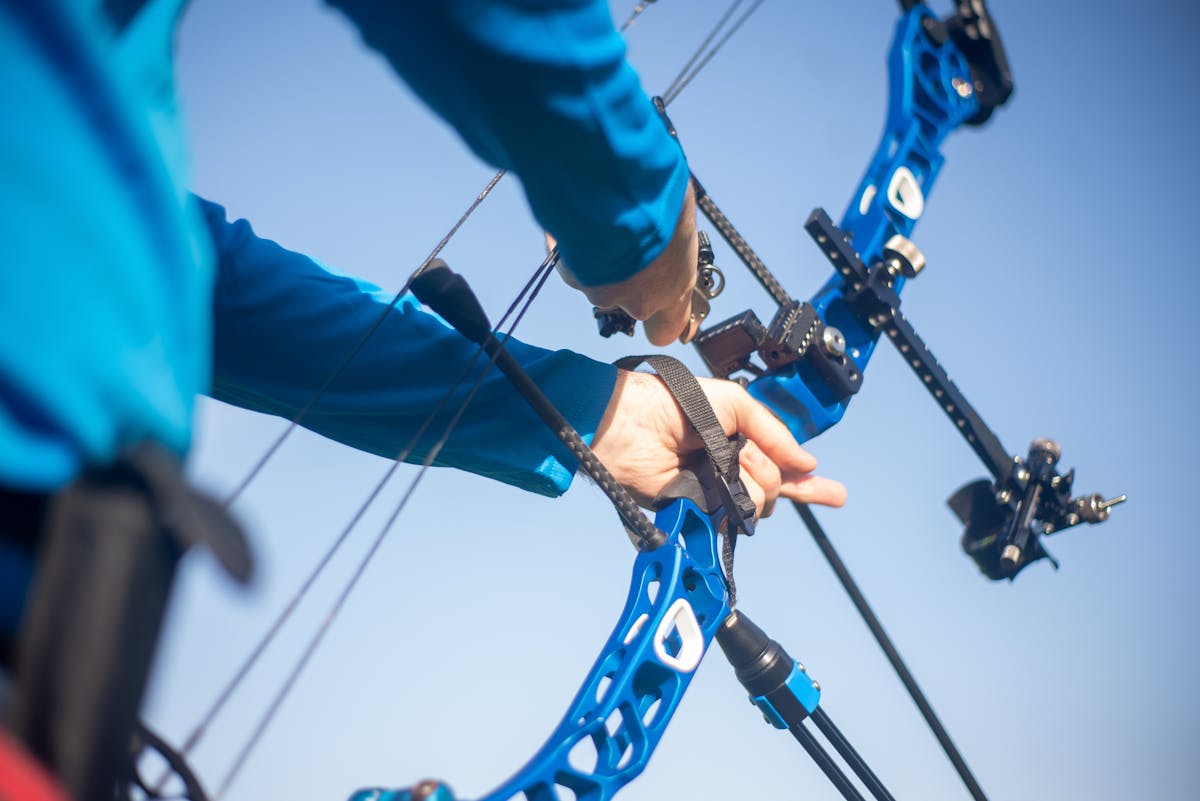
Multi-Pin Fixed Sights
These are the most common. You get 3 to 7 pins (usually fiber optic), each set for a specific yardage. A typical setup might be 20, 30, 40, and 50 yards. Each pin sits in a fixed position inside the sight housing. You pick the right pin for your distance and hold it on target.
Pros: Fast target acquisition, no adjustment needed between shots at different distances. Ideal for World Archery compound events and hunting scenarios where you don’t have time to dial.
Cons: Gaps between pins mean you’re estimating at in-between distances. More pins can clutter the sight picture.
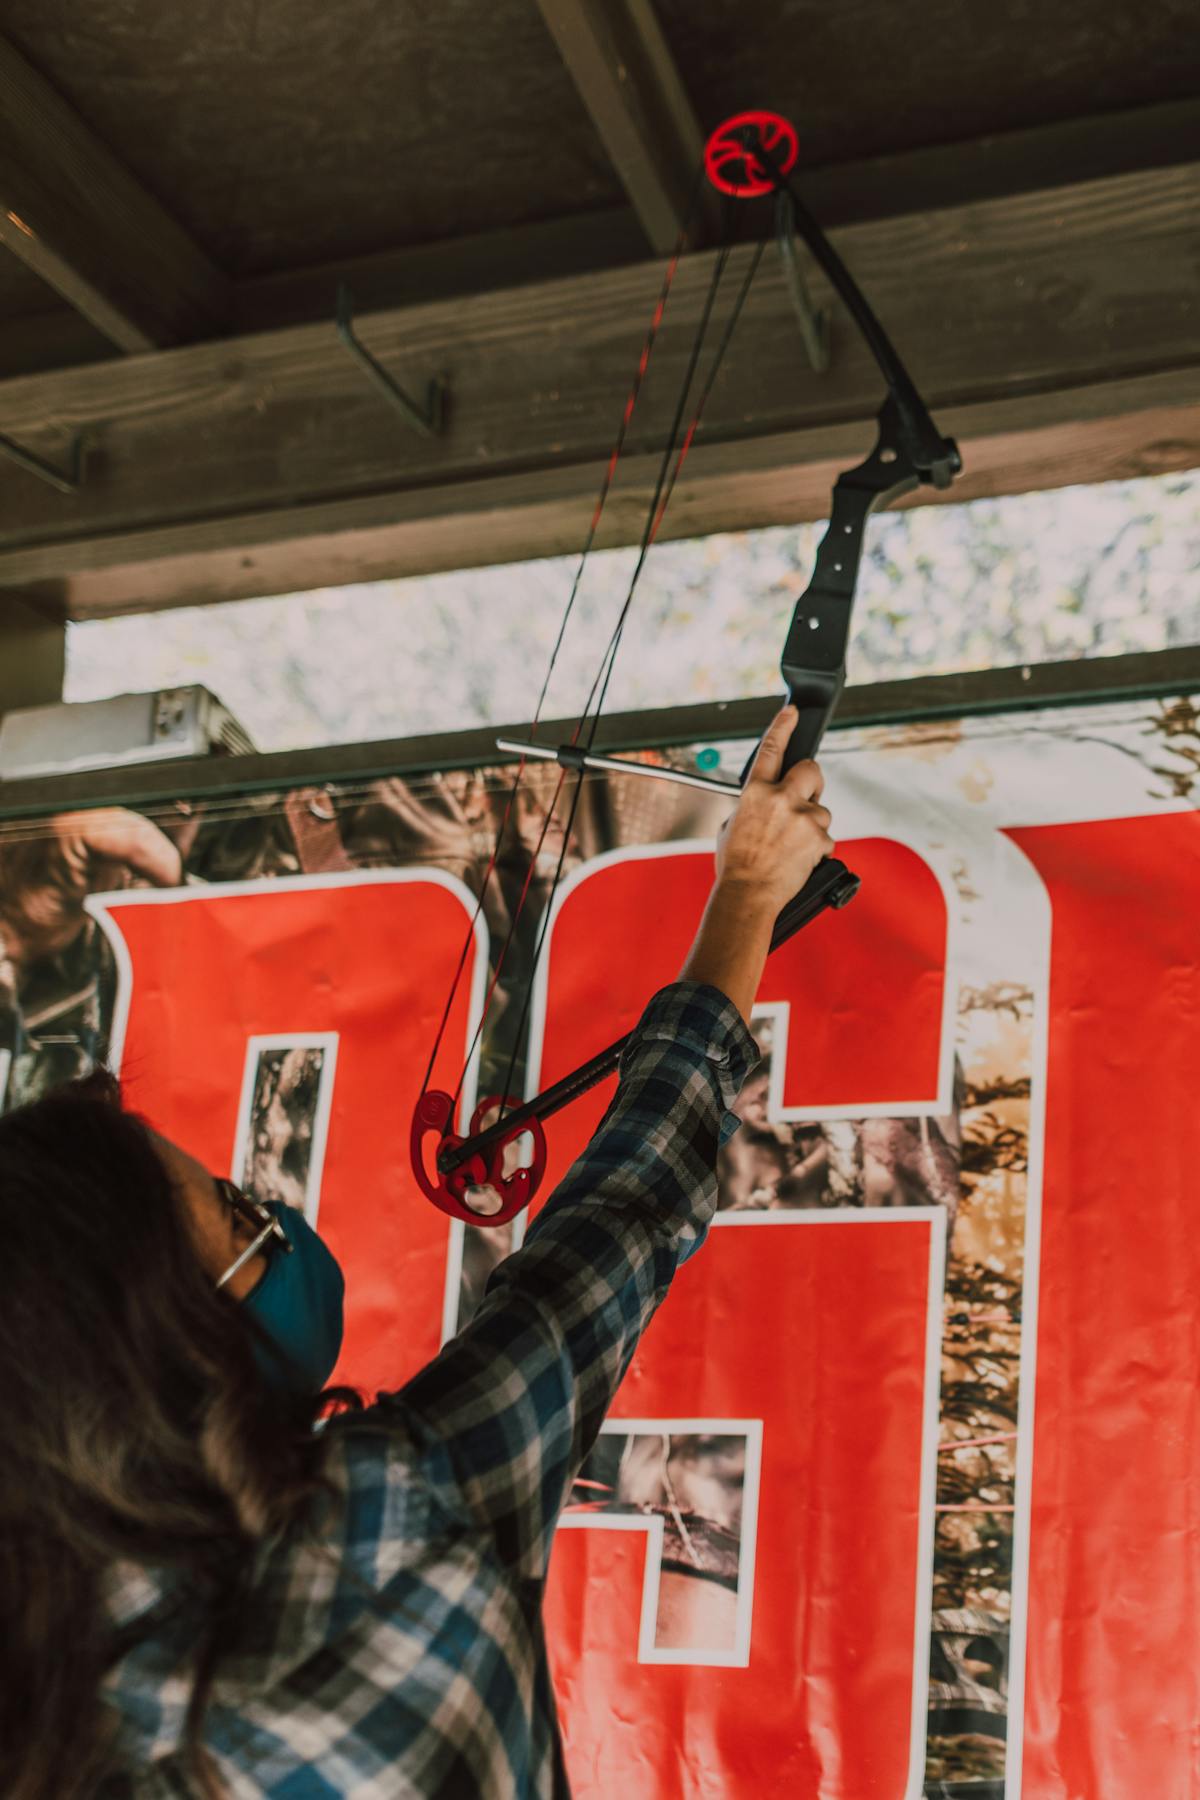
Single-Pin Adjustable Sights
One pin. You dial the exact yardage on a calibrated wheel or slider. Clean sight picture with no pin clutter. Popular with target archers and hunters who use rangefinders.
Pros: Precise at any distance, clean sight picture, no gap shooting.
Cons: Slower for quick follow-up shots at different distances. You have to remember to adjust.
The Chase-the-Arrow Rule
This is the single most important concept in bow sight adjustment. Memorize it:
Move the pin toward where your arrow hit.
Sounds backward at first, but it makes sense. Your sight pin acts as a reference point — when you move the pin right, your aim shifts left (because you compensate), and the arrow follows. So:
- Arrow hits right? Move the pin right.
- Arrow hits left? Move the pin left.
- Arrow hits high? Move the pin up.
- Arrow hits low? Move the pin down.
This is often called the “chase the arrow” method. If you remember nothing else from this guide, remember this.
Step 1 — Start Close at 10 Yards
Don’t start at 20. Start at 10 yards. Here’s why: if your bow is significantly off, a 20-yard shot might miss the target entirely or bury into the frame. At 10 yards the arrow hasn’t traveled far enough to deviate much, so you’ll hit the target face even if your sight is way off.
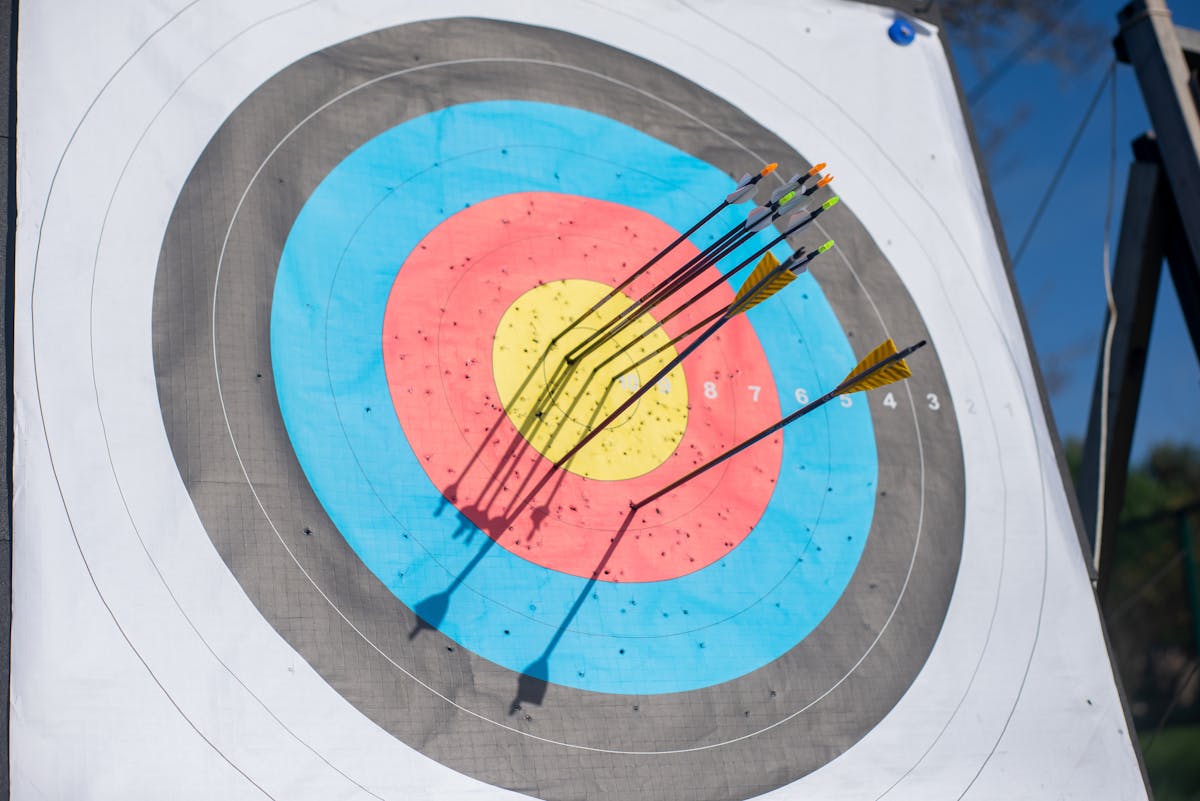
Set your top pin (or your single pin at 20 yards — yes, use your 20-yard setting even at 10). Shoot a group of three arrows. Don’t adjust after one arrow. Three-arrow groups give you a reliable point of impact to work from.
At 10 yards, you’re only making gross adjustments. Get the group roughly centered on the target. Don’t try to be precise here — you just want to be on the paper and somewhere near center.
Step 2 — Zero Your Top Pin at 20 Yards
This is where the real sighting begins. Move back to 20 yards and shoot another three-arrow group using your top pin.
Look at where your group landed relative to where you were aiming:
- Windage first — adjust left/right until your group is vertically centered on the target. Use the chase-the-arrow rule.
- Elevation second — move the pin up or down until your group sits right behind the pin.
- Shoot another group — verify the adjustment held. Three more arrows.
- Repeat until your 20-yard group is stacking where you aim.
Pro tip: Make small adjustments. One click at a time on most sights. Over-correcting is the most common mistake — you’ll end up chasing your arrows back and forth all day.
Your 20-yard pin is your anchor. Everything else builds off this zero.
Step 3 — Set Your 30-Yard Pin
With your top pin locked in at 20, move back to 30 yards. Now you’re working on your second pin (multi-pin sight) or dialing to 30 (single-pin).
For multi-pin sights: only move the individual pin, not the entire sight housing. The housing stays locked from your 20-yard zero. You’re just sliding the second pin down in the housing until three-arrow groups land where you aim.
The left-right alignment should already be close since your 20-yard windage set the sight housing position. If you notice a left-right drift at 30, it could indicate a slight tuning issue — possibly arrow spine or a small cam lean. Don’t chase it with the sight. Go back and fine-tune your bow first.
Step 4 — Work Out to 40 and 50 Yards
Same process. Move back. Shoot three-arrow groups. Adjust the individual pin for that distance. Each pin goes progressively lower in the sight housing because the arrow drops more over longer distances.
You’ll notice the gaps between pins aren’t equal. The gap between your 20 and 30 pin is smaller than the gap between 40 and 50. That’s normal — gravity is an exponential force on the arrow’s trajectory, not linear.
At 40+ yards, form flaws get amplified. If your groups open up significantly, don’t blame the sight. It’s almost always the shooter at longer distances. Focus on:
- Consistent anchor point
- Relaxed grip — no torque on the riser
- Clean release — back tension or surprise break
- Follow-through — hold your form until the arrow hits
If you need a refresher, our proper archery form guide breaks down all seven fundamentals.
Sight Housing Adjustments vs. Individual Pin Moves
This trips up a lot of people. There are two types of adjustments on a multi-pin sight:
Sight housing (gang adjustment) — moves ALL pins together. Use this for your initial 20-yard zero. When you move the housing, every pin shifts the same amount.
Individual pin adjustment — moves one pin within the housing. Use this after your 20-yard zero is locked, when setting each subsequent yardage pin.
Never move the housing after your 20-yard zero unless you’re starting over. If you bump the housing accidentally, you’ll need to re-zero everything from 20 yards up.
Second and Third Axis Leveling
Most mid-range and high-end compound sights allow second and third axis adjustment. This matters more than most archers realize, especially for elevated or downhill shots.
Second axis: Ensures your sight bubble reads level when the bow is held vertically. Set this with the bow in a vise, leveled with a torpedo level. Adjust until the sight’s bubble matches.
Third axis: Ensures the bubble reads accurately when the bow is tilted up or down (like shooting from a treestand or up a mountainside). You set this by tilting the bow forward about 45° and adjusting until the bubble still reads level.
If you only shoot flat ground at a range, second axis is sufficient. If you hunt from elevated positions or shoot 3D courses with angled shots, third axis calibration is essential. The USA Archery coaching materials cover this in more depth for competitive setups.
YouTube Walkthrough: Sighting In a Compound Bow
Sometimes it helps to watch the process in real time. This video walks through the full sight-in procedure on a compound bow:
![]()
Common Mistakes That Wreck Your Groups
After sighting in hundreds of bows (and watching hundreds of archers struggle), these are the mistakes that show up over and over:
Adjusting After One Arrow
One arrow tells you nothing. You might have punched the trigger, torqued the grip, or flinched. Always shoot a minimum three-arrow group before making any sight adjustment. Five is even better if you have the patience.
Moving the Housing Instead of the Pin
When setting your 30, 40, or 50-yard pins, only move the individual pin. Moving the housing throws off your 20-yard zero and you’re back to square one.
Ignoring Wind
Sight in on a calm day whenever possible. Even a 5 mph crosswind pushes a 300-grain arrow noticeably at 40+ yards. If you must sight in with wind, make your windage adjustments at 20 yards (where wind has minimal effect) and accept some variance at distance.
Shooting When Fatigued
If your groups start opening up after 30-40 shots, take a break. Tired muscles mean inconsistent form, which means inconsistent arrow placement. You’ll end up adjusting for fatigue instead of actual sight error.
Skipping the Tune
Worth repeating: if your bow isn’t tuned, your sight will never be right. Paper tears, walk-back drift, inconsistent arrow flight — all of these prevent a clean sight-in. Elite Archery’s tuning guide is another solid reference alongside our own.
How Often Should You Re-Sight?
Your sight doesn’t drift on its own, but plenty of things cause it to go off:
- String or cable replacement — always re-sight after new strings
- Draw weight or length change — any adjustment to these changes arrow trajectory
- Arrow change — different spines, weights, or points shift impact
- Bumps or drops — if your bow takes a hit, verify zero before your next session
- Temperature swings — cold weather can slightly change limb performance on some bows
- Before hunting season — always verify, even if nothing changed
A good rule: shoot a quick three-arrow group at 20 yards at the start of every range session. If it’s on, you’re good. If it’s off, you catch it before it matters.
Gear That Makes Sighting Easier
You don’t need much, but a few tools speed up the process significantly:
- A quality arrow rest — drop-away rests give the cleanest arrow flight for sight-in work
- Consistent arrows — matched spine and weight. Our 8mm aluminum practice arrows are great for range sessions where you’re burning through volume.
- An arrow grain weight scale — this one lets you verify your arrows are within a grain or two of each other, which tightens groups
- A laser bore sight (optional) — gets you on paper faster if you’re starting from scratch
- Replacement bowstrings — if your string is worn, new groups won’t hold. Keep a spare bowstring on hand
Want a complete breakdown of what to have in your archery bag? Check our essential archery gear guide.
Putting It All Together
Sighting in a compound bow isn’t complicated, but it does require patience and a methodical approach. Rush it and you’ll end up chasing arrows for hours. Follow the steps — tune first, start close, zero at 20, work outward, and always shoot groups before adjusting.
Your compound bow is a precision instrument. Treat the sight-in process with the same respect you’d give to zeroing a rifle scope, and your arrows will land exactly where you tell them to. Stack those X’s.