
Archery Blog
How to String and Unstring a Recurve Bow Safely
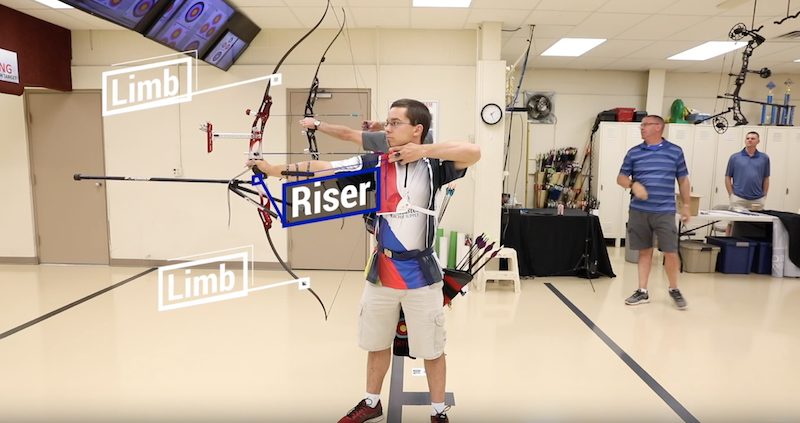
Jul
A recurve bow stores enough energy in its limbs to fling an arrow past 150 feet per second. Put the string on the wrong way and that same energy goes somewhere you don’t want it — into a twisted limb, a string that whips off the tip, or your own face. Learning how to string a recurve bow the right way takes about ten minutes to read and thirty seconds to do, and it’s the single most important habit a new archer can build. This guide walks through the bow-stringer method step by step, covers unstringing, and shows you how to check your brace height once the string is on.
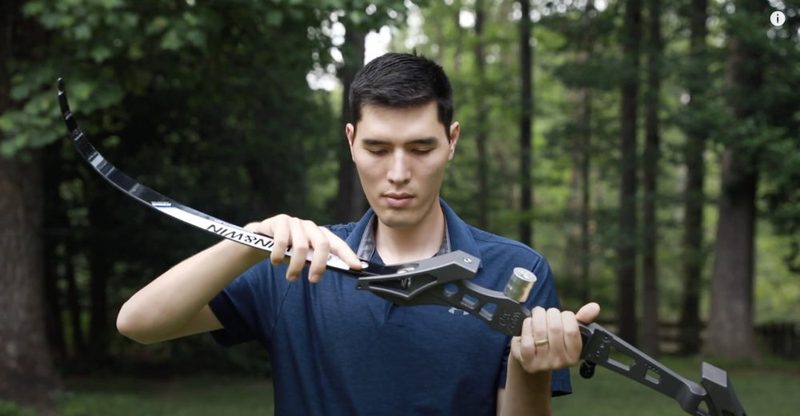
Assemble a takedown recurve fully before you ever pick up the stringer.
What You Need to String a Recurve Bow Safely
You need exactly two things: your bow and a bow stringer. That’s it. A bow stringer is a length of cord with a pocket or cup on each end, and it costs somewhere between $5 and $15. Many beginner kits ship with one in the box. If yours didn’t, buy one before you shoot — this is not the corner to cut.
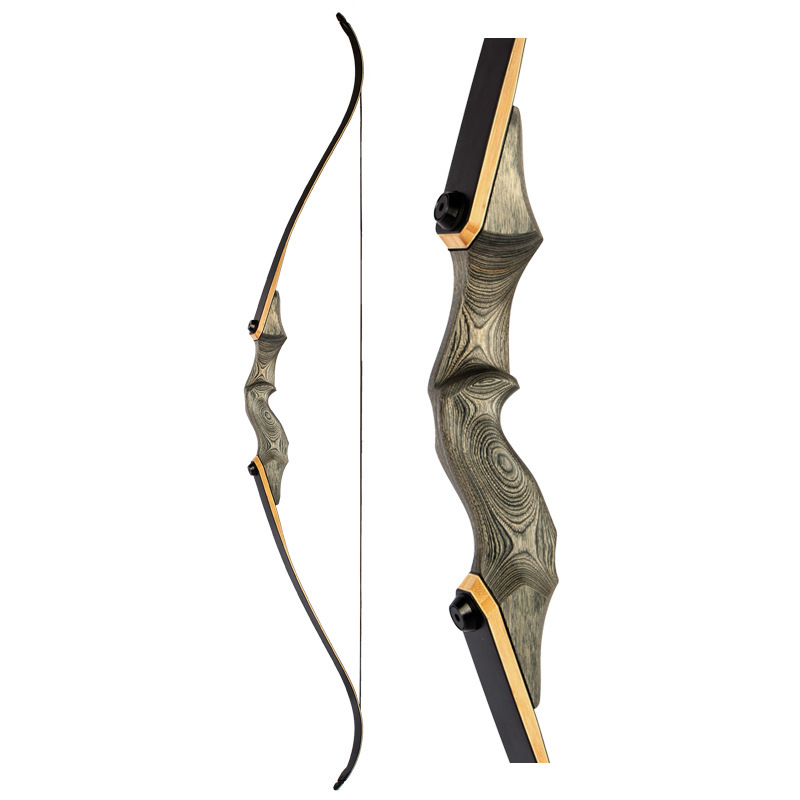
If you’re shooting a takedown recurve, assemble the riser and both limbs first and tighten the limb bolts fully. A limb that isn’t seated properly can shift under load, and stringing is exactly when that load arrives. One-piece traditional recurves skip this step, but the stringing process from there is identical.
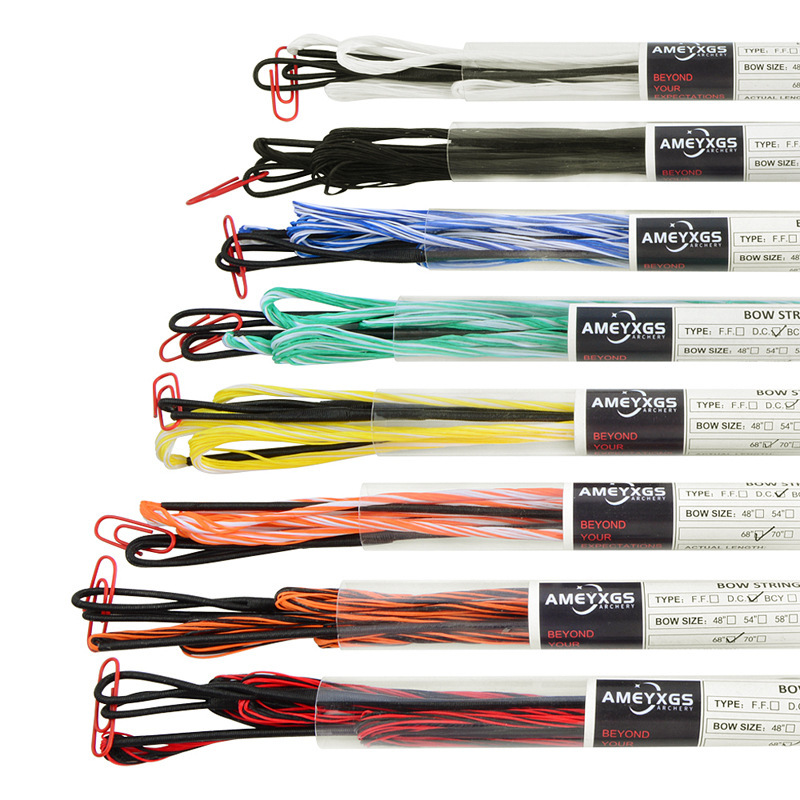
Before anything touches the tips, look at your string. A recurve string has two loops of different sizes. The larger loop belongs on the top limb; the smaller loop seats in the groove on the bottom limb. Getting these backwards is the most common rookie error, and it’s covered again below because it matters that much.
How to String a Recurve Bow With a Bow Stringer (Step by Step)
Here is the whole process. Read it once, then do it slowly the first few times. Speed comes on its own.
- Seat the string loops loosely. Slide the large loop onto the upper limb and let it rest about 6 to 8 inches down from the tip. Drop the small loop firmly into the string groove at the lower limb tip. The string should hang slack along the belly of the bow.
- Attach the stringer. Put the larger stringer pocket over the lower limb tip, covering the loop that’s already seated. Place the smaller pocket or saddle over the upper limb tip. The stringer cord now hangs below the bow in a loose arc.
- Stand on the cord. Lay the stringer on the ground and step on it with both feet, roughly shoulder-width apart. Wear shoes — the cord bites into a bare arch fast.
- Pull the riser up. Grip the handle with one hand and lift straight up in one smooth motion. The limbs bend, and slack appears at the top loop. Keep the pull vertical; don’t lever it sideways.
- Seat the top loop. With your free hand, slide the large loop up the limb and drop it into the groove at the tip. Check that it’s centered in the groove on both sides.
- Lower slowly and verify. Ease the bow down until the string takes the full load. Lift the stringer off, then eyeball both loops. Both must sit dead center in their grooves before you draw a single arrow.
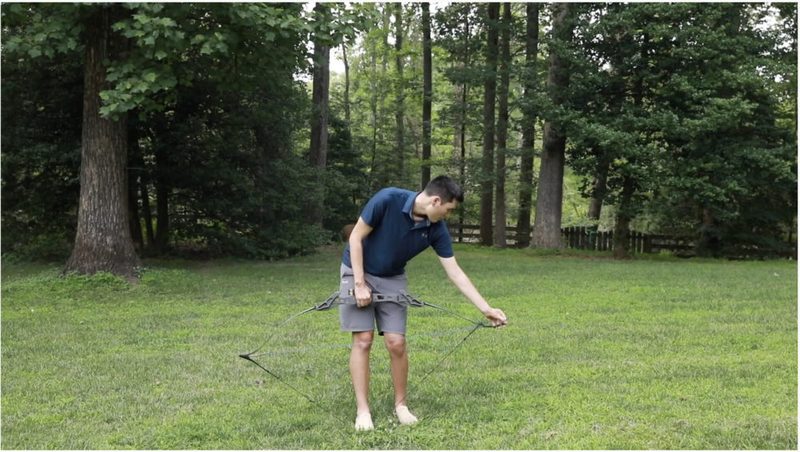
Both feet on the cord, pull the riser straight up — the limbs flex and the top loop drops right in.
The whole thing should take under a minute once it clicks. If the top loop won’t reach its groove, you haven’t pulled the riser high enough — lower it, reset your feet, and pull again with a smoother lift. NUSensei’s walkthrough below shows the motion in real time, which helps if you’re a visual learner.
Why You Should Never Use the Step-Through Method
You’ll find the step-through method all over YouTube: hook one tip behind your leg, bend the bow around your thigh, and muscle the string on. It works, right up until it doesn’t. The problem is that it flexes the limbs unevenly and twists them laterally, and lateral load is exactly what recurve limbs are not built to take.
The truth is, most limb “defects” that get blamed on the manufacturer were born on someone’s thigh. Twisted limbs throw your arrows sideways and can delaminate over time. Worse, if the string slips off a tip mid-bend, the limb snaps back with your face right in the path. Nearly every bowyer — from budget takedowns to high-end Olympic risers — voids the warranty the moment you string without a stringer. A $10 tool protects a bow that cost you a hundred times that. Use it every single time.
How to Check Your Brace Height After Stringing
Once the string is on, your job isn’t finished. Brace height — the distance from the deepest point of the grip to the string — decides how your bow shoots. Too low and the bow gets loud and harsh; too high and you lose arrow speed. The old term for it is fistmele, from the width of a fisted hand with the thumb up, which lands most recurves in the right ballpark by pure coincidence.
Measure it with a bow square clipped to the string. Most recurves want a brace height between 7 and 9 inches, and manufacturers usually stamp the exact window on the limb or in the manual. A 68-inch bow, for example, typically sits happiest around 8.5 to 9.25 inches.
To adjust it, unstring the bow and add or remove twists in the string. More twists shortens the string and raises brace height; fewer twists lowers it. Change it in small increments — a few twists at a time — then restring and remeasure. Chasing a quiet, dead-in-the-hand shot is worth the ten minutes.
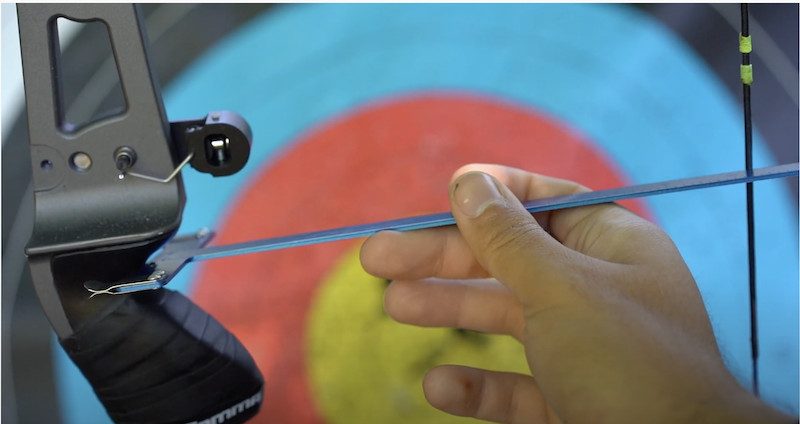
A bow square clipped to the string reads brace height in seconds.
How to Unstring a Recurve Bow
Unstringing is the same dance in reverse, and it’s just as important — leaving a wooden or traditional recurve strung for weeks can slowly weaken the limbs (this matters far less for modern fiberglass and carbon limbs, but the habit is cheap insurance). Slide the stringer pockets back over both tips, step on the cord, and pull the riser up to flex the limbs. With the tension off the top loop, slide it out of its groove and walk it down the limb. Lower the bow slowly, then lift the small loop out and coil the string for storage.
Never try to unstring by hand or by the step-through method, for all the same reasons. If you shoot a modern takedown recurve with carbon or fiberglass limbs, you can leave it strung between range sessions without harm — but any traditional bow with wood in the limbs earns its longest life when you unstring it after each outing.
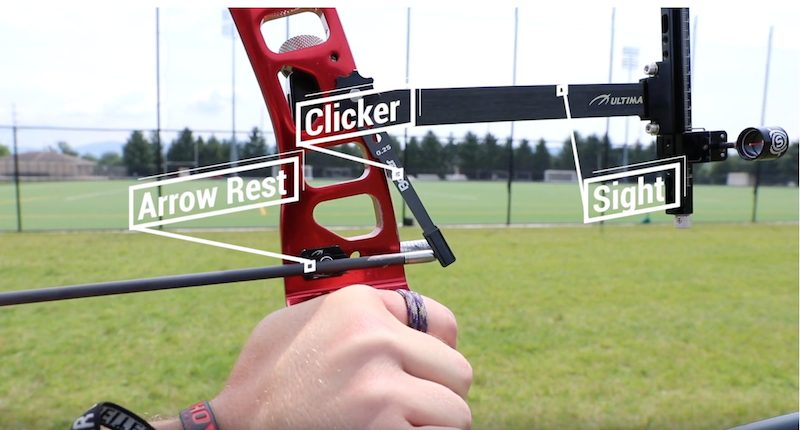
Check that the loop sits centered in the tip groove every time you string or unstring.
Common Recurve Stringing Mistakes to Avoid
Most stringing accidents trace back to a short list of errors. Run through it before your next session:
- Loops reversed. Large loop on top, small loop on the bottom. Backwards, and the string sits at the wrong length and can jump the groove.
- Loop not seated. A loop resting on the shoulder of the limb instead of deep in the groove will slip under draw. Confirm both sides visually before drawing.
- Pulling at an angle. Lever the riser sideways and you twist the limbs. The pull is always straight up.
- Skipping the stringer. Covered above, but it’s the mistake that wrecks the most bows. Don’t.
- Ignoring the string itself. A frayed, dry, or fuzzy string is a failure waiting to happen. Wax it regularly and replace it when strands break.
If you’re still building your fundamentals, our guide to common beginner archery mistakes covers the errors that show up right after stringing — grip, stance, and release.
How Often Should You Replace a Recurve String?
A Dacron string on a recreational recurve lasts a long time, but it doesn’t last forever. Plan to replace it roughly once a year for a regular shooter, or the moment you see broken strands, heavy fraying near the loops, or a serving that’s unraveling. Wax the string every few weeks to keep the strands bound and water out. When you do swap it, restring and reset your brace height from scratch — a new string stretches and settles over its first few dozen shots.
Picking the right string matters too. Match the length and strand count to your bow’s specs, and if you’re shooting an older wooden recurve, stick with Dacron rather than a low-stretch modern material that can shock the limbs. Not sure which bow you’re even holding? Our recurve vs compound bow comparison breaks down the differences, and once you’re dialed in, the arrow selection guide helps you match shafts to your setup.
Build the Habit Now
The archers who shoot for decades without a cracked limb aren’t lucky — they string the same careful way every time, stringer on, feet planted, pull straight up. Do it slowly until it’s automatic, keep a spare string in your kit, and check your brace height whenever the bow starts feeling loud. Master this one thirty-second routine and the rest of your archery gets to be about the fun part: hitting what you aim at.
Sources
- Archery 360 — How to String a Bow — Archery Trade Association step-by-step stringer guide and photos.
- World Archery — governing body for Olympic recurve equipment and technique standards.
- Archery 360 — How to Adjust Brace Height — measuring and tuning recurve brace height.
- Lancaster Archery Supply — matching takedown recurve limbs and risers.
