Gear Guides
Bow Stabilizer Guide: How to Choose & Set Up
Mar
If you’ve ever watched a top-level archer hold their bow at full draw and marveled at how impossibly still everything looks, there’s a good chance a stabilizer is doing much of the heavy lifting. A bow stabilizer is one of those pieces of equipment that seems simple on the surface — just a rod sticking out the front of the bow — but the physics behind it, and the difference it makes in your shooting, is anything but simple.
Whether you shoot compound, recurve, or traditional, understanding how stabilizers work and how to set one up properly will tighten your groups, dampen vibration, and make your entire shot cycle feel smoother. This guide breaks down everything you need to know about choosing, setting up, and fine-tuning a bow stabilizer for your specific shooting style.

What Does a Bow Stabilizer Actually Do?
A stabilizer serves three primary functions on any bow:
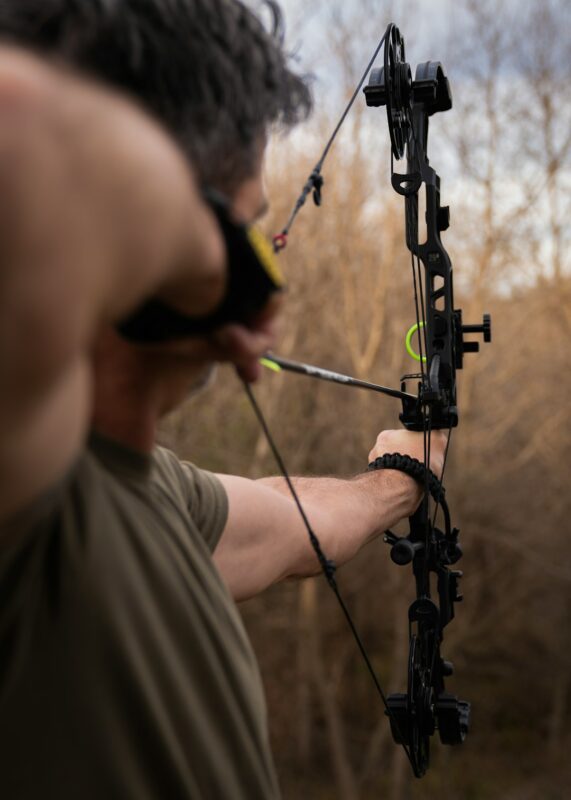
Resist torque. When you grip a bow and draw the string, your hand naturally wants to twist the riser. A stabilizer extends the moment of inertia forward, making the bow resist that rotational force. Think of it like a tightrope walker holding a long pole — the extra length and weight at the ends make balance dramatically easier.
Absorb vibration. Every time you release an arrow, residual energy vibrates through the riser and into your hand. A stabilizer, especially one with a dampener attached, soaks up that energy before it reaches you. Less vibration means less hand shock, less noise, and less fatigue over a long practice session or tournament round.
Shift the center of gravity forward. With weight extended out front, the bow naturally wants to tip forward after the shot. This is a good thing — it means the bow is pulling away from you rather than kicking back, giving the arrow a cleaner departure from the rest.
Front Bar, Side Rods, and V-Bars — What’s the Difference?
When people say “stabilizer,” they usually mean the front bar — the long rod that threads into the bushing below the grip on your riser. But a full stabilization system can include several components:
Front stabilizer bar (long rod). This is the main stabilizer. It extends straight out from the front of the bow, typically ranging from 6 inches on a hunting bow to 30+ inches on a target recurve. Longer bars provide more leverage against torque, but they add weight and bulk.
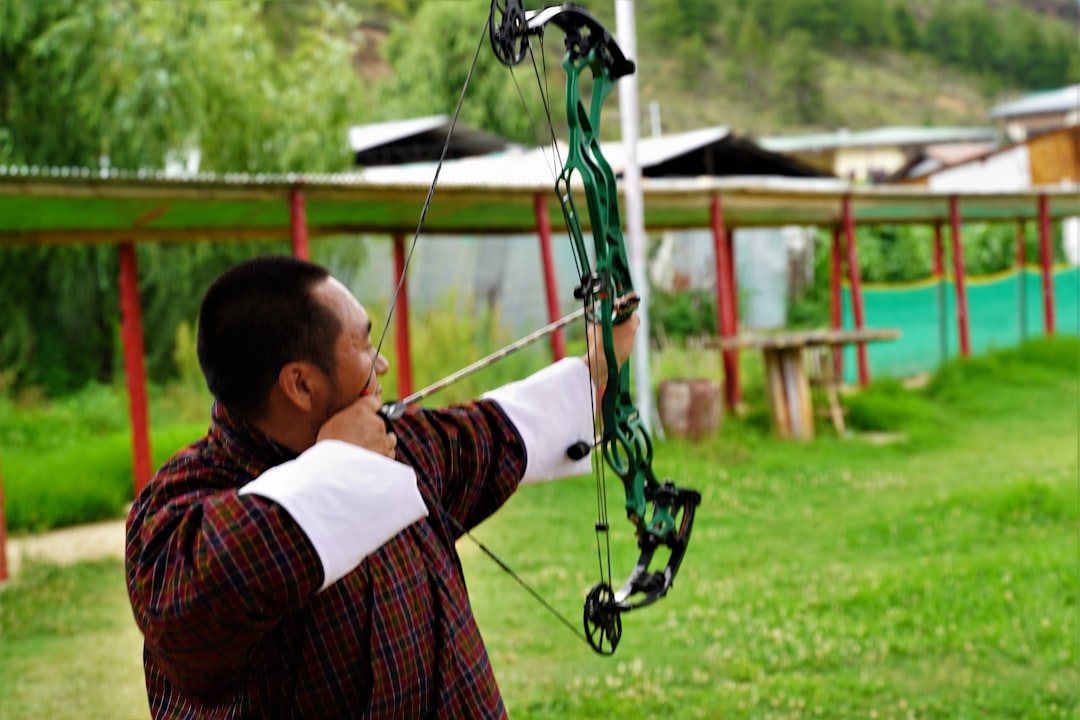
Back bar (rear stabilizer). Mounted via a V-bar bracket or offset mount behind the riser, the back bar counterbalances the front rod. It prevents the bow from being excessively front-heavy and lets you fine-tune the balance point. For compound shooters, a back bar is nearly standard at the competitive level.
V-bar bracket. This mounting block connects to the front stabilizer bushing and provides attachment points for two side rods (or a single back bar). Adjustable V-bars let you change the angle and spread of the side rods to dial in your lateral balance.
Side rods. Two shorter bars that angle out and back from the V-bar. They add lateral stability and help the bow sit dead-level at full draw. Recurve target archers almost always run side rods; compound hunters rarely do.
Stabilizer Length — How Long Should Yours Be?
The right stabilizer length depends on what you’re doing with your bow. There’s no universal formula, but here are solid starting points based on how the best archers in the world set up their rigs:
Hunting (compound): 6 to 12 inches. Shorter stabilizers keep the bow maneuverable in a tree stand or ground blind. An 8-inch bar is the sweet spot for most bowhunters — long enough to dampen vibration and resist torque without catching on branches or adding awkward bulk. Many hunters skip the back bar entirely and run a single front rod with a dampener.
3D and field archery (compound): 10 to 15 inches front, 8 to 12 inches rear. These events involve walking courses with varied terrain and angles, so you want more stability than a hunting setup but less than a full indoor target rig. A dual-bar system gives you better balance without being unwieldy.
Indoor target (compound): 27 to 33 inches front, 10 to 15 inches rear. Indoor compound shooters have no wind to fight and no brush to navigate, so they go long. The extra length dramatically slows pin movement and tightens groups at 20 yards. Watch any indoor national-level shoot and you’ll see front bars that look like fishing rods.
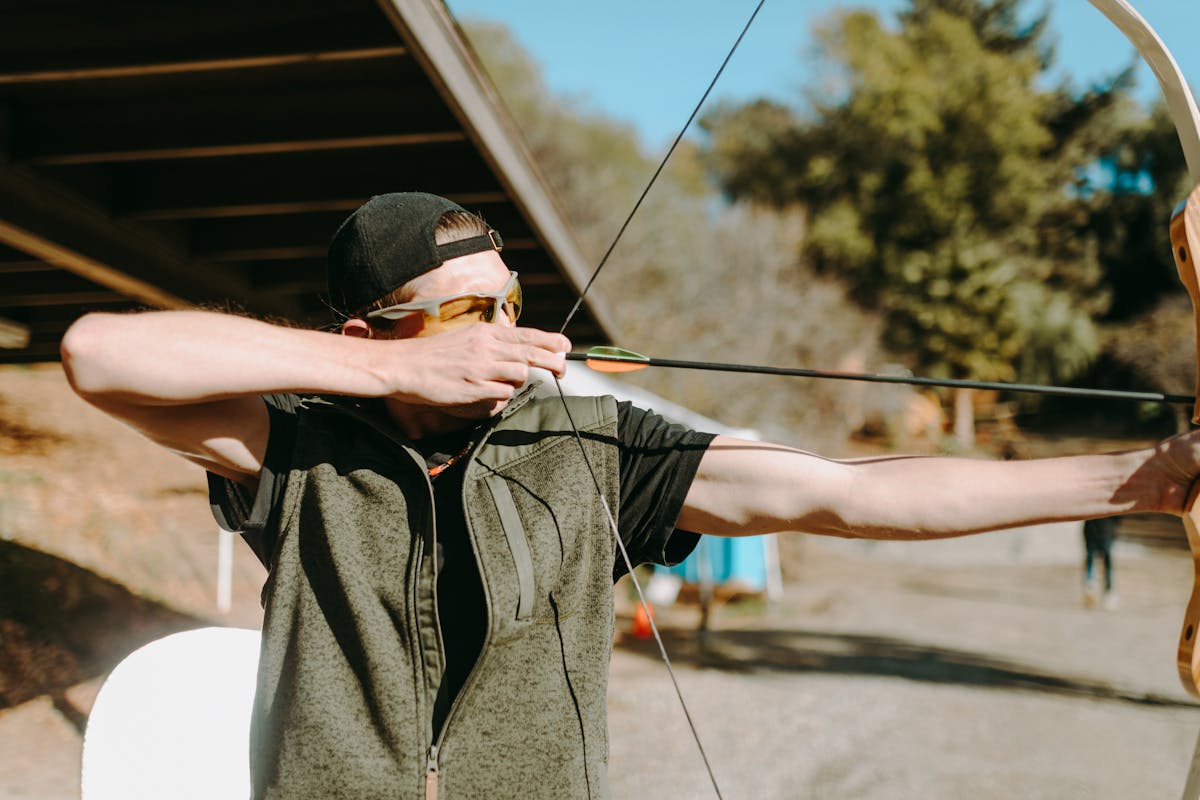
Olympic recurve: 26 to 34 inches front, with side rods typically 10 to 14 inches. Recurve target archers need maximum stability because they don’t have a mechanical let-off to hold the bow steady at full draw. The long rod does the heavy lifting, while side rods handle lateral balance.

How Much Weight Should You Run?
Stabilizer weight is where personal preference and shooting style really come into play. More weight out front slows your pin movement but makes the bow heavier to hold at full draw. Less weight keeps things light and fast but gives you less stability.
A good starting point for compound shooters is 3 to 5 ounces on the front bar and a 2:1 or 3:1 ratio of back-to-front weight. So if you have 3 ounces on the front bar, try 6 to 9 ounces on the back bar. That might sound counterintuitive — more weight on the shorter bar — but it’s how you achieve a neutral balance point where the bow holds steady without diving forward or tipping back.
For recurve archers, start with 2 ounces on the long rod and 2 ounces on each side rod (4 ounces total on the V-bar). Adjust from there based on how the bow reacts during your shot. If the bow jumps forward aggressively, add weight to the side rods. If it kicks back into your hand, add weight to the front.
The key is to make small changes — one ounce at a time — and shoot groups between each adjustment. You’ll feel the difference before you see it in your scores.
Choosing the Right Stabilizer Material
Stabilizers are made from three primary materials, each with trade-offs:
Aluminum. Affordable, durable, and widely available. Aluminum stabilizers are heavier per inch than carbon fiber, which can be a positive if you want to add mass without stacking extra weights. They transmit more vibration than carbon, though, so pairing them with a rubber dampener is a smart move.
Carbon fiber. The gold standard for serious archers. Carbon fiber bars are stiffer, lighter, and absorb vibration better than aluminum. They let you run a longer bar without the bow feeling like an anchor. The trade-off is price — expect to pay more for carbon, though budget-friendly options have gotten surprisingly good in recent years.
🎯 Upgrade Your Stabilizer Setup
Our Carbon Fiber Bow Stabilizer delivers premium stiffness and vibration dampening at a fraction of the cost of big-name brands. Lightweight carbon construction with a universal 5/16-24 thread that fits any compound or recurve riser. Just $16.99 — a no-brainer upgrade for any archer looking to tighten their groups.
Rubber and hybrid. Some budget stabilizers use rubber or composite materials. These are fine for recreational shooting but lack the stiffness and consistency of carbon or aluminum at longer lengths. If you’re just getting started and want to feel what a stabilizer does without spending much, a rubber-dampened short bar is a perfectly acceptable starting point.
The Role of Dampeners and Why They Matter
A dampener (sometimes called a silencer or vibration absorber) is a small rubber or gel component that mounts on the end of your stabilizer bar, between the bar and the weight stack, or sometimes inline along the bar itself.
Dampeners serve two purposes. First, they absorb high-frequency vibration that the stabilizer bar alone can’t fully eliminate. Second, they reduce noise — a critical factor for bowhunters who need the bow to stay quiet on the shot.

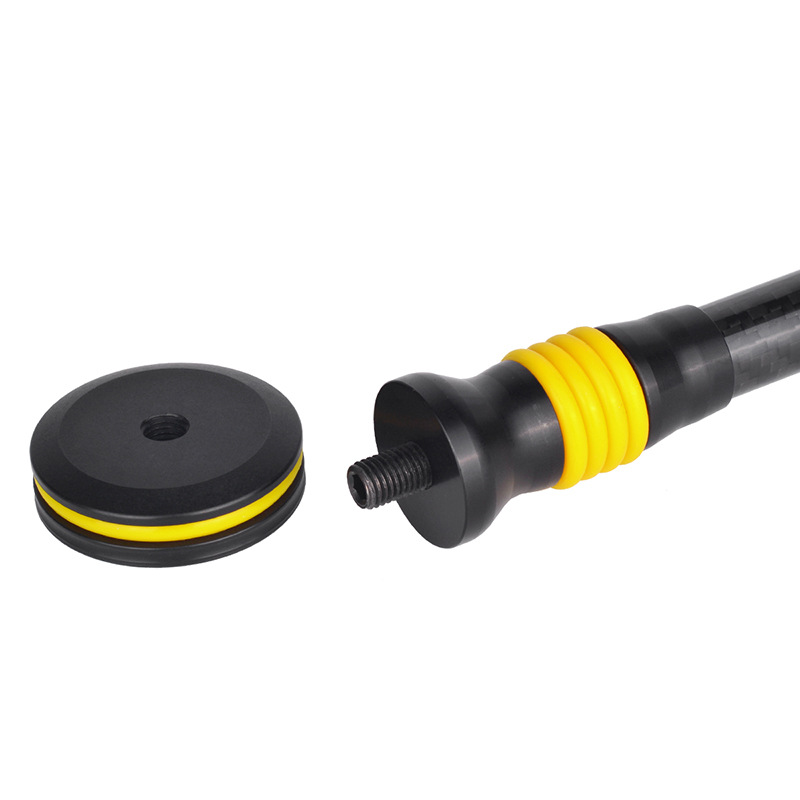
🔇 Kill the Vibration
Pair your stabilizer with our Carbon Fiber Bow Stabilizer Dampener for maximum vibration absorption and a dead-in-the-hand feel after every shot. The integrated dampener design means fewer parts to rattle loose in the field. Just $16.99.
Not every archer needs a dampener. If you shoot a target recurve with a long rod, the carbon bar itself does a good job of absorbing vibration. But for compound shooters — especially hunters — adding a dampener to even a short stabilizer makes a noticeable difference in hand shock and bow noise.
How to Set Up and Balance Your Stabilizer System
Here’s a step-by-step process for dialing in your stabilizer, whether you’re starting from scratch or rebuilding your setup for a new bow:
Step 1: Install the front bar only. Thread your stabilizer into the front bushing with no weights attached. Draw the bow and aim at a target. Notice how the bow feels — does it want to twist left or right? Does the sight picture feel floaty or heavy?
Step 2: Add weight to the front bar. Start with 1 to 2 ounces and draw again. The pin should move more slowly. Keep adding weight in small increments until the bow feels heavy but manageable at full draw. You want the sweet spot where your pin movement slows without your bow arm fatiguing during a 30-arrow round.
Step 3: Add the back bar (if using one). With the front bar weighted, mount your back bar. Start with roughly twice the weight you have on the front. Draw the bow and let it settle at full draw. The bow should sit close to level — not diving forward or tipping back. Adjust the back bar weight until you find that neutral balance point.
Step 4: Fine-tune the angle. If your V-bar is adjustable, experiment with the angle of your side rods or back bar. Wider angles increase lateral stability. Tighter angles put more weight directly behind the bow for front-to-back balance. There’s no right answer — it depends on your bow, your draw length, and your natural tendencies.
Step 5: Shoot and score. The ultimate test is performance on the target. Shoot a scored round with your current setup, then make one small change and shoot another. Track your scores. The numbers don’t lie.
Stabilizer Setup for Bowhunting vs. Target Archery
The biggest difference between a hunting stabilizer setup and a target setup comes down to portability versus performance. Hunters need to carry their bow through rough terrain, squeeze through brush, and sometimes draw in cramped positions. A 30-inch front bar and V-bar system isn’t practical in a tree stand.
For hunting, keep it simple: a single front bar between 6 and 10 inches with a dampener on the end. Add 3 to 5 ounces of weight if the bow feels jumpy. Skip the back bar unless you’re shooting from a ground blind where space isn’t an issue.
For target archery, go as long as you can comfortably hold. Indoor compound shooters routinely run 30-inch front bars because every fraction of an inch of pin movement matters when you’re trying to shoot a perfect 300 round. Outdoor recurve archers may go even longer to fight wind drift.
The one piece of advice that applies to both: start simple and add complexity only when you have a specific problem to solve. A front bar with proper weight distribution will solve 80% of your stability issues. V-bars and side rods are for fine-tuning the last 20%.
Watch: Compound Bow Stabilizer Setup Explained
For a visual breakdown of stabilizer setup — including how to balance front and back bars, choose the right length, and adjust weights — watch this excellent walkthrough from World Archery:
Common Stabilizer Mistakes to Avoid
Going too heavy too fast. It’s tempting to stack weight on your stabilizer because heavier feels steadier. But if your bow arm is shaking after 15 arrows, you’ve overdone it. Start light and work up gradually.
Ignoring the back bar. Many compound shooters run only a front bar because it’s simpler. That works for hunting, but if you’re shooting any kind of scored round, a back bar is worth the investment. The balance it provides transforms your hold.
Copying someone else’s setup exactly. What works for a 6’2″ archer with a 30-inch draw length won’t necessarily work for a 5’6″ archer with a 26-inch draw. Stabilizer setup is deeply personal. Use other archers’ configurations as starting points, then customize.
Forgetting to check your mounting hardware. Stabilizer bushings can come loose over time, especially with the vibration of regular shooting. Check the set screws and threads before every session. A loose stabilizer is worse than no stabilizer because it introduces unpredictable movement.
Neglecting the dampener. Even high-end carbon stabilizers benefit from a dampener, especially on compound bows with aggressive cam systems. If your bow feels harsh at the shot, a $15 dampener is the easiest fix in archery.
📐 Dial In Your Draw Weight
Balancing your stabilizer starts with knowing your exact draw weight. Our Digital Bow Scale with Peak Display gives you precise readings so you can match your stabilizer weight to your bow’s performance. Just $24.99.

Spring Is Here — Time to Reassess Your Setup
If you’re pulling your bow out of storage for outdoor season, now is the perfect time to revisit your stabilizer configuration. Indoor and outdoor shooting demand different setups. Outdoors, you’re dealing with wind, uneven terrain, and longer distances — all of which benefit from a slightly longer front bar and potentially more weight.
Before your first outdoor session, thread on your stabilizer, check every set screw, and shoot a few dozen arrows to re-establish your baseline. If something feels off compared to last fall, don’t assume it’s you — your stabilizer hardware may have loosened, your dampener may have degraded, or you may simply need to adjust for the different shooting conditions.
A stabilizer isn’t just an accessory. It’s the single easiest upgrade you can make to shoot tighter groups, reduce fatigue, and feel more confident at full draw. Whether you’re running a simple 8-inch hunting bar or a full V-bar target system, the physics work in your favor every time you clip one on.