Archery Blog
Proper Archery Stance: Square, Open & Closed Foot Setup
Jun
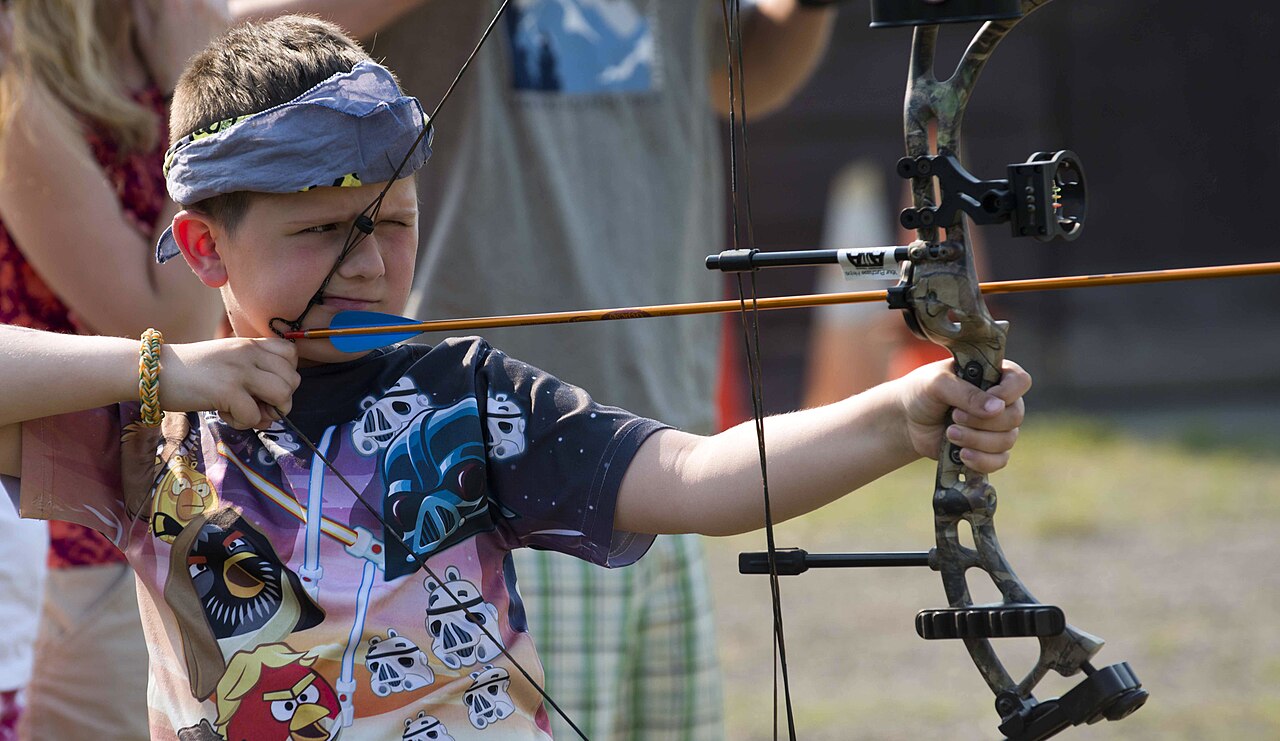
Most archers chase tighter groups by tweaking sights, swapping arrows, or fiddling with release aids — but the cheapest accuracy upgrade sits under your boots. A proper archery stance is the foundation every other piece of form relies on. Get it right and your shot becomes repeatable. Get it wrong and even a $1500 flagship compound or a tournament-grade recurve will throw arrows across the face of the target.
This guide breaks down the three main stance types, walks through a seven-step setup process, covers the mistakes that quietly destroy groups, and shows you how to choose the right footwork for your bow style, your range, and the shot in front of you.
Why Stance Matters More Than You Think
Stance is the bottom of a stack. Above it sits your hip alignment, then shoulder alignment, then bow arm extension, then your anchor and release. If the base is even a few degrees off, every layer above it has to compensate — and compensation is the enemy of consistency.
A solid stance does five things at once. It locks your skeleton into a position your muscles don’t have to fight. It gives your bow shoulder a stable platform so it can’t creep up under load. It distributes your weight evenly so the draw cycle doesn’t tip you forward or back. It positions your hips and torso for clean rotation when you draw. And it makes every shot identical, because your feet aren’t guessing where to land each time you step to the line.
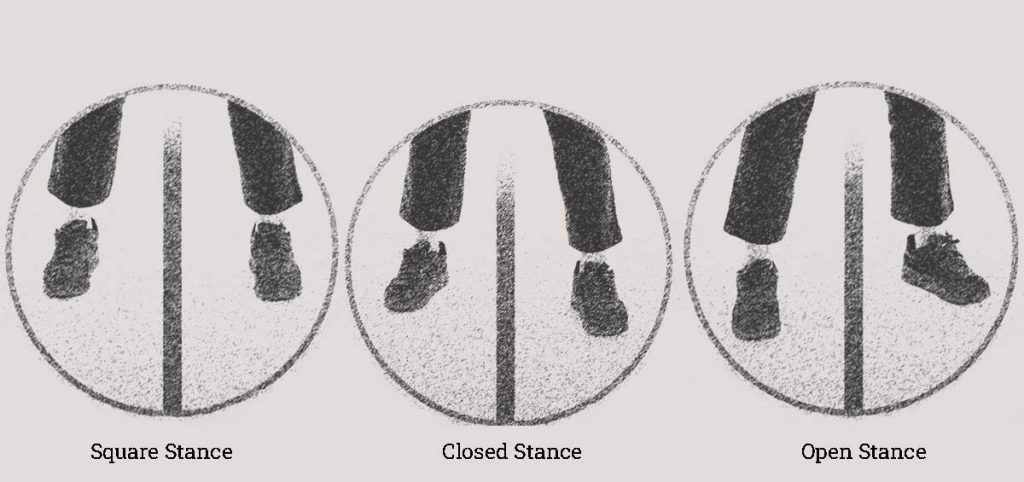
The Three Archery Stance Types
Almost every archer in the world shoots one of three stances. They aren’t just style choices — each one changes how your body resists the bow’s draw weight and how forgiving your form is to small errors.
Square Stance
Feet parallel, both toes pointing at the shooting line, roughly shoulder-width apart. A line drawn across both toes points directly at the target. This is the stance most coaches teach beginners because it forces square hips and square shoulders. It’s also the easiest to set up consistently — there’s no angle to remember.
Strengths: predictable, easy to repeat, strong against side wind. Weaknesses: less forgiving on the back tension cue, and can let the bow arm drift across the body if your draw length is short.
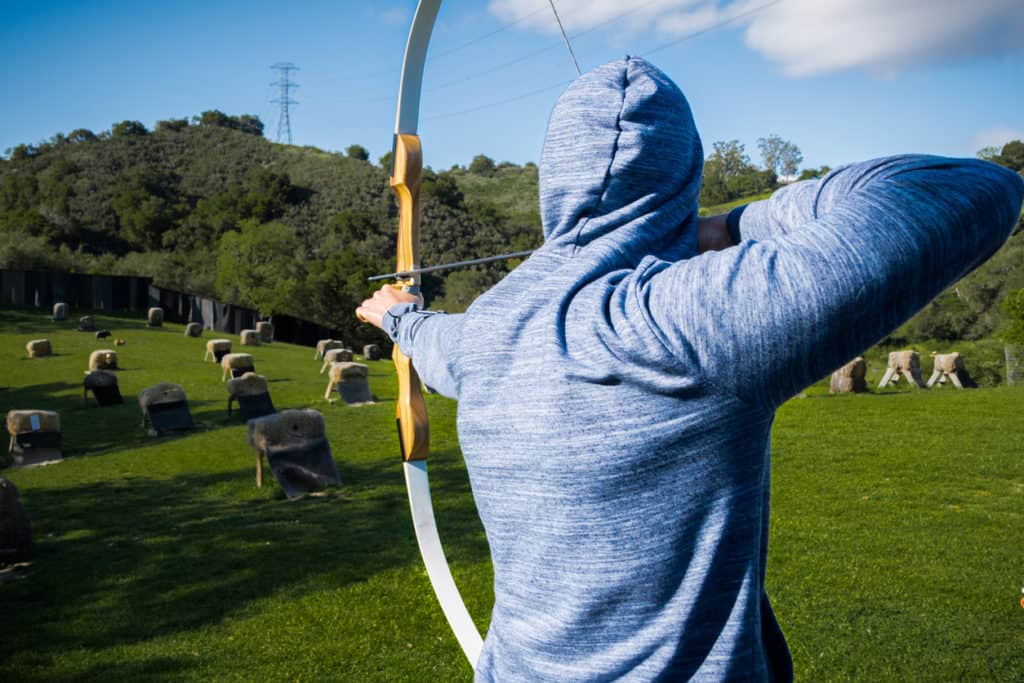
Open Stance
The front foot (left foot for a right-handed archer) sits closer to the shooting line. The back foot drops back at roughly a 20 to 30 degree angle. The line across your toes points slightly left of the target — by the same amount your back foot is rotated.
This is the stance you’ll see on most Olympic recurve archers and a growing number of compound shooters. It opens the chest, gives a clearer path for the bowstring past the chest wall, and makes back tension easier to feel because your shoulders rotate naturally into alignment as you draw.
Strengths: better string clearance, stronger back tension, clean shoulder alignment at full draw. Weaknesses: harder to repeat without foot markers, slightly more vulnerable to side wind.
Closed Stance
The front foot is pulled back across the shooting line, with the back foot anchored where a square stance would put it. The toe line crosses behind the target. You’ll rarely see this stance on a modern target line. It was more common in older instinctive shooting traditions and is still used by a small number of traditional and barebow archers who shoot with a strong cant. For most archers, a closed stance pinches the chest and shortens the draw — so unless a coach has specifically prescribed it, skip it.
7-Step Guide to Building Your Stance
This sequence works for compound, recurve, and traditional bows. Run through it every single time you step to the line until your feet land in the same spot automatically.
1. Straddle the Shooting Line
Stand with the shooting line directly under your arches, one foot on each side. This is the reference point everything else builds from. Indoor ranges paint it; outdoor ranges use stake markers. Get used to looking down and confirming before you do anything else.
2. Set Foot Spacing
Drop your feet to roughly shoulder width — measured from the outside of one foot to the outside of the other. Wider than shoulder width locks your hips and kills rotation. Narrower than shoulder width turns you into a weather vane.
3. Distribute Weight Evenly
A 60-40 forward bias is a common cue: weight slightly toward the balls of your feet, never on your heels. If your heels could lift off the ground without you noticing, your weight is balanced correctly under the bow.
4. Choose Your Angle
Start square. After you’ve shot 200 to 300 arrows with a clean square stance and your groups are stable, experiment with rotating the back foot 15, then 20, then 25 degrees. Don’t jump to a wide-open stance overnight — your back tension feel will get muddled.
5. Engage Your Core
Squeeze your glutes and brace your abs lightly — about the same tension you’d use to hold a 5 kg plate at chest height. This locks the pelvis under the spine and stops your draw from twisting your torso.
6. Lock the Bow Shoulder
Before you draw, press your bow shoulder down and slightly back. The single biggest stance failure isn’t in the feet — it’s the bow shoulder creeping up toward the ear under load. Set it before you raise the bow and refuse to let it move.
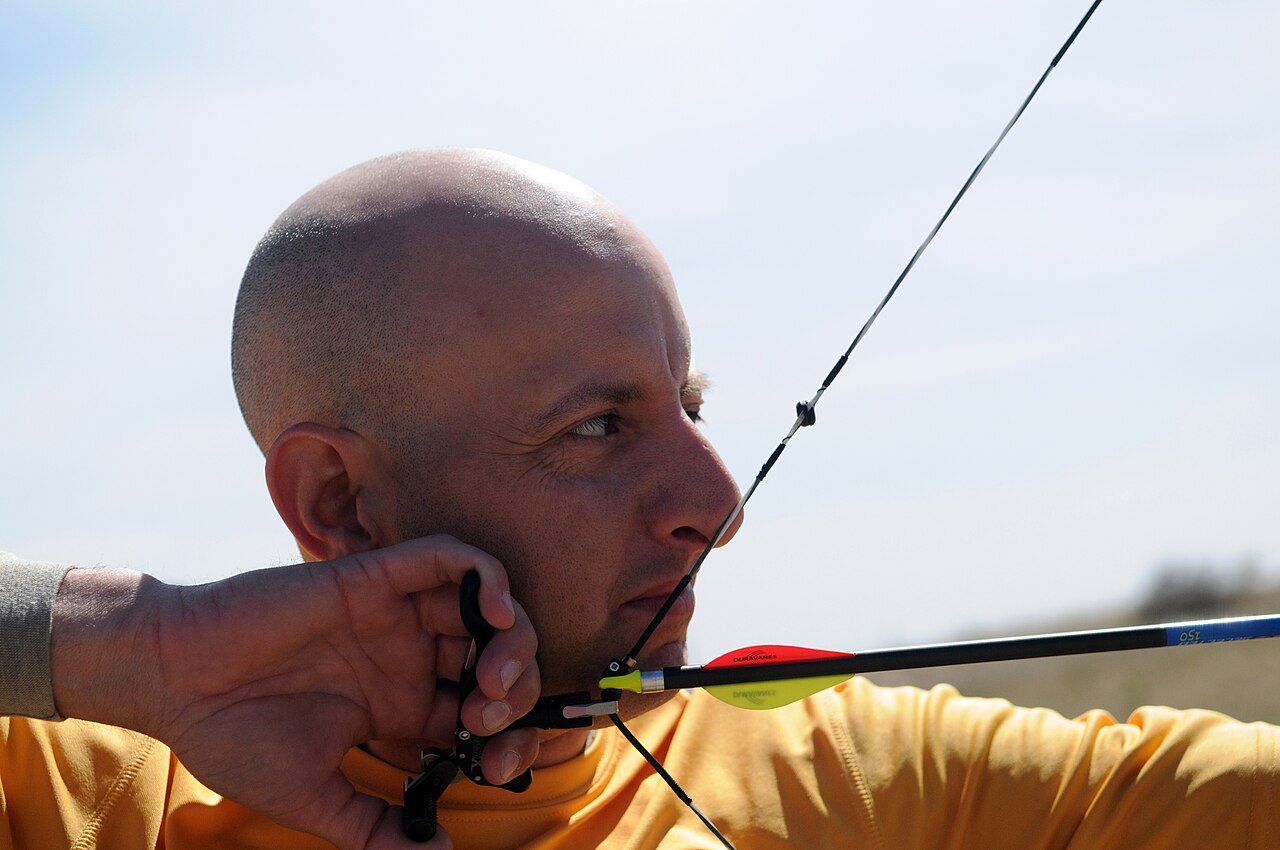
7. Test Under Draw
Come to full draw on a blank target. Hold for 10 seconds. If you feel your weight shift, your hips rotate, or your knees lock, your stance isn’t load-bearing yet. Let down, reset feet, and try again.
Common Stance Mistakes (and How to Fix Them)
These six mistakes account for the bulk of stance-related accuracy losses on the line. None of them are advanced problems — they’re cheap habits that quietly bleed points.
- Feet too wide — pinches hip rotation and kills back tension. Fix: measure your feet against your shoulder width using a phone photo taken from behind.
- Feet too narrow — kills lateral stability and magnifies bow torque. Fix: place a piece of athletic tape on the ground at exact shoulder width and step to it.
- Heels lifting under draw — weight is too far forward, usually from leaning into the bow. Fix: drop the draw weight by 5 to 10 pounds until your form catches up.
- Hip rotation under draw — torso twists at the moment of release. Fix: brace the core before raising the bow, not during the draw cycle.
- Different stance every shot — the silent group destroyer. Fix: chalk-line your foot position on practice days and shoot 30 arrows from identical marks.
- Toe-out — front foot pointed outward kicks the hip out of line. Fix: align the front toe directly down the shooting line; some archers point it 5 degrees inward to overcorrect a chronic habit.
Shop Archery Resistance Trainers on Amazon →
Stance Drills That Build Muscle Memory
You can’t think your way to a repeatable stance. You have to drill it until your feet land in the same place without you watching them. Four drills do most of the heavy lifting.
Drill 1: Footprint tape. Lay two strips of athletic tape on the ground where your feet land for your best stance. Shoot an entire practice session from those marks. Repeat for two weeks. Remove the tape — your feet will still land there.
Drill 2: Blank bale, eyes closed. Set up at 5 yards on a blank target. Close your eyes after you’ve drawn. Hold for 10 seconds. Open your eyes and feel where your weight, hips, and shoulders ended up. This builds proprioception faster than anything else.
Drill 3: Photo-and-review. Have a partner shoot a phone video from directly behind you for 6 arrows. Watch the video back. Look for foot shift, hip rotation, and shoulder lift. Two video sessions a month will show you faults you can’t feel.
Drill 4: Stance-then-bow. Set your stance completely before you even pick up the bow. Many archers grab the bow first and let their feet drift into position. Reverse the order until it’s automatic.
Bow-Specific Stance Adjustments
The seven-step framework above works for every bow. These tweaks fine-tune it for your specific style.
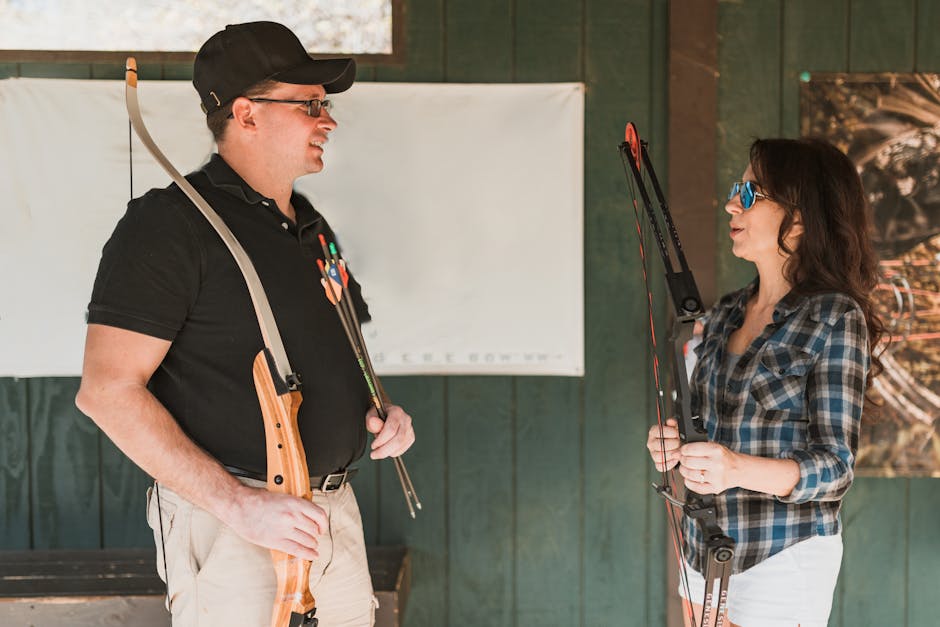
Compound Bow
Compound shooters can run a slightly wider stance because let-off does the holding work — you’re not fighting peak draw weight at anchor. Many compound archers settle into an open stance of 20 to 25 degrees because it gives the shorter axle-to-axle geometry better string clearance against the chest. Stabilizers also amplify any stance-driven sway, so a stable base matters more, not less.
Recurve and Olympic Recurve
Olympic recurve relies on back tension and the clicker for shot execution. An open stance — typically 25 to 30 degrees — is standard at the top of the World Cup. The chest opens, the front shoulder stays down, and the draw arm rotates cleanly through the clicker. Beginners should still master square first, then drift open over a season.
Traditional Longbow and Barebow
Traditional shooters often cant the bow and shoot off the shelf with a fixed crawl or facewalking. A square or mildly open stance with feet slightly narrower than target archers’ helps the cant feel natural. Barebow shooters at competition level tend to mirror Olympic recurve form with a slight open stance and the same back-tension priority.
Shop Archery Bow Stabilizers on Amazon →
When to Switch Stance Types
Stance isn’t fixed forever. Conditions and disciplines change what your feet need to do.
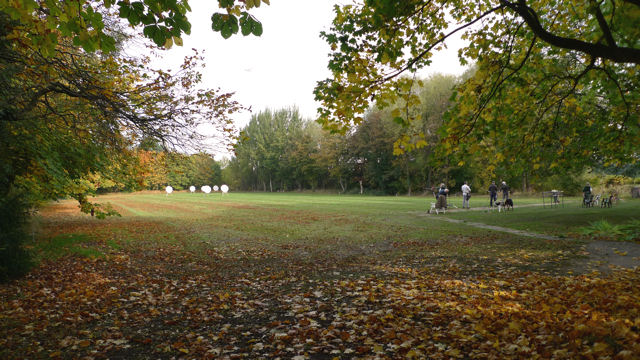
- Indoor target (18m to 25m): square or mildly open. Predictable footing, no wind, smooth floor — repeatability wins.
- Outdoor target (50m to 70m): open stance helps with sustained back tension over longer holds and clears the string against bulky cold-weather layers.
- Field archery: stance adapts shot-by-shot. Steep uphill and downhill shots force a wider front-foot drop just to stay balanced.
- 3D archery: same as field, with the added challenge that targets are at unmarked distances and unstable footing is common. Plant the back foot first on uneven ground.
- Bowhunting: real terrain rarely cooperates. Practice shooting from a slight slope, off-balance, and from seated positions before you take a stand-based shot in the field.
Building the Stance Habit
A proper archery stance won’t fix bad release timing, won’t tune your arrows, and won’t sight your bow in. What it will do is make every other piece of form possible. Without a stable foundation, every shot has a new set of variables — and tighter groups stay out of reach.
Spend two weeks running the seven-step setup every single time you draw. Drill the footprint tape. Film yourself from behind once a week. By the end of the first month, your stance will be invisible to you — which is exactly when it starts working. The archers who shoot the cleanest groups aren’t the ones with the most expensive gear. They’re the ones whose feet land in the same spot every time, without thinking about it.
Shop Archery Practice Targets on Amazon →