Archery Blog
How to Set Up a Compound Bow: 7 Essential Steps for Beginners
Mar
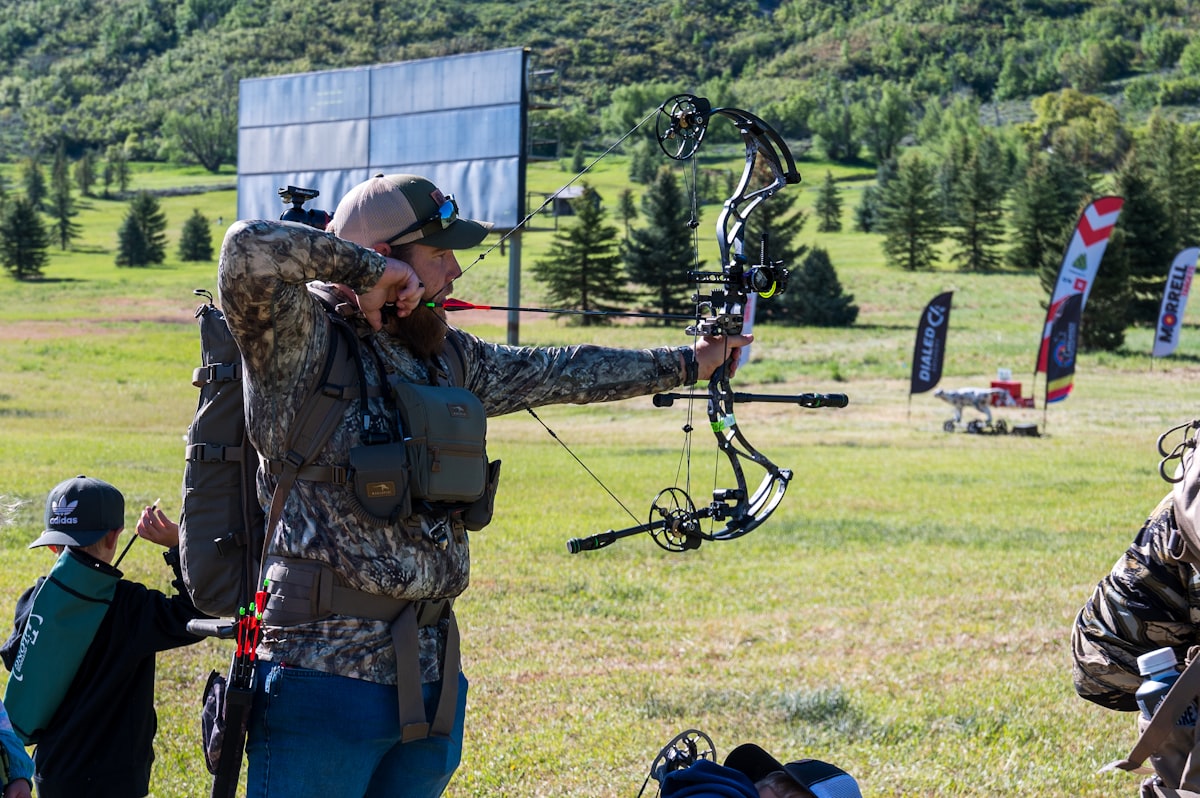
Setting up a compound bow properly is crucial for accuracy, safety, and hunting success. Whether you’ve just unboxed your first compound bow or need a refresher on the setup process, this comprehensive guide will walk you through every essential step. A properly configured compound bow can dramatically improve your shooting consistency and help you become a more confident archer.
Many beginners feel overwhelmed when facing a new compound bow with all its cams, cables, and adjustment options. However, with the right approach and basic tools, you can successfully set up your bow at home and save money on professional tuning services.
What Tools Do You Need to Set Up a Compound Bow?
Before you begin setting up your compound bow, you’ll need specific tools to ensure proper installation and adjustment of components. Having the right equipment upfront prevents frustration and potential damage to your bow during the setup process.
Essential Tools for Compound Bow Setup:
- Bow press (essential for string work)
- Bow vise or secure mounting system
- Allen wrench set (metric and standard)
- Bow square for measuring angles
- Tape measure
- Serving thread and scissors
- D-loop material
- Lighter for melting thread ends
- Level (small bubble level)
- Safety glasses
Optional but Helpful Tools:
- Draw board for testing cam timing
- Laser center shot tool
- Digital calipers
- Bowstring wax
If you don’t own a bow press, consider visiting a local archery shop for string-related adjustments. Many shops offer reasonable rates for specific services, and it’s safer than attempting advanced string work without proper equipment.
How to Check Your Compound Bow Specifications
Every compound bow setup begins with verifying that your bow meets factory specifications. Checking these measurements ensures your bow is properly configured before adding accessories and prevents tuning issues later in the process.
Key Specifications to Verify:
Brace Height: This measurement represents the distance from the deepest part of the grip (throat) to the bowstring. Check your bow’s manual for the correct brace height specification, typically ranging from 6 to 7 inches for most compound bows.
Axle-to-Axle Length: Measure the distance between the center points of your top and bottom axles. This measurement affects stability and forgiveness, and should match your bow’s advertised specifications.
Draw Length Setting: Confirm your draw length is properly set before proceeding. Most modern compounds allow draw length adjustment through cam modules or rotating cams. Learn how to measure your draw length correctly to ensure optimal performance.
Draw Weight: Check that your bow is set to your desired draw weight. Most compounds allow adjustment through limb bolt turns, with each full turn typically changing weight by 2-3 pounds.
If any measurements are off from factory specifications, you may need to adjust cable length by adding or removing twists. This process typically requires a bow press, so consider professional assistance if you’re uncomfortable making these adjustments.
Understanding Cam Timing
Proper cam timing ensures both cams hit their stops simultaneously at full draw. Poorly timed cams can cause tuning problems, decreased accuracy, and premature string wear. Check cam timing by drawing your bow slowly and observing when each cam contacts its draw stop.
How to Install and Adjust Your Arrow Rest
Installing your arrow rest correctly is fundamental to achieving accurate arrow flight and consistent groupings. The arrow rest position affects both horizontal and vertical arrow alignment, making proper installation crucial for successful tuning.
Step-by-Step Rest Installation:
Step 1: Secure Your Bow
Place your bow in a bow vise or secure mounting system with the bow perfectly vertical and level. A stable setup prevents movement during installation and adjustment.
Step 2: Mount the Rest
Install your arrow rest into the threaded hole on your bow’s riser. Most manufacturers use standard threading, so compatibility shouldn’t be an issue. Hand-tighten initially, then secure with appropriate tools.
Step 3: Set Initial Center Shot
Position your rest approximately 13/16 inch from the riser’s center. This general starting point works for most compound bows, though individual tuning may require slight adjustments.
Step 4: Check Berger Hole Alignment
The “Berger Hole” is the threaded opening where your rest mounts, representing the bow’s geometric center. When properly aligned, your arrow should pass directly through the center of this hole when viewed from behind the bow.
Rest Height Considerations:
Start with your rest positioned so an arrow sits level when nocked. You can fine-tune this height during the paper tuning process. Drop-away rests typically require slightly higher initial positioning to account for the rest’s movement during the shot sequence.
How to Set Your Nocking Point and D-Loop
Establishing the correct nocking point and installing a D-loop creates the foundation for consistent arrow placement and release technique. These components work together to ensure repeatable arrow positioning shot after shot.
Finding Your Nocking Point:
Use a bow square to establish a 90-degree angle from your bowstring to the arrow rest. This perpendicular relationship provides the starting point for proper nocking point placement. Most setups benefit from positioning the nocking point approximately 1/8 to 1/4 inch above square.
Installing Nock Sets:
Tie your upper and lower nock sets using serving material, creating small, secure knots above and below where your arrow nock will sit. Allow slight movement room to prevent “nock pinch,” which can cause erratic arrow flight.
D-Loop Installation Process:
Step 1: Measure D-Loop Material
Cut approximately 4-5 inches of D-loop material, allowing extra length for adjustments and proper knot tying.
Step 2: Position the D-Loop
Place the D-loop material around your bowstring, positioning it so the loop sits perpendicular to the string when attached to your release aid.
Step 3: Tie Secure Knots
For right-handed archers, tie the upper knot away from you and the lower knot toward you. Left-handed archers should reverse this pattern. Ensure knots are tight and properly positioned.
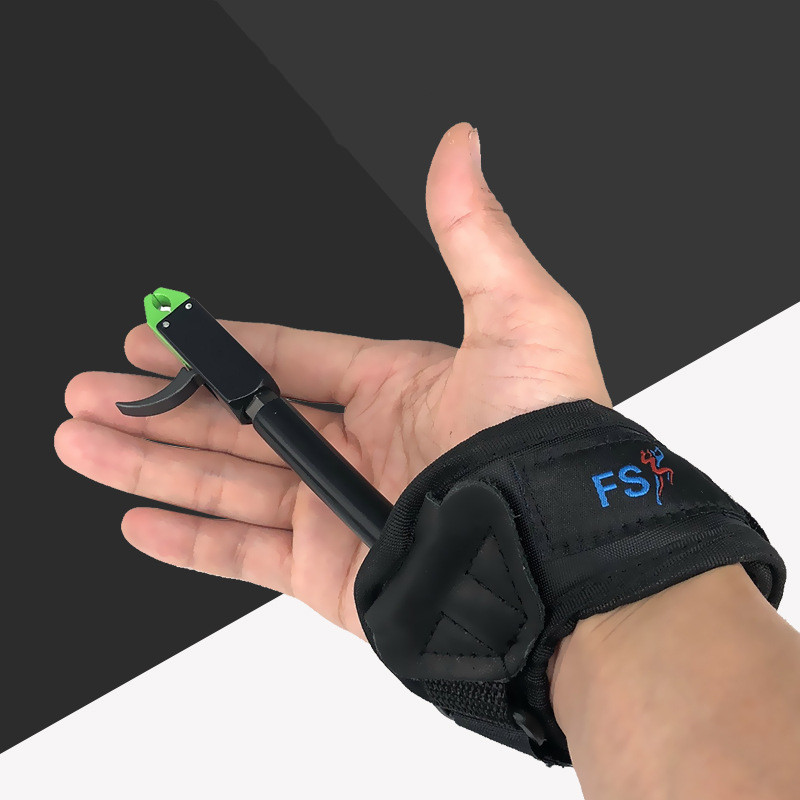
Step 4: Test and Adjust
Attach your release aid and check for proper alignment and comfortable positioning. The D-loop should allow smooth release without causing string torque or inconsistent anchor points.
How to Install Your Peep Sight
Peep sight installation requires precision and often benefits from professional assistance, especially for beginners. The peep sight’s position directly affects your ability to achieve consistent sight alignment and accurate shooting.
Determining Peep Sight Position:
Your peep sight position depends on your draw length, anchor point, and sight setup. When properly positioned, you should see a clear, round sight picture through the peep when at full draw with proper form.
Installation Steps:
Step 1: Mark Initial Position
Use your existing bow or similar setup as reference, measuring the distance from D-loop to peep sight. This provides a starting point for your new installation.
Step 2: Install the Peep
Separate the bowstring strands at your marked location and insert the peep sight. The peep should sit naturally without requiring excessive string separation.
Step 3: Check Orientation
Draw your bow and check peep sight alignment. If the peep sight doesn’t line up correctly, you may need to add or remove string twists to achieve proper orientation.
Step 4: Secure the Peep
Once positioned correctly, use serving thread to tie the peep sight in place above and below the sight. This prevents movement during shooting.
Important Safety Note: Peep sight installation often requires a bow press to safely manipulate the bowstring. If you’re uncomfortable with this process or lack proper equipment, seek professional assistance from a qualified archery technician.
How to Tune Your Compound Bow with Paper Testing
Paper tuning reveals how your arrows fly immediately after leaving the bow, providing valuable information about your setup’s accuracy and needed adjustments. This testing method helps identify and correct flight issues before they affect your shooting performance.
Setting Up for Paper Tuning:
Hang a piece of paper in a frame or tape it across a cardboard box, ensuring the paper is taut and positioned 6-8 feet from your shooting position. Place a target backstop several feet behind the paper to safely stop your arrows.
Performing the Paper Test:
Shoot arrows through the paper using proper form and your normal shooting technique. Examine the holes created by your arrows, looking for clean entry with minimal tearing.
Reading Paper Tune Results:
Perfect Hole: A clean, round hole indicates good arrow flight and minimal tuning needed.
Horizontal Tears:
- Left tear (right-handed archer): Move rest left or check for weak arrow spine
- Right tear (right-handed archer): Move rest right or check for stiff arrow spine
Vertical Tears:
- High tear: Lower nocking point or raise rest
- Low tear: Raise nocking point or lower rest
Making Adjustments:
Make small, incremental adjustments and retest after each change. Large adjustments can overcorrect and create new problems. Understanding arrow spine selection becomes important if mechanical adjustments don’t resolve paper tuning issues.
Advanced Tuning Considerations
If basic rest adjustments don’t achieve clean bullet holes, consider checking cam timing, string condition, and arrow specifications. Sometimes apparent tuning issues stem from equipment problems rather than setup errors.
How to Make Final Adjustments and Safety Checks
Completing your compound bow setup requires final adjustments and thorough safety inspections to ensure reliable, accurate performance in the field. These final steps prevent equipment failures and optimize your bow’s shooting characteristics.
Sight Installation and Adjustment:
Mount your bow sight according to manufacturer instructions, ensuring all mounting screws are properly tightened with thread-locking compound if recommended. Follow proper sight adjustment procedures to establish accurate pin placement for your intended shooting distances.
Stabilizer Installation:
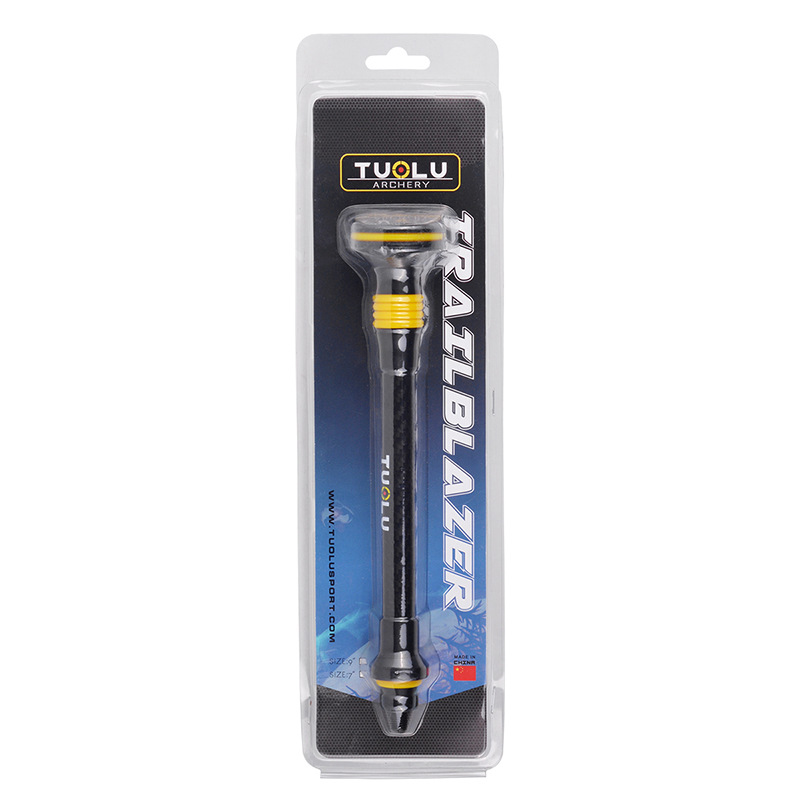
Install your bow stabilizer to reduce vibration and improve balance. Start with the stabilizer positioned straight down from your bow’s riser, making adjustments based on your shooting preferences and balance requirements. Learn more about stabilizer selection and setup for optimal performance.
Drop-Away Rest Timing:
If using a drop-away rest, verify proper timing by drawing and releasing slowly while observing rest movement. The rest should drop away cleanly as the arrow clears, without premature dropping or late activation.
Complete Safety Inspection:
String and Cable Condition: Inspect for fraying, separation, or worn serving areas. Replace damaged strings immediately.
Cam Condition: Check for cracks, chips, or damage to cam surfaces and axles.
Fastener Tightness: Verify all screws and bolts are properly tightened according to manufacturer specifications.
Clearance Checks: Ensure arrows clear all bow components during the shot sequence, including rests, cable guards, and sight components.
Final Performance Testing:
Shoot several groups at various distances to confirm accuracy and consistency. Start with close distances (10-15 yards) and gradually extend range as your confidence and accuracy improve.
When to Seek Professional Help:
Consider professional assistance for complex adjustments like cam timing, major tuning issues, or if you’re uncomfortable with any aspect of the setup process. A qualified archery technician can quickly diagnose and correct problems that might take hours to resolve independently.
Compound Bow Setup Checklist
Use this checklist to ensure you’ve completed all essential setup steps:
- ✓ Verified factory specifications (brace height, ATA, draw length)
- ✓ Installed and positioned arrow rest
- ✓ Set nocking point and installed D-loop
- ✓ Installed peep sight (professional help recommended)
- ✓ Completed paper tuning
- ✓ Mounted and adjusted sight
- ✓ Installed stabilizer and accessories
- ✓ Performed safety inspection
- ✓ Completed accuracy testing
Setting up a compound bow properly takes patience and attention to detail, but the results—improved accuracy, consistency, and confidence—make the effort worthwhile. Remember that tuning is an ongoing process, and periodic adjustments help maintain peak performance throughout your bow’s life.
Whether you’re preparing for hunting season or recreational target shooting, a properly set up compound bow provides the foundation for shooting success. Take your time with each step, don’t hesitate to seek help when needed, and enjoy the satisfaction of mastering your equipment.
Sources
1. Archery Trade Association. “Bow Setup Guidelines.” https://www.archerytrade.org
2. Easton Technical Products. “Arrow Tuning Guide.” https://www.eastonarchery.com
3. National Field Archery Association. “Equipment Standards.” https://www.nfaaarchery.org
Browse archery bows, arrows, and accessories at the Archery Supplier shop →